MySQL Server 為了安全,所以大部分都不建立連線埠,或者是僅限本機連線,不允許遠端連線,所以偵測 MySQL Server 就比較沒有那麼實際,而且在檢查時,密碼是以明碼傳送,會有安全性上的問題。
1. 檢查是否有 check_mysql 檢查指令
# locate check_mysql
/usr/lib64/nagios/plugins/check_mysql
/usr/lib64/nagios/plugins/check_mysql_query
2. 檢查一下,check_mysql 須要加入的參數
# /usr/lib64/nagios/plugins/check_mysql -h
Options:
-h, –help
Print detailed help screen
-V, –version
Print version information
–extra-opts=[section][@file]
Read options from an ini file. See http://nagiosplugins.org/extra-opts
for usage and examples.
-H, –hostname=ADDRESS
Host name, IP Address, or unix socket (must be an absolute path)
-P, –port=INTEGER
Port number (default: 3306)
-s, –socket=STRING
Use the specified socket (has no effect if -H is used)
-d, –database=STRING
Check database with indicated name
-u, –username=STRING
Connect using the indicated username
-p, –password=STRING
Use the indicated password to authenticate the connection
==> IMPORTANT: THIS FORM OF AUTHENTICATION IS NOT SECURE!!! <==
Your clear-text password could be visible as a process table entry
-S, –check-slave
Check if the slave thread is running properly.
-w, –warning
Exit with WARNING status if slave server is more than INTEGER seconds
behind master
-c, –critical
Exit with CRITICAL status if slave server is more then INTEGER seconds
behind master[@more@]3. 建立資料庫和資料庫使用者及密碼
# /usr/local/bin/mysqladmin -u root -p create nagiostest
# /usr/bin/mysql -u root -p -e “GRANT ALL PRIVILEGES ON nagiostest.* TO ‘ntest’@’localhost’ IDENTIFIED BY ‘123test’;”
4. 測試一下
# /usr/lib64/nagios/plugins/check_mysql -H 127.0.0.1 -P 3306 -u ntest -d nagiostest -p 123test
Uptime: 178009 Threads: 1 Questions: 348 Slow queries: 0 Opens: 16 Flush tables: 1 Open tables: 9 Queries per second avg: 0.1
5. 在 /etc/nagios/objects/commands.cfg 檔案加入
# ‘check_mysql’ command definition
define command{
command_name check_mysql
command_line $USER1$/check_mysql -H $ARG1$ -P $ARG2$ -u $ARG3$ -d $ARG4$ -p $ARG5$
}
6. 在要偵測的 MySQL Server 主機加入
# vim /etc/nagios/objects/localhost.cfg
define service{
use local-service ; Name of service template to use
host_name localhost
service_description MySQL
check_command check_mysql!127.0.0.1!3306!ntest!nagiostest!123test
notifications_enabled 1
}
重新啟動 Nagios
# service nagios restart
Running configuration check…done.
Stopping nagios: .done.
Starting nagios: done.
如果沒有出現錯誤訊息,代表設定成功
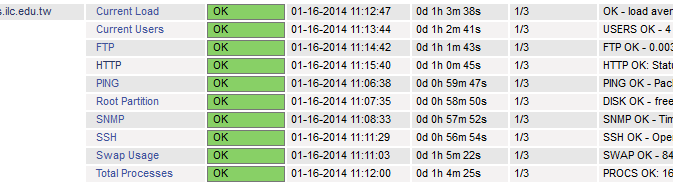
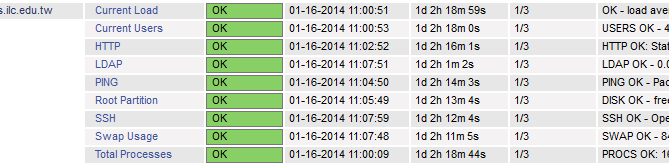
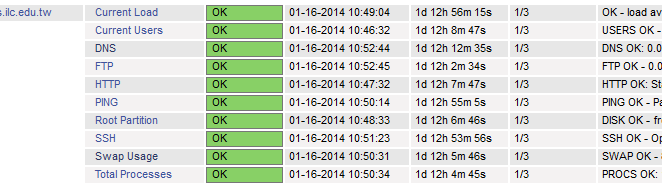
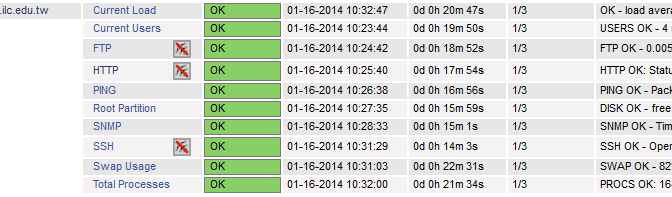
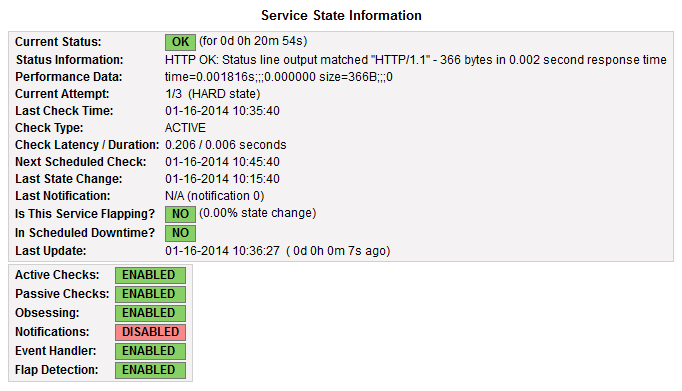
這時候應該可以看到下面的圖