因為 Lubuntu 的版本比較舊所以改用比較新的版本 Ubuntu Desktop
下載位置:
http://dl.cubieboard.org/software/a20-cubietruck/ubuntu-desktop/
預設登入的帳號及密碼:linaro / linaro
登入預設採用的是 Unity 介面 [@more@]Ubuntu Desktop 所採用的是 12.04 的版本,因為 Precise 屬於 LTS 的版本,所以還可以接受
CubieTruck 版本是 12.11 版本
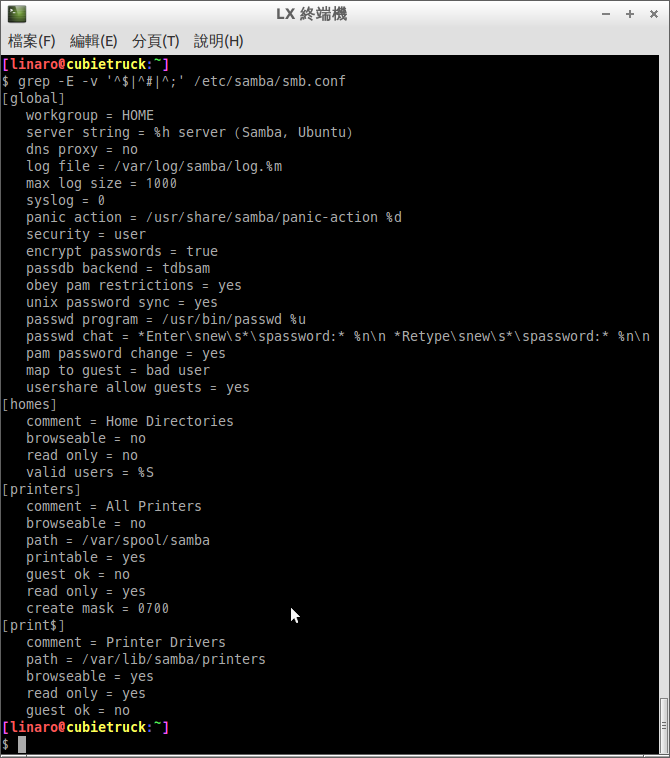
$ sudo lsb_release -a
No LSB modules are available.
Distributor ID: Linaro
Description: Linaro 12.11
Release: 12.11
Codename: precise
出現可以升級的訊息,但這裡先不升級,因為升級可能會面臨空間不足,或是其它的問題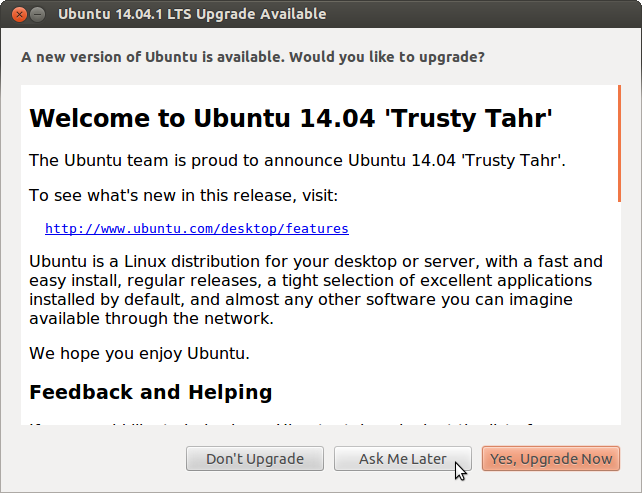
先刪除一些個人比較不常用的套件,移除的套件純屬個人習慣
移除 ibus 輸入法架構
$ sudo apt-get remove –purge ibus ibus-gtk ibus-gtk3 ibus-pinyin ibus-pinyin-db-android ibus-pinyin-db-open-phrase libibus-1.0-0 python-ibus pinyin-database ibus-table libibus-1.0-0
移除 brasero 燒錄軟體
$ sudo apt-get remove –purge brasero brasero-cdrkit brasero-common libbrasero-media3-1
移除 empathy
$ sudo apt-get remove –purge empathy empathy-common nautilus-sendto-empathy
移除 gwibber
$ sudo apt-get remove –purge gwibber gwibber-service gwibber-service-facebook gwibber-service-identica gwibber-service-twitter libgwibber-gtk2 libgwibber2
移除 thunderbird
$ sudo apt-get remove –purge thunderbird thunderbird-globalmenu thunderbird-gnome-support
移除 transmission
$ sudo apt-get remove –purge transmission-gtk transmission-common
移除 simple-scan
$ sudo apt-get remove –purge simple-scan
移除遊戲
$ sudo apt-get remove –purge aisleriot gnome-games-data gnome-sudoku gnomine mahjongg
把用不到的套件一併清除
$ sudo apt-get autoremove
安裝 Ubuntu Desktop 傳統介面,因為不習慣使用新的介面,並不是 Unity 新的介面有什麼不好,就像 Windows 8 / 8.1 把開始功能表移除一樣
$ sudo apt-get install gnome-session-fallback
改成傳統介面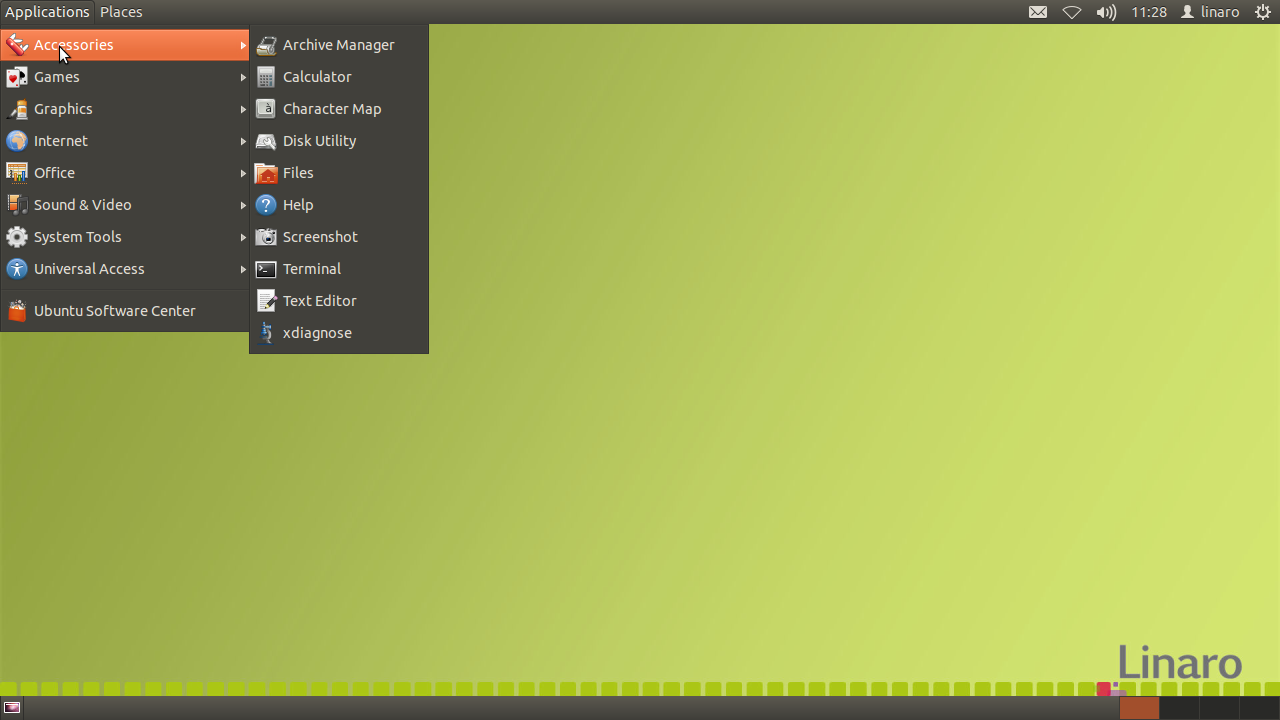
 [@more@]