主要是利用 autofs 和 NFS Server,將 Server 的資料備份到 NAS,備份到 NAS 的資料,可能是 Server 的設定檔、網頁或資料庫及師生檔案。
設定檔的部分可以加上每天的日期區別,網頁或資料庫可以使用 tarball 的方式來做備份,也可以加上日期做區隔,數量比較大的師生檔案,可以採用 rsync 或是 mirrordir 的方式來做同步。
NAS Server IP:192.168.1.5
CentOS 6.x Server IP:192.168.1.1
@at NAS Server
1. 建立 NFS Server,並限定連線來源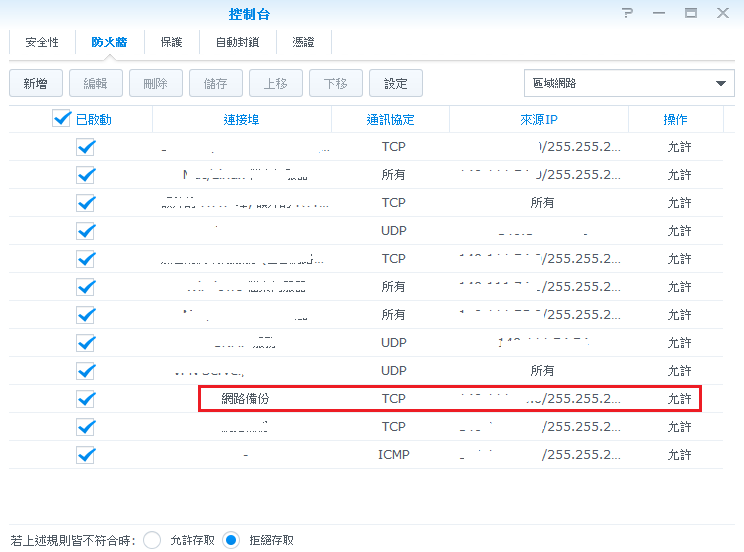
2. 建立要備份資料時儲放的資料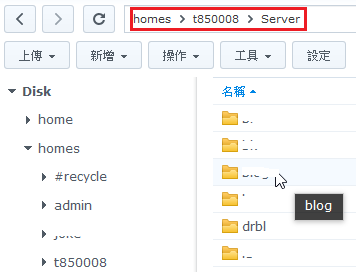
[@more@]
@at CentOS Server
1. 開啟必要服務 autofs / rpcbind / nfslock
# chkconfig –level 3 autofs on
# chkconfig –level 3 rpcbind on
# chkconfig –level 3 nfslock on
for CentOS 7.x
# yum install autofs nfs-utils rpcbind
# systemctl enable autofs
# systemctl enable rpcbind
2. 啟用服務
# service autofs start
# service rpcbind start
# service nfslock start
for CentOS 7.x
# systemctl start autofs
# systemctl start rpcbind
3. 修改 autofs 設定檔
# echo “/mnt/nasnfs /etc/auto.nas” >> /etc/auto.master
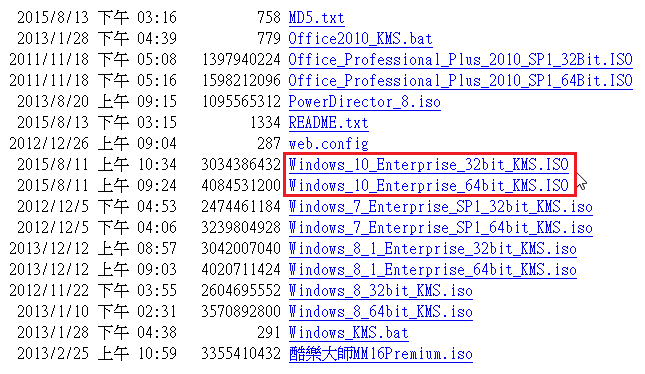
# echo “drbl 192.168.1.5:/volume1/homes/t850008/Server/drbl” > /etc/auto.nas
4. 重新啟動 autofs 服務
# service autofs restart
for CentOS 7.x
# systemctl restart autofs
5. 開啟防火牆讓 CentOS Server 可以連線到 NAS 的 NFS Server,預設情況是有限制對外連線
# iptables -P OUTPUT DROP
# iptables -A OUTPUT -o eth0 -p tcp -d 192.168.1.5 –dport 2049 –syn -m state –state NEW -j ACCEPT
# iptables -A OUTPUT -m state –state ESTABLISHED,RELATED -j ACCEPT
6. 切換到 /mnt/nasnfs/drbl 目錄,如果可以正常切換到該目錄,代表上面的設定成功
# cd /mnt/nasnfs/drbl
7. 將要備份的設定檔及資料寫入到 Script,並放入工作排程
例:
# cat /usr/local/bin/backuptonas
!/bin/bash
# 備份帳號密檔
cp /etc/passwd /mnt/nasnfs/drbl/set/passwd_`date +%F`
cp /etc/shadow /mnt/nasnfs/drbl/set/shadow_`date +%F`
cp /etc/group /mnt/nasnfs/drbl/set/group_`date +%F`
cp /etc/gshadow /mnt/nasnfs/drbl/set/gshadow_`date +%F`
# mirror 網頁資料
# /mnt/nasnfs/drbl/html 目錄要先建好
/usr/bin/mirrordir /var/www/html /mnt/nasnfs/drbl/html
8. 更改檔案屬性
# chmod +x /usr/local/bin/backuptonas
9. 加入工作排程,每天早上 3 時備份
# echo “0 3 * * * /usr/local/bin/backuptonas” >> /var/spool/cron/root
 [@more@]
 [@more@]


 [@more@]