終於來到最不想碰的 Windows 7,因為它要整合的更新檔最多,整合過程碰到的問題最多。
以 Windows 7 SP1 Enterprise x64 為例
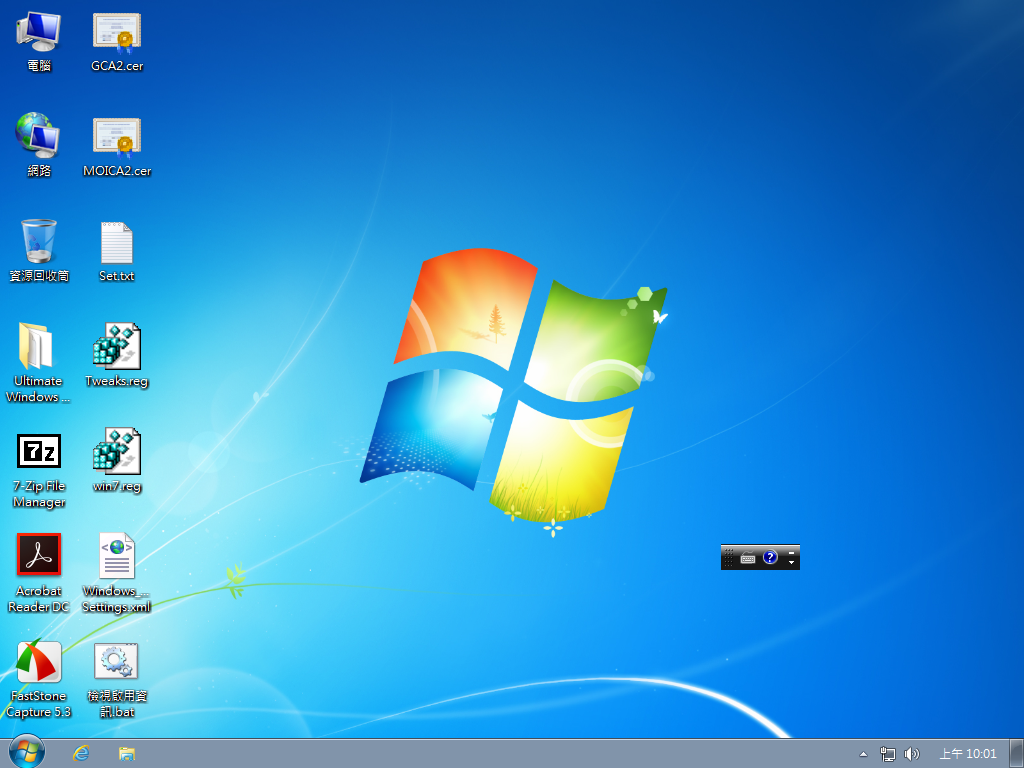
安裝完成的桌面
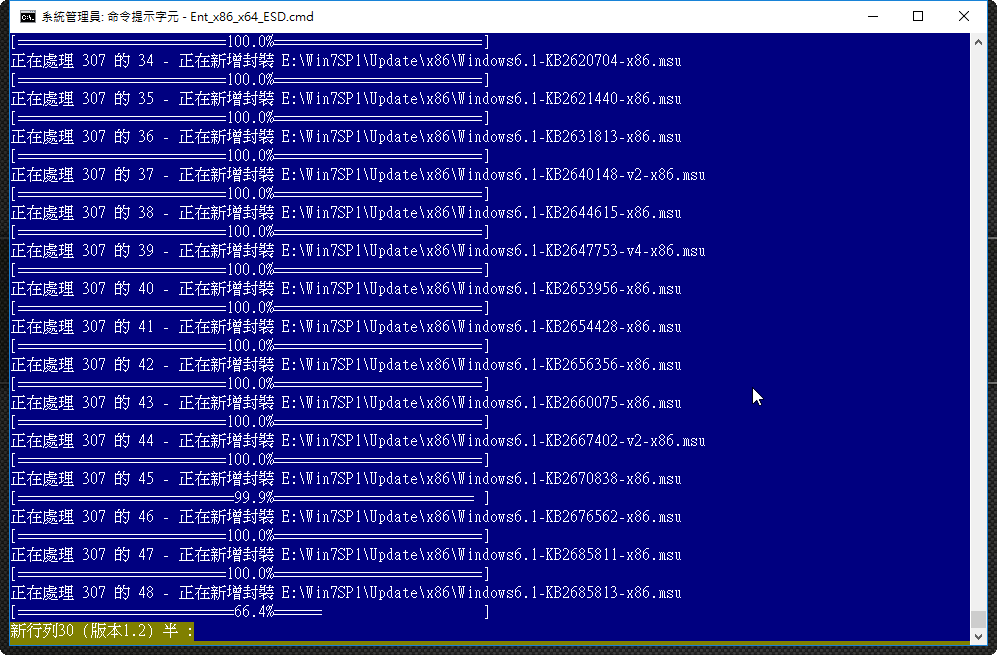
 [@more@]x86 版本整合 307 個更新檔
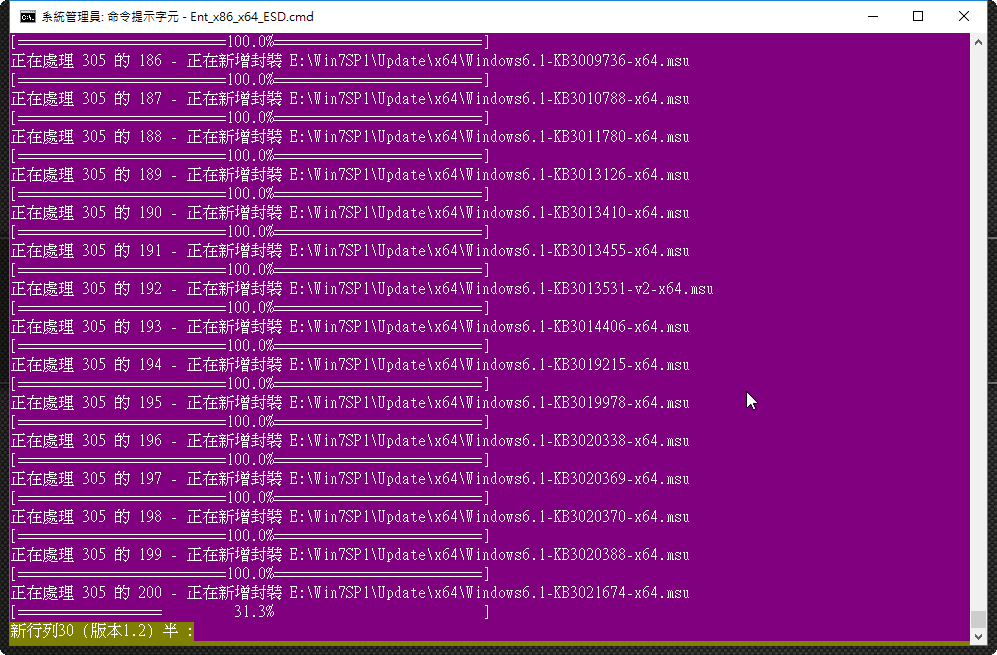
x64 版本整合 305 個更新檔
整合 .NET Framework 4.6.1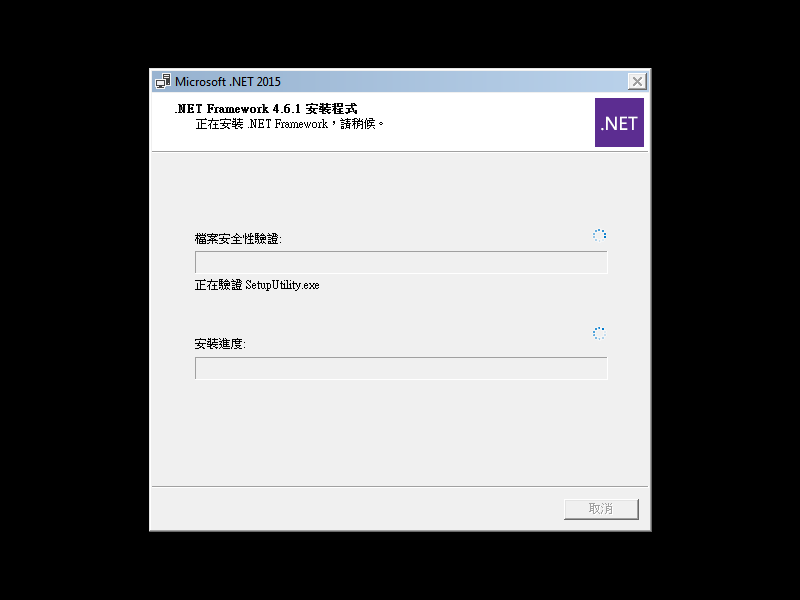
整合 ClassicShell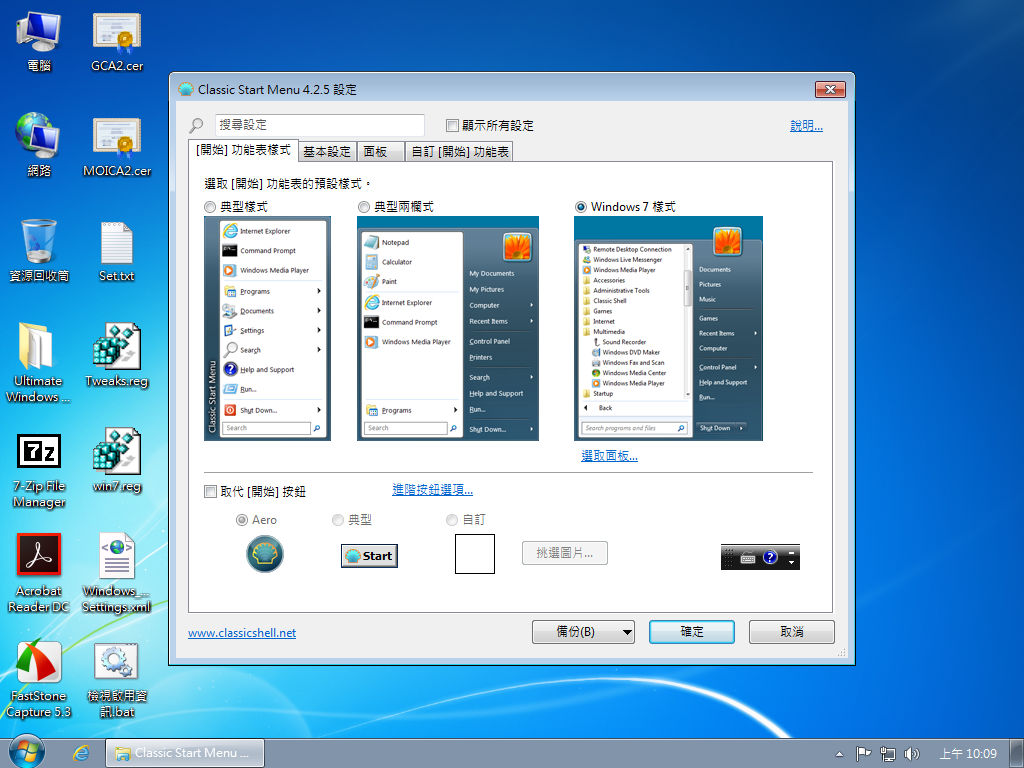
預先安裝的軟體及更新檔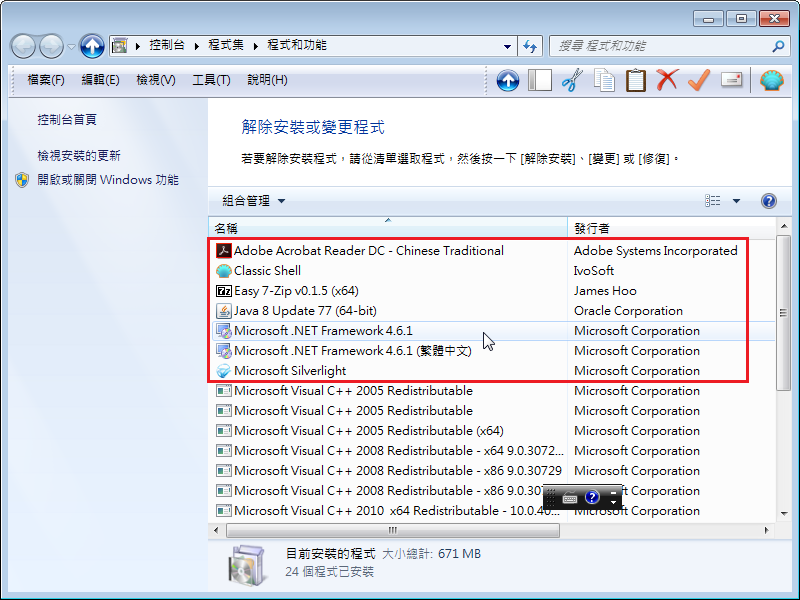
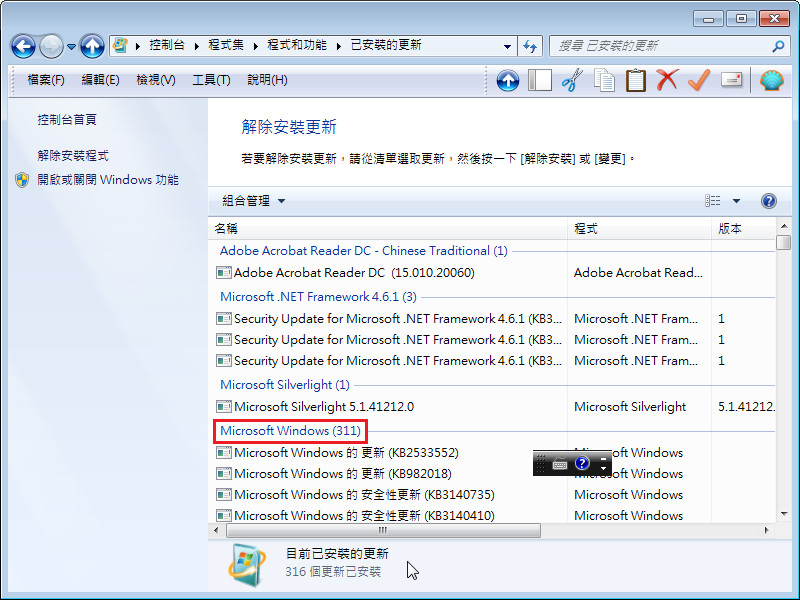
剩下的 Windows Update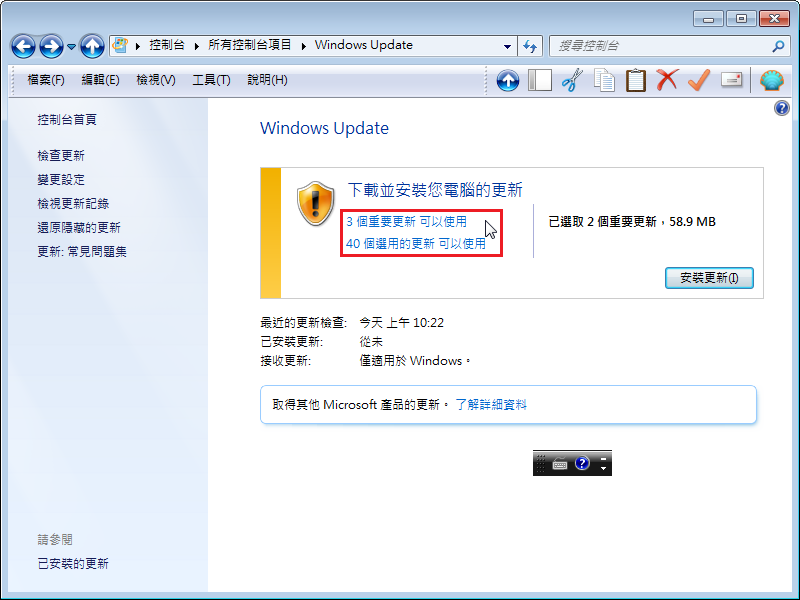
重要的更新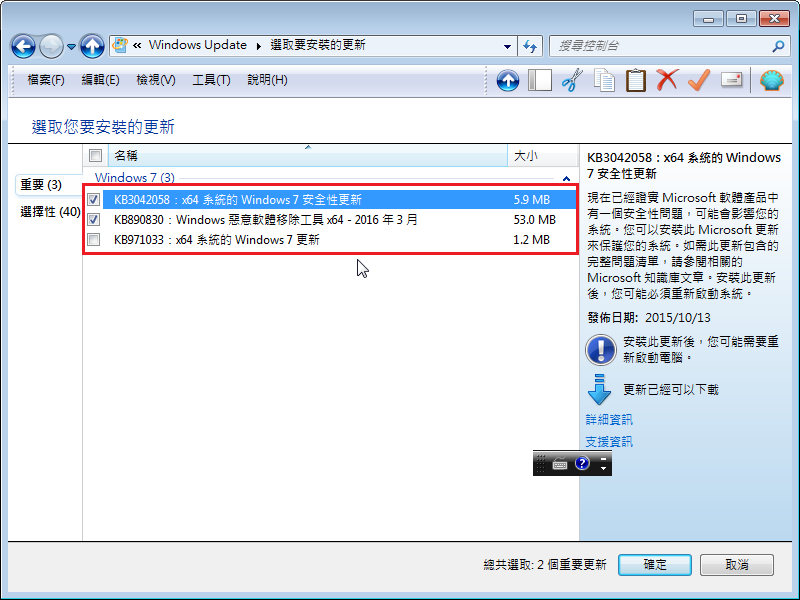
選用的更新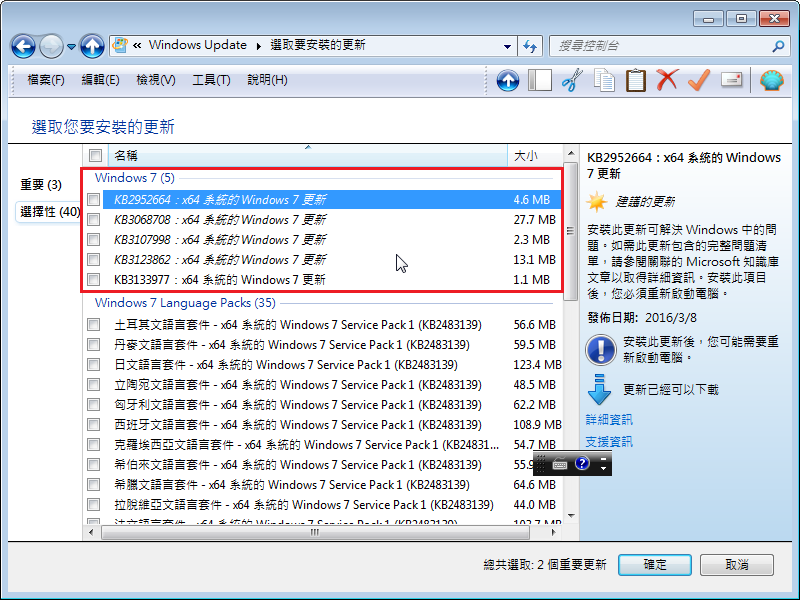

全新的繁體中文 WordPress 網站《宜蘭部落格教育平台 網站》
終於來到最不想碰的 Windows 7,因為它要整合的更新檔最多,整合過程碰到的問題最多。
以 Windows 7 SP1 Enterprise x64 為例
安裝完成的桌面
[@more@]x86 版本整合 307 個更新檔
x64 版本整合 305 個更新檔
整合 .NET Framework 4.6.1
整合 ClassicShell
預先安裝的軟體及更新檔
剩下的 Windows Update
重要的更新
選用的更新
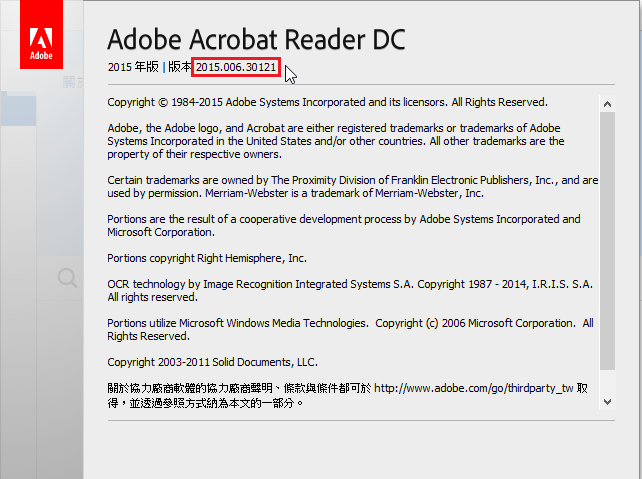
一時之間也看不出二者之間的差別究竟在哪裡!
更詳細的說明可以參考:浮雲雅築: adobe 的搜尋結果
Adobe Acrobat Reader 2015 版本

下載:
ftp://ftp.adobe.com//pub/adobe/reader/win/Acrobat2015/1500630033/AcroRdr20151500630033_MUI.exe
更新檔下載:
ftp://ftp.adobe.com//pub/adobe/reader/win/Acrobat2015/1500630121/AcroRdr2015Upd1500630121_MUI.msp
[@more@]
Adobe Acrobat Reader DC 版本
下載:
ftp://ftp.adobe.com//pub/adobe/reader/win/AcrobatDC/1500720033/AcroRdrDC1500720033_zh_TW.exe
更新檔下載:
ftp://ftp.adobe.com//pub/adobe/reader/win/AcrobatDC/1501020060/AcroRdrDCUpd1501020060.msp
1. 首先先下載所需套件
Microsoft .NET Framework 4.6.1 (離線安裝程式)
https://www.microsoft.com/zh-TW/download/details.aspx?id=49982
Microsoft .NET Framework 4.6.1 語言套件
https://www.microsoft.com/zh-TW/download/details.aspx?id=49977
KB3122660
https://www.microsoft.com/zh-TW/download/details.aspx?id=50892
KB3127231
https://www.microsoft.com/zh-TW/download/details.aspx?id=51082
KB3135998
https://www.microsoft.com/zh-TW/download/details.aspx?id=51466
KB3098785
https://www.microsoft.com/zh-TW/download/details.aspx?id=49664[@more@]
2. 以 x64 平台為例,將下載下來的檔案放置在同一目錄
3. 建立更新命令檔 NDP461.cmd
@echo off
set SetupDir=%~dp0
start “” /wait “%SetupDir%NDP461-KB3102436-x86-x64-AllOS-ENU.exe” /passive /norestart
start “” /wait “%SetupDir%NDP461-KB3102436-x86-x64-AllOS-CHT.exe” /q /norestart
start “” /wait “%SetupDir%x64NDP46-KB3122661-x64.exe” /q /norestart
start “” /wait “%SetupDir%x64NDP46-KB3127233-x64.exe” /q /norestart
start “” /wait “%SetupDir%x64NDP46-KB3136000-x64.exe” /q /norestart
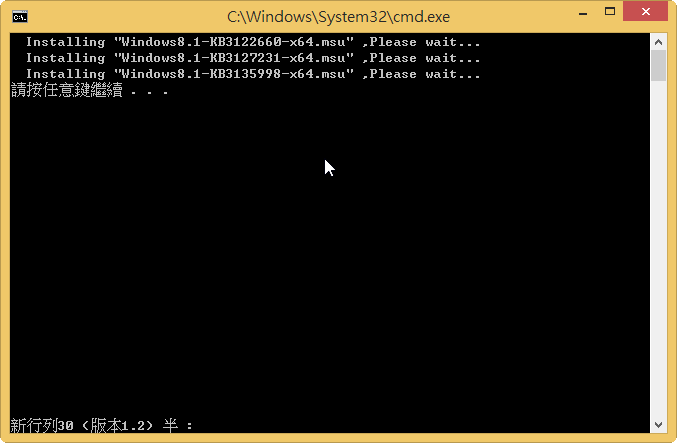
for /f “skip=1” %%i in (‘dir /b %SetupDir%x64*.msu’) do (
ECHO Installing “%%i” ,Please wait…
start /wait %SetupDir%x64%%i /quiet /norestart
)
4. 按滑鼠右鍵,以系統管理員身份執行
5. 更新過程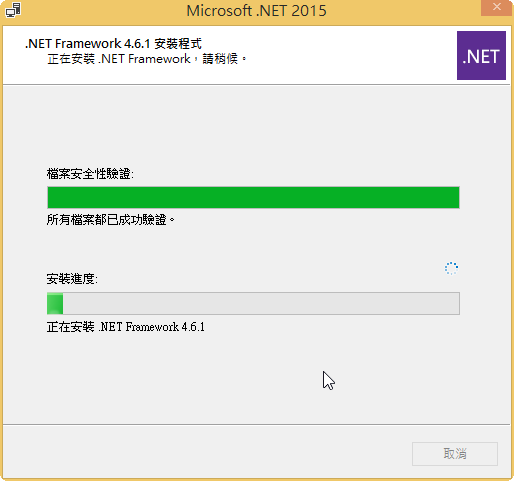
6. 原本有可以更新的 .NET Framework 4.5.2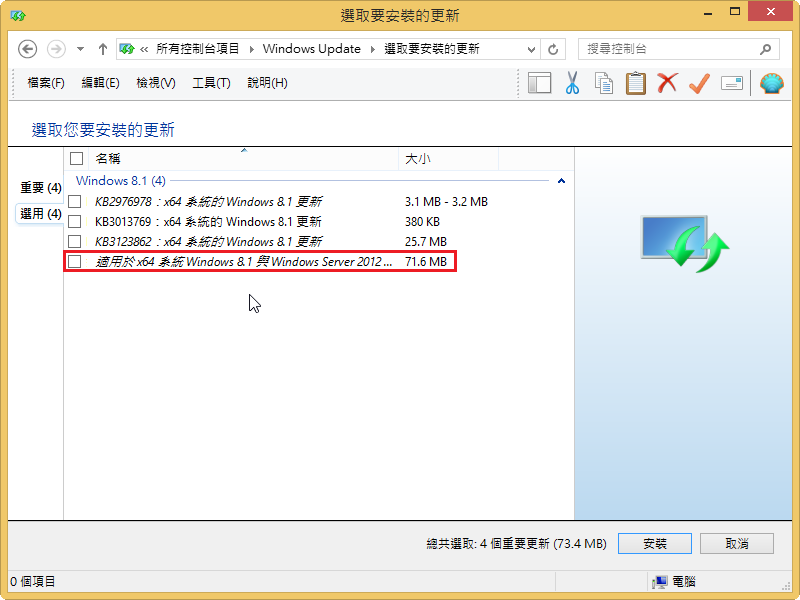
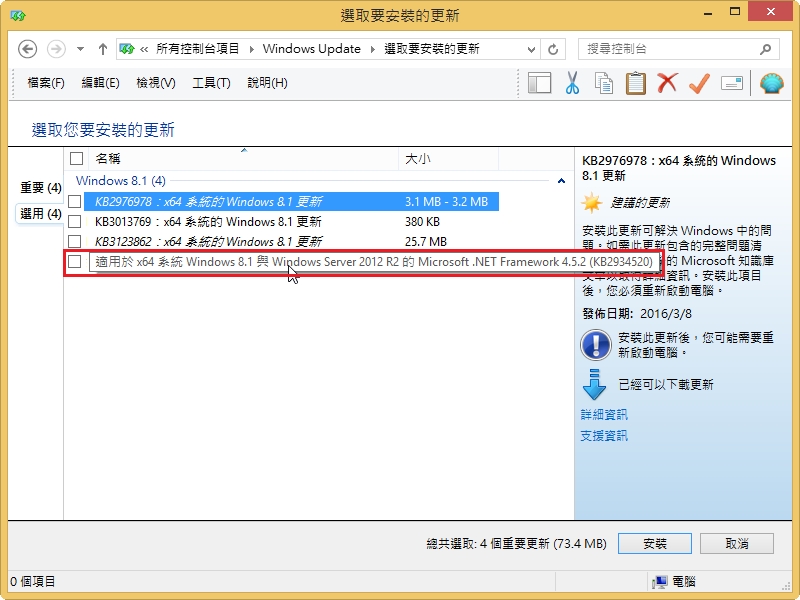
更新完後就沒有了!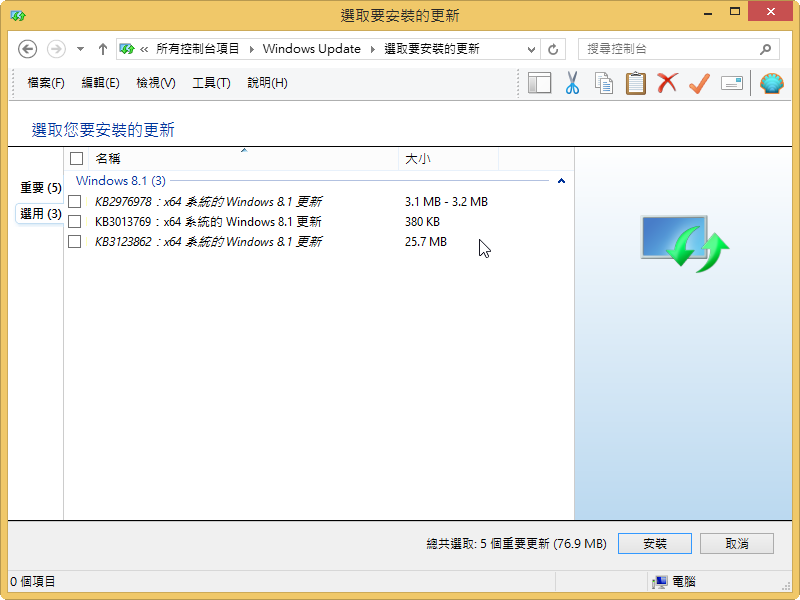
參考 BAT脚本之 判断XP与Win7系统 – 清风柳絮 – 51CTO技术博客
為了依版本來安裝所須的軟體
在 Windows 7 下執行
在 Windows 8.1 下執行
在 Windows 10 下執行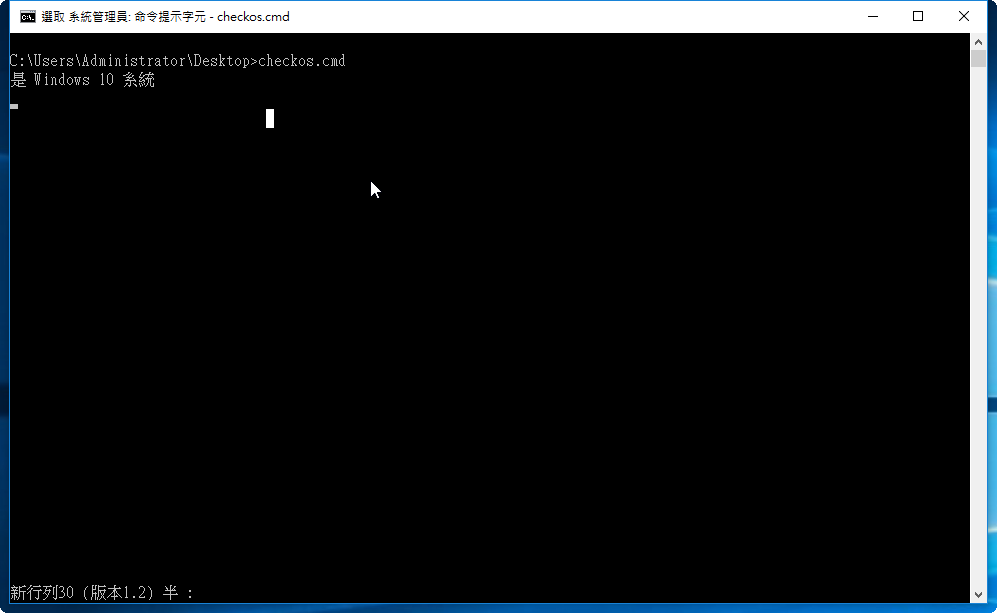 [@more@]
C:>type checkos.cmd
@echo off
Wmic OS Get Caption | Find /i “Windows XP” >nul && echo 是 Windows XP 系統
Wmic OS Get Caption | Find /i “Windows 7” > nul && echo 是 Windows 7 系統
Wmic OS Get Caption | Find /i “Windows 8” | Find /v “8.1” > nul && echo 是 Windows 8 系統
Wmic OS Get Caption | Find /i “Windows 8.1” > nul && echo 是 Windows 8.1 系統
Wmic OS Get Caption | Find /i “Windows Embedded 8.1” > nul && echo 是 Windows Embedded 8.1 系統
Wmic OS Get Caption | Find /i “Windows 10” > nul && echo 是 Windows 10 系統
pause > nul
為了可以快速安裝及簡化安裝後的工作,所以特別做了小小的修正
安裝完成桌面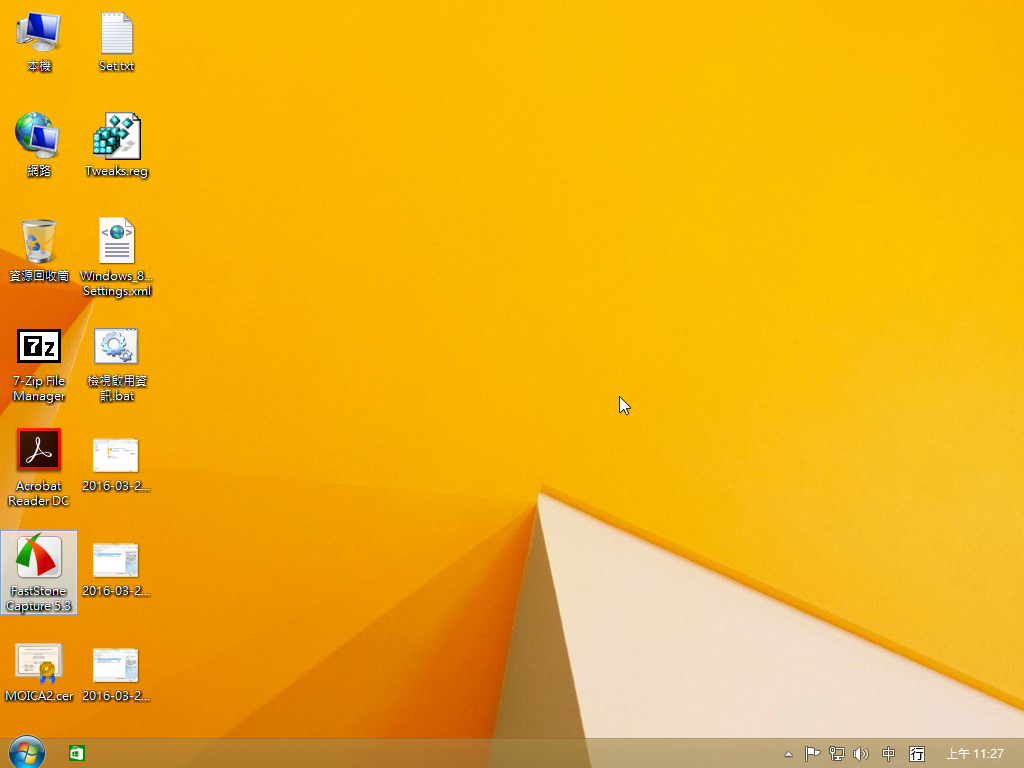
[@more@]整合 x86 286 個修正檔案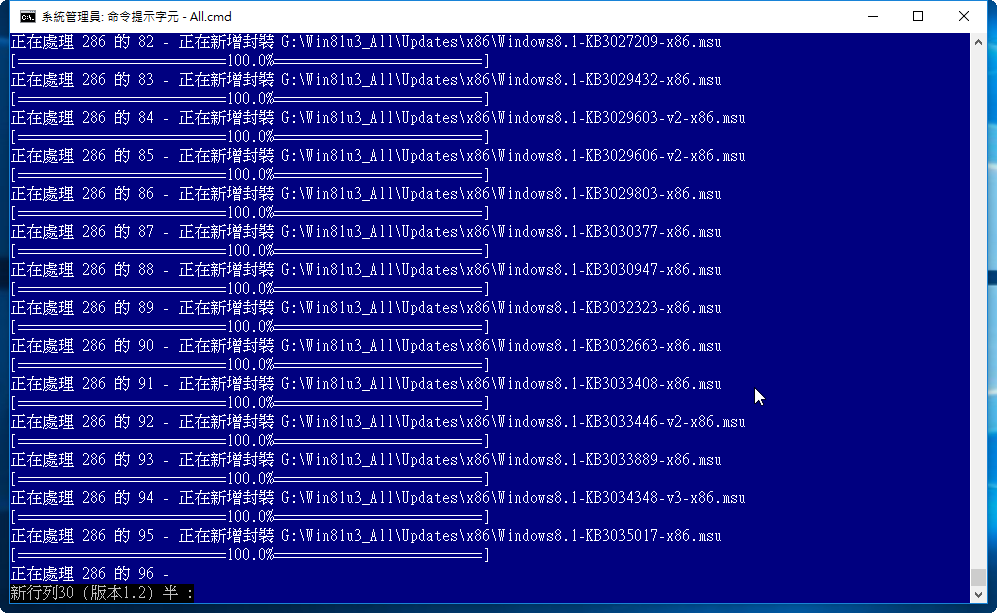
整合 x64 292 個修正檔案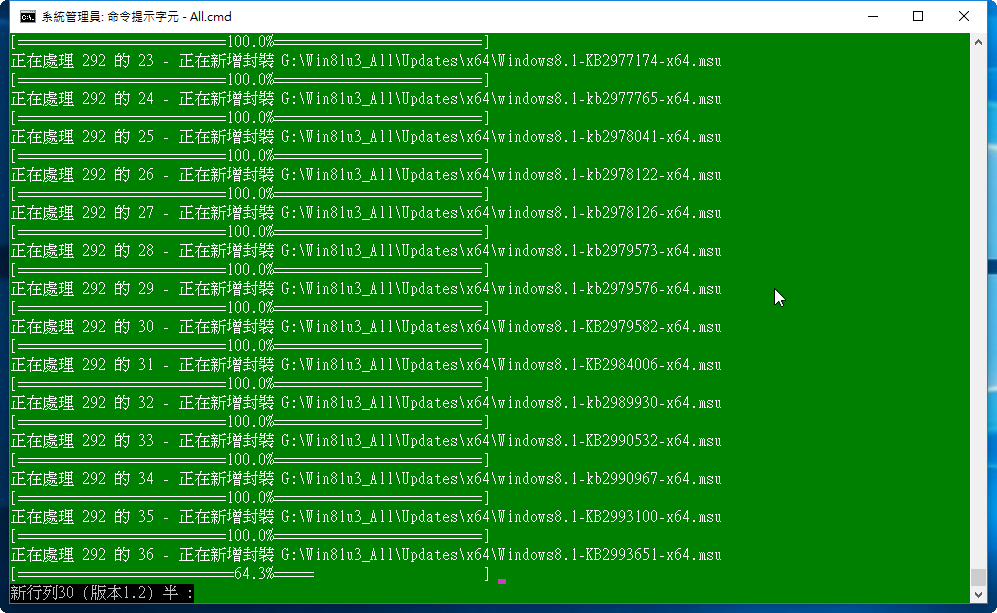
安裝完成之後可以更新的檔案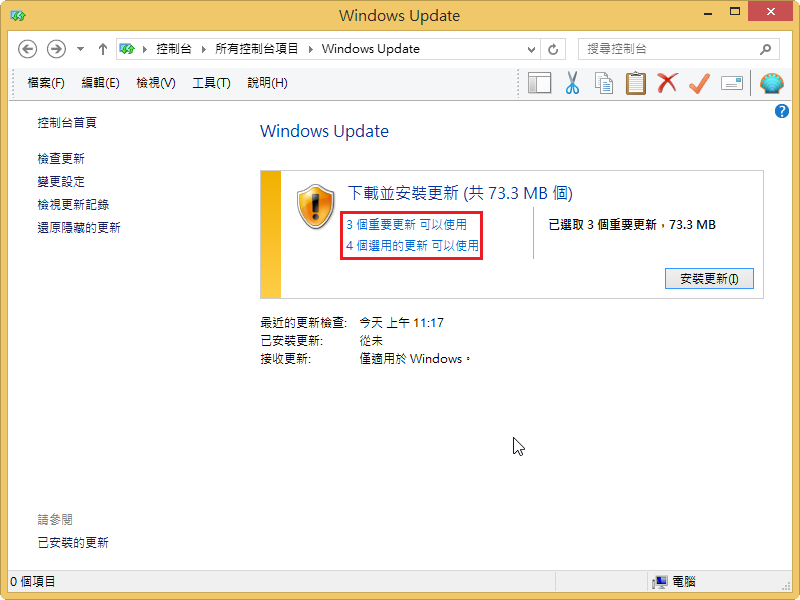
重要更新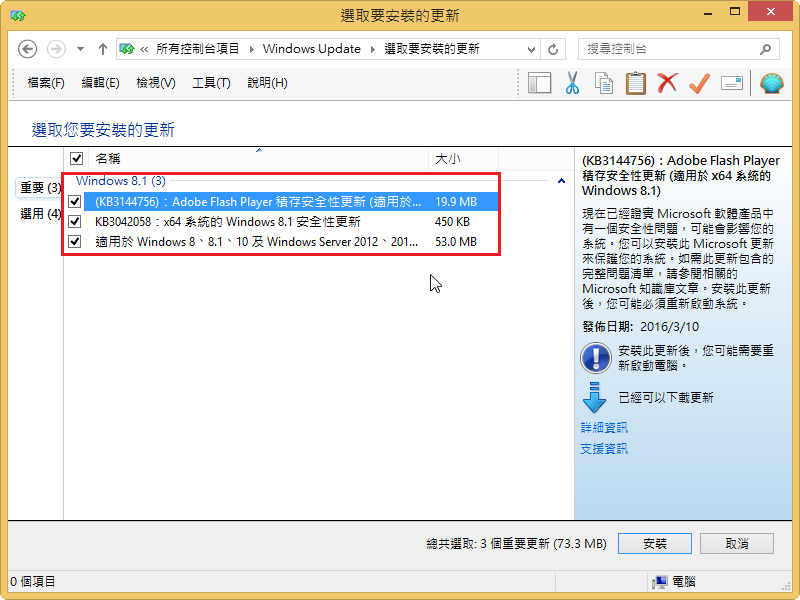
選用的更新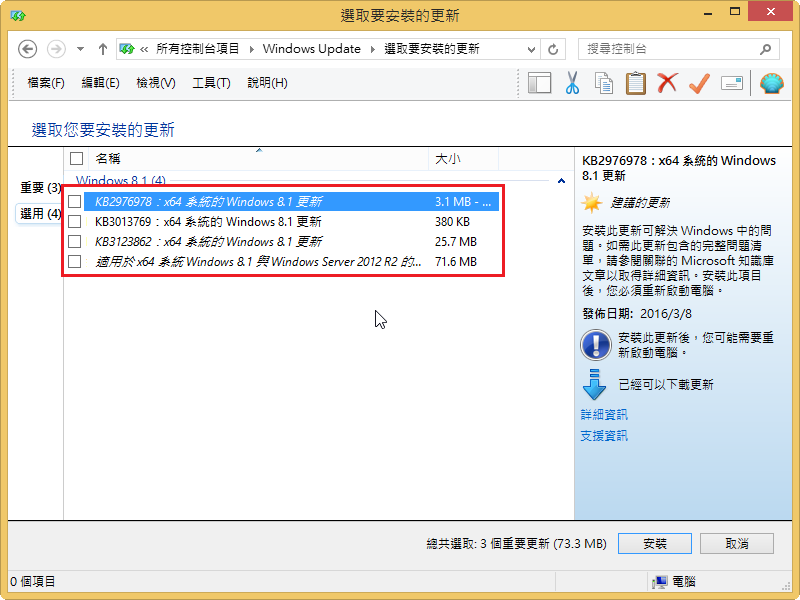
內定安裝軟體
Easy 7-Zip
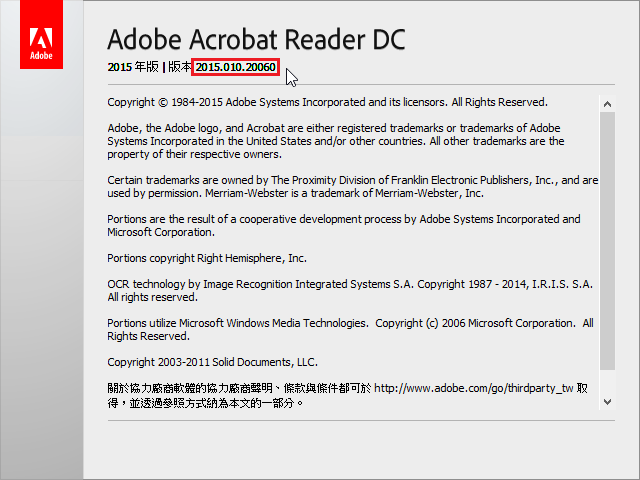
Adobe Acrobat Reader DC 2015 Update to 2015.010.20060
Oracle Java Runtime Environment 8 u77
ClassicShell 4.2.5
Silverlight 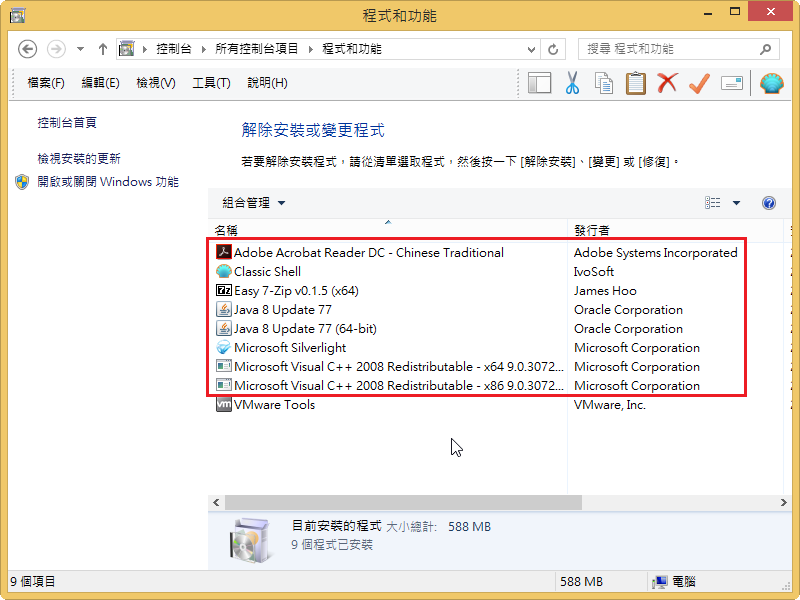
檢查安裝版本:https://www.adobe.com/tw/software/flash/about/
https://get.adobe.com/tw/flashplayer/[@more@]Windows 7 平台
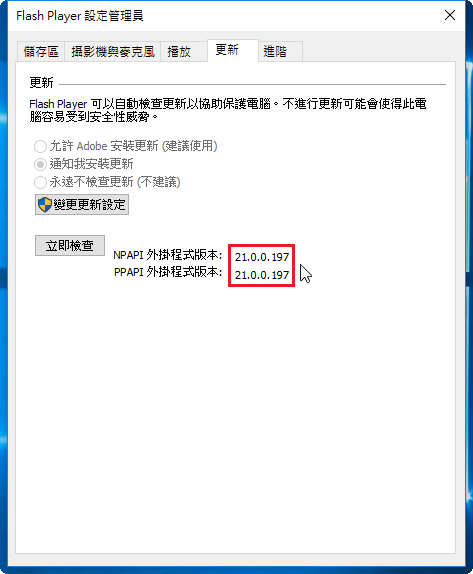
Internet Explorer: Adobe Flash Player 21.0.0.197
http://fpdownload.macromedia.com/get/flashplayer/current/licensing/win/install_flash_player_21_active_x.exe
Windows 8 / 8.1 / 10 / Server 2012 / Server 2012 R2 要從 Windows Update 更新
All Other Browsers(Firefox,Safari & Opera): Adobe Flash Player 21.0.0.197
http://fpdownload.macromedia.com/get/flashplayer/current/licensing/win/install_flash_player_21_plugin.exe
Chrome:Adobe Flash Player 21.0.0.197
http://fpdownload.macromedia.com/pub/flashplayer/latest/help/install_flash_player_ppapi.exe
Mac 平台:
http://fpdownload.adobe.com/get/flashplayer/pdc/21.0.0.197/install_flash_player_osx.dmg
閒暇時做的,主要是改安裝 Nginx Web Server + MariaDB SQL Server + PHP,並參考 將 CentOS 6、CentOS 7 的核心升級至 Linux 4.x | iLog,把核心升級到 4.x
已經取消 倒數計時
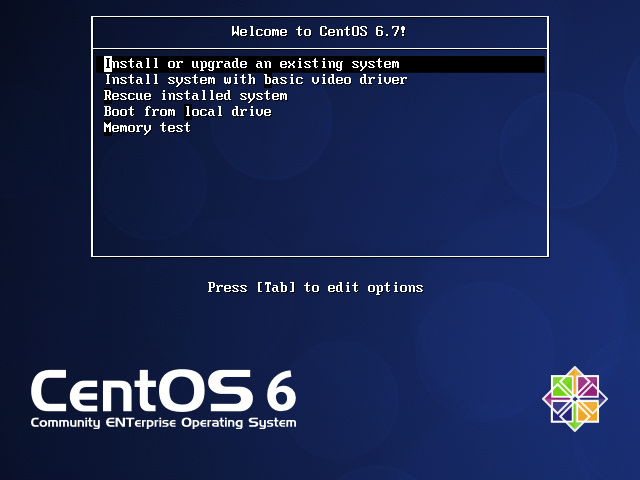
[@more@]安裝完成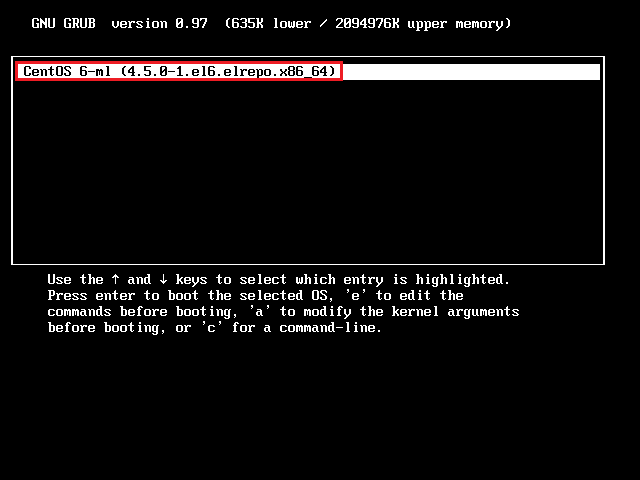
CentOS 6.x 目前系統核心
# uname -a
Linux localhost.localdomain 2.6.32-573.18.1.el6.x86_64 #1 SMP Thu Jul 23 15:44:03 UTC 2015 x86_64 x86_64 x86_64 GNU/Linux
CentOS 6.x 更新完後系統核心
# uname -a
Linux localhost.localdomain 4.5.0-1.el6.elrepo.x86_64 #1 SMP Mon Mar 14 12:11:26 EDT 2016 x86_64 x86_64 x86_64 GNU/Linux
這個版本的特點:
1. 安裝只要二步驟:設定 root 管理者密碼 及 分割硬碟
2. 套件更新到 2016-03-22
3. 套件更新伺服器改成 頭城國小
4. 預設啟動 LEMP (Linux + Nginx + MariaDBSQL + PHP)
5. MariaDBSQL Server 修改成 UTF-8 的使用環境
6. PHP 部分的設定,僅列出部份的修改
時區改成 Asia/Taipei
upload_max_filesize = 500M
post_max_size = 500M
7. 每天早上 6 點向 time.stdtime.gov.tw 對時
8. 個人使用環境的設定…..等等
為了方便測試系統製作的 [@more@]這個版本:
1. 整合 .NET Framework 3.5
2. 整合 KB3140768 更新檔
3. 預設安裝一些常用的程式:
Easy 7-Zip x64
Adobe Acrobat Reader DC 2015 Update to 2015.010.20060
Oracle Java Runtime Environment 8 u73 x86/x64
ClassicShell 4.2.5
Silverlight x64
4. 以 Administrator 身份登入
5. 一些個人化的設定….
安裝完桌面:
參考網頁:LEMP server on CentOS 7 with FastCGI
安裝 epel-release 套件
# yum install epel-release
安裝 Mariadb SQL Server
# yum install mariadb-server mariadb
啟動 Mariadb SQL Server
# systemctl enable mariadb
# systemctl start mariadb
第一次使用時的設定
# /usr/bin/mysql_secure_installation[@more@]安裝 Nginx Web Server
# yum install nginx
修改設定檔 /etc/nginx/nginx.conf
# vim /etc/nginx/nginx.conf
在 server 區段中加入
server {
listen 80 default_server;
(略)
error_page 500 502 503 504 /50x.html;
location = /50x.html {
}
location ~ .php$ {
root /usr/share/nginx/html;
fastcgi_pass 127.0.0.1:9000;
fastcgi_index index.php;
fastcgi_param SCRIPT_FILENAME $document_root$fastcgi_script_name;
include fastcgi_params;
}
}
啟動 Nginx Web Server
# systemctl enable nginx
# systemctl start nginx
開啟防火牆設定
# firewall-cmd –permanent –zone=public –add-service=http
# firewall-cmd –permanent –zone=public –add-service=https
安裝 PHP with FastCGI 套件
# yum install php-cli php spawn-fcgi
新增 /usr/bin/php-fastcgi 設定檔
# vim /usr/bin/php-fastcgi
#!/bin/sh
if [ `grep -c “nginx” /etc/passwd` = “1” ]; then
FASTCGI_USER=nginx
elif [ `grep -c “www-data” /etc/passwd` = “1” ]; then
FASTCGI_USER=www-data
elif [ `grep -c “http” /etc/passwd` = “1” ]; then
FASTCGI_USER=http
else
# Set the FASTCGI_USER variable below to the user that
# you want to run the php-fastcgi processes as
FASTCGI_USER=
fi
/usr/bin/spawn-fcgi -a 127.0.0.1 -p 9000 -C 6 -u $FASTCGI_USER -f /usr/bin/php-cgi
更新檔案權限
# chmod +x /usr/bin/php-fastcgi
新增 /etc/systemd/system/php-fastcgi.service 設定檔
# vim /etc/systemd/system/php-fastcgi.service
[Unit]
Description= php-fastcgi systemd service script
[Service]
Type=forking
ExecStart=/usr/bin/php-fastcgi start
[Install]
WantedBy=multi-user.target
啟動相關服務
# systemctl daemon-reload
# systemctl enable php-fastcgi.service
# systemctl start php-fastcgi.service
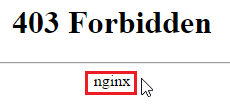
Nginx Web Server 在找不到預設首頁時,會出現如下的圖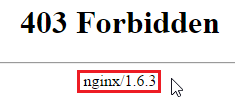
畫面上會出現使用的 Web Server 種類及版本[@more@]隱藏方式:CentOS 7.x
1. 先備份原設定檔
# cp /etc/nginx/nginx.conf /etc/nginx/nginx.conf.$(date +%F)
2. 在 nginx.conf 設定檔中加入 server_tokens off; 設定
# /bin/sed -i ‘/root /usr/share/nginx/html;/a server_tokens off;’ /etc/nginx/nginx.conf
3. 重新啟動 Nginx Web Server
# systemctl restart nginx
4. 就不會再出現版本號碼了,但還是會出現 Web Server 種類,想到的解決方式可能是把 404 網頁換掉