在 Debian Linux 安裝 ProFTPD FTP Server
1. 搜尋套件
# apt-cache search proftpd | grep ^proftpd
proftpd-basic – Versatile, virtual-hosting FTP daemon – binaries
proftpd-dev – Versatile, virtual-hosting FTP daemon – development files
proftpd-doc – Versatile, virtual-hosting FTP daemon – documentation
proftpd-mod-geoip – Versatile, virtual-hosting FTP daemon – GeoIP module
proftpd-mod-ldap – Versatile, virtual-hosting FTP daemon – LDAP module
proftpd-mod-mysql – Versatile, virtual-hosting FTP daemon – MySQL module
proftpd-mod-odbc – Versatile, virtual-hosting FTP daemon – ODBC module
proftpd-mod-pgsql – Versatile, virtual-hosting FTP daemon – PostgreSQL module
proftpd-mod-sqlite – Versatile, virtual-hosting FTP daemon – SQLite3 module
proftpd-mod-autohost – ProFTPD module mod_autohost
proftpd-mod-case – ProFTPD module mod_case
proftpd-mod-dnsbl – ProFTPD module mod_dnsbl
proftpd-mod-fsync – ProFTPD module mod_fsync
proftpd-mod-msg – ProFTPD module mod_msg
proftpd-mod-tar – ProFTPD module mod_tar
2. 進行安裝
# apt-get install proftpd
以 standalone 方式啟動,效能會比較好 [@more@]3. 修改設定檔 /etc/proftpd/proftpd.conf
# grep -E -v ‘^#|^$’ /etc/proftpd/proftpd.conf
Include /etc/proftpd/modules.conf
UseIPv6 on
IdentLookups off
ServerName “Debian”
ServerType standalone
DeferWelcome off
DefaultAddress 192.168.1.12
MultilineRFC2228 on
DefaultServer on
ShowSymlinks on
TimeoutNoTransfer 600
TimeoutStalled 600
TimeoutIdle 1200
DisplayLogin welcome.msg
DisplayChdir .message true
ListOptions “-l”
DenyFilter *.*/
UseFtpUsers off
RootLogin on
DefaultRoot ~ !root
Port 21
PassivePorts 49152 65534
<IfModule mod_dynmasq.c>
</IfModule>
MaxInstances 30
User proftpd
Group nogroup
Umask 022 022
AllowOverwrite on
TransferLog /var/log/proftpd/xferlog
SystemLog /var/log/proftpd/proftpd.log
<IfModule mod_quotatab.c>
QuotaEngine off
</IfModule>
<IfModule mod_ratio.c>
Ratios off
</IfModule>
<IfModule mod_delay.c>
DelayEngine on
</IfModule>
<IfModule mod_ctrls.c>
ControlsEngine off
ControlsMaxClients 2
ControlsLog /var/log/proftpd/controls.log
ControlsInterval 5
ControlsSocket /var/run/proftpd/proftpd.sock
</IfModule>
<IfModule mod_ctrls_admin.c>
AdminControlsEngine off
</IfModule>
Include /etc/proftpd/conf.d/
4. 啟動 ProFTPD FTP Server
# /etc/init.d/proftpd start
5. 檢查 FTP Server 是否有正常啟動
# netstat -an | grep :21
tcp6 0 0 :::21 :::* LISTEN
在 Debian Linux 安裝 Samba Server
1. 搜尋 Samba Server 套件
# apt-cache search samba | grep ^samba
samba – SMB/CIFS file, print, and login server for Unix
samba-common – common files used by both the Samba server and client
samba-common-bin – Samba common files used by both the server and the client
samba-dbg – Samba debugging symbols
samba-dev – tools for extending Samba
samba-doc – Samba documentation
samba-dsdb-modules – Samba Directory Services Database
samba-libs – Samba core libraries
samba-testsuite – test suite from Samba
samba-vfs-modules – Samba Virtual FileSystem plugins
2. 進行安裝
# apt-get install samba[@more@]3. 進行設定
# vim /etc/samba/smb.conf
# Global parameters
[global]
workgroup = HOME
server role = standalone server
security = USER
map to guest = Bad User
obey pam restrictions = Yes
pam password change = Yes
passwd program = /usr/bin/passwd %u
passwd chat = *Entersnews*spassword:* %nn *Retypesnews*spassword:* %nn *passwordsupdatedssuccessfully* .
unix password sync = Yes
syslog = 0
log file = /var/log/samba/log.%m
max log size = 1000
dns proxy = No
usershare allow guests = Yes
panic action = /usr/share/samba/panic-action %d
idmap config * : backend = tdb
[homes]
comment = Home Directories
valid users = %S
read only = No
create mask = 0700
directory mask = 0700
veto files = /.*/
browseable = No
[printers]
comment = All Printers
path = /var/spool/samba
create mask = 0700
printable = Yes
print ok = Yes
browseable = No
[print$]
comment = Printer Drivers
path = /var/lib/samba/printers
4. 測試設定檔
# testparm
Load smb config files from /etc/samba/smb.conf
Processing section “[homes]”
Processing section “[printers]”
Processing section “[print$]”
Loaded services file OK.
Server role: ROLE_STANDALONE
5. 啟動 Samba Server
# /etc/init.d/samba start
[ ok ] Starting nmbd (via systemctl): nmbd.service.
[ ok ] Starting smbd (via systemctl): smbd.service.
[ ok ] Starting samba-ad-dc (via systemctl): samba-ad-dc.service.
6. 檢查 Samba Server 是否有正常啟動
# netstat -an | grep -E ‘:137|:138|:139|:445’
tcp 0 0 0.0.0.0:445 0.0.0.0:* LISTEN
tcp 0 0 0.0.0.0:139 0.0.0.0:* LISTEN
tcp6 0 0 :::445 :::* LISTEN
tcp6 0 0 :::139 :::* LISTEN
udp 0 0 0.0.0.0:137 0.0.0.0:*
udp 0 0 0.0.0.0:138 0.0.0.0:*
Debian 8.5.0 安裝
為了更加了解 OpenMediaVault,所以下載 Debian Linux 安裝,研究看看。
Debian Linux 官方網站:https://www.debian.org/
Debian Linux Taiwan Mirror 站:http://ftp.twaren.net/Linux/Debian/debian-cd/8.5.0/
底下是安裝步驟:
1. 光碟安裝畫面,改圖形化安裝 Graphical Install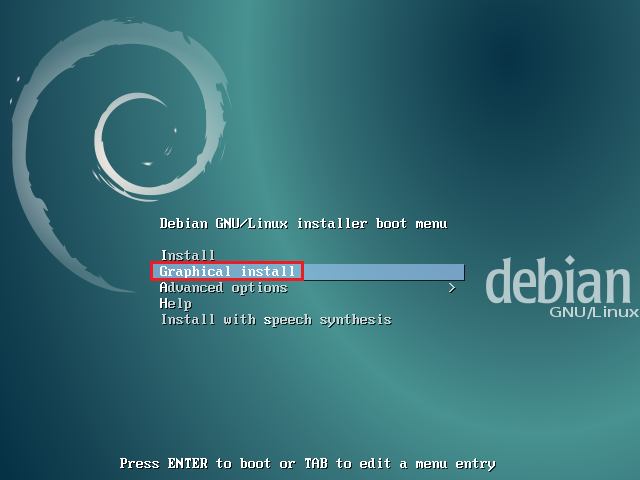
[@more@]2. 安裝語言設定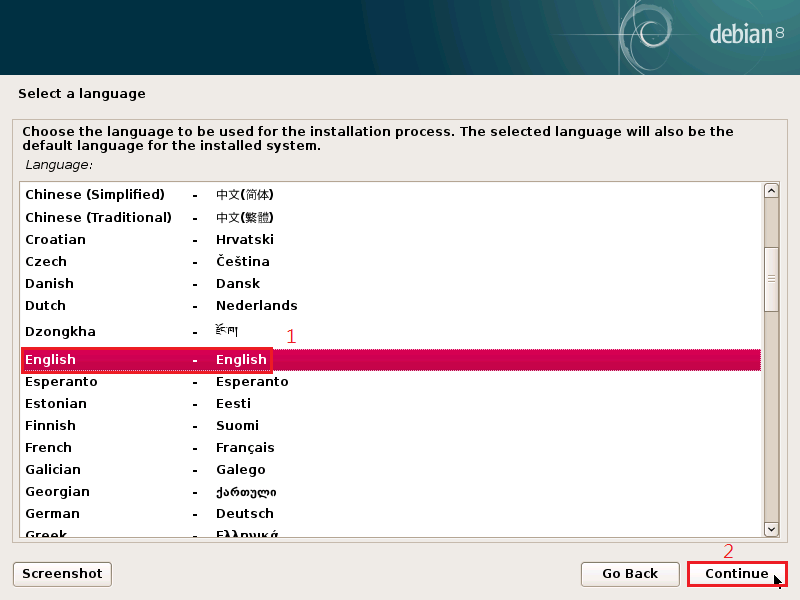
3. 國家選擇,選擇 其它 Other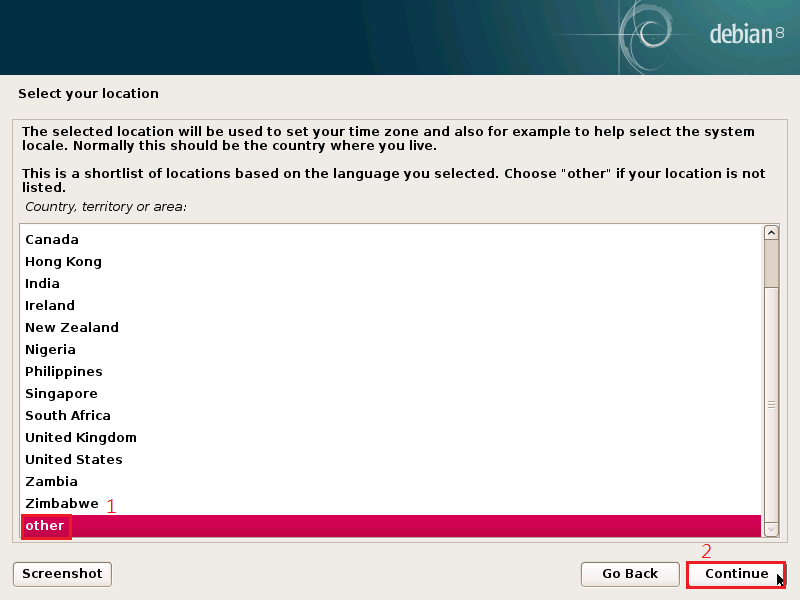
4. 選擇 Asia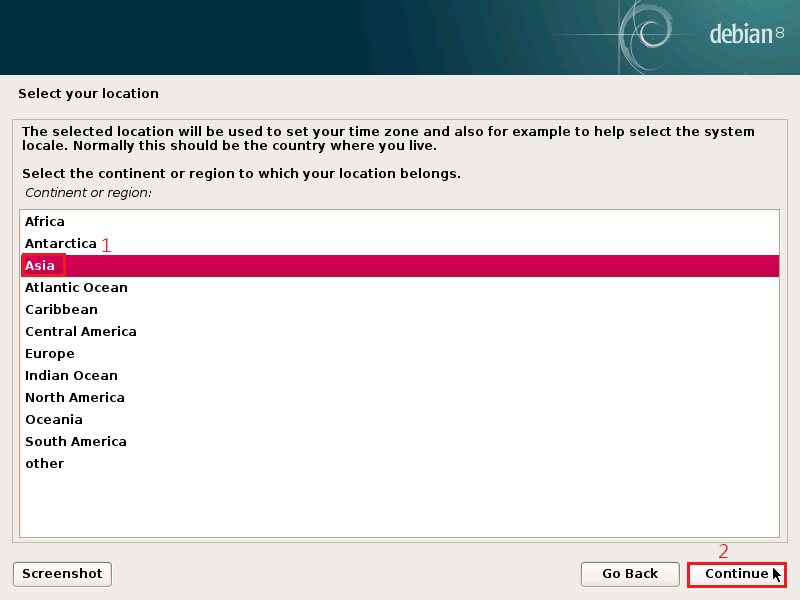
5. 選擇 Taiwan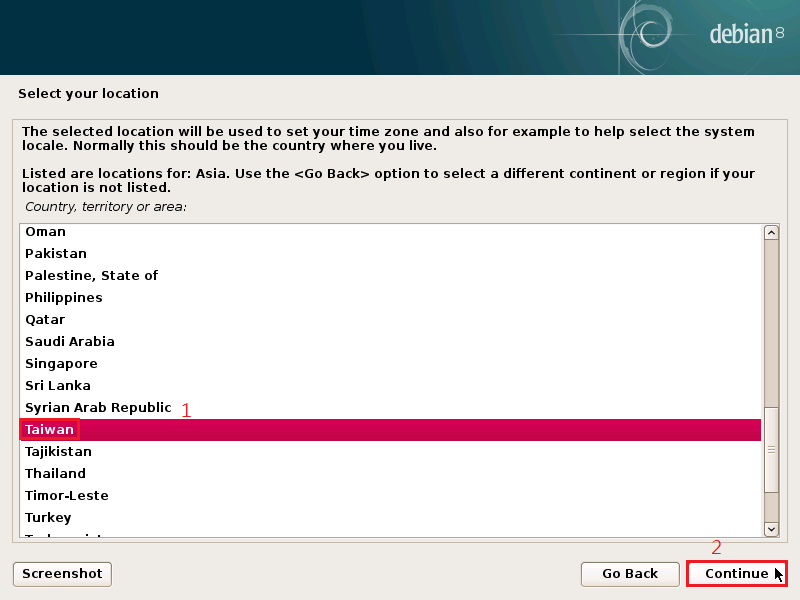
6. 系統語言選擇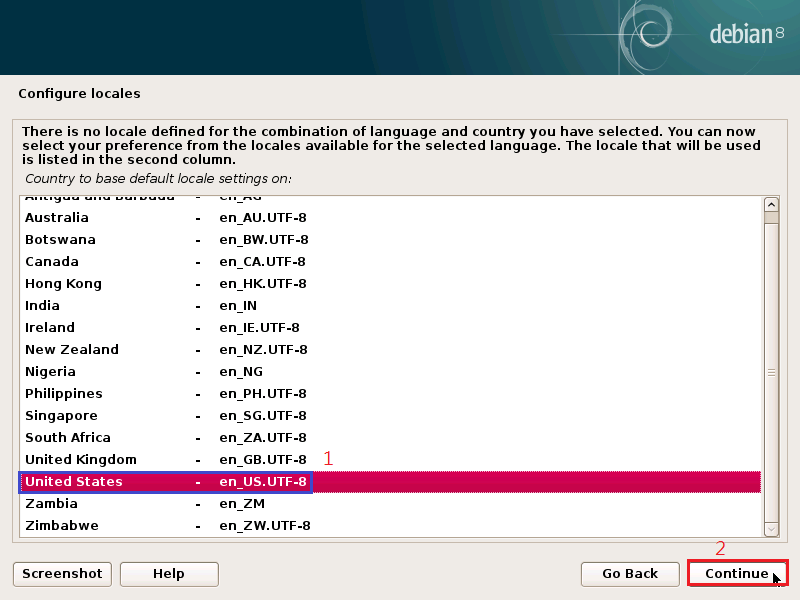
7. 鍵盤型式選擇
8. 載入光碟安裝元件
9. 設定網路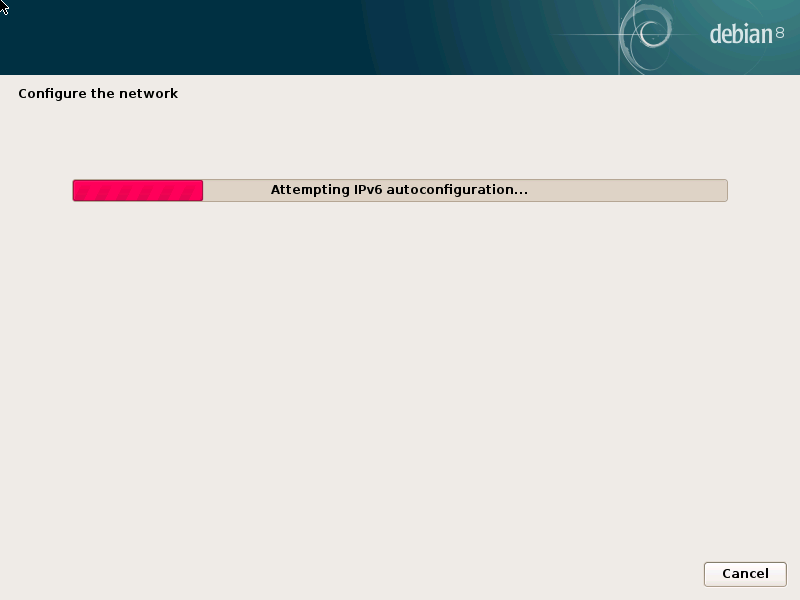
10. 設定主機名稱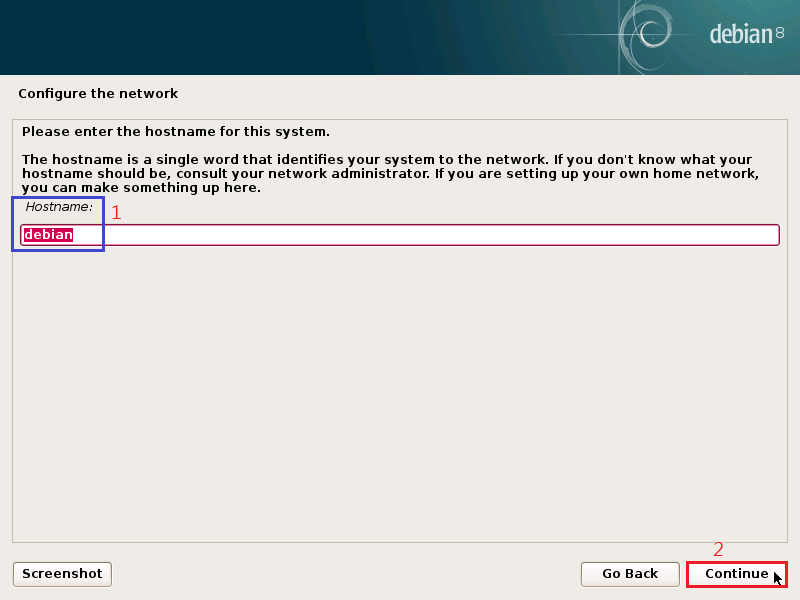
11. 設定 root 管理者密碼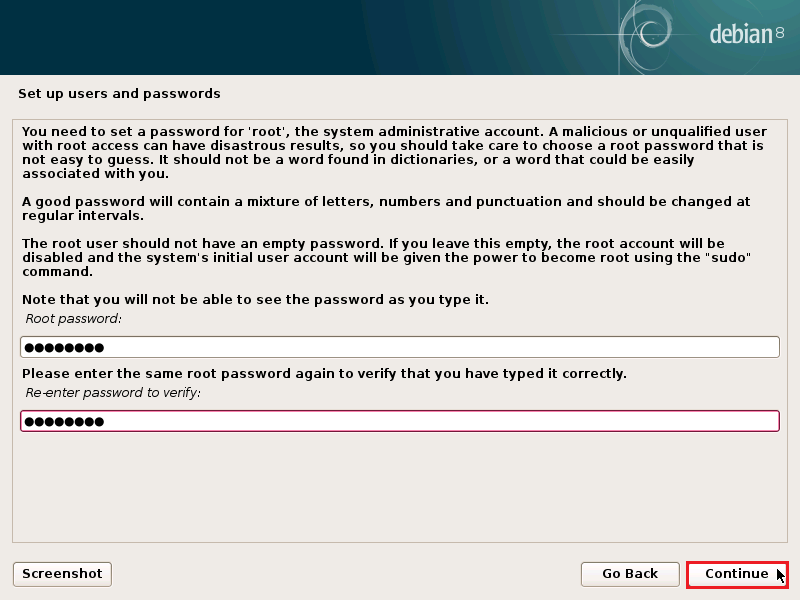
12. 建立非 root 的一般使用者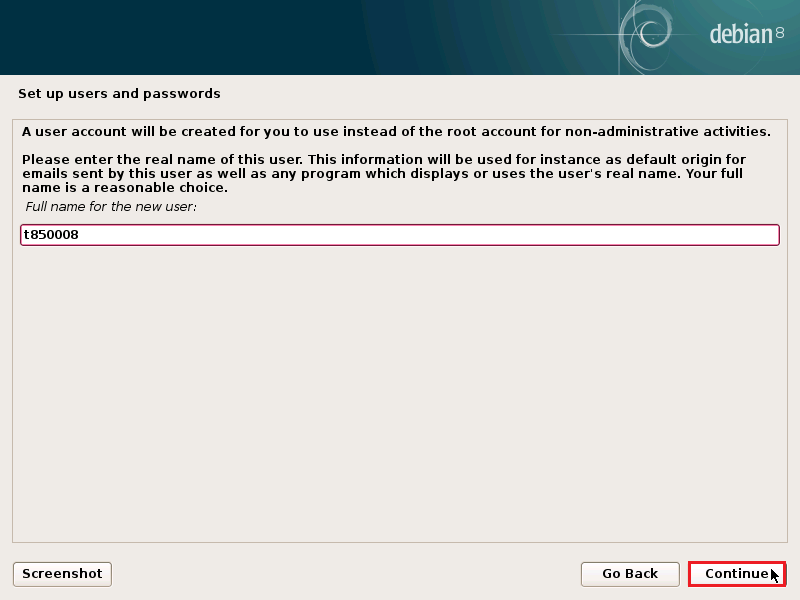
13. 建立非 root 的一般使用者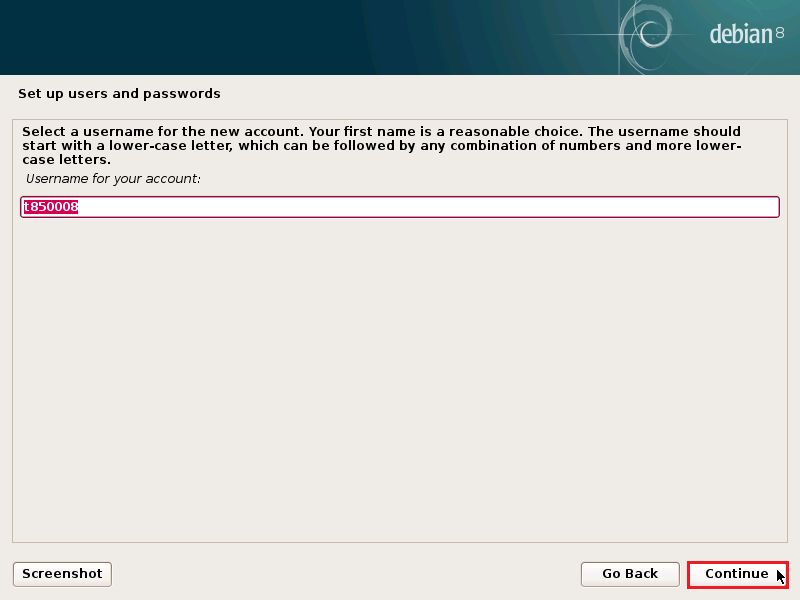
14. 設定密碼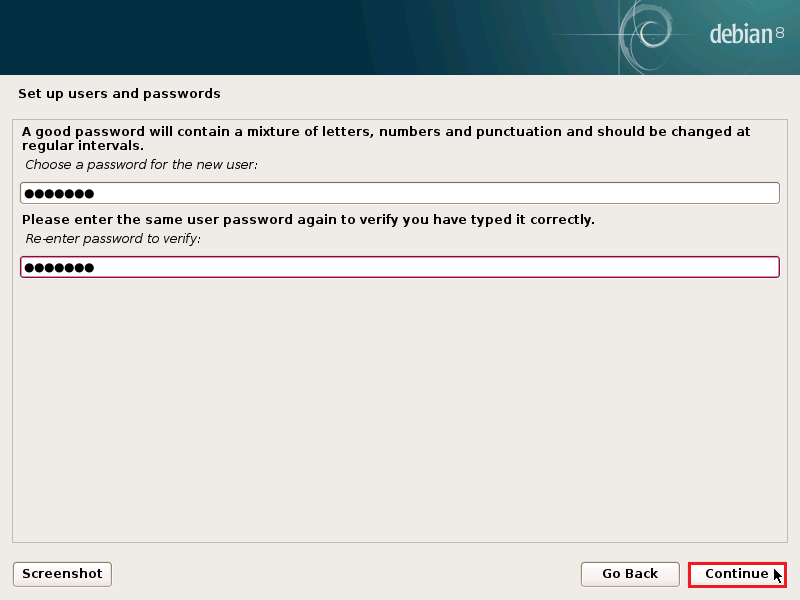
15. 硬碟分割 – 使用整個硬碟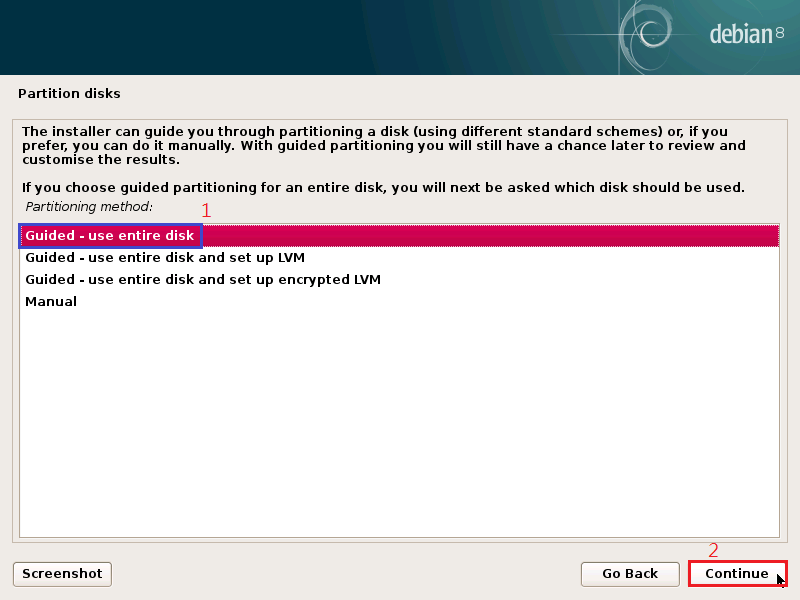
16. 安裝的硬碟選擇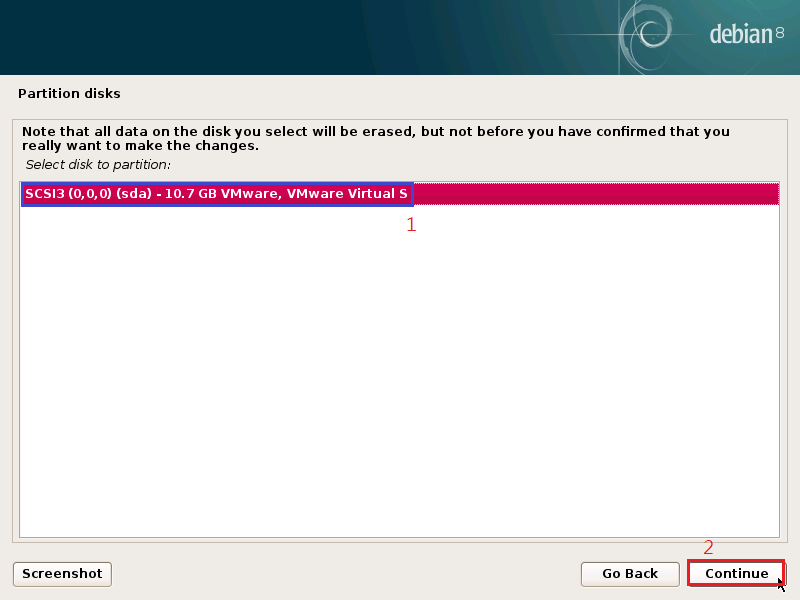
17. 硬碟分割的選擇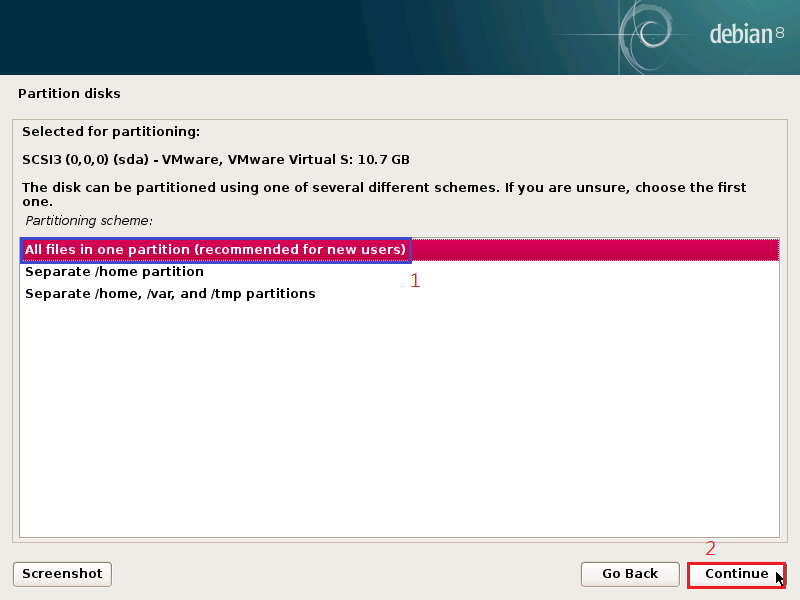
18. 硬碟分割確認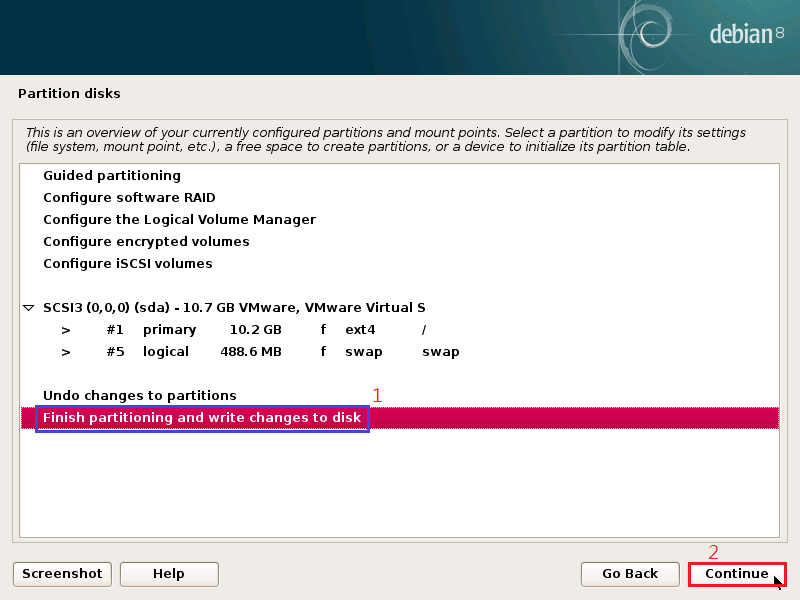
19. 確認
20. 安裝基本系統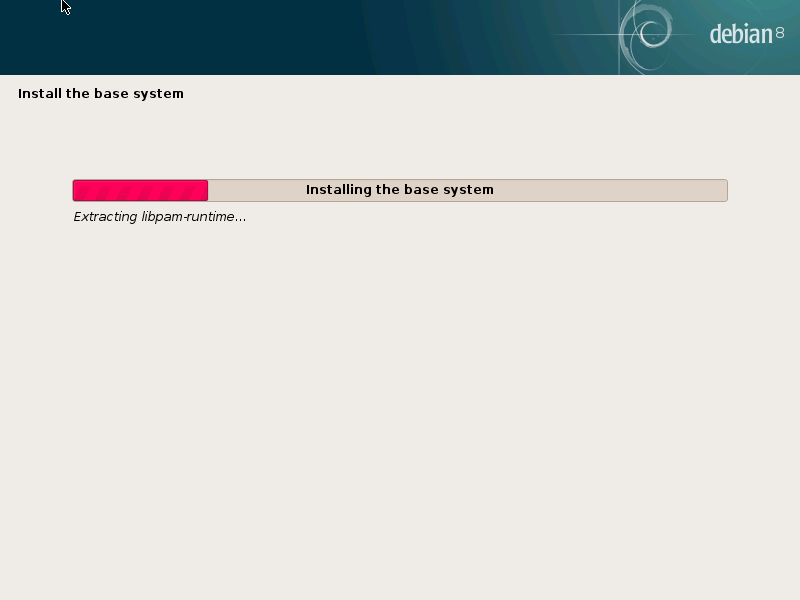
21. 沒有其它要安裝的光碟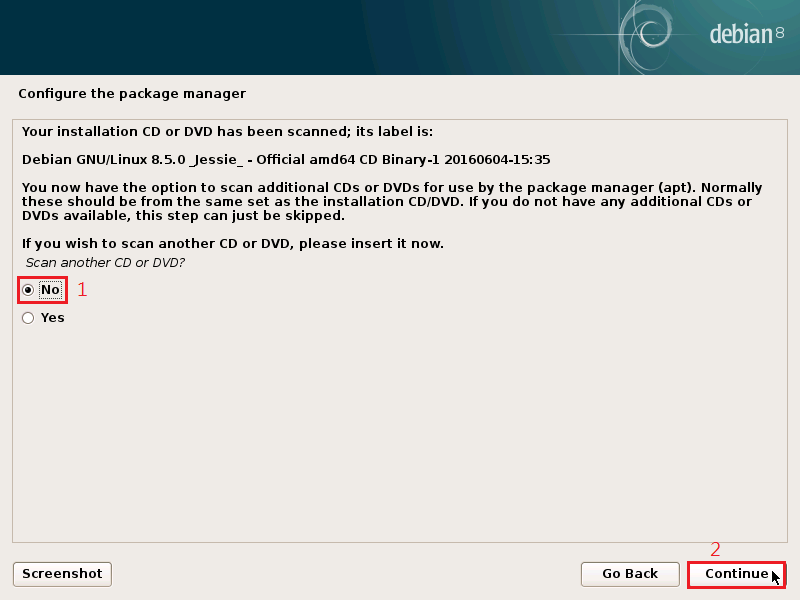
22. 設定套件後續更新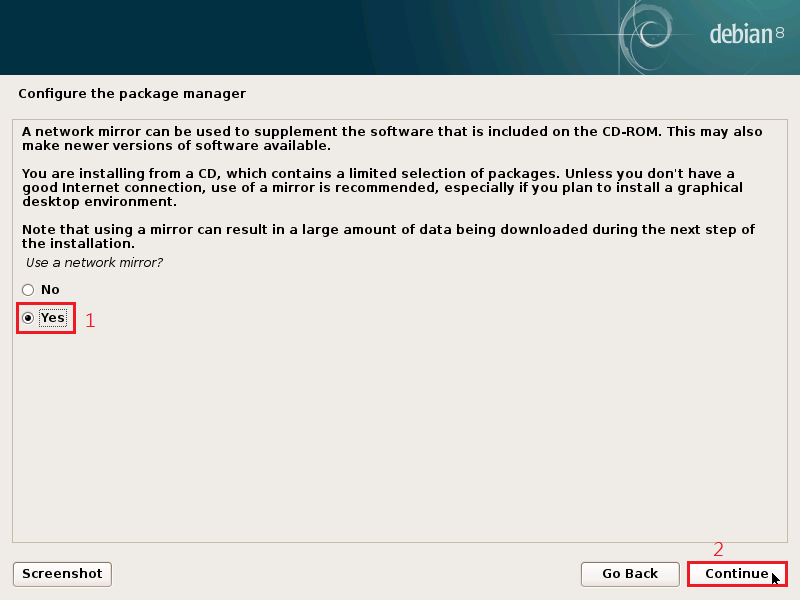
23. 選擇 Taiwan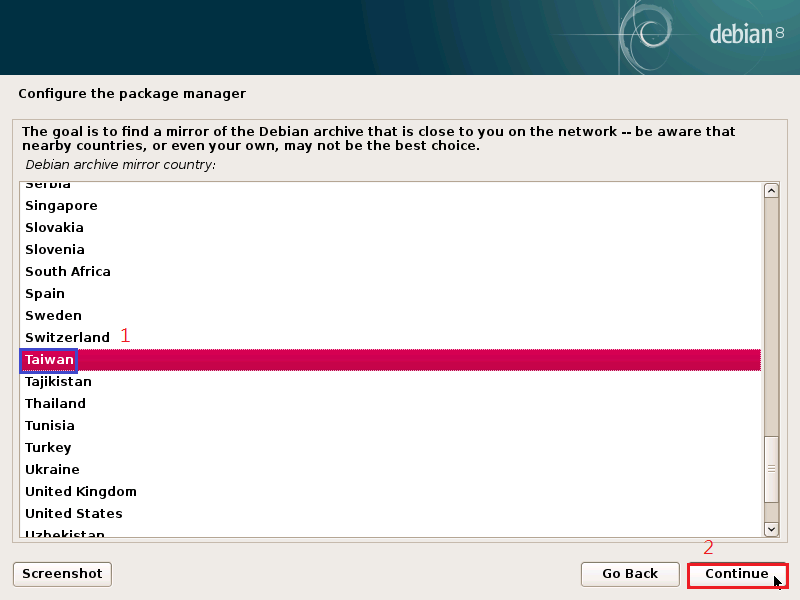
24. 選擇要更新的站台
25. 視情況是否使用 Proxy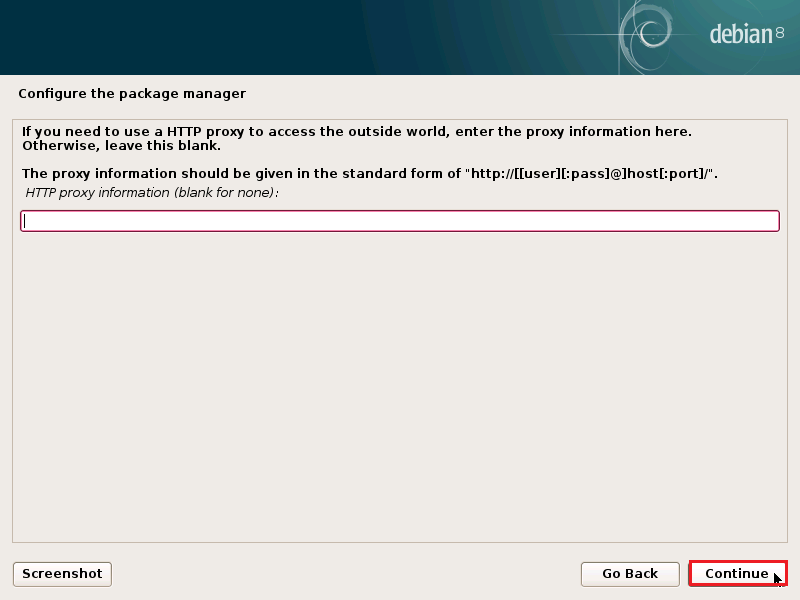
26. 設定 apt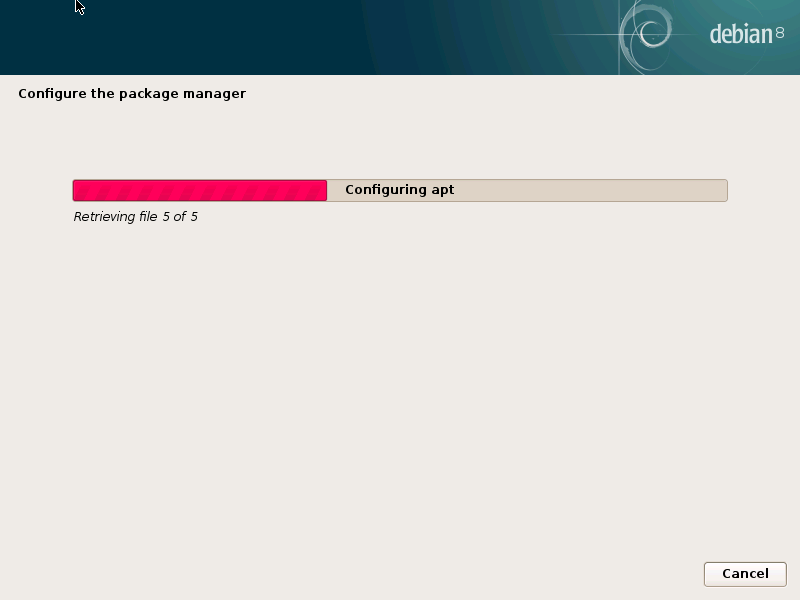
27. 安裝套件更新軟體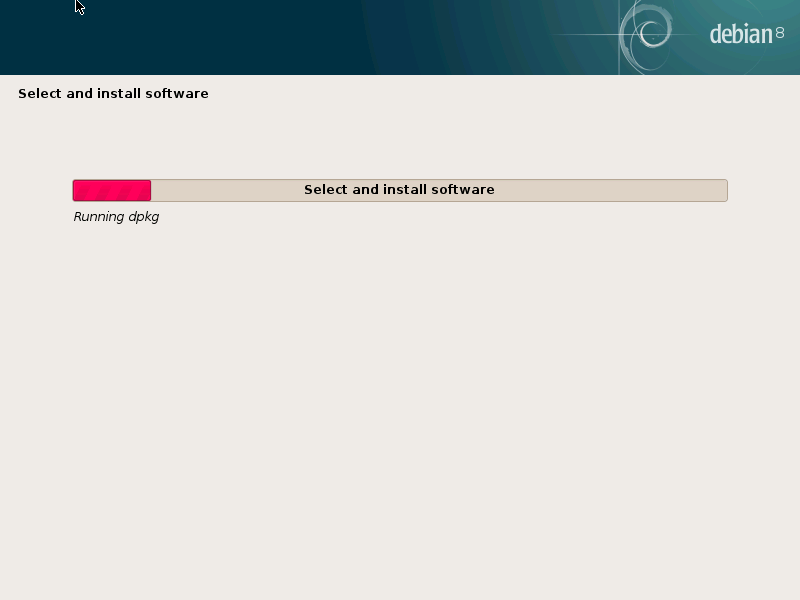
28. 不做其它設定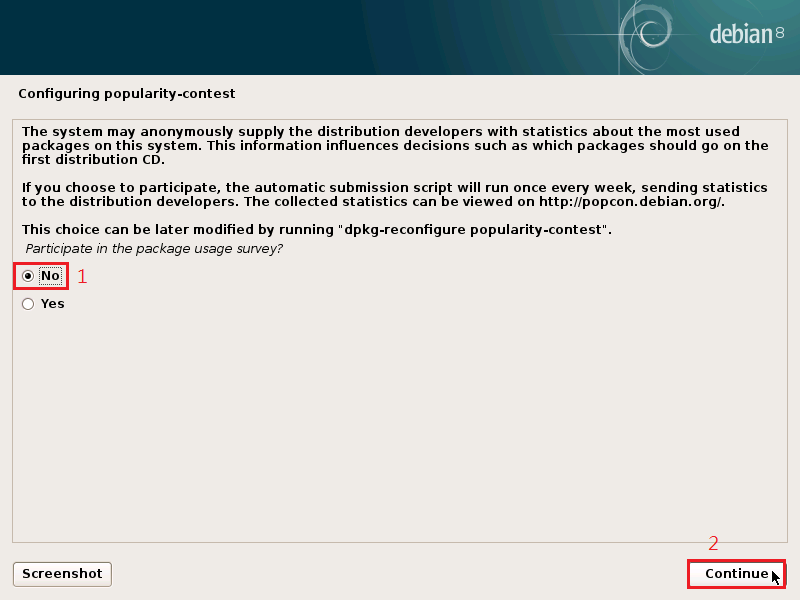
29. 選擇要安裝的套件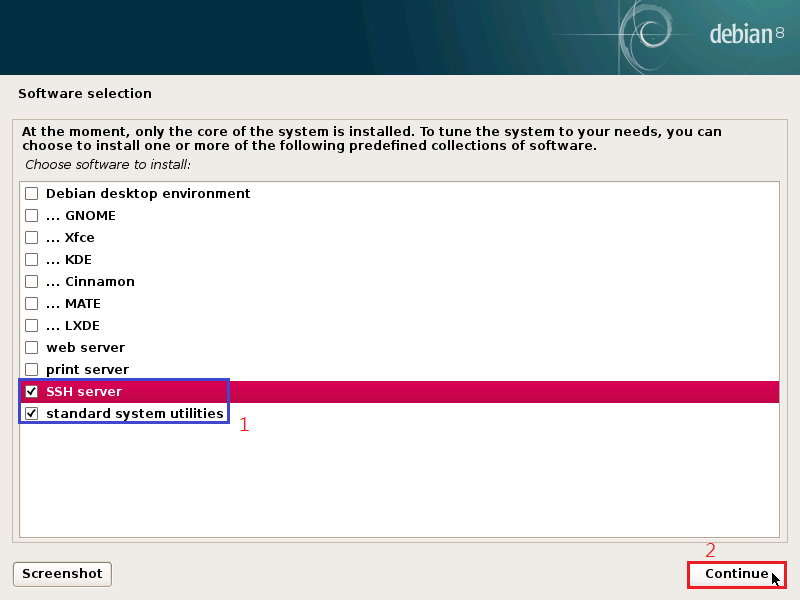
30. 套件安裝中….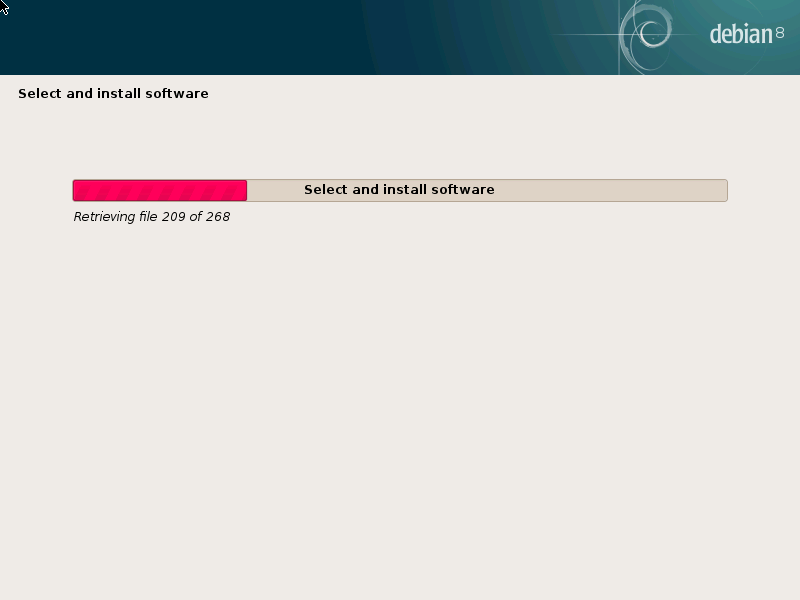
31. 安裝 GRUB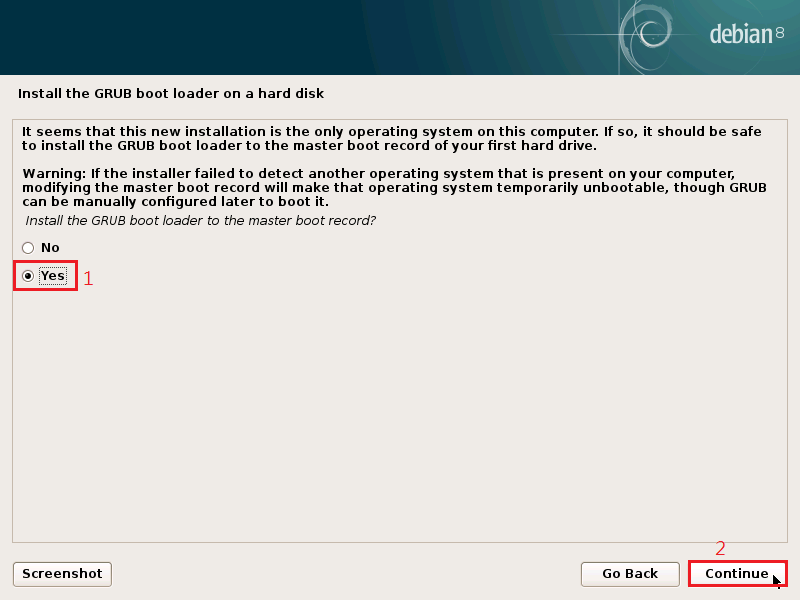
32. GRUB 安裝位置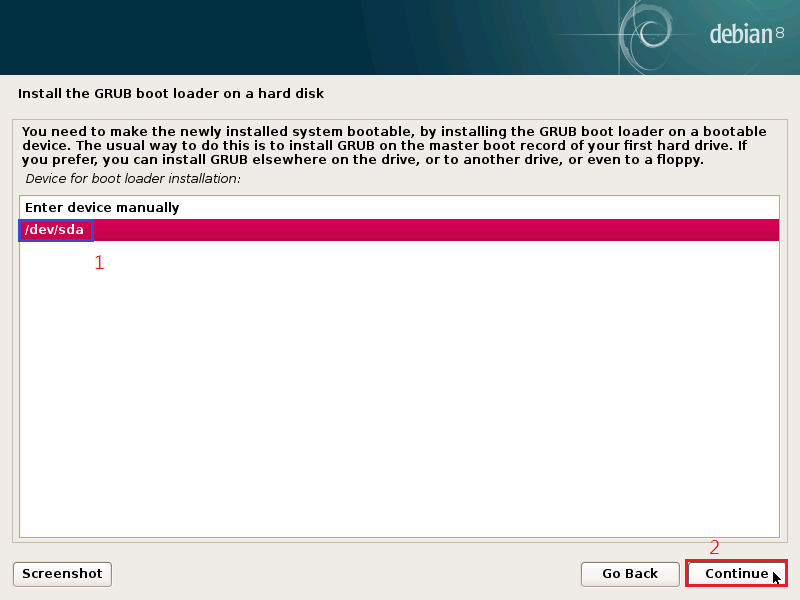
33. 繼續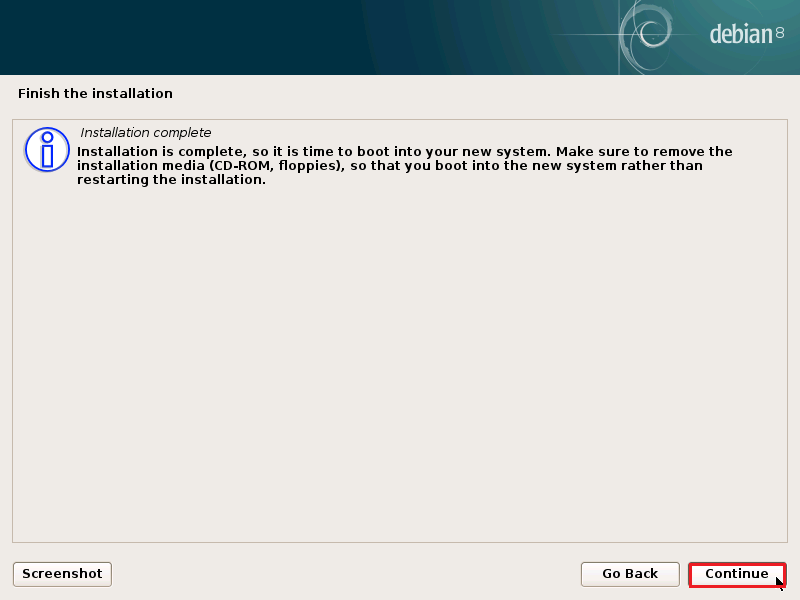
34. 終於安裝完成,開機畫面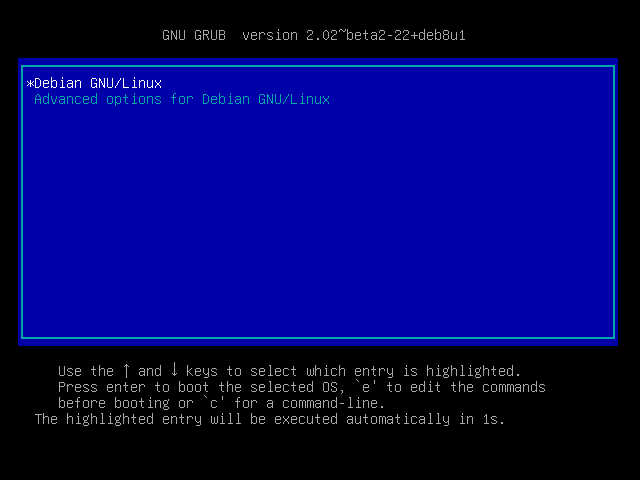
在 FreeBSD 建立 RAID 5
參考文章:
FreeBSD 9.1 Программный RAID5 | Seclab
OS:FreeBSD 10.3
HDD:
20G*1:FreeBSDSystem(/dev/da0)
20G *3 :RAID (/dev/da1,da2,da3)
1. 磁碟機代號
# sysctl kern.disks
kern.disks: da3 da2 da1 da0 cd0
2. 取得磁碟機相關資訊
# fdisk da1
******* Working on device /dev/da1 *******
parameters extracted from in-core disklabel are:
cylinders=2610 heads=255 sectors/track=63 (16065 blks/cyl)
Figures below won’t work with BIOS for partitions not in cyl 1
parameters to be used for BIOS calculations are:
cylinders=2610 heads=255 sectors/track=63 (16065 blks/cyl)
fdisk: invalid fdisk partition table found
Media sector size is 512
Warning: BIOS sector numbering starts with sector 1
Information from DOS bootblock is:
The data for partition 1 is:
sysid 165 (0xa5),(FreeBSD/NetBSD/386BSD)
start 63, size 41929587 (20473 Meg), flag 80 (active)
beg: cyl 0/ head 1/ sector 1;
end: cyl 561/ head 254/ sector 63
The data for partition 2 is:
<UNUSED>
The data for partition 3 is:
<UNUSED>
The data for partition 4 is:
<UNUSED>[@more@]3. 建立掛載目錄
# mkdir /storage
4. 建立 /etc/gvinum.conf 設定檔
# vim /etc/gvinum.conf
drive raid51 device /dev/da1
drive raid52 device /dev/da2
drive raid53 device /dev/da3
volume raid5
plex org raid5 256k
sd len 20473m drive raid51
sd len 20473m drive raid52
sd len 20473m drive raid53
5. 建立 RAID5
# gvinum create /etc/gvinum.conf
6. 格式化
# newfs -U /dev/gvinum/raid5
/dev/gvinum/raid5: 40946.0MB (83857408 sectors) block size 32768, fragment size 4096
using 66 cylinder groups of 626.09MB, 20035 blks, 80256 inodes.
super-block backups (for fsck_ffs -b #) at:
192, 1282432, 2564672, 3846912, 5129152, 6411392, 7693632, 8975872, 10258112, 11540352,
12822592, 14104832, 15387072, 16669312, 17951552, 19233792, 20516032, 21798272, 23080512,
24362752, 25644992, 26927232, 28209472, 29491712, 30773952, 32056192, 33338432, 34620672,
35902912, 37185152, 38467392, 39749632, 41031872, 42314112, 43596352, 44878592, 46160832,
47443072, 48725312, 50007552, 51289792, 52572032, 53854272, 55136512, 56418752, 57700992,
58983232, 60265472, 61547712, 62829952, 64112192, 65394432, 66676672, 67958912, 69241152,
70523392, 71805632, 73087872, 74370112, 75652352, 76934592, 78216832, 79499072, 80781312,
82063552, 83345792
7. 掛載
# mount /dev/gvinum/raid5 /storage
# df -h
Filesystem Size Used Avail Capacity Mounted on
/dev/da0p2 18G 2.8G 14G 17% /
devfs 1.0K 1.0K 0B 100% /dev
/dev/gvinum/raid5 39G 8.0K 36G 0% /storage
8. 修改 /etc/fstab
# echo /dev/gvinum/raid5 /storage ufs rw 2 2 >> /etc/fstab
9. 開機便啟動 GVinum 服務
修改 /boot/loader.conf 設定檔
# vim /boot/loader.conf
加入下面一行
geom_vinum_load=”YES”
或
# echo geom_vinum_load=”YES” >> /boot/loader.conf
10. 重新啟動電腦
# reboot
11. RAID5 系統狀態
# gvinum l
3 drives:
D raid51 State: up /dev/da1 A: 6/20479 MB (0%)
D raid52 State: up /dev/da2 A: 6/20479 MB (0%)
D raid53 State: up /dev/da3 A: 6/20479 MB (0%)
1 volume:
V raid5 State: up Plexes: 1 Size: 39 GB
1 plex:
P raid5.p0 R5 State: up Subdisks: 3 Size: 39 GB
3 subdisks:
S raid5.p0.s0 State: up D: raid51 Size: 19 GB
S raid5.p0.s1 State: up D: raid52 Size: 19 GB
S raid5.p0.s2 State: up D: raid53 Size: 19 GB
在 FreeBSD 建立 RAID 0
參考文件:
不自量力 の Weithenn: Geom Vinum-軟體 RAID
18.2. RAID0 – 分散連結(striping)
OS:FreeBSD 10.3
HDD:
20G*1:FreeBSDSystem(/dev/da0)
20G *3 :RAID (/dev/da1,da2,da3)
1. 載入 geom_stripe.ko Kernel Module
# kldload geom_stripe.ko
或
# gstripe load
2. 查看系統目前載入之核心模組
# kldstat
Id Refs Address Size Name
1 6 0xffffffff80200000 17bc680 kernel
2 1 0xffffffff81a11000 2ba8 uhid.ko
3 1 0xffffffff81a14000 46d7 geom_stripe.ko[@more@]3. 產生 RAID0 Gvinum Plex
# gstripe label -v myraid0 /dev/da1 /dev/da2 /dev/da3
Metadata value stored on /dev/da1.
Metadata value stored on /dev/da2.
Metadata value stored on /dev/da3.
Done.
4. 修改串連後的 HDD 為 GVinum volume
# bsdlabel -wB /dev/stripe/myraid0
5. 初始化 Gvinum 分割區
# newfs -U /dev/stripe/myraid0a
/dev/stripe/myraid0a: 61439.8MB (125828720 sectors) block size 32768, fragment size 4096
using 99 cylinder groups of 626.09MB, 20035 blks, 80256 inodes.
with soft updates
super-block backups (for fsck_ffs -b #) at:
192, 1282432, 2564672, 3846912, 5129152, 6411392, 7693632, 8975872, 10258112, 11540352, 12822592,
14104832, 15387072, 16669312, 17951552, 19233792, 20516032, 21798272, 23080512, 24362752, 25644992,
26927232, 28209472, 29491712, 30773952, 32056192, 33338432, 34620672, 35902912, 37185152, 38467392,
39749632, 41031872, 42314112, 43596352, 44878592, 46160832, 47443072, 48725312, 50007552, 51289792,
52572032, 53854272, 55136512, 56418752, 57700992, 58983232, 60265472, 61547712, 62829952, 64112192,
65394432, 66676672, 67958912, 69241152, 70523392, 71805632, 73087872, 74370112, 75652352, 76934592,
78216832, 79499072, 80781312, 82063552, 83345792, 84628032, 85910272, 87192512, 88474752, 89756992,
91039232, 92321472, 93603712, 94885952, 96168192, 97450432, 98732672, 100014912, 101297152, 102579392,
103861632, 105143872, 106426112, 107708352, 108990592, 110272832, 111555072, 112837312, 114119552,
115401792, 116684032, 117966272, 119248512, 120530752, 121812992, 123095232, 124377472, 125659712
6. 掛載 Gvinum 分割區
# mount /dev/stripe/myraid0a /mnt
7. 查看磁碟機狀況
# df -h
Filesystem Size Used Avail Capacity Mounted on
/dev/da0p2 18G 2.8G 14G 17% /
devfs 1.0K 1.0K 0B 100% /dev
/dev/stripe/myraid0a 58G 8.0K 53G 0% /mnt
8. 修改 /etc/fstab
# vim /etc/fstab
加入下面一行
/dev/stripe/myraid0a /mnt ufs rw 2 2
9. 開機便啟動 GVinum 服務
修改 /boot/loader.conf 設定檔
# vim /boot/loader.conf
加入下面一行
geom_stripe_load=”YES”
10. 查看所建立 Software RAID 狀態
# gstripe status
Name Status Components
stripe/myraid0 UP da1
da2
da3
11. 查看 RAID HDD 資訊
# gstripe list
Geom name: myraid0
State: UP
Status: Total=3, Online=3
Type: AUTOMATIC
Stripesize: 65536
ID: 1132737782
Providers:
1. Name: stripe/myraid0
Mediasize: 64424312832 (60G)
Sectorsize: 512
Stripesize: 65536
Stripeoffset: 0
Mode: r1w1e2
Consumers:
1. Name: da1
Mediasize: 21474836480 (20G)
Sectorsize: 512
Mode: r1w1e3
Number: 0
2. Name: da2
Mediasize: 21474836480 (20G)
Sectorsize: 512
Mode: r1w1e3
Number: 1
3. Name: da3
Mediasize: 21474836480 (20G)
Sectorsize: 512
Mode: r1w1e3
Number: 2
讓 ProFTPD Server root 可以登入
雖然是不太好的習慣,不過可以用 root 身份登入方便許多。
1. 修改 /usr/local/etc/proftpd.conf 設定檔
# vim /usr/local/etc/proftpd.conf
加入
# 讓 root 身份可以登入
RootLogin on
# 讓 root 可以自由切換到其它目錄
DefaultRoot ~ !wheel
2. 重新啟動 ProFTPD Server
# kill -HUP `ps aux | grep proftpd | grep -v grep | awk ‘{print $2}’`[@more@]3. 測試看看
# lftp -u root 127.0.0.1
密碼:
lftp root@127.0.0.1:~> ls
ls: 登入錯誤: 530 登入不正確
lftp root@127.0.0.1:~>
出現 530 登入不正確
4. 解決方式:
修改 /usr/local/etc/proftpd.conf 設定檔
# vim /usr/local/etc/proftpd.conf
加入
UseFtpUsers off
5. 再次重新啟動 ProFTPD Server
# kill -HUP `ps aux | grep proftpd | grep -v grep | awk ‘{print $2}’`
Windows 10 更新至 1511 10586.494
Windows 10 更新至 1511 10586.494
主要是更新 KB3172985 和 KB3173428
[@more@]KB3172985 官方網站下載:
x86
x64
也可以直接到 Microsoft Update Catalog 網站上搜尋下載(要使用 IE)
解決 ProFTPD Server 執行時出錯誤的訊息
在 FreeBSD 上執行時偶爾出現如下的錯誤訊息
# /usr/local/sbin/proftpd
2016-06-26 10:56:58,850 freebsd proftpd[730]: warning: unable to determine IP address of ‘freebsd’
2016-06-26 10:56:58,850 freebsd proftpd[730]: error: no valid servers configured
2016-06-26 10:56:58,850 freebsd proftpd[730]: fatal: error processing configuration file ‘/usr/local/etc/proftpd.conf’
看錯誤訊息似乎和 IP 有關,因為目前是使用 DHCP Server 自動取得 IP[@more@]修改 /usr/local/etc/proftpd.conf 設定檔,加入下面一行
IP 請設定成 Server 目前使用的 IP
# vim /usr/local/etc/proftpd.conf
DefaultAddress 192.168.1.13
重新啟動後就正常了!
# /usr/local/sbin/proftpd &