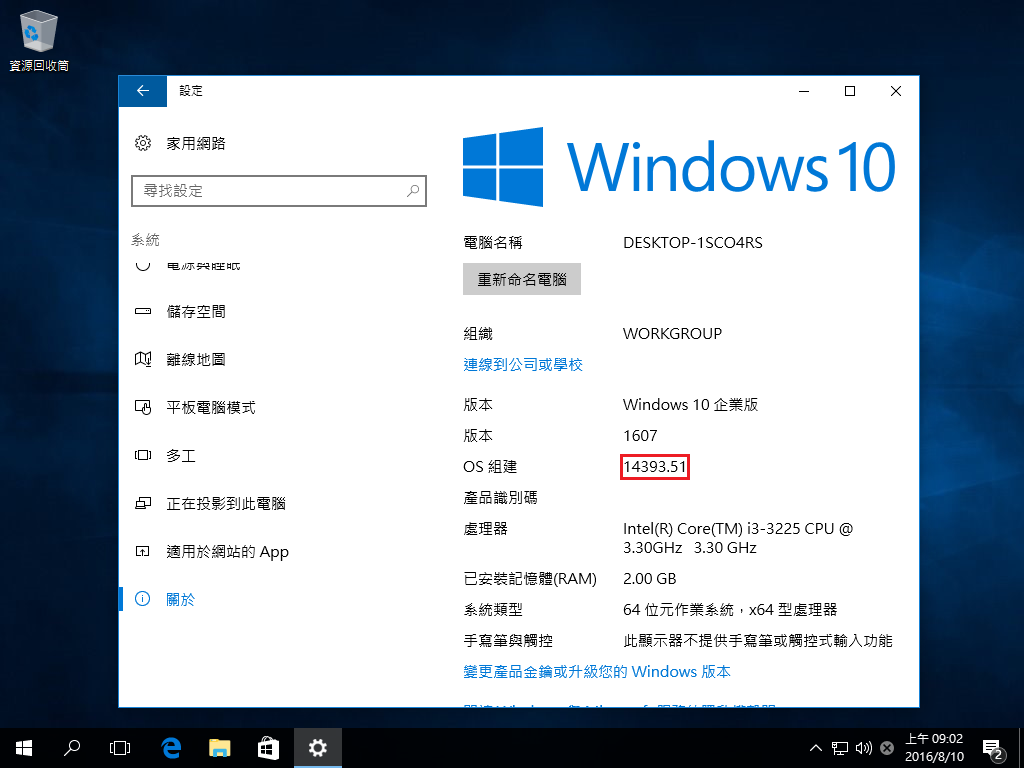
更新 KB3176495
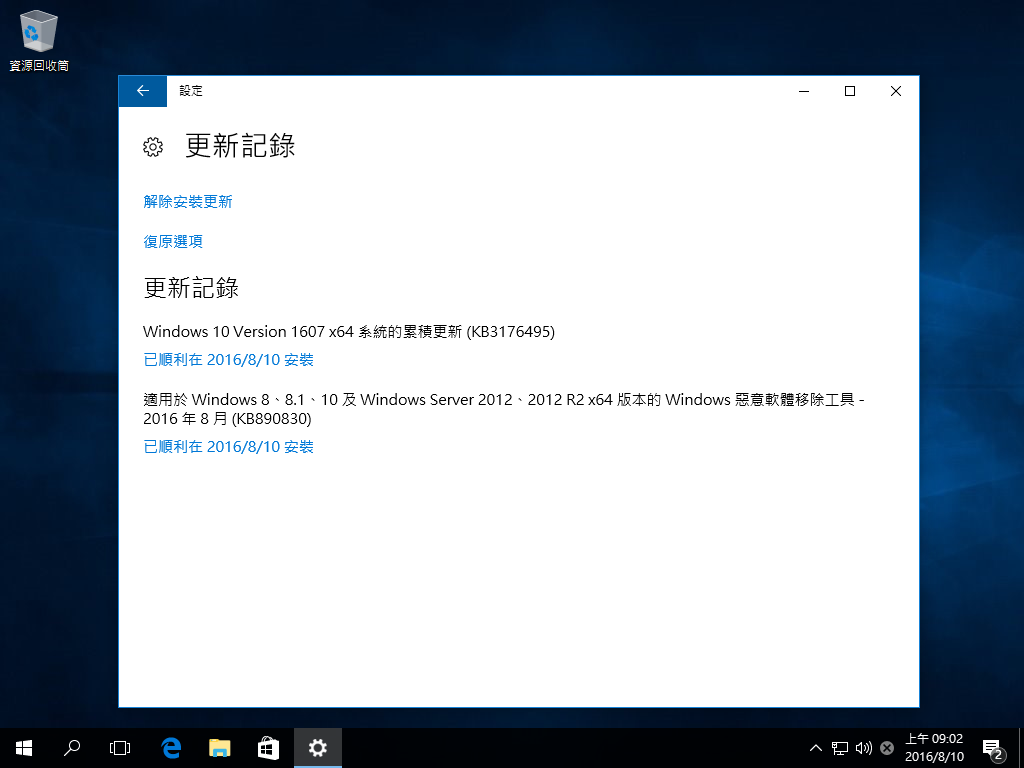
更新成 1607 14393.51
[@more@]KB3176495 下載:
x86
http://download.windowsupdate.com/d/msdownload/update/software/secu/2016/08/windows10.0-kb3176495-x86_53681ca9d2e5efe55370591ba5fa5f3ff973219d.msu

全新的繁體中文 WordPress 網站《宜蘭部落格教育平台 網站》
更新 KB3176495
更新成 1607 14393.51
[@more@]KB3176495 下載:
x86
http://download.windowsupdate.com/d/msdownload/update/software/secu/2016/08/windows10.0-kb3176495-x86_53681ca9d2e5efe55370591ba5fa5f3ff973219d.msu
沒有使用一般市面廠商提供的 NAS 整合方案,是因為這些 NAS 廠商提供的軟硬體普遍都缺乏彈性,而且價格不斐,所以才想要自己動手應用。
自己也沒有用過其它廠牌的 NAS,自己家裡用的和學校用的都是 Synology,對 Synology 的操作也比較熟悉,但對於 Synology 最近發生的資安事件,有些喪失信心。
自己對 NAS 的需求是:
1. 提供 Samba File Server 功能
2. 提供 FTP Server 功能
3. 提供 NFS 功能
4. 能將檔案同步到 Google Drive
5. 能依照自己的需求及安裝硬碟數,建立 RAID
6. 遠端管理
7. 防火牆
8. 提供 VPN 功能
9. 其它…..[@more@]個人稍做一些簡單的比較
1. Samba File Server
Synology:OK
CentOS / Debian / Ubuntu / FreeBSD:OK
2. FTP Server
Synology:OK
CentOS / Debian / Ubuntu / FreeBSD:OK
3. NFS
Synology:OK
CentOS / Debian / Ubuntu / FreeBSD:OK
4. Google Drive 同步
Synology:OK
CentOS(7.x) / Debian / Ubuntu / FreeBSD:OK
5. RAID
Synology:OK(但缺乏彈性,只能用廠商提供的方案 2/4…. way)
CentOS / Debian / Ubuntu / FreeBSD:OK
6. 遠端管理
Synology:OK(功能強大)
CentOS / Debian / Ubuntu / FreeBSD:OK
(提供的 SSH 遠端管理非常強大,不用 Web GUI 的功能。個人也深深覺得可以用文字介面完成的工作,就最好不要用 GUI 介面,而且還可以不用安裝 Web Server,大大增加系統安全性)
7. 防火牆
Synology:OK
CentOS / Debian / Ubuntu / FreeBSD:OK
Linux:iptables / firewall-cmd…
FreeBSD:ipf / ipfw / pf
功能非常強大,可以使用上更具各種彈性
8. VPN
Synology:OK
CentOS / Debian / Ubuntu / FreeBSD:OK
使用 NAS 廠商提供的方案
好處:1. 提供軟硬體的整合測試
2. 比較省電
3. 提供許多額外的功能
4. 提供相關問題咨詢
缺點:1. 價格可能比較昂貴
2. 缺乏一些彈性
使用 Free NAS 的方案:
好處:1. 功能強大且具有彈性
2. 相同的價格可以提供更好的設備
缺點:1. 系統可能比較耗電
2. 軟硬體要自己調配及處理
3. 遇到問題要自己動手(問人或網路搜尋)
grive 程式路徑
$ which grive
/usr/local/bin/grive
grive 使用參數
$ /usr/local/bin/grive –help
Grive options:
-h [ –help ] Produce help message
-v [ –version ] Display Grive version
-a [ –auth ] Request authorization token
-p [ –path ] arg Root directory to sync
-s [ –dir ] arg Single subdirectory to sync (remembered for next
runs)
-V [ –verbose ] Verbose mode. Enable more messages than normal.
–log-http arg Log all HTTP responses in this file for
debugging.
–new-rev Create new revisions in server for updated files.
-d [ –debug ] Enable debug level messages. Implies -v.
-l [ –log ] arg Set log output filename.
-f [ –force ] Force grive to always download a file from Google
Drive instead of uploading it.
-u [ –upload-only ] Do not download anything from Google Drive, only
upload local changes
-n [ –no-remote-new ] Download only files that are changed in Google
Drive and already exist locally
–dry-run Only detect which files need to be
uploaded/downloaded, without actually performing
them.
–ignore arg Perl RegExp to ignore files (matched against
relative paths, remembered for next runs).
-U [ –upload-speed ] arg Limit upload speed in kbytes per second
-D [ –download-speed ] arg Limit download speed in kbytes per second[@more@]-h 列出參數說明
-v 列出 grive 版本
$ /usr/local/bin/grive -v
grive version 0.5.1-dev Jun 30 2016 13:33:47
-a 取得授權碼
$ /usr/local/bin/grive -a
-p 要同步的根目錄,同步到 Google Drive 後,呈現的就是 /home/t850008/Google 目錄下的檔案及目錄
$ /usr/local/bin/grive -p /home/t850008/Google
-s 單一子目錄同步
$ /usr/local/bin/grive -s /home/t850008/Google/123
-V 詳細模式,啟用比正常更多的訊息
$ /usr/local/bin/grive -p /home/t850008/Google -V
config file name “/home/t850008/Google/.grive”
Reading local directories
file .grive_state is ignored by grive
file .grive is ignored by grive
Reading remote server file list
file “/home/t850008/Google/格式工廠 format factory 3.8.0.0 中文免安裝版.exe” is already in sync
Synchronizing files
sync “/home/t850008/Google” already in sync
sync “/home/t850008/Google/pCloud_Windows_3.2.4.exe” deleted in remote. deleting local
sync “/home/t850008/Google/格式工廠 format factory 3.8.0.0 中文免安裝版.exe” already in sync
change stamp is set to 14
Finished!
-l 設定輸入的 log 檔的檔案名稱
-f 強制
$ /usr/local/bin/grive -p /home/t850008/Google -f
-u 不從 Google Drive 下載檔案, 只上傳本地端有改變的檔案
$ /usr/local/bin/grive -p /home/t850008/Google -u
-n 只下載 Google Drive 有改變且已存在本地端的檔案,也會上傳本地端的檔案到 Google Drive
$ /usr/local/bin/grive -p /home/t850008/Google -n
–dry-run 只偵測哪些檔案要處理,並不實際做檔案的上傳或下載
$ /usr/local/bin/grive -p /home/t850008/Google –dry-run
–ignore 使用 Perl 常規表示式來過濾一些不處理的目錄(針對相對應目錄處理)
-U 限制上傳的速度 kbytes per second
-D 限制下載的速度 kbytes per second
以 Debain Linux 為例
1. 在使用者目錄下建立不同的目錄
$ mkdir /home/t850008/{Google,t850008}
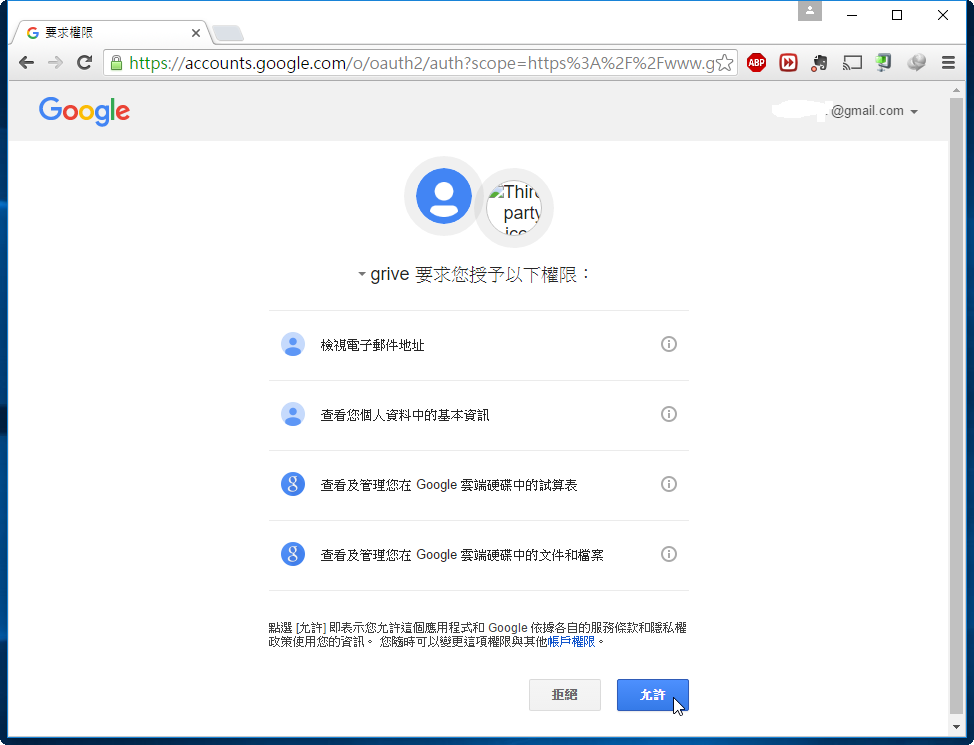
2. 先開啟瀏覽器登入到要同步的 Google Drive 帳號:
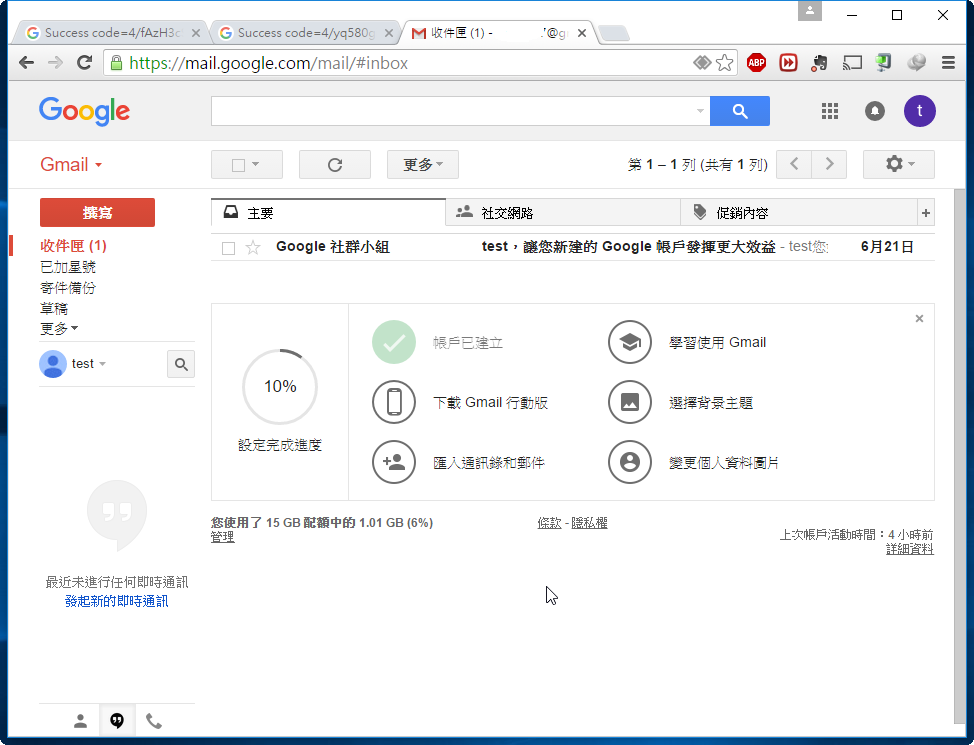
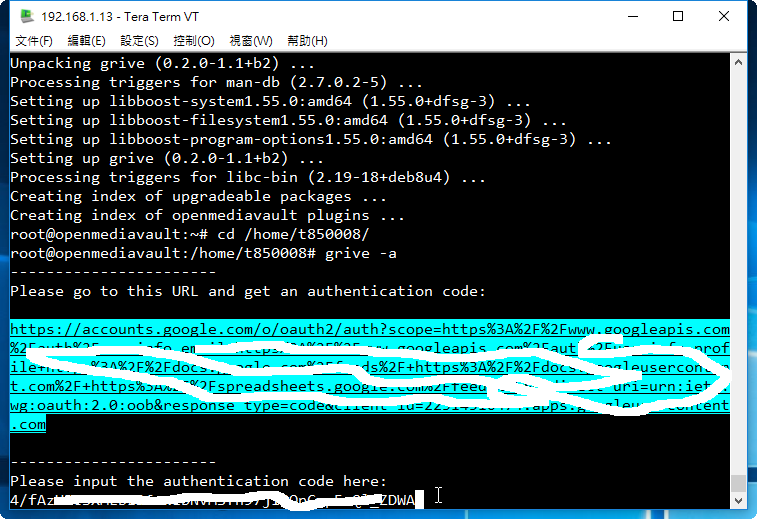
[@more@]3. 切換到要同步的目錄,並進行設定
$ cd /home/t850008/Google
$ /usr/local/bin/grive -a
4. 在下方產生網址

5. 將產生的網址,貼到瀏覽器網址列,按 Enter 鍵執行
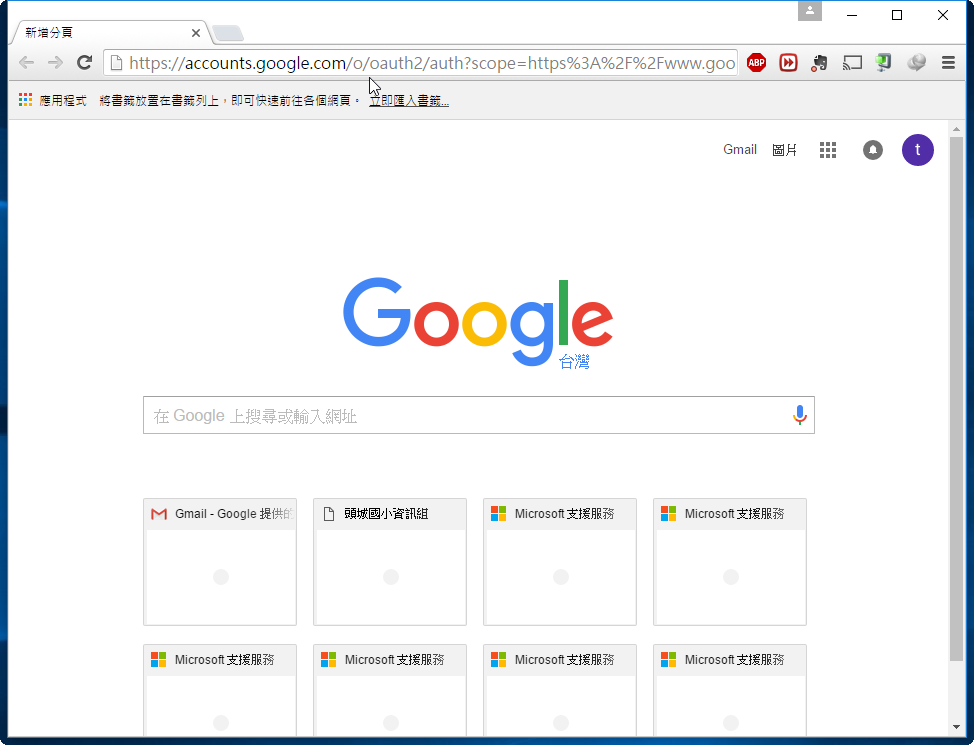
6. 選擇 允許
7. 將產生的 授權碼 複製起來
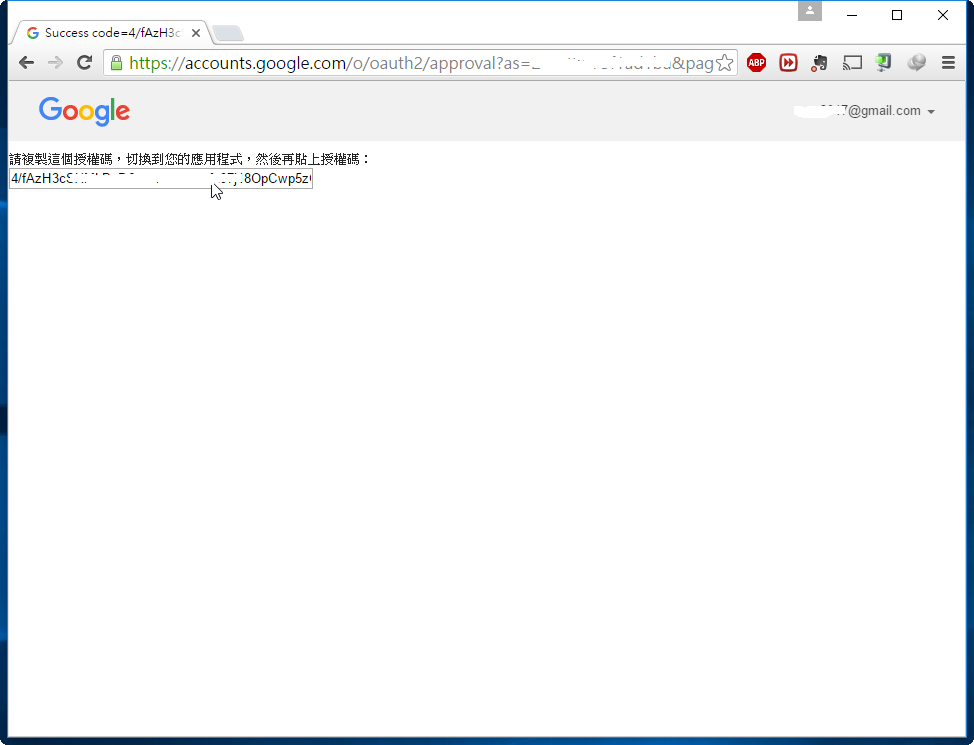
8. 將產生的 授權碼 貼在下方,按 Enter 鍵執行
Reading local directories
Reading remote server file list
Synchronizing files
sync “./.bash_logout” doesn’t exist in server, uploading
sync “./.bash_profile” doesn’t exist in server, uploading
sync “./.bashrc” doesn’t exist in server, uploading
Finished!
9. 登入另外一個 Google 帳號,重複 2~8 個步驟,但目錄切換到 /home/t850008/t850008
10. 在 crontab 中建立工作排程
$ crontab -e
*/5 * * * * /usr/local/bin/grive -p /home/t850008/Google
*/5 * * * * /usr/local/bin/grive -p /home/t850008/t850008
移除舊的 LibreOffice
$ sudo apt-get remove –purge `dpkg -l | grep libreoffice | awk ‘{print $2}’`
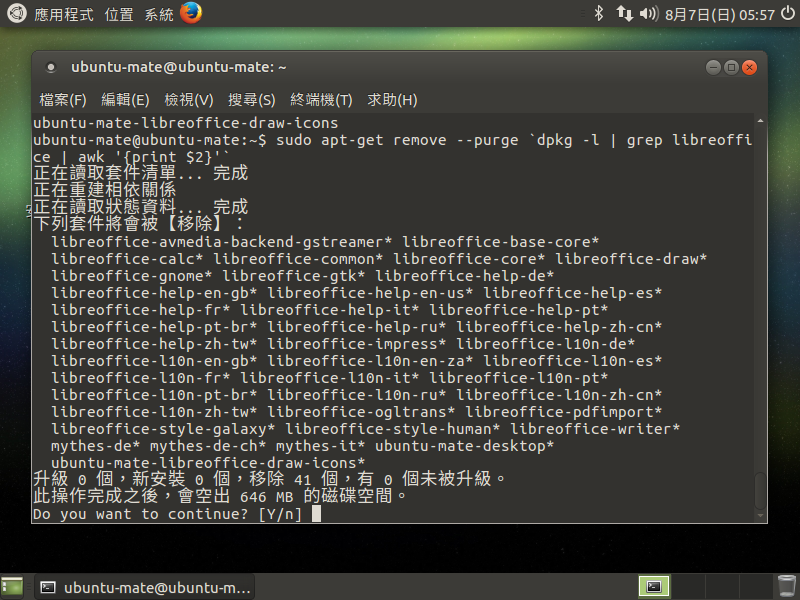 [@more@]下載 OxOffice R6C1
$ wget http://ncu.dl.sourceforge.net/project/ossii-oxoffice/Linux/x86_64/OxOffice_R6C1_Linux_x86-64_deb_20160804.tar.gz
$ wget http://ncu.dl.sourceforge.net/project/ossii-oxoffice/Linux/x86_64/OxOffice_R6C1_Linux_x86-64_deb_langpack_zh-TW_20160804.tar.gz
列出下載後的檔案
$ ls
OxOffice_R6C1_Linux_x86-64_deb_20160804.tar.gz
OxOffice_R6C1_Linux_x86-64_deb_langpack_zh-TW_20160804.tar.gz
解壓縮
$ tar xvzf OxOffice_R6C1_Linux_x86-64_deb_20160804.tar.gz
$ tar xvzf OxOffice_R6C1_Linux_x86-64_deb_langpack_zh-TW_20160804.tar.gz
進行安裝
$ sudo dpkg -i OxOffice_R6C1_Linux_x86-64_deb_20160804/DEBS/*.deb
$ sudo dpkg -i OxOffice_R6C1_Linux_x86-64_deb_langpack_zh-TW_20160804/DEBS/*.deb
安裝完成之後在功能表中的位置
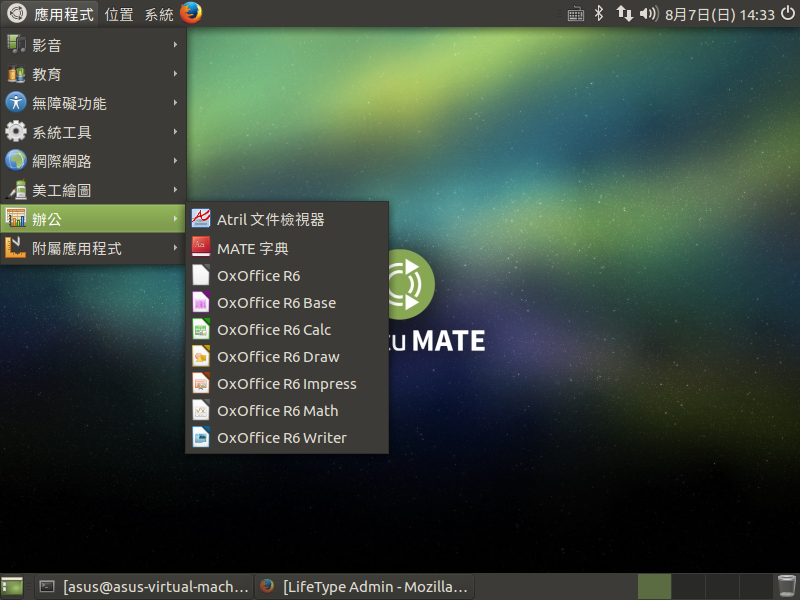
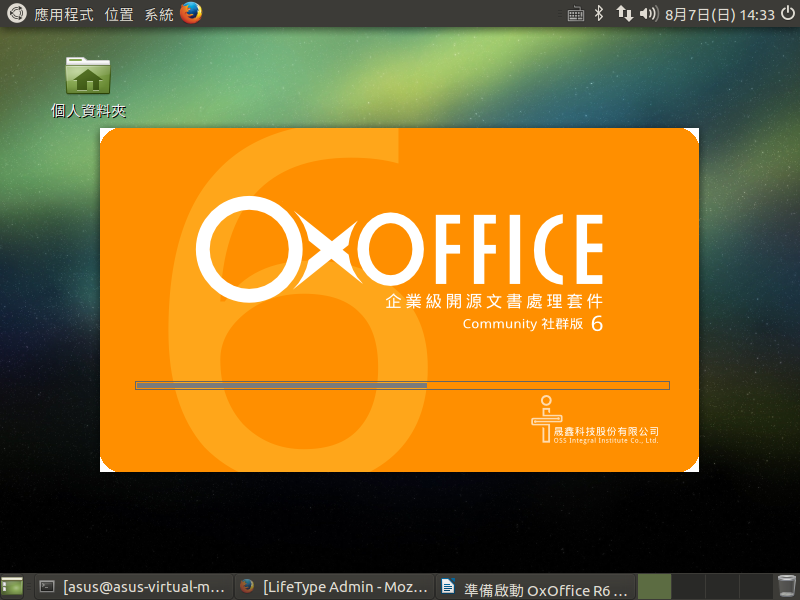
啟動 OxOffice R6C1
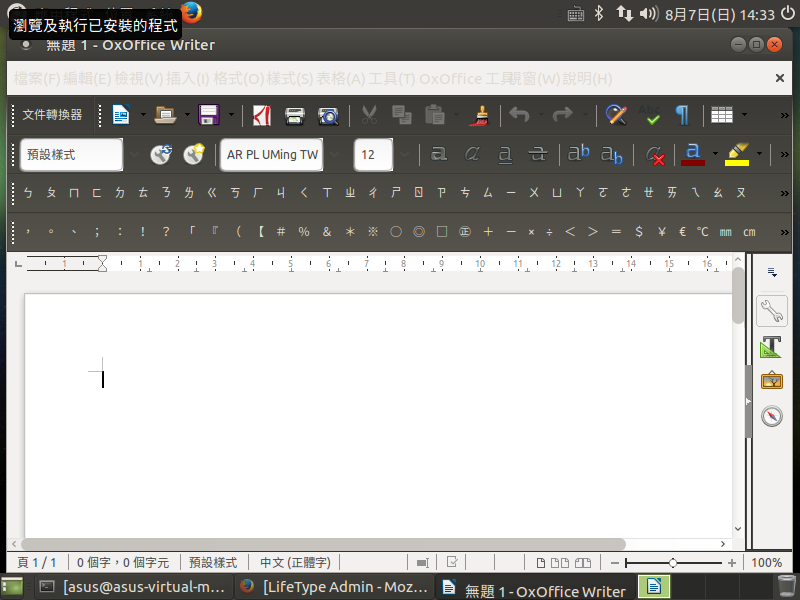
OxOffice Writer
OxOffice Calc

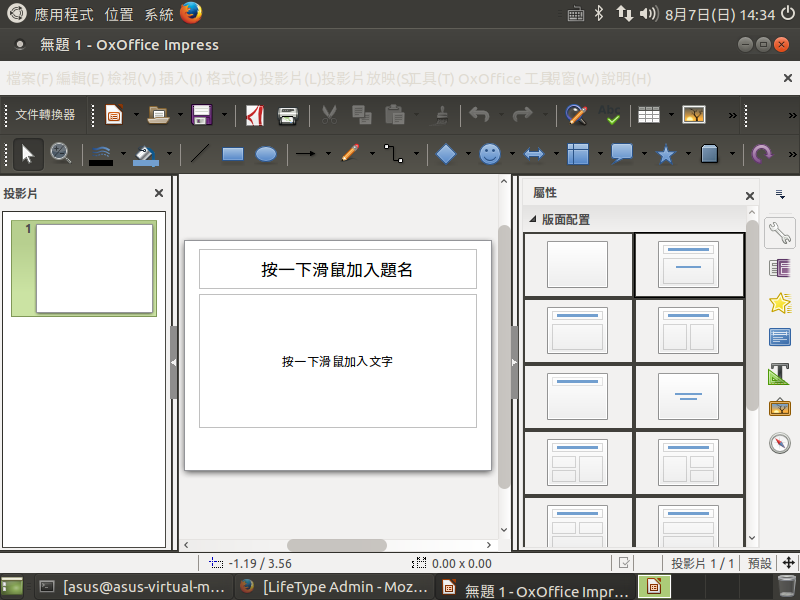
OxOffice Impress
稍候會整合到自己習慣使用的 LiveCD 中。
採用 16.04.1 版是因為它是 LTS 版本,支援期到 2021-04。
Server 版下載網站:http://releases.ubuntu.com/16.04/
1. 光碟開機畫面,選擇 Install Ubuntu Server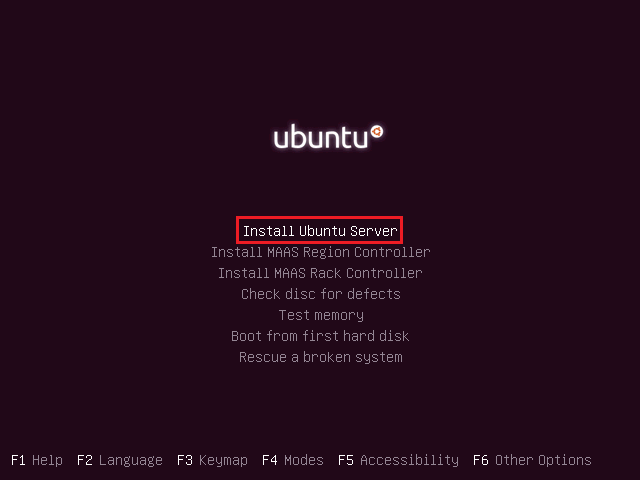
[@more@]2. 在之前可以按 F2 Language 選擇安裝時要用的語言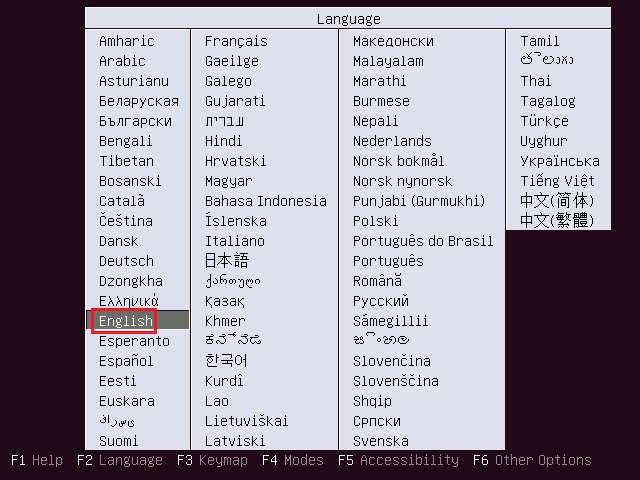
3. 選擇語言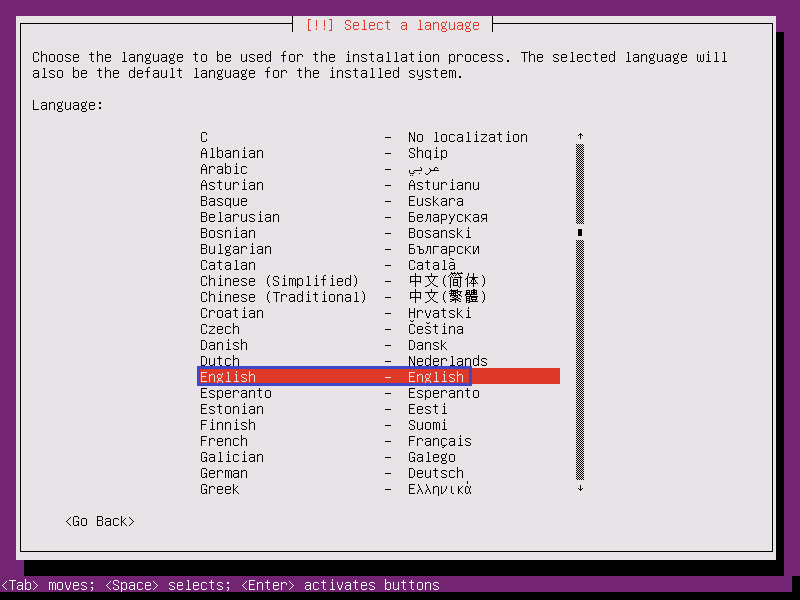
4. 選擇 Other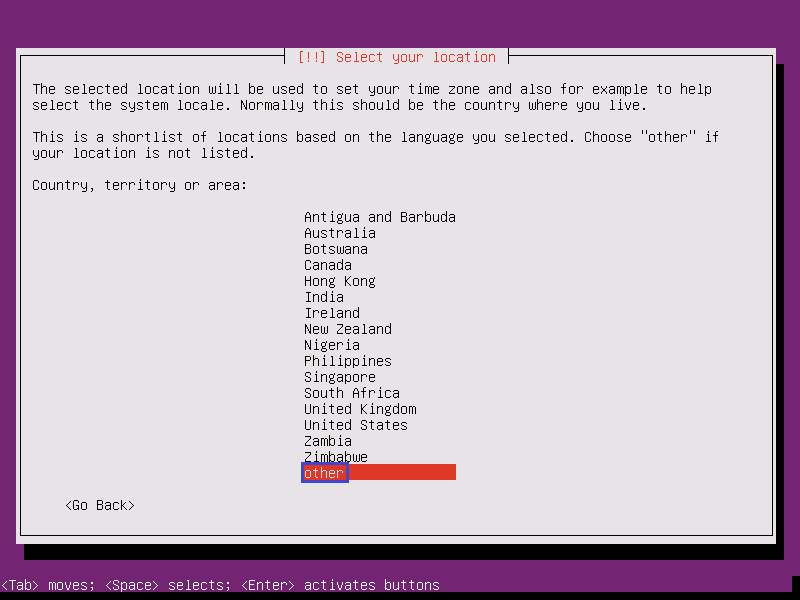
5. 選擇 Asia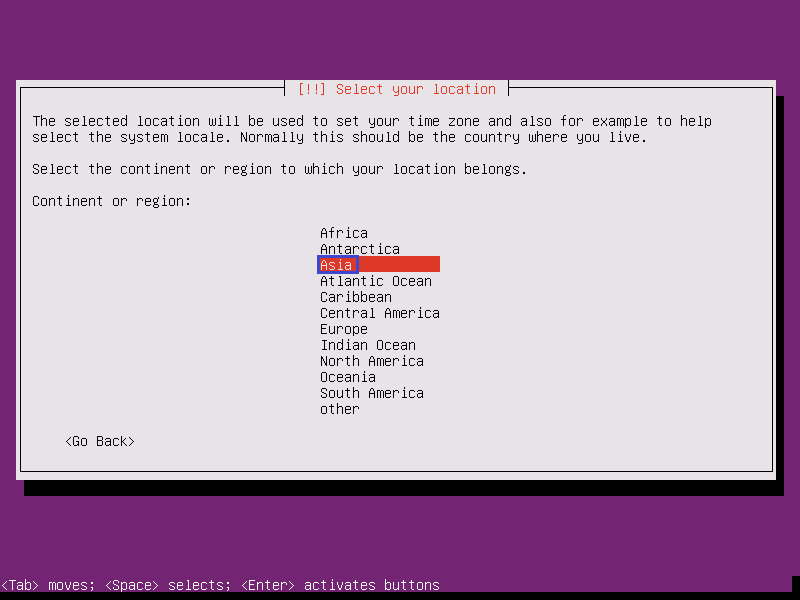
6. 選擇 Taiwan
7. 選擇語系 Locale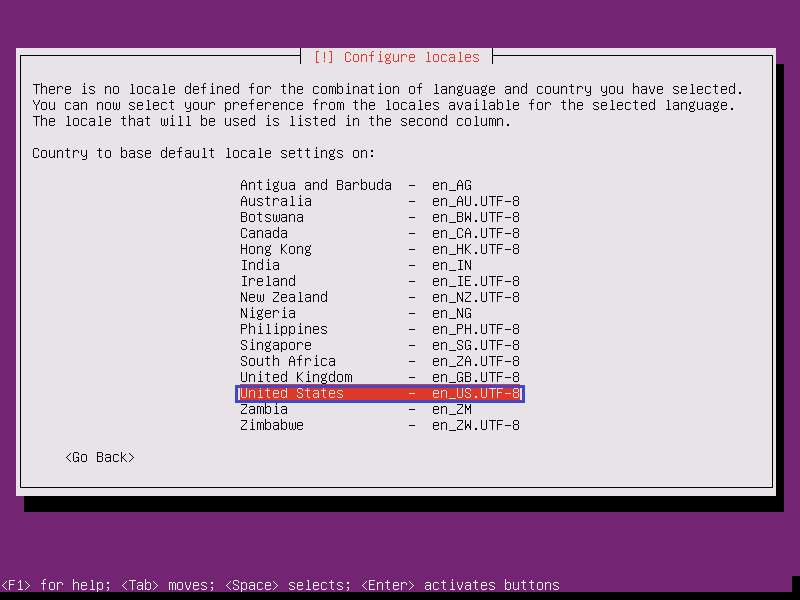
8. 不偵測鍵盤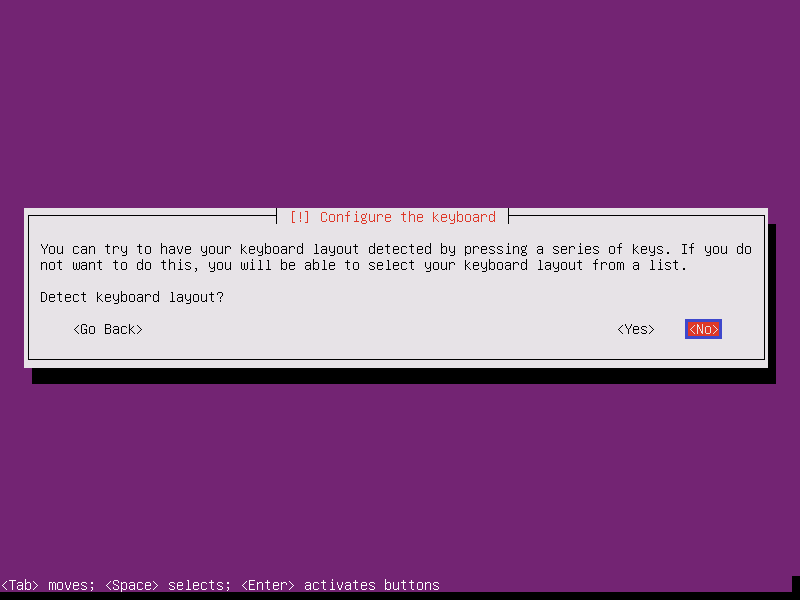
9. 鍵盤型式選擇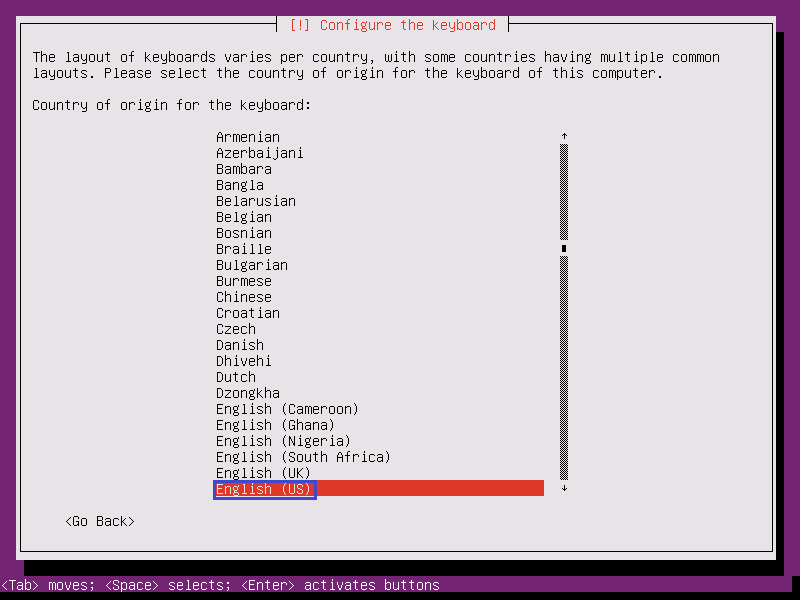
10. 設定鍵盤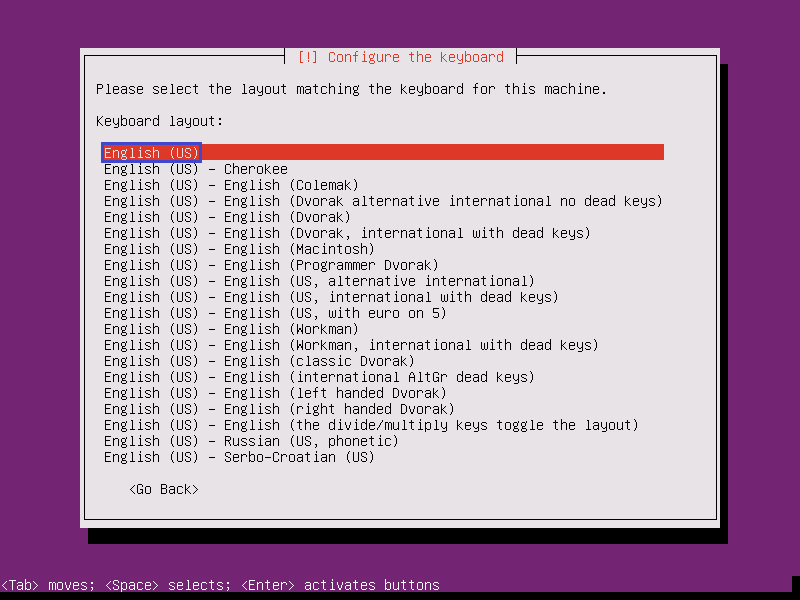
11. 載入安裝元件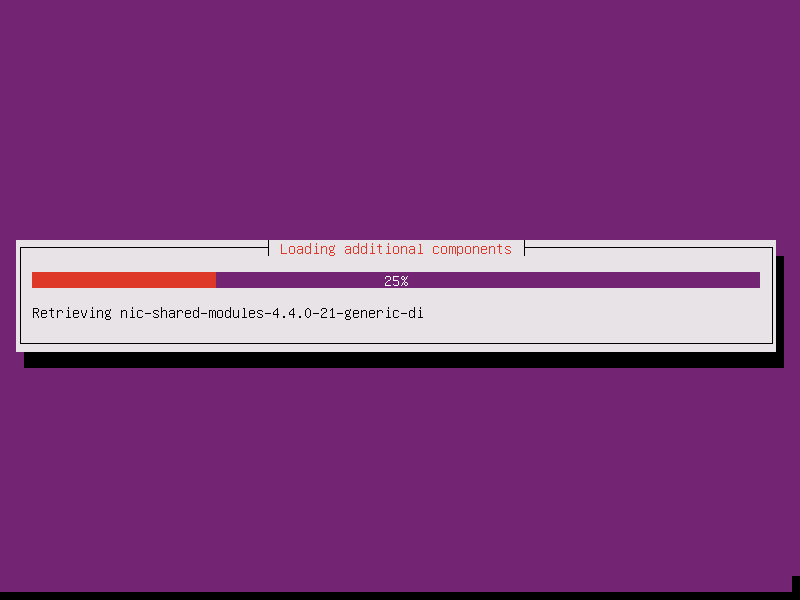
12. 設定主機名稱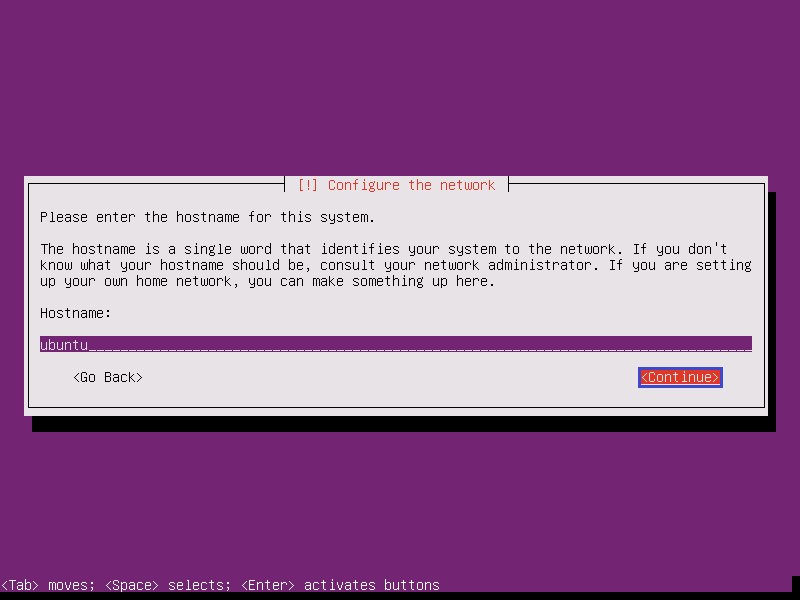
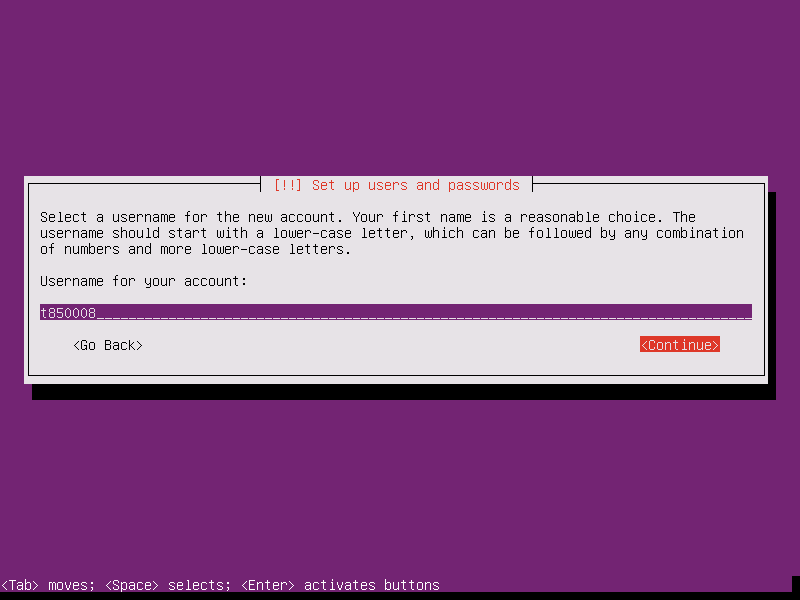
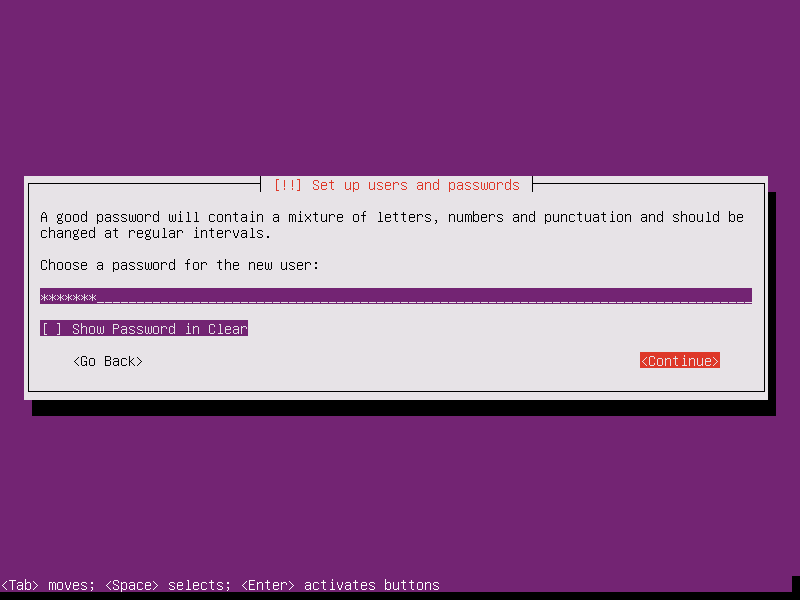
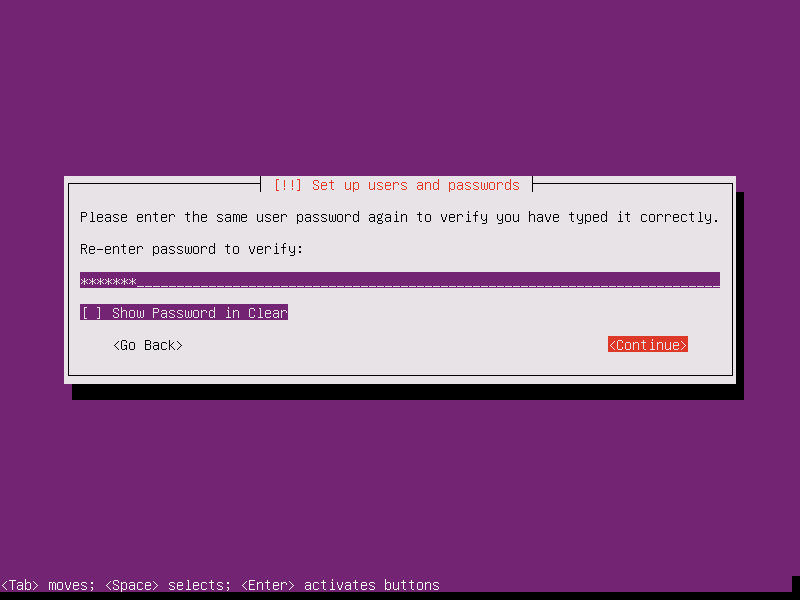
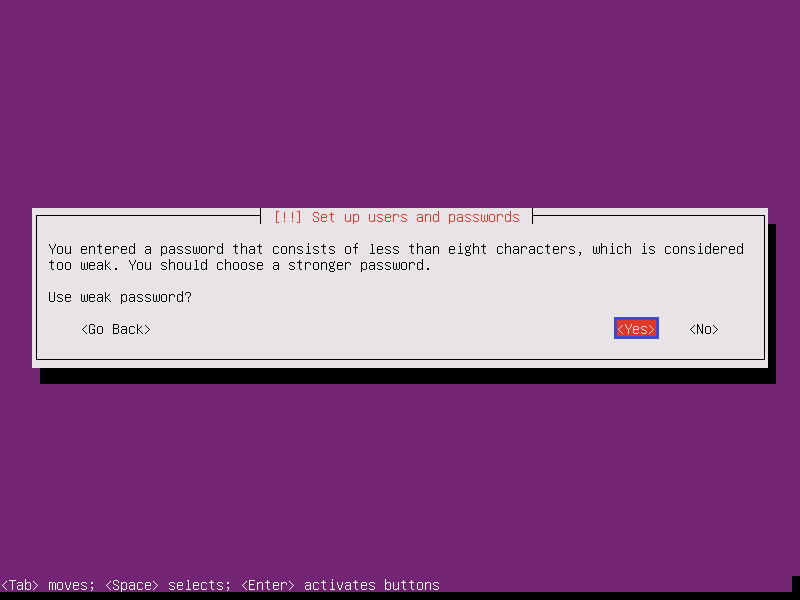
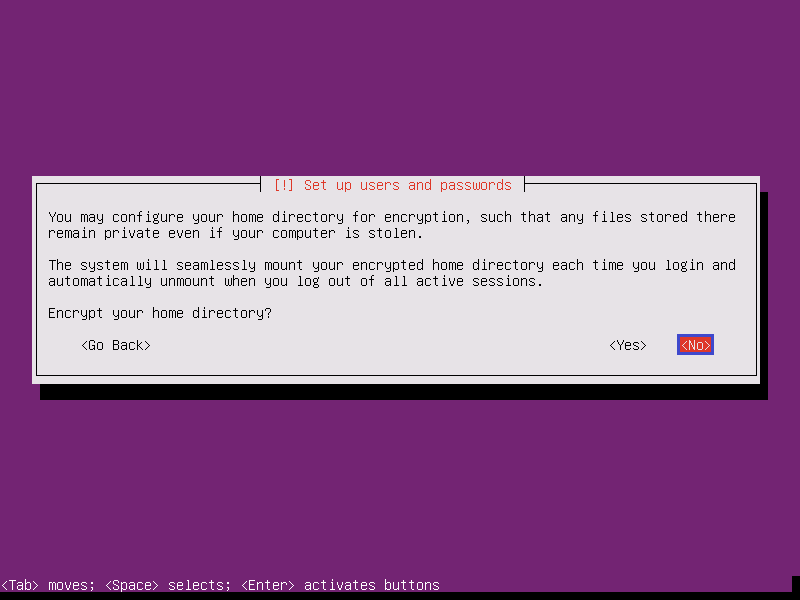
13. 建立 root 管理者之外的一般帳號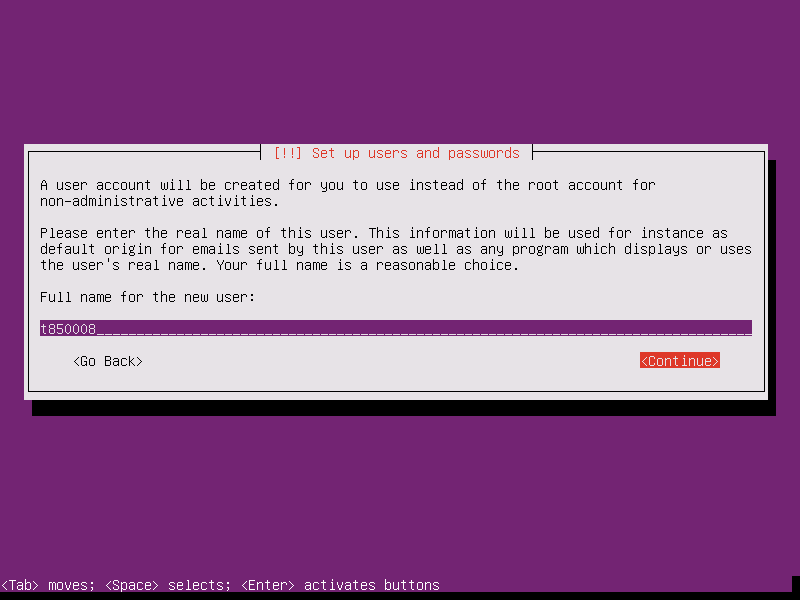
14. 設定時間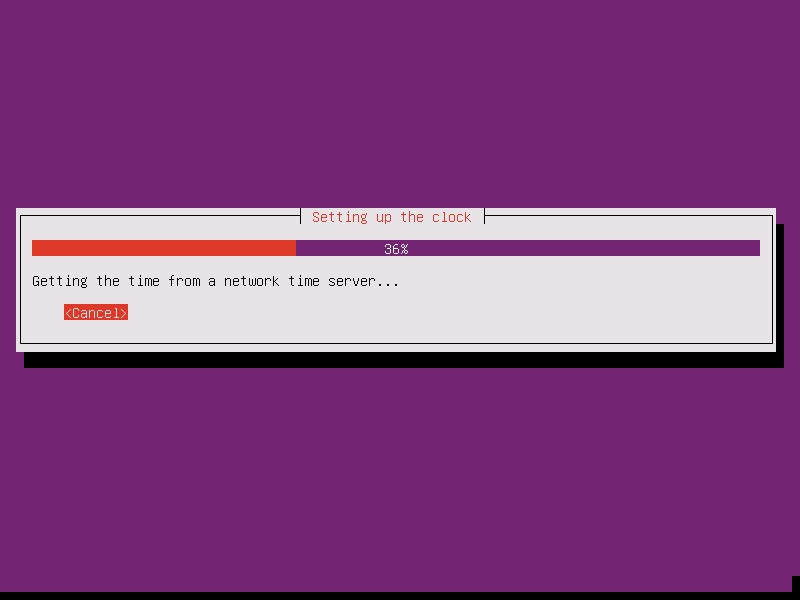
15. 時區設定 Asia/Taipei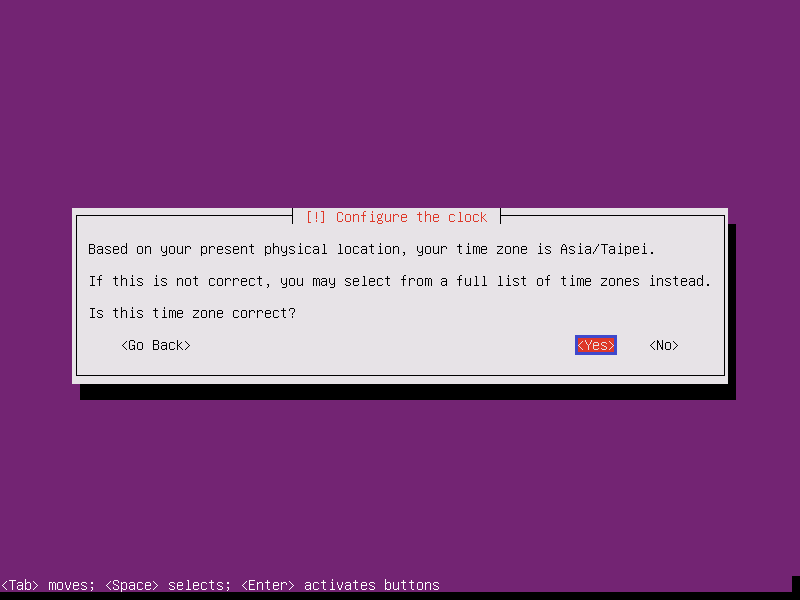
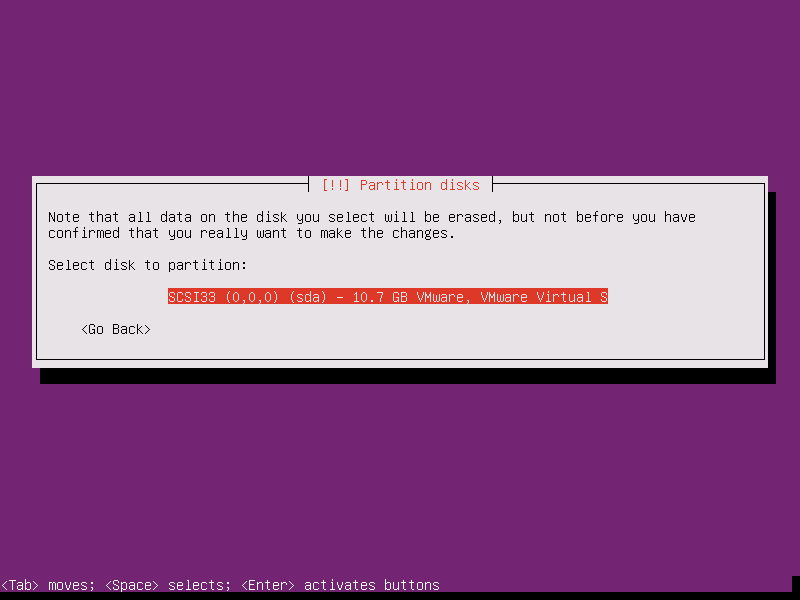
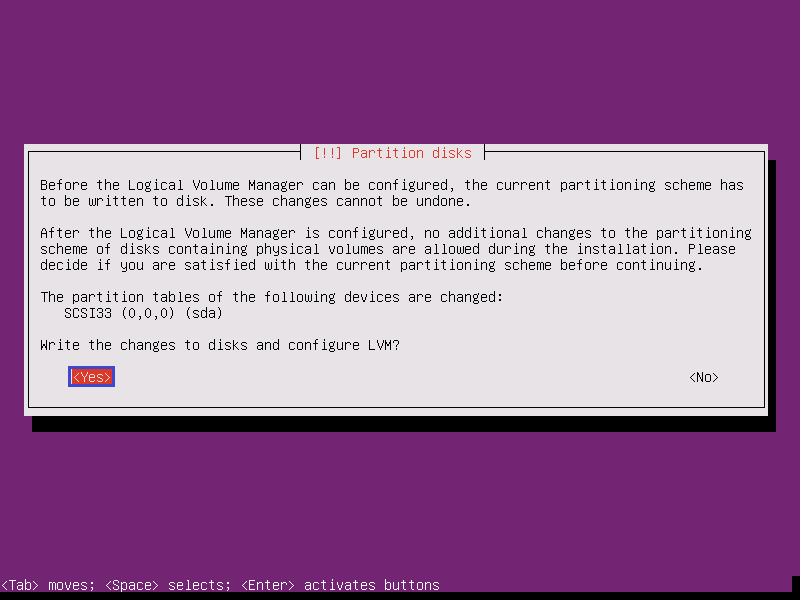
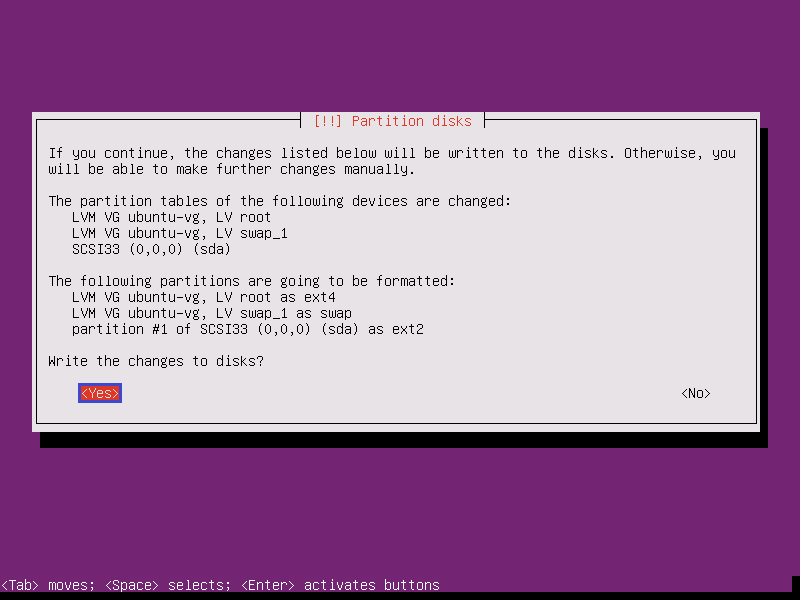
16. 硬碟分割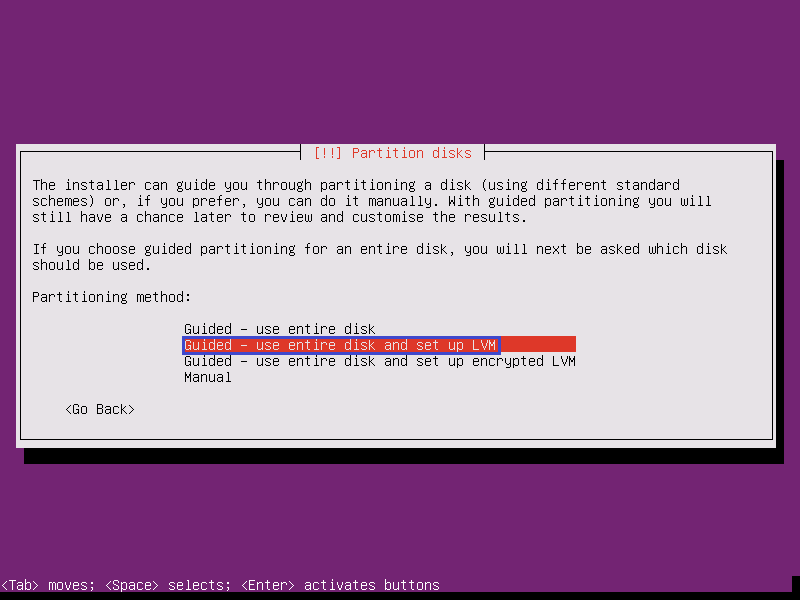

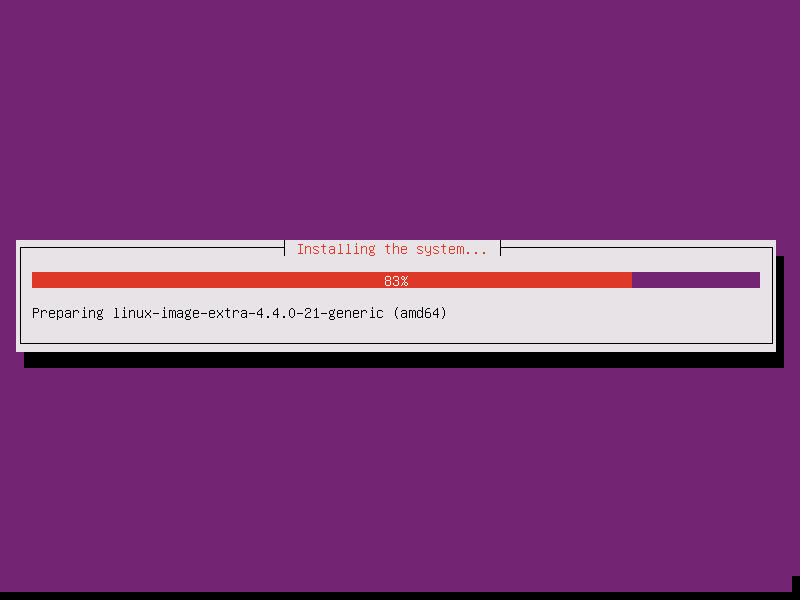
17. 安裝系統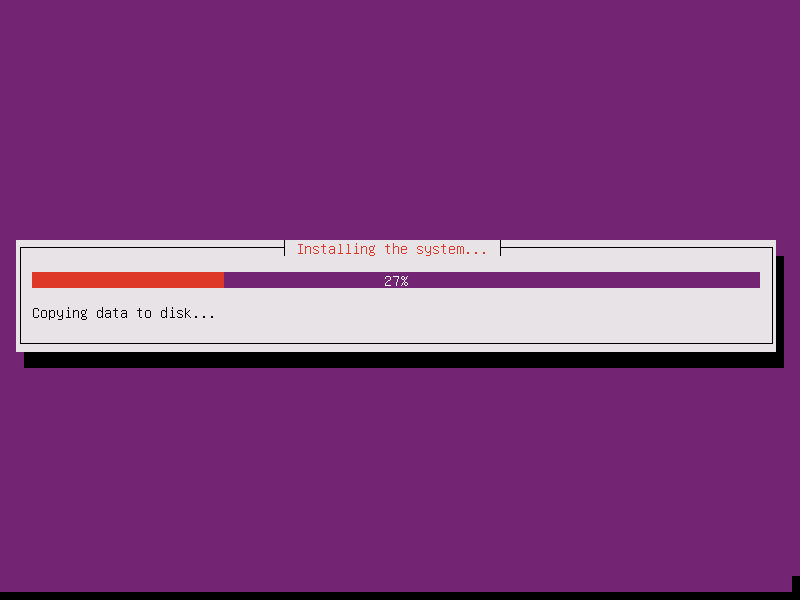
18. 連接網路是否透過 Proxy 設定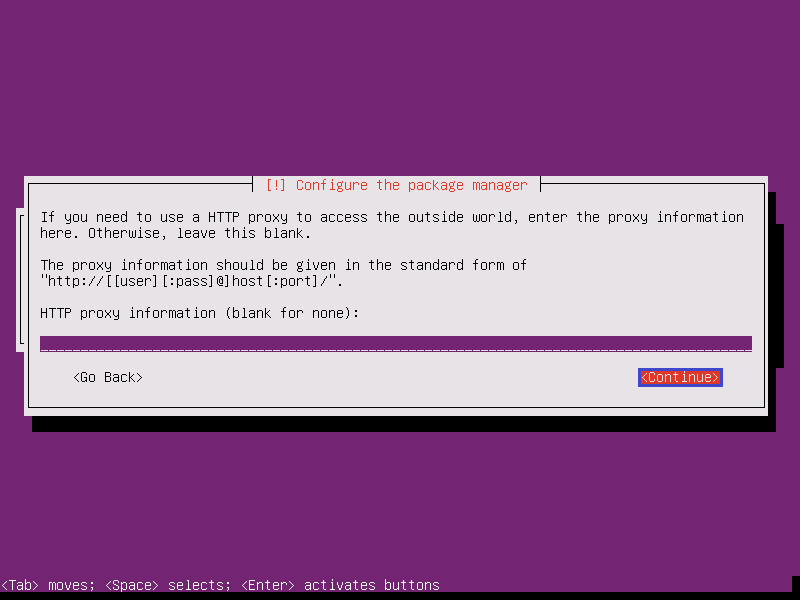
19. 設定 apt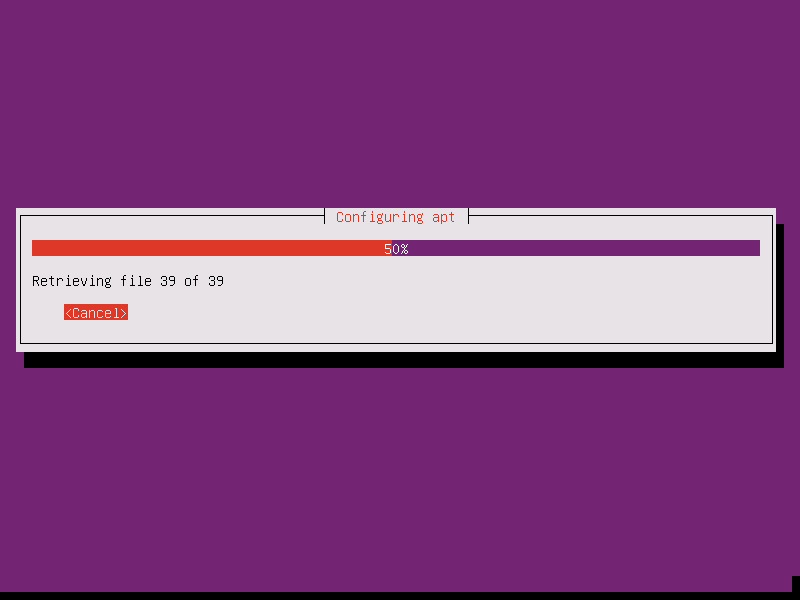
20. 不自動更新系統 No automatic updates
21. 加裝 OpneSSH server,方便做遠端管理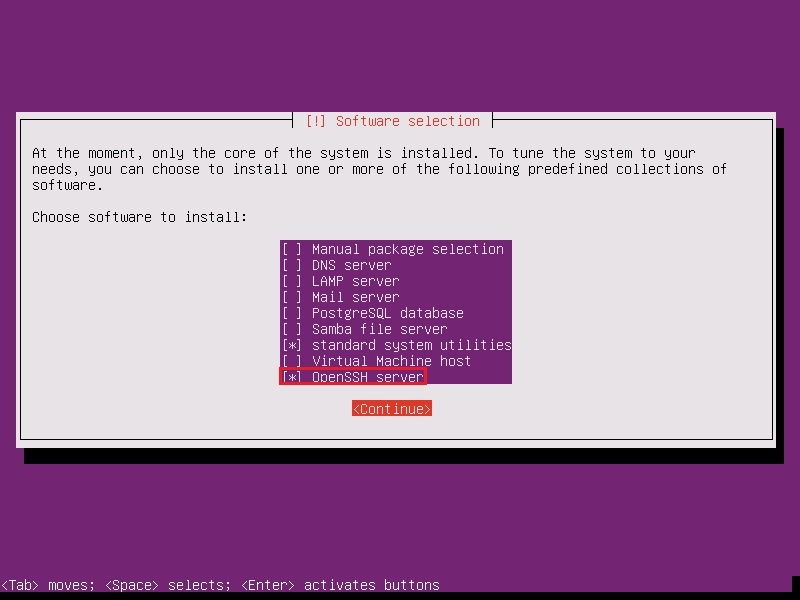
22. 安裝系統
23. 設定 GRUB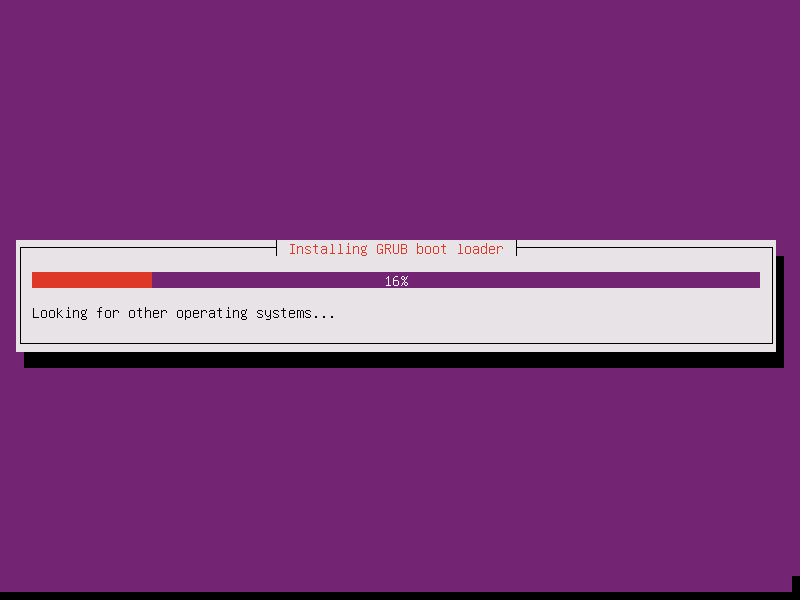
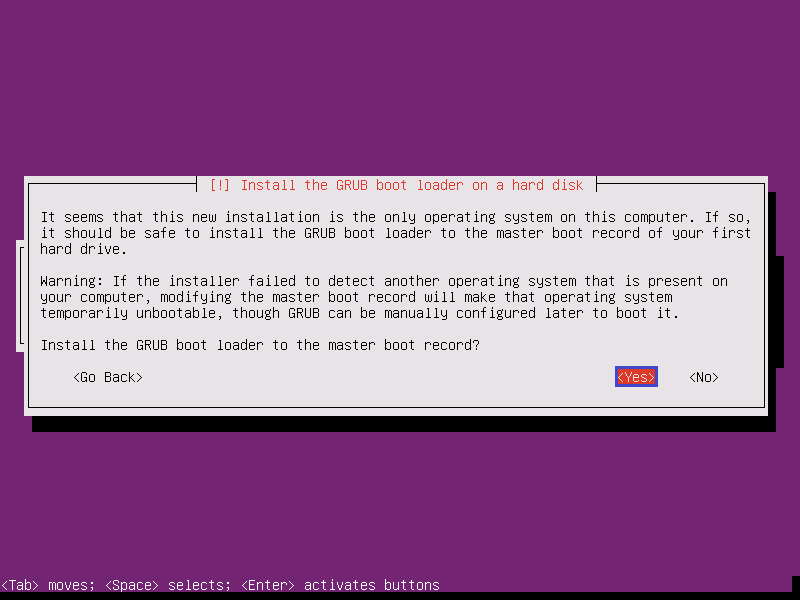
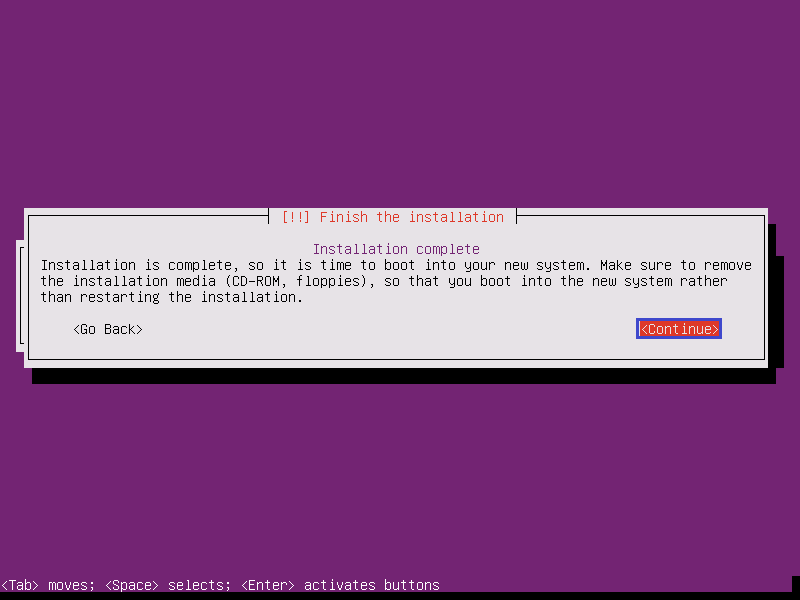
24. 完成安裝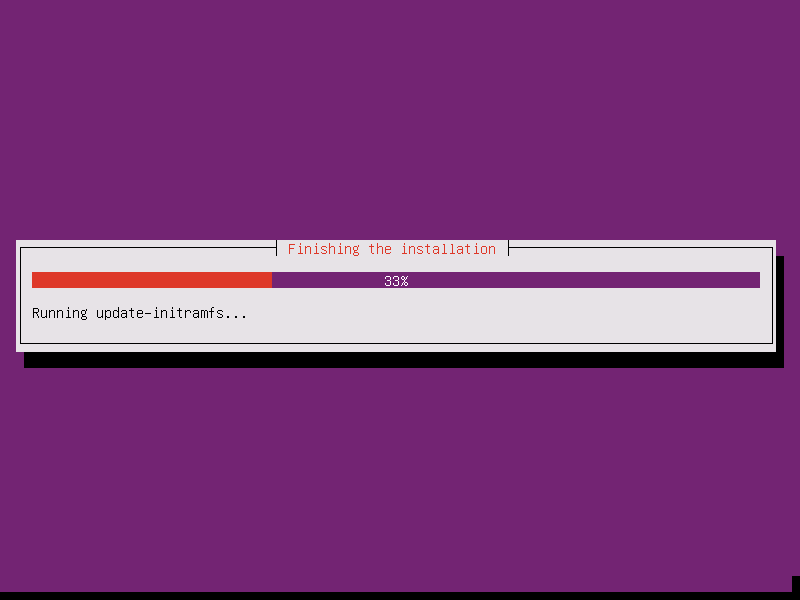
為了測試 NAS 比較方便,所以特別製作了這一片光碟。
安裝時只要三個步驟:分割硬碟、設定網路、設定 root 管理者密碼
1. 光碟開機畫面,取消倒數計時,預設 Install CentOS 7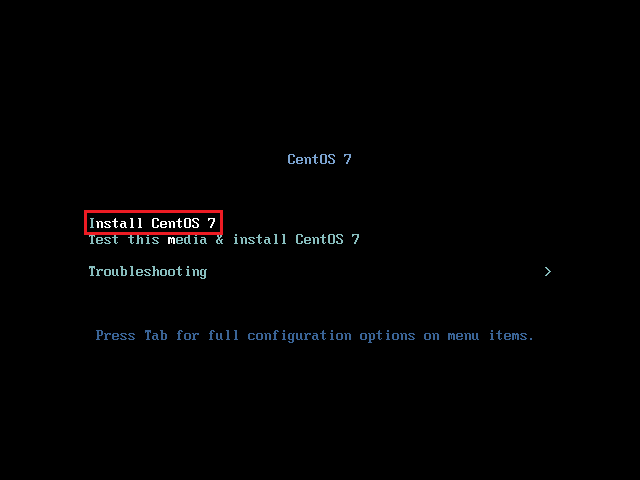
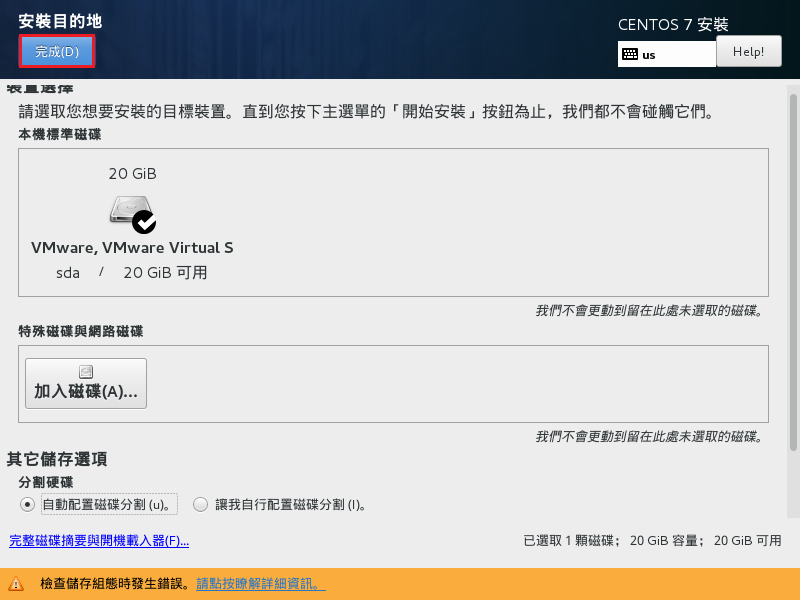
[@more@]2. 分割硬碟
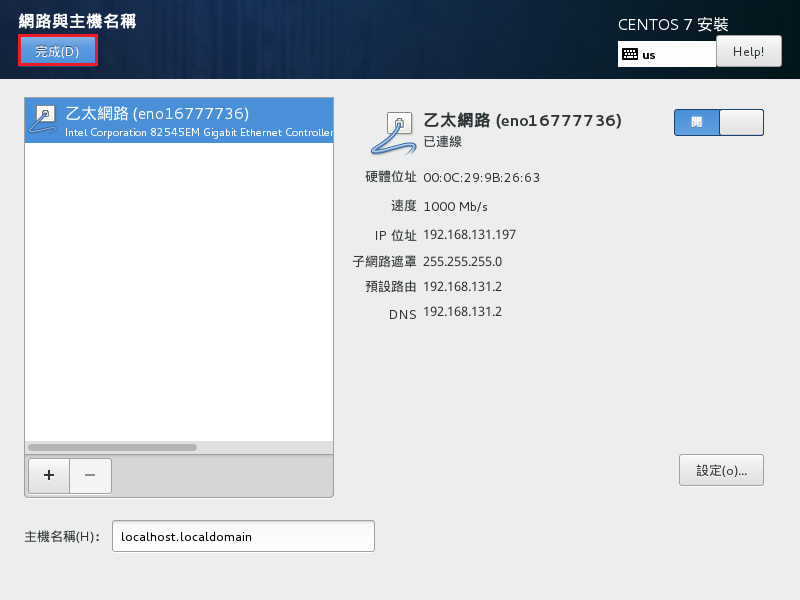
3.設定網路
4. 進行安裝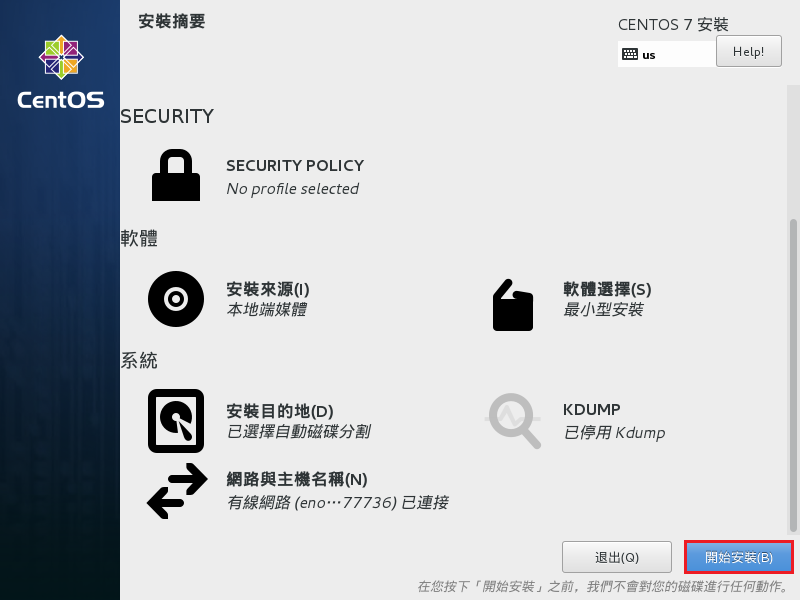
5. 設定 root 管理者密碼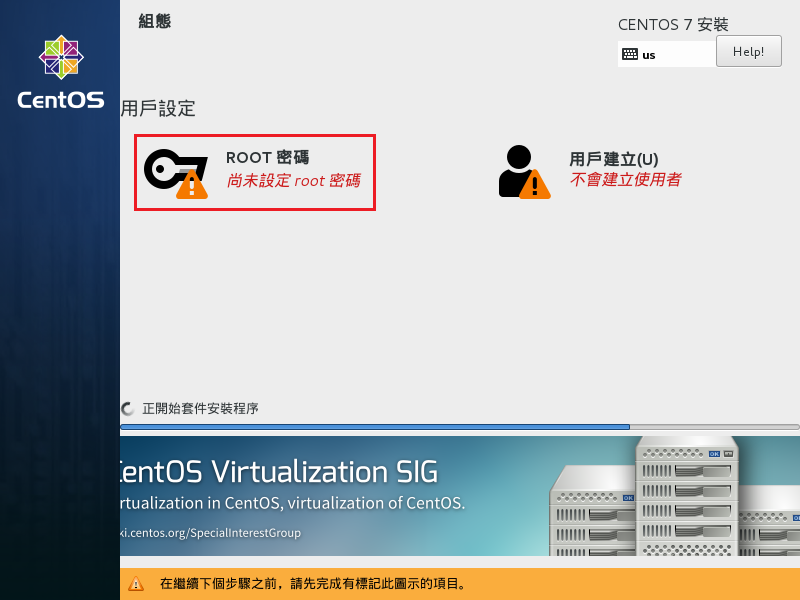

6. 一共安裝 408 個套件
這個版本的特點:
1. 最小化安裝,再補上所需套件,x86-64 光碟容量 724M
2. 套件更新到 2016-06-30
3. 套件更新伺服器改成頭城國小
4. 預設啟動 Samba + vsftpd FTP Server
5. 預先修改 Samba 及 vsftpd FTP Server 基本設定,及 SELinux 相關設定
5. 加入第三方套件庫 EPEL(Extra Packages for Enterprise Linux)
6. 加裝 grive2 套件,讓系統能與 Google Drive 進行目錄同步備份
7. 每天早上 6 點向 time.stdtime.gov.tw 對時
8. 個人使用環境的設定…..等等

OSSII OxOffice Community Edition R6C1 版本是基於 LibreOffice 5.1.4.2 版本,加入相關業地化修正後,比較適合中文環境的使用習慣,目前個人都是使用這一個版本。
OSSII OxOffice Community Edition R6C1 下載網站:https://sourceforge.net/projects/ossii-oxoffice/
[@more@]Windows x86 版本:
https://sourceforge.net/projects/ossii-oxoffice/files/Windows/x86/
Windows 免安裝版:
https://sourceforge.net/projects/ossii-oxoffice/files/Windows/portableapps/
Linux x86_64 版本:
https://sourceforge.net/projects/ossii-oxoffice/files/Linux/x86_64/
可惜可以使用的平台有些不足,以 Windows 平台而言,少了 x86_64 平台,Linux 平台少了 x86 平台,而且似乎是針對 Debian/Ubuntu… 等平台,還有一直期待的 Mac OSX 平台。
底下以在 Windows 10 x86_64 平台安裝為例
安裝擷圖


Writer 文書
Calc 試算表
Impress 簡報
在使用 testparm 測試 Samba Server 設定檔時會出現如下的提示訊息
# testparm
Load smb config files from /etc/samba/smb.conf
rlimit_max: increasing rlimit_max (1024) to minimum Windows limit (16384)
Processing section “[homes]”
Loaded services file OK.
Server role: ROLE_STANDALONE
Press enter to see a dump of your service definitions[@more@]解決方式:
修改 /etc/security/limits.conf 設定檔
# vim /etc/security/limits.conf
加入下面一行
* – nofile 16384
重新啟動電腦後,就不會再出現了!
# testparm
Load smb config files from /etc/samba/smb.conf
Processing section “[homes]”
Loaded services file OK.
Server role: ROLE_STANDALONE
Press enter to see a dump of your service definitions