這裡使用的是 Tunnelblick 來做為 OpenVPN 的連線軟體。
Tunnelblick 下載網站:https://tunnelblick.net/downloads.html
這裡下載的是 Tunnelblick 3.6.9 Stable 版

[@more@]1. 在下載下來的檔案按滑鼠二下

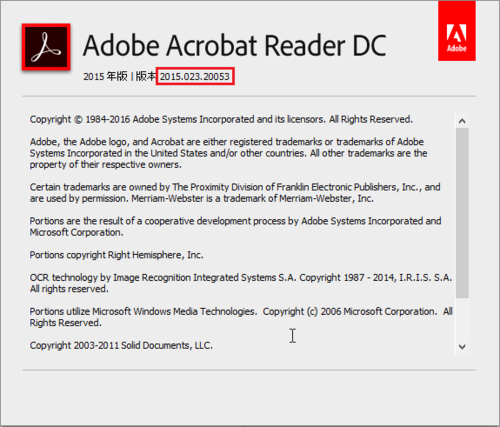
Adobe Acrobat Reader DC 2015.023.20053 更新檔
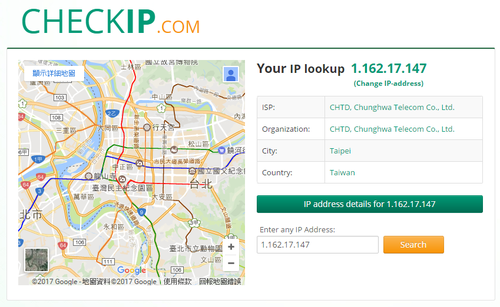
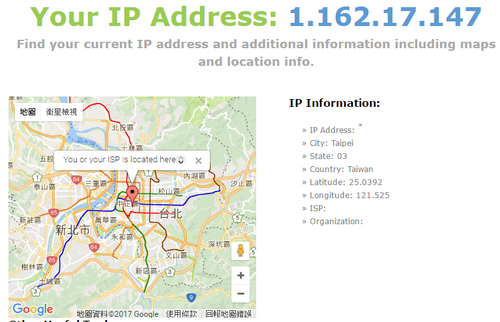
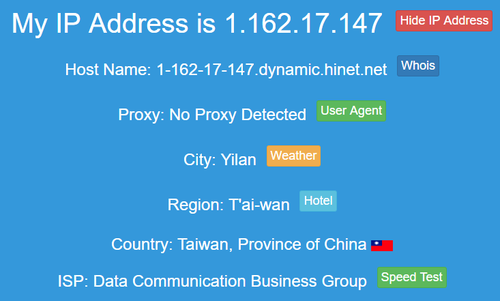
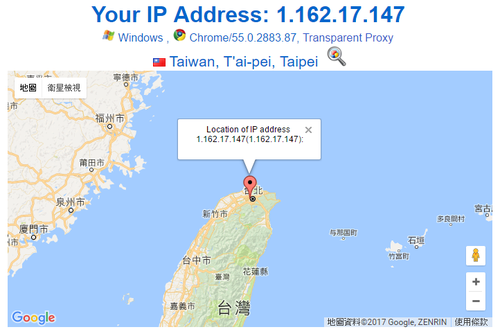
IP 檢查網站
Synology DS410 NAS 出現「硬碟槽錯誤」訊息
NAS 突然發出嗶嗶的叫聲,直覺應該是硬碟出現問題,登入系統後,在硬碟的狀態欄出現是的「硬碟槽錯誤」訊息
[@more@]經與 Synology 原廠工程師做確認,傳送系統 Log 給工程師檢驗,判斷可能是硬碟有問題,而不是硬碟槽有問題,建議將有問題的硬碟拆下來,使用 HD Tune 或 CrystalDiskInfo 來進行檢測。不過我把 NAS 重新開機之後,顯示的訊息就是硬碟有問題了,所以就沒有做以上的動作。
後來換了一顆 WD 紅標的 NAS 硬碟,不再用 Seagate 了!
Synology DS410 NAS 硬碟相容清單:
https://www.synology.com/zh-tw/compatibility?search_by=products&category=hdds&p=1&product_bays=4&product_name=DS410&filter_size=2TB&filter_type=3.5¬_recommend_mode=false
OpenConnect Client – Windows 系統篇 使用憑證登入
OpenConnect Client 下載網址:https://github.com/openconnect/openconnect-gui/releases
目前最新版本是 1.4.1 版

2. 準備好 Client 端要使用的檔案
Server:ca-cert.pem
Client:home-cert.pem / home-key.pem
[@more@]3. 執行桌面上下載下來的 openconnect-gui-1.4.1-win32.exe

5. 執行 OpenConnect VPN Client 圖示

8. 輸入各項設定
1. 設定名稱
2. https://sever’IP:443
3. Server ‘ca 憑證
4. Client ‘ca 憑證
5. Client’ key
最後按 Save

OpenVPN Client – Windows 系統篇
1. 首先到 OpenVPN – Open Source VPN 網站下載 Client 所使用的程式:
或 https://openvpn.net/index.php/open-source/downloads.html
 [@more@]2. 依所使用的 Windows 版本下載

5. 安裝過程
6. 將設定檔複製到 C:Program FilesOpenVPNconfig 目錄之下

8. 在右下角的 OpenVPN 圖示上按滑鼠右鍵,選擇 連接

9. 連線成功,會取得 IP,OpenVPN 圖示也會變成 綠色

試用 Banana Pi M3 – Ubuntu minimal 16.04 上安裝 con 工作排程
系統似乎預設沒有安裝工作排程的程式
# apt-get install cron
自訂工作排程
# crontab -e
# 格式
# 分 時 日 月 星期幾 執行命令
* */3 * * /usr/local/bin/checkip > /dev/null 2>&1
列出目前系統的工作排程
# crontab -l
# 格式
# 分 時 日 月 星期幾 執行命令
* */3 * * /usr/local/bin/checkip > /dev/null 2>&1
刪除工作排程
# crontab -r
試用 Banana Pi M3 – Ubuntu minimal 16.04 安裝 fail2ban
安裝 fail2ban 套件
# apt-get install fail2ban
備份設定檔
# cp /etc/fail2ban/jail.conf /etc/fail2ban/jail.conf.$(date +%F)
修改設定(封鎖時間及嘗試錯誤次數)
# sed -i ‘s/^bantime = 600/bantime = 86400/’ /etc/fail2ban/jail.conf
# sed -i ’66s/^maxretry = 5/maxretry = 3/’ /etc/fail2ban/jail.conf[@more@]重新啟動 fail2ban
# systemctl restart fail2ban
檢查 fail2ban 的狀態
# fail2ban-client status
Status
|- Number of jail: 1
`- Jail list: sshd
以 Client IP 192.168.1.17 嘗試對 Server IP 192.168.1.16 嘗試連線錯誤幾次之後
列出 fail2ban 偵測到的 SSH 攻擊
# fail2ban-client status sshd
Status for the jail: ssh
|- Filter
| |- File list: /var/log/auth.log
| |- Currently failed: 0
| `- Total failed: 7
`- Action
|- Currently banned: 2
| `- IP list: 192.168.1.17 123.31.34.182
`- Total banned: 2
列出 f2b-sshd 的規則
# iptables -t filter -L f2b-sshd -n
Chain f2b-sshd (1 references)
target prot opt source destination
REJECT all — 192.168.1.17 0.0.0.0/0 reject-with icmp-port-unreachable
REJECT all — 123.31.34.182 0.0.0.0/0 reject-with icmp-port-unreachable
RETURN all — 0.0.0.0/0 0.0.0.0/0
解除方式:
# iptables -D f2b-sshd -s 192.168.1.17 -j REJECT
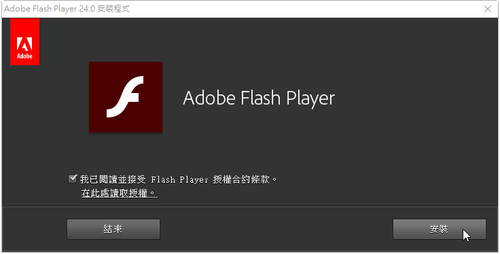
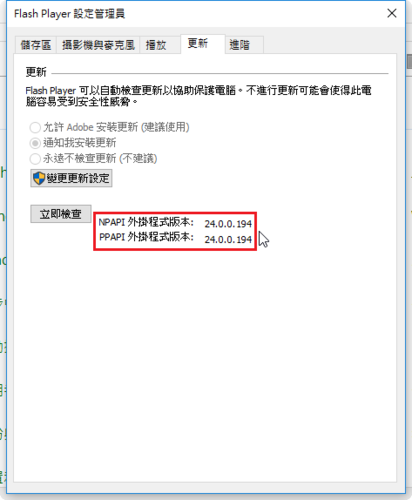
Adobe Flash Player 24.0.0.194
檢查安裝版本:https://www.adobe.com/tw/software/flash/about/
https://get.adobe.com/tw/flashplayer/
[@more@]
Windows 7 平台
Internet Explorer:
http://fpdownload.adobe.com/get/flashplayer/pdc/24.0.0.194/install_flash_player_ax.exe
Windows 8 / 8.1 / 10 / Server 2012 / Server 2012 R2 要從 Windows Update 更新
All Other Browsers(Firefox…):
http://fpdownload.adobe.com/get/flashplayer/pdc/24.0.0.194/install_flash_player.exe
Google Chrome(Opera)
http://fpdownload.macromedia.com/pub/flashplayer/latest/help/install_flash_player_ppapi.exe
Mac 平台:
http://fpdownload.adobe.com/get/flashplayer/pdc/24.0.0.194/install_flash_player_osx.dmg
Ubuntu Server ufw Firewall – 1
用指令式的 ufw 似乎很難能處理 NAT 或其它比較進階的防火牆設定。
參考網頁:
NAT and FORWARD with Ubuntu’s ufw firewall · GitHub
1. 修改 /etc/default/ufw 設定檔中關於 FORWARD POLICY 中的設定
# cp /etc/default/ufw /etc/default/ufw.$(date +%F)
# sed -i ‘s/DEFAULT_FORWARD_POLICY=”DROP”/DEFAULT_FORWARD_POLICY=”ACCEPT”/’ /etc/default/ufw
2. 修改 /etc/ufw/sysctl.conf 設定檔
# cp /etc/ufw/sysctl.conf /etc/ufw/sysctl.conf.$(date +%F)
# sed -i ‘s|#net/ipv4/ip_forward=1|net/ipv4/ip_forward=1|’ /etc/ufw/sysctl.conf[@more@]
在 ufw 的所有規則之前生效
/etc/ufw/before.rules
在 ufw 的所有規則之後生效
/etc/ufw/after.rules
3. 修改 /etc/ufw/before.rules 設定檔
# cp /etc/ufw/before.rules /etc/ufw/before.rules.$(date +%F)
# echo -e “n# NAT table rulesn*natn:PREROUTING ACCEPT [0:0]n:POSTROUTING ACCEPT [0:0]nn# Port Forwardingsn-A PREROUTING -i eth0 -p tcp –dport 22 -j DNAT –to-destination 192.168.1.10nn# Forward traffic through eth0 – Change to match you out-interfacen-A POSTROUTING -s 192.168.1.0/24 -o eth0 -j MASQUERADEnn# don’t delete the ‘COMMIT’ line or these nat table rules won’t be processednCOMMIT” >> /etc/ufw/before.rules
4. 重新載入防火牆規則
# ufw reload
5. 檢查是否有正確設定
# iptables -t nat -L -n
Chain PREROUTING (policy ACCEPT)
target prot opt source destination
DNAT tcp — 0.0.0.0/0 0.0.0.0/0 tcp dpt:22 to:192.168.1.10
Chain INPUT (policy ACCEPT)
target prot opt source destination
Chain OUTPUT (policy ACCEPT)
target prot opt source destination
Chain POSTROUTING (policy ACCEPT)
target prot opt source destination
MASQUERADE all — 192.168.1.0/24 0.0.0.0/0
這裡要特別注意的是,手動添加 NAT 部分的防火牆規則,在重新啟動 ufw 時並不會自動清除,如果重複執行 ufw,則同樣的規則會再添加一次,所以要手動自行清除。
# iptables -t nat -F


