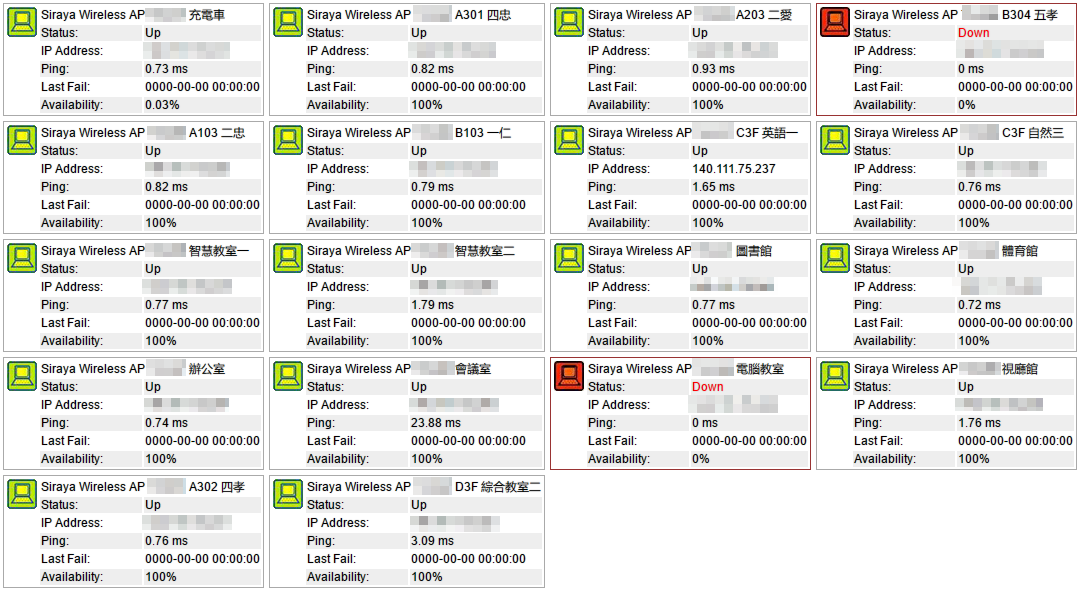
Zabbix 是一套企業級的網管軟體,讓網管人員可以輕鬆地利用網頁介面即可完全監控相關網路服務主機的現行狀態,並且在所設定的異常狀況發生時,立即以電子郵件等方法通知網管人員。
Zabbix 官方網站:http://www.zabbix.com/
參考網站:
企業級開源網管軟體 用Zabbix監控網路服務 – 技術專欄 – 網管人NetAdmin
CentOS 7 安裝Zabbix 3.2 | MIS的背影
RHEL / CentOS 安裝監測工具 — Zabbix – Linux 技術手札
zabbix server 安裝 | zabbix document
1. 首先先安裝好 LAMP
# yum install httpd mariadb mariadb-server php php-mysql php-gd php-pear php-xml php-xmlrpc php-mbstring php-soap[@more@]2. 安裝 zabbix 套件庫
# rpm -ivh http://repo.zabbix.com/zabbix/3.2/rhel/7/x86_64/zabbix-release-3.2-1.el7.noarch.rpm
3. 更新套件庫
# yum update
4. 安裝 zabbix
# yum install zabbix-server-mysql zabbix-web-mysql zabbix-web
5. 設定開機時啟動
# systemctl enable zabbix-server.service
Created symlink from /etc/systemd/system/multi-user.target.wants/zabbix-server.service to /usr/lib/systemd/system/zabbix-server.service.
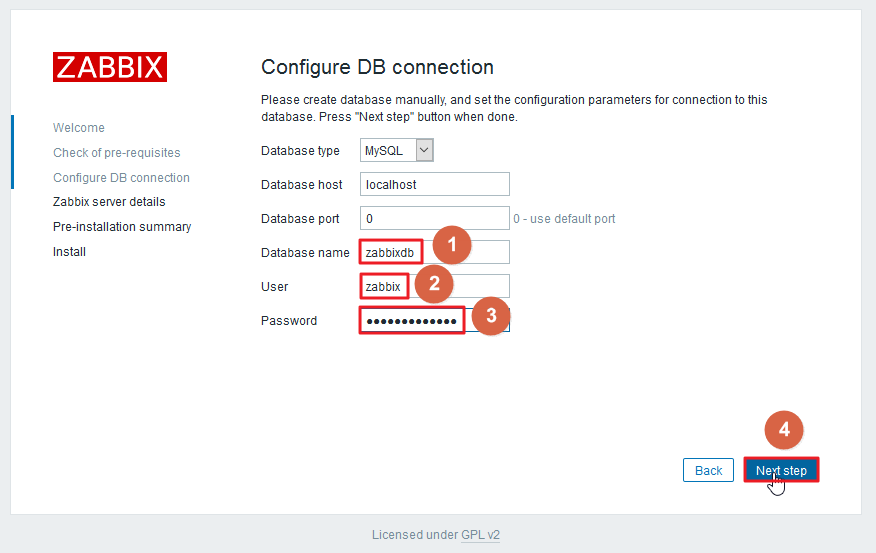
6. 建立 zabbix 資料庫並設定資料庫的管理帳號及密碼
# /usr/bin/mysql -u root -p
> create databases zabbixdb;
> grant all privileges on zabbixdb.* to zabbix@localhost identified by “123456”;
> flush privileges;
7. 匯入資料庫
# gunzip /usr/share/doc/zabbix-server-mysql-3.2.4/create.sql.gz
# /usr/bin/mysql -u zabbix -p zabbixdb < /usr/share/doc/zabbix-server-mysql-3.2.4/create.sql
8. 修改設定檔 /etc/zabbix/zabbix_server.conf 及 /etc/php.ini
# cp /etc/zabbix/zabbix_server.conf /etc/zabbix/zabbix_server.conf.$(date +%F)
# sed -i ‘s/DBName=zabbix/DBName=zabbixdb/’ /etc/zabbix/zabbix_server.conf
# sed -i ‘s/# DBPassword=/DBPassword=123456/’ /etc/zabbix/zabbix_server.conf
# sed -i ‘s/;date.timezone =/date.timezone = Asia/Taipei/’ /etc/php.ini
# vim /etc/httpd/conf.d/zabbix.conf
把
# php_value date.timezone Europe/Riga
修改成
php_value date.timezone Asia/Taipei
9. 重新啟動 Web Server
# systemctl restart httpd.service
10. 啟動 Zabbix Server
# systemctl start zabbix-server.service
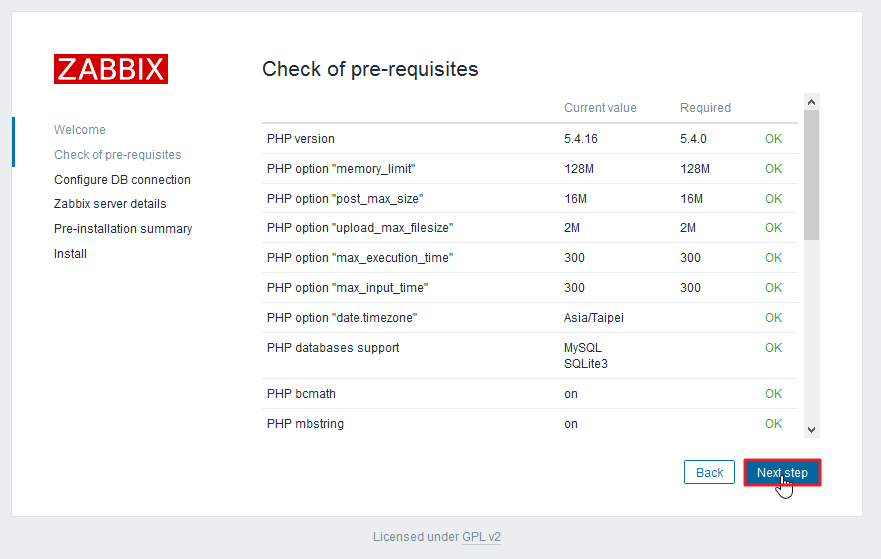
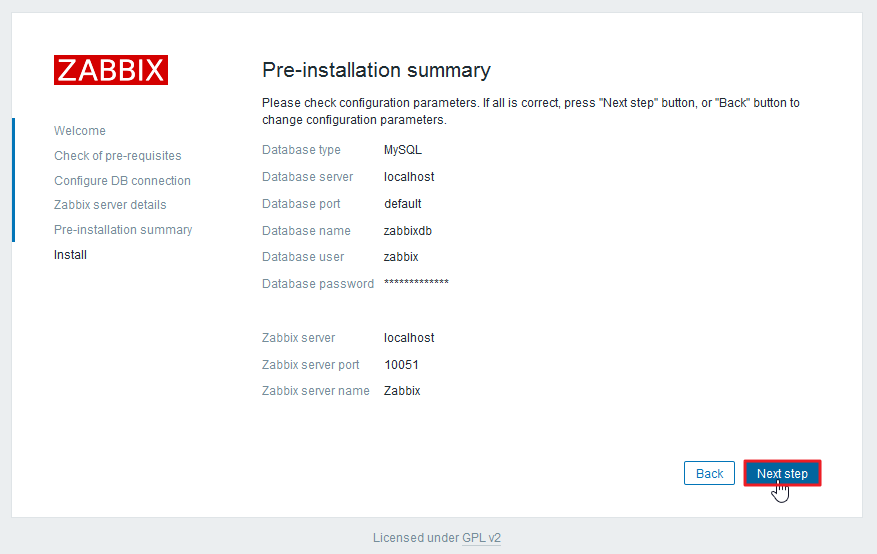
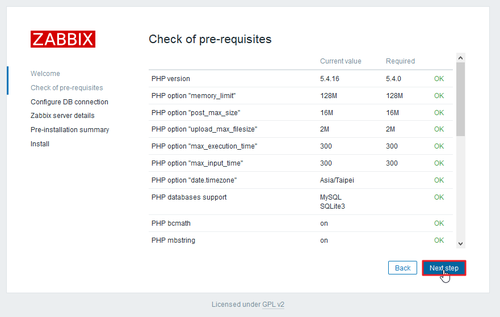
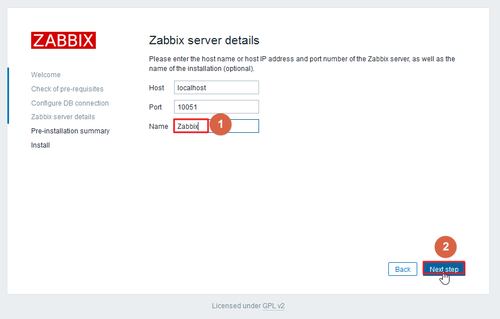
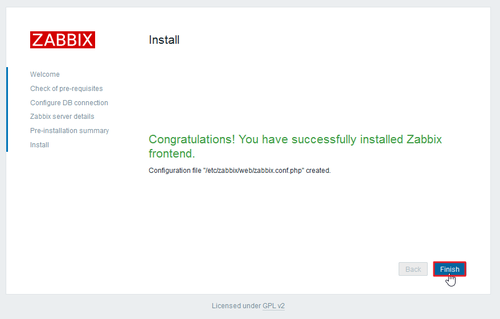
11. 進行安裝及設定 http://Server’IP/zabbix
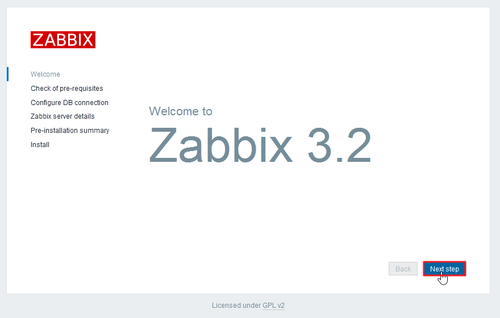


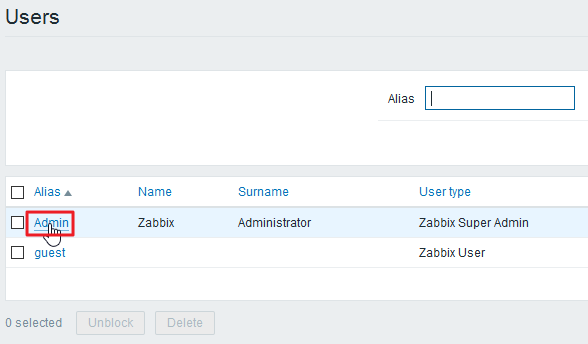
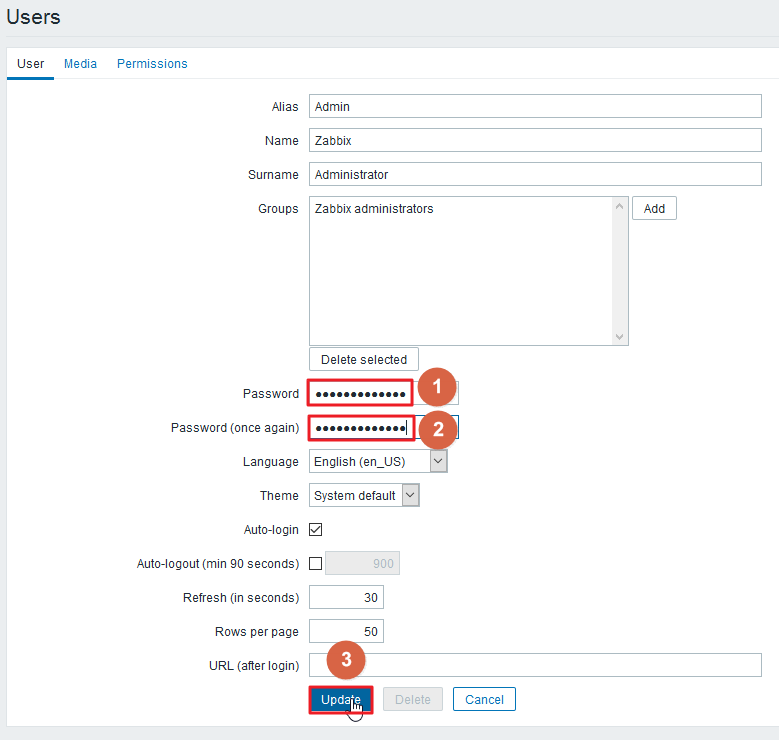
預設登入的帳號及密碼:admin / zabbix
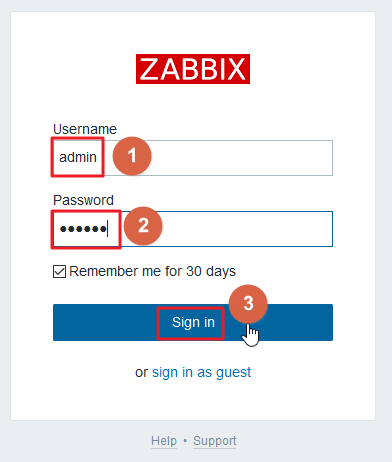
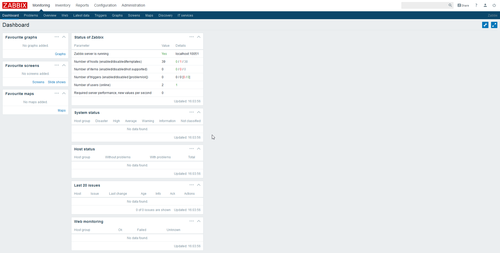
登入畫面

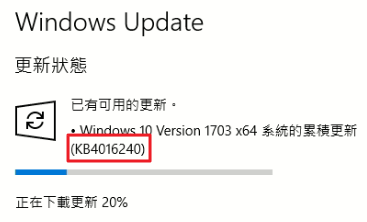
 [@more@]KB4016240 x86 下載: