之前的安裝方式是採用手動一一安裝所須套件,這裡是直接改用 DRBL 所提供的套件。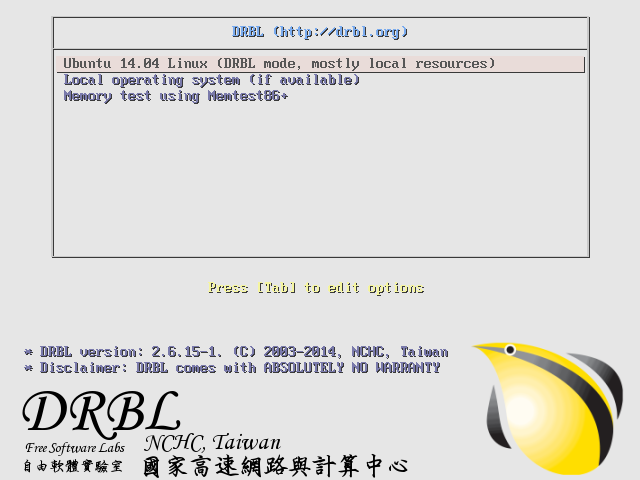 [@more@]1. 安裝
安裝 tftp 和 dhcp server 及一些所須的套件
# apt-get -y install tftpd tftp isc-dhcp-server update-inetd xinetd clonezilla drbl
建立 dhcp server 設定檔
# vim /etc/dhcp/dhcpd.conf
default-lease-time 600;
max-lease-time 7200;
subnet 192.168.1.0 netmask 255.255.255.0 {
range 192.168.1.201 192.168.1.210;
option subnet-mask 255.255.255.0;
option routers 192.168.1.254;
option broadcast-address 192.168.1.255;
filename “pxelinux.0”;
next-server 192.168.1.124;
}
2. 啟動 dhcpd server
# /etc/init.d/isc-dhcp-server restart
* Stopping ISC DHCP server dhcpd [fail]
* Starting ISC DHCP server dhcpd [ OK ]
3. 檢查 dhcpd server 是否有正常啟動
# netstat -lu | grep boot
udp 0 0 *:bootps *:*
udp 0 0 *:bootpc *:*
4. 修改 tftpd server 設定,設定目錄在 /tftpboot/nbi_img
# vim /etc/xinetd.d/tftp
service tftp
{
disable = no
socket_type = dgram
protocol = udp
wait = yes
user = root
server = /usr/sbin/in.tftpd
server_args = -s /tftpboot/nbi_img
per_source = 11
cps = 100 2
flags = IPv4
}
4. 重新啟動 xinetd
# service xinetd restart
5. 檢查 tftpd server 是否有正常啟動
# netstat -lu | grep tftp
udp 0 0 *:tftp *:*
6. 安裝 syslinux
# apt-get install syslinux
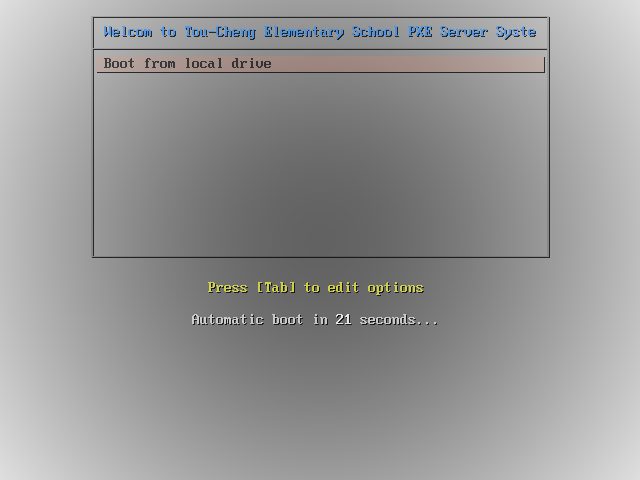
7. 建立 PXE 開機的開機選單
# vim /tftpboot/nbi_img/pxelinux.cfg/default