XtraFinder 釋出新版本 0.20 版
XtraFinder 官方網站:http://www.trankynam.com/xtrafinder/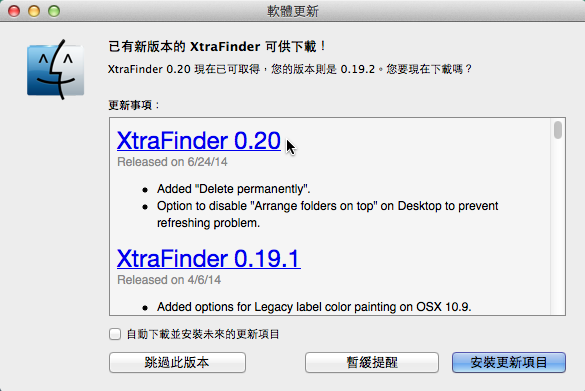
XtraFinder 0.20
XtraFinder 釋出新版本 0.20 版
XtraFinder 官方網站:http://www.trankynam.com/xtrafinder/
利用 PXE Server 搭配 FreeDOS 來更新電腦 BIOS
雖然現在有些電腦的 BIOS 更新,已經可以在 Windows 下直接更新,但有些還是要在 DOS 下才能更新,不過現階段要找到純 DOS 的環境並不是那麼容易,尤其是如果是大批同一型號的電腦要更新,就有些麻煩了。
這時候可以利用 PXE Server 搭配 FreeDOS 來更新電腦 BIOS,只要電腦選擇網路開機,就一下子就可以更新完畢了!
本篇文章參考:將BIOS更新程式放進FreeDOS以便透過PXE開機更新BIOS的作法
FreeDOS 官方網站:http://www.freedos.org

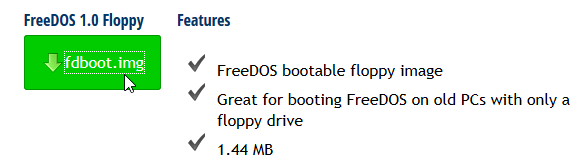
下載 FreeDOS img 檔
# wget http://www.ibiblio.org/pub/micro/pc-stuff/freedos/files/distributions/1.0/fdboot.img
# mv fdboot.img /var/lib/tftpboot
 [@more@]
修改 PXE Server 設定
# vim /var/lib/tftpboot/pxelinux.cfg/default
加入下面設定
LABEL FreeDOS
kernel memdisk
append initrd=fdboot.img
開機畫面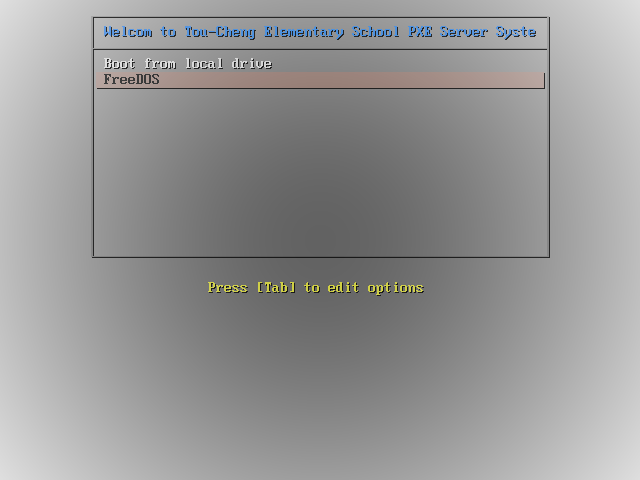
以更新 ASUS EeePC 1005HA 小筆電為例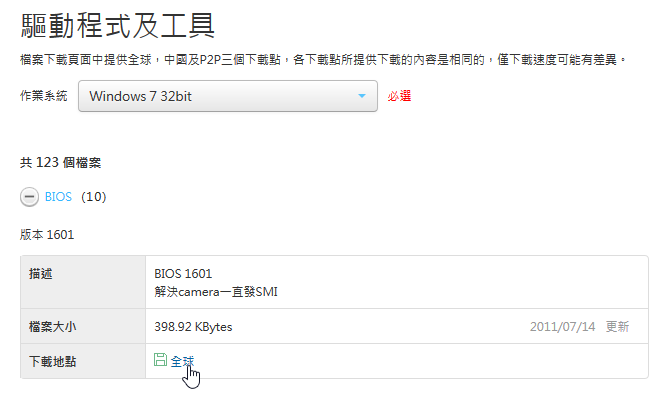
選擇 FreeDOS 開機後選單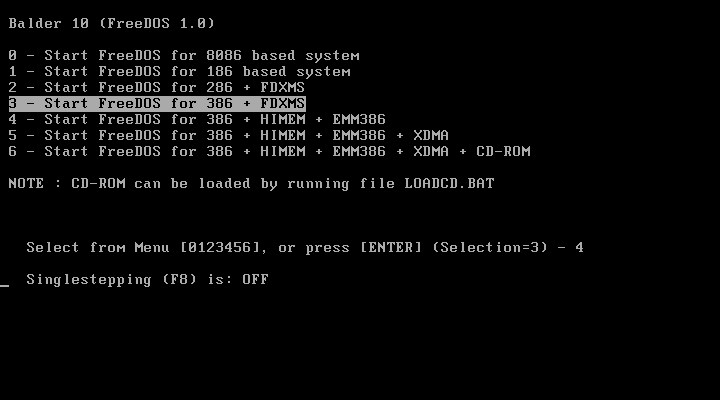 位
位
按任意鍵即可開始更新 BIOS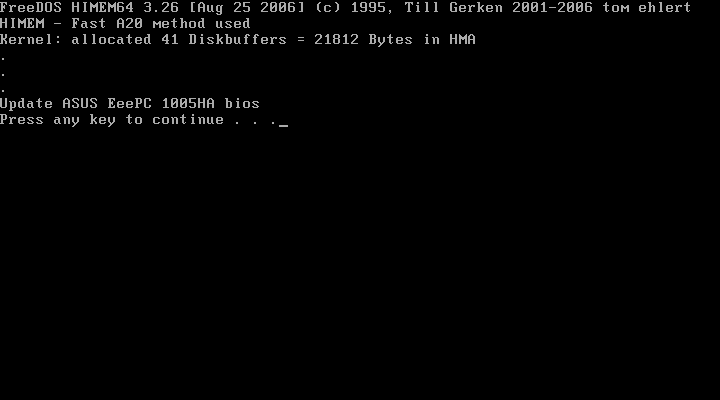
但現在有些 BIOS 很大,如:GigaByte GA-Z77-DS3H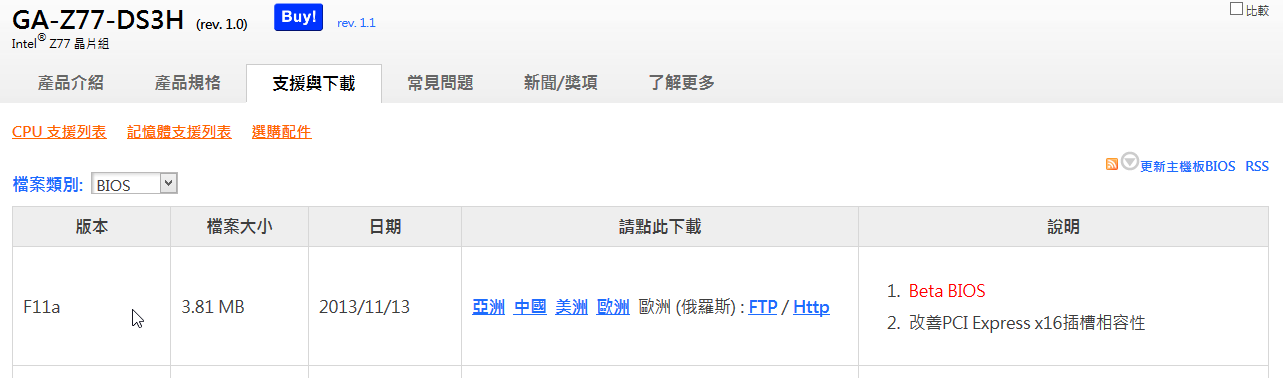
可能就無法整合到 FreeDOS 裡面,要把 BIOS 更新檔存放在 FAT32 的分割區內。
Ubuntu Server – There are 3 zombie processes.
登入 Ubuntu Server 後,發現有一行 There are 3 zombie processes.的訊息
關於 zombie processes 的說明,可以參考 如何避免 zombie process 的產生? @ 藍色情懷 :: 隨意窩 Xuite日誌
找尋 zombie processes 的方式
# ps aux | grep ‘Z’
USER PID %CPU %MEM VSZ RSS TTY STAT START TIME COMMAND
root 2589 0.0 0.0 0 0 pts/0 ZN 15:11 0:00 [bandwidthd] <defunct>
root 2590 0.1 0.0 0 0 pts/0 ZN 15:11 0:00 [bandwidthd] <defunct>
root 2591 0.1 0.0 0 0 pts/0 ZN 15:11 0:00 [bandwidthd] <defunct>
root 2593 0.0 0.0 10468 904 pts/0 S+ 15:11 0:00 grep –color=auto Z
或
# ps axo pid=,stat= | awk ‘$2~/^Z/ { print $1 }’
2589
2651
2652
Ubuntu 14.04 Server 上的 NFS Server 設定
使用 NFS Server 感覺比較麻煩的是,NFS Server 除了固定的 tcp/udp 111 和 tcp/udp 2049 外,其它的 Port 都是動態產生,如果要在防火牆上做設定,不太容易,最好能固定使用某些 Port,方便處理。
# rpcinfo -p
program vers proto port service
100000 4 tcp 111 portmapper
100000 3 tcp 111 portmapper
100000 2 tcp 111 portmapper
100000 4 udp 111 portmapper
100000 3 udp 111 portmapper
100000 2 udp 111 portmapper
100024 1 udp 56027 status
100024 1 tcp 32961 status
100003 2 tcp 2049 nfs
100003 3 tcp 2049 nfs
100003 4 tcp 2049 nfs
100227 2 tcp 2049
100227 3 tcp 2049
100003 2 udp 2049 nfs
100003 3 udp 2049 nfs
100003 4 udp 2049 nfs
100227 2 udp 2049
100227 3 udp 2049
100021 1 udp 44022 nlockmgr
100021 3 udp 44022 nlockmgr
100021 4 udp 44022 nlockmgr
100021 1 tcp 48020 nlockmgr
100021 3 tcp 48020 nlockmgr
100021 4 tcp 48020 nlockmgr
100005 1 udp 33475 mountd
100005 1 tcp 45010 mountd
100005 2 udp 60988 mountd
100005 2 tcp 44341 mountd
100005 3 udp 51772 mountd
100005 3 tcp 40966 mountd
[@more@]這方面的資料在 CentOS Linux 有很多的參考資料,如:鳥哥的 Linux 私房菜 — NFS 伺服器,但在 Ubuntu Server 上似乎不多,尤其是中文的部份,後來在英文的網站中,找到了 SecuringNFS – Debian Wiki 這一篇,根據網站上的說明,實際設定一下,可以正常成功。
1. 修改設定檔 /etc/default/nfs-common
# vim /etc/default/nfs-common
STATDOPTS=”–port 32765 –outgoing-port 32766″
2. 修改設定檔 /etc/default/nfs-kernel-server
# vim /etc/default/nfs-kernel-server
RPCMOUNTDOPTS=”-p 32767″
3. 修改設定檔 /etc/default/quota
# vim /etc/default/quota
RPCRQUOTADOPTS=”-p 32769″
4. 修改 /etc/services 加入下面的設定
# vim /etc/services
rpc.nfsd 2049/tcp # RPC nfsd
rpc.nfsd 2049/udp # RPC nfsd
rpc.nfs-cb 32764/tcp # RPC nfs callback
rpc.nfs-cb 32764/udp # RPC nfs callback
rpc.statd-bc 32765/tcp # RPC statd broadcast
rpc.statd-bc 32765/udp # RPC statd broadcast
rpc.statd 32766/tcp # RPC statd listen
rpc.statd 32766/udp # RPC statd listen
rpc.mountd 32767/tcp # RPC mountd
rpc.mountd 32767/udp # RPC mountd
rpc.lockd 32768/tcp # RPC lockd/nlockmgr
rpc.lockd 32768/udp # RPC lockd/nlockmgr
rpc.quotad 32769/tcp # RPC quotad
rpc.quotad 32769/udp # RPC quotad
5. 修改設定檔 /etc/modprobe.d/local.conf
# vim /etc/modprobe.d/local.conf
options lockd nlm_udpport=32768 nlm_tcpport=32768
options nfs callback_tcpport=32764
6. 重新啟動 Ubuntu Server
7. 檢查成果
# rpcinfo -p
program vers proto port service
100000 4 tcp 111 portmapper
100000 3 tcp 111 portmapper
100000 2 tcp 111 portmapper
100000 4 udp 111 portmapper
100000 3 udp 111 portmapper
100000 2 udp 111 portmapper
100024 1 udp 32765 status
100024 1 tcp 32765 status
100003 2 tcp 2049 nfs
100003 3 tcp 2049 nfs
100003 4 tcp 2049 nfs
100227 2 tcp 2049
100227 3 tcp 2049
100003 2 udp 2049 nfs
100003 3 udp 2049 nfs
100003 4 udp 2049 nfs
100227 2 udp 2049
100227 3 udp 2049
100021 1 udp 32768 nlockmgr
100021 3 udp 32768 nlockmgr
100021 4 udp 32768 nlockmgr
100021 1 tcp 32768 nlockmgr
100021 3 tcp 32768 nlockmgr
100021 4 tcp 32768 nlockmgr
100005 1 udp 32767 mountd
100005 1 tcp 32767 mountd
100005 2 udp 32767 mountd
100005 2 tcp 32767 mountd
100005 3 udp 32767 mountd
100005 3 tcp 32767 mountd
8. 加入防火牆的設定
# NFS Port 111,2049,32764:32769
# eth1 對內網路卡 192.168.66.0/24 內部網路網段
# vim /etc/rc.local
iptables -A INPUT -i eth1 -p tcp -s 192.168.66.0/24 -m state –state NEW -m multiport –dport 111,2049,32764:32769 -j ACCEPT
iptables -A INPUT -i eth1 -p udp -s 192.168.66.0/24 -m state –state NEW -m multiport –dport 111,2049,32764:32769 -j ACCEPT
9. 重新啟動防火牆
# service rc.local start
在 Ubuntu 14.04 上安裝 NFS Server
因為搭配 DRBL Live,所以特別在 Ubuntu Server 上安裝 NFS Server。
安裝所須套件
# apt-get install nfs-common nfs-kernel-server
建立要分享及掛載的目錄
# mkdir /home/partimag
[@more@]修改設定檔 /etc/exports
加入下面一列
# vim /etc/exports
/home/partimag 192.168.66.0/24(rw,sync,no_subtree_check)
啟動 NFS Server
# /etc/init.d/nfs-kernel-server start
* Exporting directories for NFS kernel daemon… [ OK ]
* Starting NFS kernel daemon [ OK ]
檢查是是有啟動成功
# showmount -e localhost
Export list for localhost:
/home/partimag 192.168.66.0/24
DRBL Live 客製化
DRBL Live 在開機時須要設定語系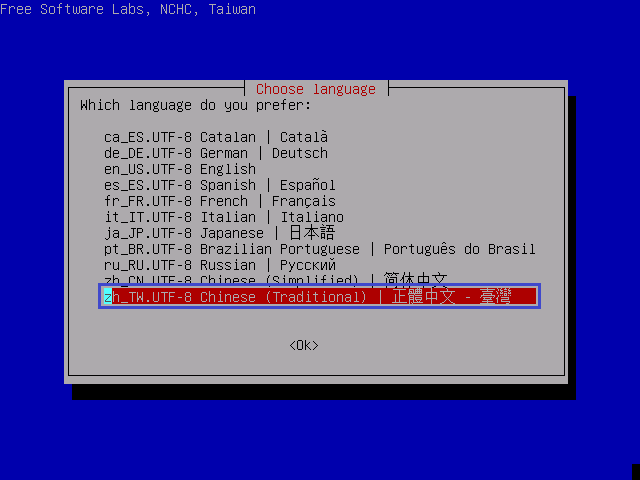
設定鍵盤
選擇要進入的模式
覺得有些小麻煩,希望系統能更加自動化一些![@more@]在 PXE Server 中的設定
LABEL DRBL Live
MENU LABEL DRBL Live (Default settings)
# MENU PASSWD
kernel drbl/live/vmlinuz
append initrd=drbl/live/initrd.img boot=live username=user config nomodeset quiet noeject locales=zh_TW.UTF-8 keyboard-layouts=us ocs_live_batch=no vga=785 ip= nosplash i915.blacklist=yes radeonhd.blacklist=yes nouveau.blacklist=yes vmwgfx.enable_fbdev=no fetch=tftp://192.168.1.124/drbl/live/filesystem.squashfs
TEXT HELP
* Boot menu for BIOS machine
* DRBL live version: 2.2.2-19-amd64. (C) 2003-2014, NCHC, Taiwan
* Disclaimer: DRBL comes with ABSOLUTELY NO WARRANTY
ENDTEXT
在 PXE Server 功能表加上 DRBL Live
關於 DRBL Live 的介紹,可以參考下列網站:
使用Clonezilla + drbl 建置電腦教室自動還原系統
DRBL Live 下載網站:http://sourceforge.net/projects/drbl/files/ [@more@]1. 下載 DRBL Live(視環境下載所須版本)
# wget http://downloads.sourceforge.net/project/drbl/drbl_live_stable/2.2.2-19/drbl-live-xfce-2.2.2-19-amd64.zip
2. 建立目錄
# mkdir /var/lib/tftpboot/drbl
3. 解壓縮
# unzip drbl-live-xfce-2.2.2-19-amd64.zip -d /var/lib/tftpboot/drbl
4. 修改設定檔
# vim /var/lib/tftpboot/pxelinux.cfg/default
加入下面內容
LABEL DRBL Live
MENU LABEL DRBL Live (Default settings)
# MENU PASSWD
kernel drbl/live/vmlinuz
append initrd=drbl/live/initrd.img boot=live username=user config nomodeset quiet noeject vga=785 ip= nosplash i915.blacklist=yes radeonhd.blacklist=yes nouveau.blacklist=yes vmwgfx.enable_fbdev=no fetch=tftp://192.168.1.124/drbl/live/filesystem.squashfs
TEXT HELP
* Boot menu for BIOS machine
* DRBL live version: 2.2.2-19-amd64. (C) 2003-2014, NCHC, Taiwan
* Disclaimer: DRBL comes with ABSOLUTELY NO WARRANTY
ENDTEXT
5. PXE 開機畫面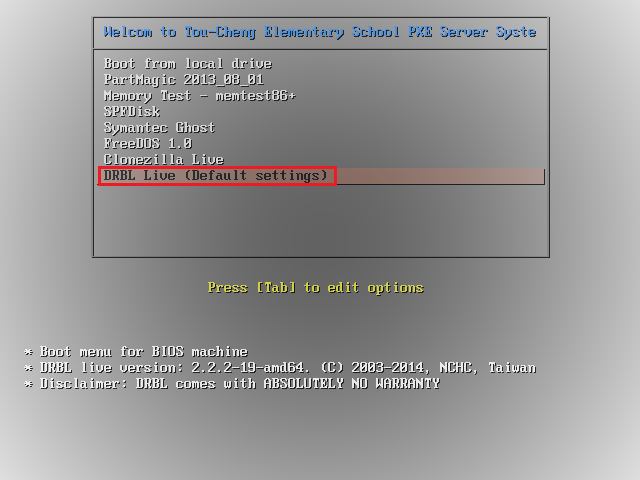
開機畫面
選擇語系
選擇 鍵盤
進入圖形模式
在 PXE Server 功能表加上 Parted Magic
Parted Magic 是一套功能強大的硬碟分割工具,之前的版本是免費的,但目前新版本似乎是要收費的。
Parted Magic 官方網站:http://partedmagic.com/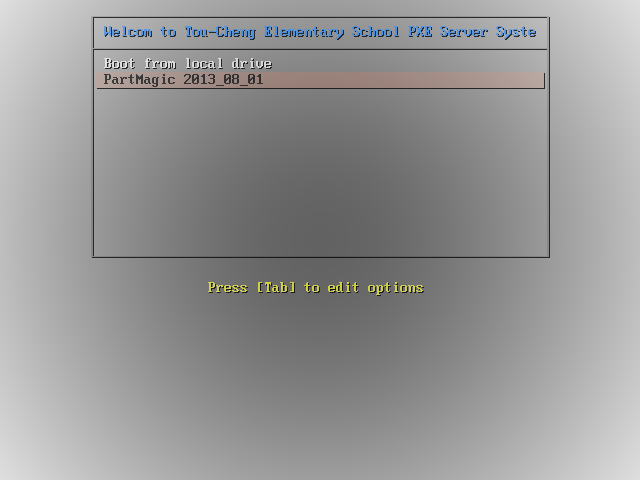
[@more@]這裡以 Parted Magic 2013_08_01 為例:
1. 建立 pmagic 目錄
# mkdir /var/lib/tftpboot/pmagic
2. 將 Parted Magic 2013_08_01 ISO 光碟中的 pmagic 中的 bzImage 和 initrd.img 複製到 /var/lib/tftpboot/pmagic 目錄
3. 修改 PXE Server 設定檔
# vim /var/lib/tftpboot/pxelinux.cfg/default
LABEL partmagic
MENU LABEL PartMagic 2013_08_01
LINUX pmagic/bzImage
INITRD pmagic/initrd.img
APPEND edd=off load_ramdisk=1 prompt_ramdisk=0 rw vga=normal loglevel=9 max_loop=256
4. 開機過程
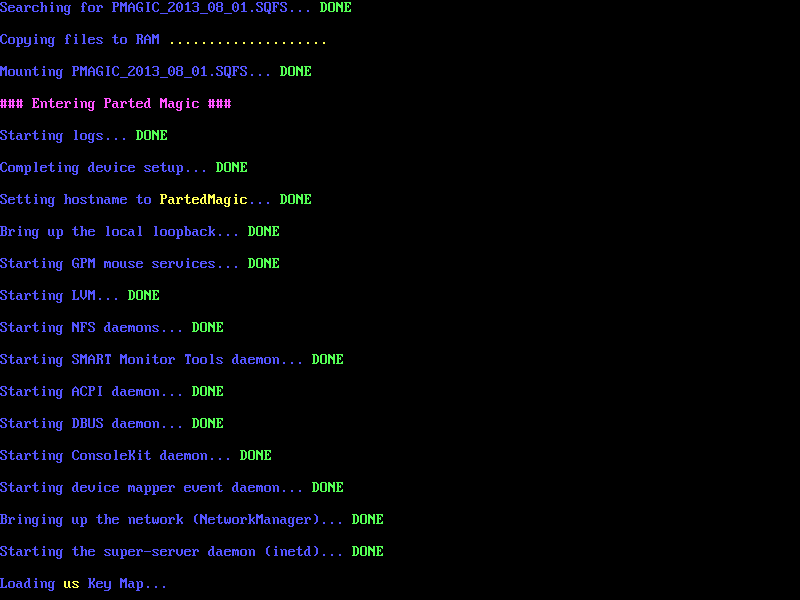
時區設定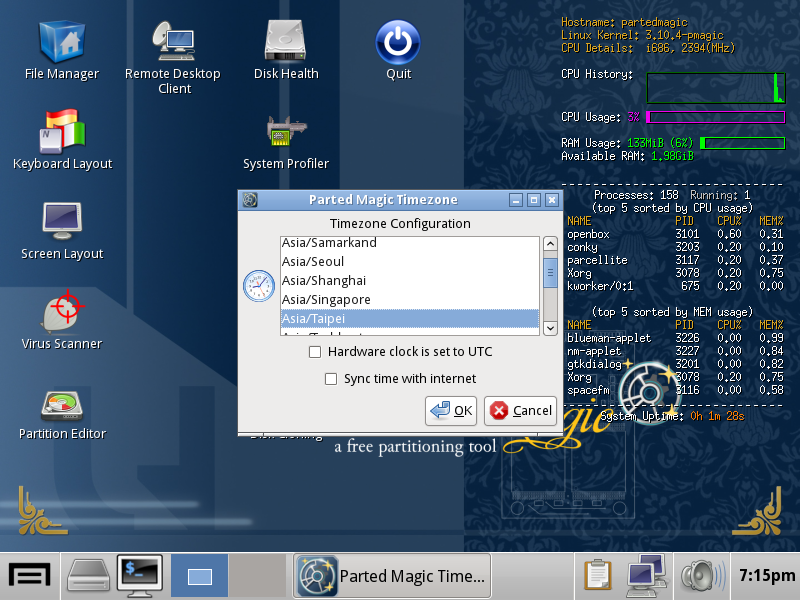
開機完成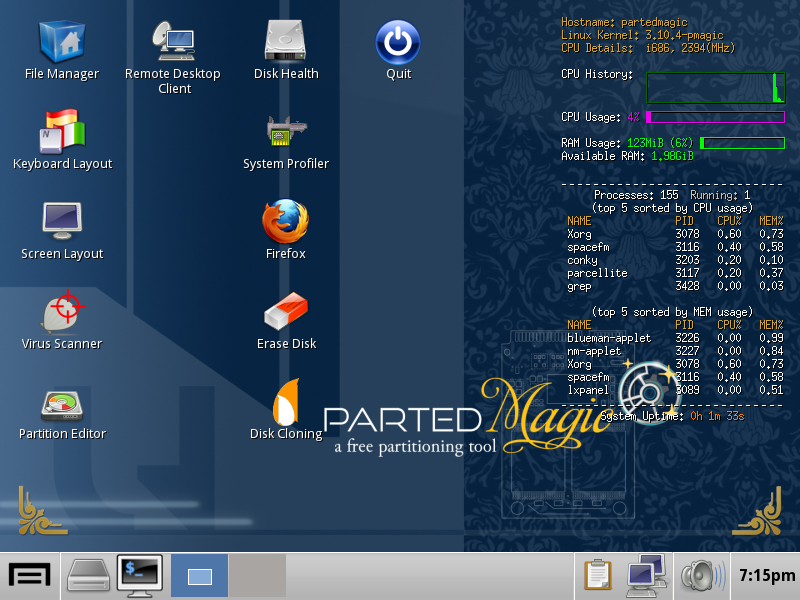
PXE Server 的功能表
如果沒有特別做設定,PXE Server 的功能表就是這樣醜醜的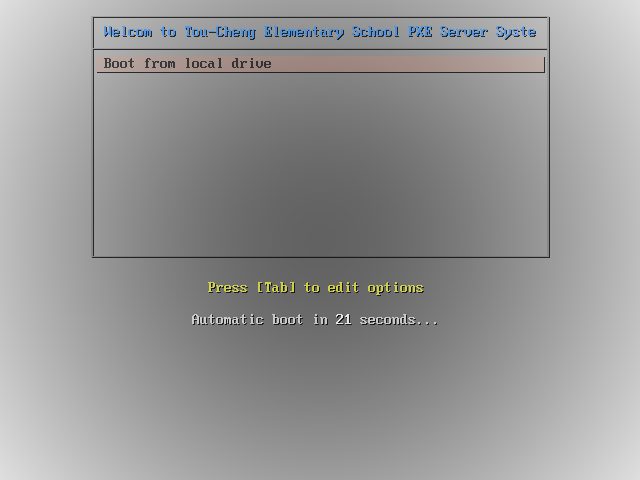
但也可以加上背景圖,以 DRBL PXE 為例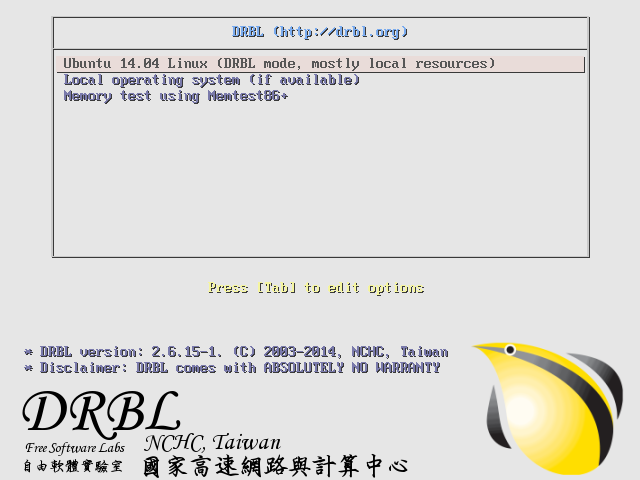 [@more@]DRBL PXE 功能表設定
default vesamenu.c32
# 倒數計時時間(7sec)
timeout 70
prompt 0
noescape 1
MENU MARGIN 5
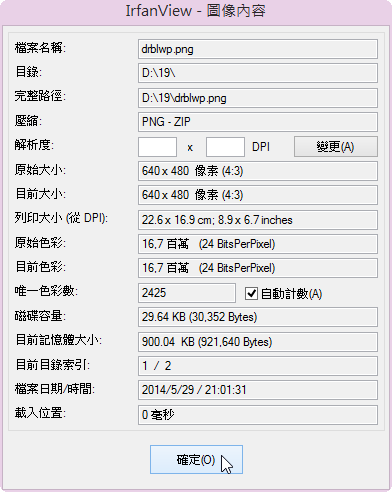
# 背景圖
MENU BACKGROUND drblwp.png
# Set the color for unselected menu item and timout message
MENU COLOR UNSEL 7;32;41 #c0000090 #00000000
MENU COLOR TIMEOUT_MSG 7;32;41 #c0000090 #00000000
MENU COLOR TIMEOUT 7;32;41 #c0000090 #00000000
MENU COLOR HELP 7;32;41 #c0000090 #00000000
# MENU MASTER PASSWD
say **********************************************
say Welcome to DRBL.
say NCHC Free Software Labs, Taiwan.
say http://drbl.org; http://drbl.nchc.org.tw
say **********************************************
# Allow client to edit boot parameters
ALLOWOPTIONS 1
# simple menu title
MENU TITLE DRBL (http://drbl.org)
label drbl
# 預設選項
MENU DEFAULT
# MENU HIDE
MENU LABEL Ubuntu 14.04 Linux (DRBL mode, mostly local resources)
# MENU PASSWD
kernel vmlinuz-pxe
append initrd=initrd-pxe.img devfs=nomount drblthincli=off selinux=0 quiet edd=on
# 下方的說明
TEXT HELP
* DRBL version: 2.6.15-1. (C) 2003-2014, NCHC, Taiwan
* Disclaimer: DRBL comes with ABSOLUTELY NO WARRANTY
ENDTEXT
label clonezilla
# MENU DEFAULT
# 功能表隱藏
MENU HIDE
MENU LABEL Clonezilla
# MENU PASSWD
kernel vmlinuz-pxe
append initrd=initrd-pxe.img devfs=nomount drblthincli=off selinux=0 quiet text 1 edd=on
TEXT HELP
* Clonezilla version: 3.5.2-2. (C) 2003-2014, NCHC, Taiwan
* Disclaimer: Clonezilla comes with ABSOLUTELY NO WARRANTY
ENDTEXT
label local
# MENU DEFAULT
# MENU HIDE
MENU LABEL Local operating system (if available)
# MENU PASSWD
# 2 method to boot local device:
# (1) For localboot 0, it is decided by boot order in BIOS, so uncomment the follow 1 line if you want this method:
# localboot 0
# (2) For chain.c32, you can assign the boot device.
# Ref: extlinux.doc from syslinux
# Syntax: APPEND [hd|fd]<number> [<partition>]
# [<partition>] is optional.
# Ex:
# Second partition (2) on the first hard disk (hd0);
# Linux would *typically* call this /dev/hda2 or /dev/sda2, then it’s “APPEND hd0 2”
#
kernel chain.c32
append hd0
TEXT HELP
Boot local OS from first hard disk if it’s available
ENDTEXT
背景圖資訊