參考文章:Samba 4.1 on FreeBSD 10.1 · GitHub
1. 搜尋可用的套件
# pkg search samba | grep ^samba
samba-nsupdate-9.8.6_1 nsupdate utility with GSS-TSIG support
samba-virusfilter-0.1.3_1 On-access anti-virus filter for Samba
samba36-3.6.25_3 Free SMB and CIFS client and server for Unix
samba36-libsmbclient-3.6.25_2 Shared lib from the samba package
samba36-nmblookup-3.6.25 NetBIOS Name lookup tool
samba36-smbclient-3.6.25 Samba “ftp-like” client
samba41-4.1.22_2 Free SMB/CIFS and AD/DC server and client for Unix
samba42-4.2.11 Free SMB/CIFS and AD/DC server and client for Unix
samba43-4.3.8 Free SMB/CIFS and AD/DC server and client for Unix
2. 直接安裝最新的版本
# pkg install samba43
************************************************************
Message from trousers-tddl-0.3.10_7:
To run tcsd automatically, add the following line to /etc/rc.conf
tcsd_enable=”YES”
You might want to edit /usr/local/etc/tcsd.conf to reflect your setup.
To use TPM, add your_account to ‘_tss’ group like following:
# pw groupadd _tss -m your_account
Message from cyrus-sasl-2.1.26_12:
You can use sasldb2 for authentication, to add users use:
saslpasswd2 -c username
===============================================================================
Message from samba43-4.3.8:
===============================================================================
How to start: http://wiki.samba.org/index.php/Samba4/HOWTO
* Your configuration is: /usr/local/etc/smb4.conf
* All the relevant databases are under: /var/db/samba4
* All the logs are under: /var/log/samba4
* Provisioning script is: /usr/local/bin/samba-tool
For additional documentation check: http://wiki.samba.org/index.php/Samba4
Bug reports should go to the: https://bugzilla.samba.org/
===============================================================================[@more@]3. 建立 /usr/local/etc/smb4.conf
設定檔是從 NAS4Free 取得,再稍做修改
# vim /usr/local/etc/smb4.conf
[global]
encrypt passwords = yes
netbios name = freebsd
workgroup = HOME
server string = FreeBSD Server
security = user
dns proxy = no
strict locking = no
read raw = yes
write raw = yes
oplocks = yes
max xmit = 65535
deadtime = 15
getwd cache = yes
unix charset = UTF-8
time server = yes
max log size = 100
logging = syslog
loglevel = 1
load printers = no
printing = bsd
printcap cache time = 0
printcap name = /dev/null
disable spoolss = yes
dos charset = CP950
smb passwd file = /var/etc/private/smbpasswd
private dir = /var/etc/private
passdb backend = tdbsam
idmap config * : backend = tdb
idmap config * : range = 10000-39999
aio read size = 1024
aio write size = 1024
[t850008]
comment = t850008
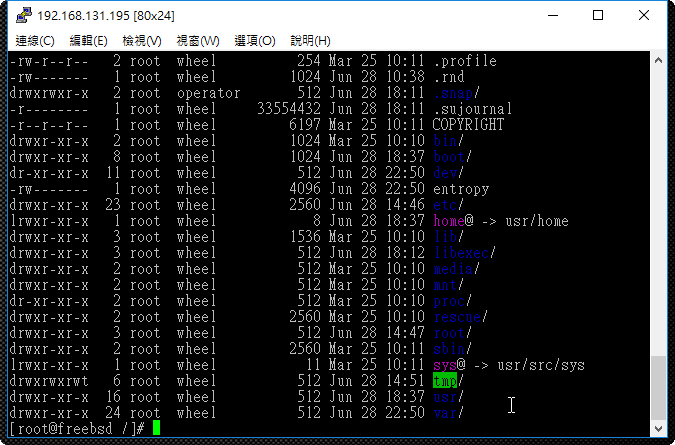
path = /home/t850008
writeable = yes
printable = no
hide dot files = yes
guest ok = no
inherit permissions = yes
inherit acls = yes
4. 測試設定檔是否正確
# /usr/local/bin/testparm
Load smb config files from /usr/local/etc/smb4.conf
Processing section “[t850008]”
Loaded services file OK.
Server role: ROLE_STANDALONE
Press enter to see a dump of your service definitions
# Global parameters
[global]
dos charset = CP950
workgroup = HOME
server string = FreeBSD Server
security = USER
smb passwd file = /var/etc/private/smbpasswd
private dir = /var/etc/private
logging = syslog
max log size = 100
max xmit = 65535
time server = Yes
deadtime = 15
load printers = No
printcap cache time = 0
printcap name = /dev/null
disable spoolss = Yes
dns proxy = No
idmap config * : range = 10000-39999
idmap config * : backend = tdb
aio read size = 1024
aio write size = 1024
strict locking = No
[t850008]
comment = t850008
path = /home/t850008
read only = No
inherit permissions = Yes
inherit acls = Yes
5. 修改 /etc/rc.conf 啟動設定檔
# vim /etc/rc.conf
加入下面這一行設定
samba_server_enable=”YES”
或
# echo ‘samba_server_enable=”YES”‘ >> /etc/rc.conf
6. 啟動 Samba Server
# /usr/local/etc/rc.d/samba_server start
Performing sanity check on Samba configuration: OK
Starting nmbd.
Starting smbd
7. 檢查 Samba Server 是否有正常啟動
# netstat -an | grep -E ‘137|138|139|445’
tcp4 0 0 *.139 *.* LISTEN
tcp4 0 0 *.445 *.* LISTEN
tcp6 0 0 *.139 *.* LISTEN
tcp6 0 0 *.445 *.* LISTEN
udp4 0 0 *.138 *.*
udp4 0 0 *.137 *.*
8. 設定使用者密碼
# /usr/local/bin/pdbedit -a t850008
new password:
retype new password:
Unix username: t850008
NT username:
Account Flags: [U ]
User SID: S-1-5-21-1407030253-4189778233-248147614-1000
Primary Group SID: S-1-5-21-1407030253-4189778233-248147614-513
Full Name: User &
Home Directory: freebsdt850008
HomeDir Drive:
Logon Script:
Profile Path: freebsdt850008profile
Domain: FREEBSD
Account desc:
Workstations:
Munged dial:
Logon time: 0
Logoff time: 日, 00 1月 1900 00:00:00 CST
Kickoff time: 日, 00 1月 1900 00:00:00 CST
Password last set: 日, 26 6月 2016 09:59:39 CST
Password can change: 日, 26 6月 2016 09:59:39 CST
Password must change: never
Last bad password : 0
Bad password count : 0
Logon hours : FFFFFFFFFFFFFFFFFFFFFFFFFFFFFFFFFFFFFFFFFF