Synology DS410 NAS 出現「硬碟槽錯誤」訊息

NAS 突然發出嗶嗶的叫聲,直覺應該是硬碟出現問題,登入系統後,在硬碟的狀態欄出現是的「硬碟槽錯誤」訊息

[@more@]經與 Synology 原廠工程師做確認,傳送系統 Log 給工程師檢驗,判斷可能是硬碟有問題,而不是硬碟槽有問題,建議將有問題的硬碟拆下來,使用 HD TuneCrystalDiskInfo 來進行檢測。不過我把 NAS 重新開機之後,顯示的訊息就是硬碟有問題了,所以就沒有做以上的動作。

後來換了一顆 WD 紅標的 NAS 硬碟,不再用 Seagate 了!

Synology DS410 NAS 硬碟相容清單:
https://www.synology.com/zh-tw/compatibility?search_by=products&category=hdds&p=1&product_bays=4&product_name=DS410&filter_size=2TB&filter_type=3.5&not_recommend_mode=false

測試及使用 Free NAS 的感想

沒有使用一般市面廠商提供的 NAS 整合方案,是因為這些 NAS 廠商提供的軟硬體普遍都缺乏彈性,而且價格不斐,所以才想要自己動手應用。

自己也沒有用過其它廠牌的 NAS,自己家裡用的和學校用的都是 Synology,對 Synology 的操作也比較熟悉,但對於 Synology 最近發生的資安事件,有些喪失信心。
自己對 NAS 的需求是:
1. 提供 Samba File Server 功能
2. 提供 FTP Server 功能
3. 提供 NFS 功能
4. 能將檔案同步到 Google Drive
5. 能依照自己的需求及安裝硬碟數,建立 RAID
6. 遠端管理
7. 防火牆
8. 提供 VPN 功能
9. 其它…..[@more@]個人稍做一些簡單的比較
1. Samba File Server
    SynologyOK
    CentOS / Debian / Ubuntu / FreeBSDOK

2. FTP Server
    SynologyOK
    CentOS / Debian / Ubuntu / FreeBSDOK

3. NFS
    SynologyOK
    CentOS / Debian / Ubuntu / FreeBSDOK

4. Google Drive 同步
    SynologyOK
    CentOS(7.x) / Debian / Ubuntu / FreeBSDOK

5. RAID
    SynologyOK(但缺乏彈性,只能用廠商提供的方案 2/4…. way)
    CentOS / Debian / Ubuntu / FreeBSDOK   

6. 遠端管理
    SynologyOK(功能強大)
    CentOS / Debian / Ubuntu / FreeBSDOK
    (提供的 SSH 遠端管理非常強大,不用 Web GUI 的功能。個人也深深覺得可以用文字介面完成的工作,就最好不要用 GUI 介面,而且還可以不用安裝 Web Server,大大增加系統安全性)

7. 防火牆
    SynologyOK
    CentOS / Debian / Ubuntu / FreeBSDOK
    Linux:
iptables / firewall-cmd…
    FreeBSD:ipf / ipfw / pf 
    功能非常強大,可以使用上更具各種彈性

8. VPN
    SynologyOK
    CentOS / Debian / Ubuntu / FreeBSDOK

使用 NAS 廠商提供的方案
好處:1. 提供軟硬體的整合測試
           2. 比較省電
           3. 提供許多額外的功能
           4. 提供相關問題咨詢
缺點:1. 價格可能比較昂貴
           2. 缺乏一些彈性

使用 Free NAS 的方案:
好處:1. 功能強大且具有彈性
           2. 相同的價格可以提供更好的設備
缺點:1. 系統可能比較耗電
           2. 軟硬體要自己調配及處理
           3. 遇到問題要自己動手(問人或網路搜尋)

grive 的使用參數

grive 程式路徑
$ which grive
/usr/local/bin/grive

grive 使用參數
$ /usr/local/bin/grive –help
Grive options:
  -h [ –help ]               Produce help message
  -v [ –version ]            Display Grive version
  -a [ –auth ]               Request authorization token
  -p [ –path ] arg           Root directory to sync
  -s [ –dir ] arg            Single subdirectory to sync (remembered for next
                              runs)
  -V [ –verbose ]            Verbose mode. Enable more messages than normal.
  –log-http arg              Log all HTTP responses in this file for
                              debugging.
  –new-rev                   Create new revisions in server for updated files.
  -d [ –debug ]              Enable debug level messages. Implies -v.
  -l [ –log ] arg            Set log output filename.
  -f [ –force ]              Force grive to always download a file from Google
                              Drive instead of uploading it.
  -u [ –upload-only ]        Do not download anything from Google Drive, only
                              upload local changes
  -n [ –no-remote-new ]      Download only files that are changed in Google
                              Drive and already exist locally
  –dry-run                   Only detect which files need to be
                              uploaded/downloaded, without actually performing
                              them.
  –ignore arg                Perl RegExp to ignore files (matched against
                              relative paths, remembered for next runs).
  -U [ –upload-speed ] arg   Limit upload speed in kbytes per second
  -D [ –download-speed ] arg Limit download speed in kbytes per second[@more@]-h 列出參數說明

-v 列出 grive 版本
$ /usr/local/bin/grive -v
grive version 0.5.1-dev Jun 30 2016 13:33:47
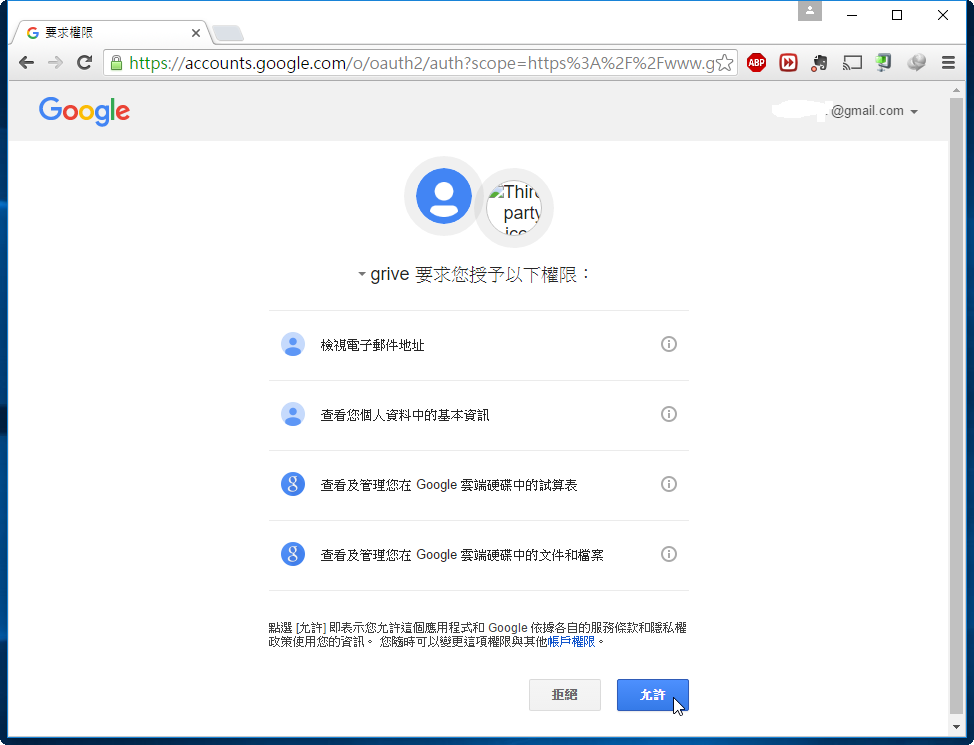
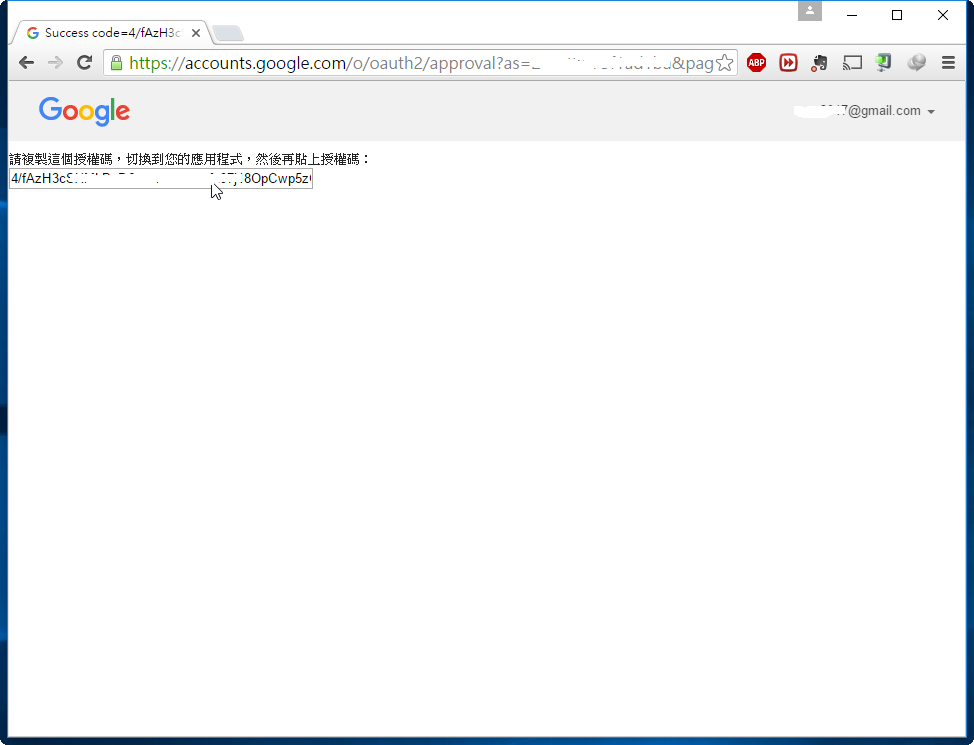
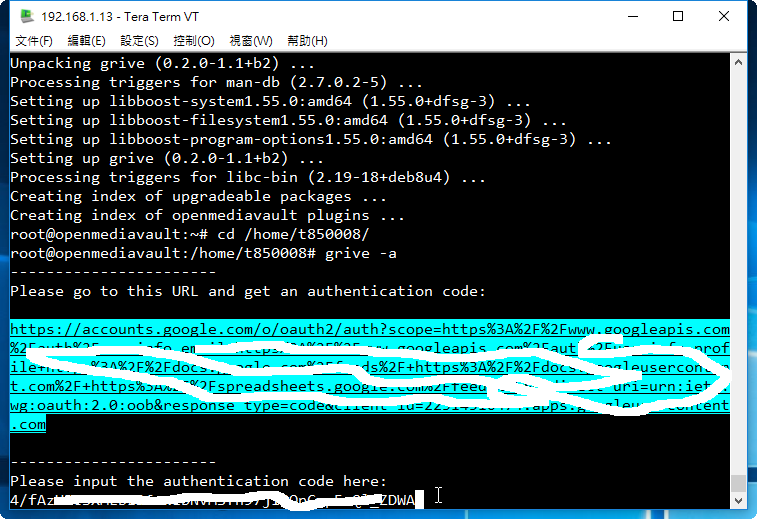
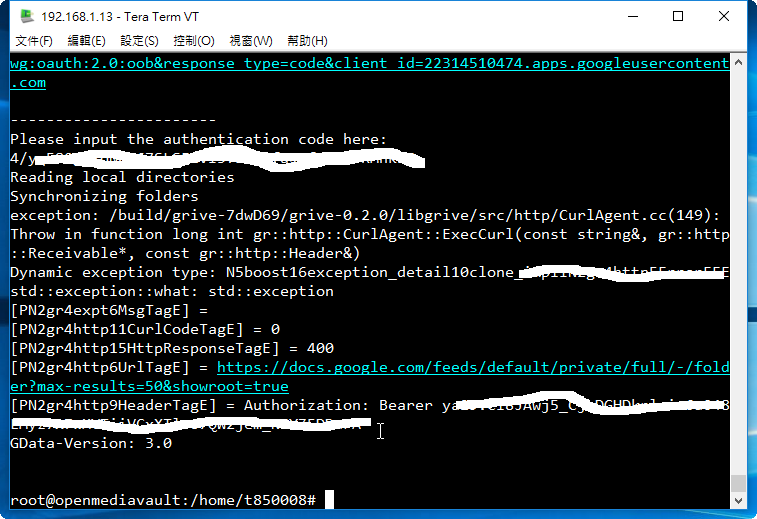
-a 取得授權碼
$ /usr/local/bin/grive -a

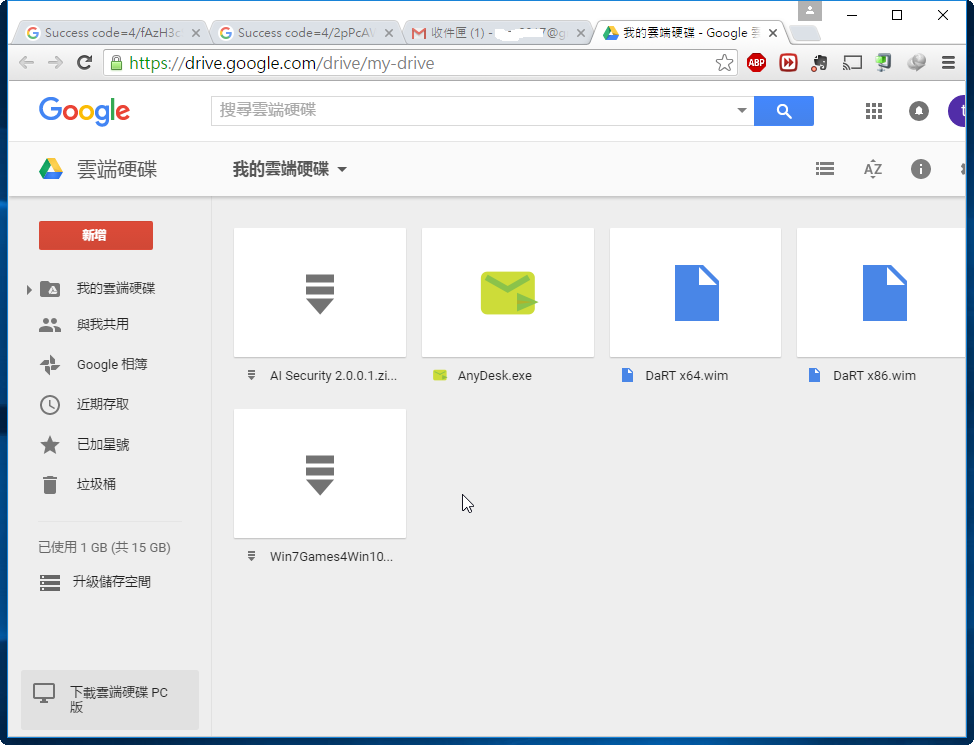
-p 要同步的根目錄,同步到 Google Drive 後,呈現的就是 /home/t850008/Google 目錄下的檔案及目錄
$ /usr/local/bin/grive -p /home/t850008/Google

-s 單一子目錄同步
$ /usr/local/bin/grive -s /home/t850008/Google/123

-V 詳細模式,啟用比正常更多的訊息
$ /usr/local/bin/grive -p /home/t850008/Google -V
config file name “/home/t850008/Google/.grive”
Reading local directories
file .grive_state is ignored by grive
file .grive is ignored by grive
Reading remote server file list
file “/home/t850008/Google/格式工廠 format factory 3.8.0.0 中文免安裝版.exe” is already in sync
Synchronizing files
sync “/home/t850008/Google” already in sync
sync “/home/t850008/Google/pCloud_Windows_3.2.4.exe” deleted in remote. deleting local
sync “/home/t850008/Google/格式工廠 format factory 3.8.0.0 中文免安裝版.exe” already in sync
change stamp is set to 14
Finished!

-l 設定輸入的 log 檔的檔案名稱

-f 強制
$ /usr/local/bin/grive -p /home/t850008/Google -f

-u 不從 Google Drive 下載檔案, 只上傳本地端有改變的檔案
$ /usr/local/bin/grive -p /home/t850008/Google -u

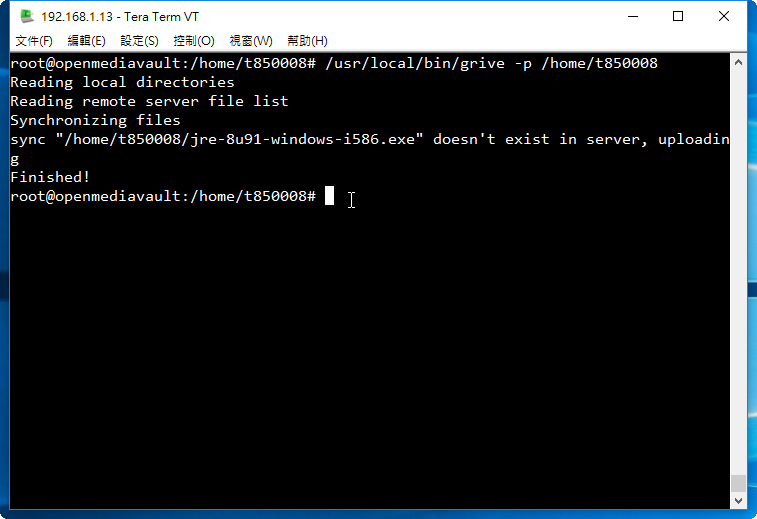
-n 只下載 Google Drive 有改變且已存在本地端的檔案,也會上傳本地端的檔案到 Google Drive
$ /usr/local/bin/grive -p /home/t850008/Google -n

–dry-run 只偵測哪些檔案要處理,並不實際做檔案的上傳或下載
$ /usr/local/bin/grive -p /home/t850008/Google –dry-run

–ignore 使用 Perl 常規表示式來過濾一些不處理的目錄(針對相對應目錄處理)

-U 限制上傳的速度  kbytes per second
-D 限制下載的速度  kbytes per second

使用 grive 同步不同的目錄到不同的帳號

以 Debain Linux 為例
1. 在使用者目錄下建立不同的目錄
$ mkdir /home/t850008/{Google,t850008}

2. 先開啟瀏覽器登入到要同步的 Google Drive 帳號:

[@more@]3. 切換到要同步的目錄,並進行設定
$ cd /home/t850008/Google
$ /usr/local/bin/grive -a

4. 在下方產生網址

5. 將產生的網址,貼到瀏覽器網址列,按  Enter 鍵執行

6. 選擇 允許

7. 將產生的 授權碼 複製起來

8. 將產生的 授權碼 貼在下方,按  Enter 鍵執行

Reading local directories
Reading remote server file list
Synchronizing files
sync “./.bash_logout” doesn’t exist in server, uploading
sync “./.bash_profile” doesn’t exist in server, uploading
sync “./.bashrc” doesn’t exist in server, uploading
Finished!

9. 登入另外一個 Google 帳號,重複 2~8 個步驟,但目錄切換到 /home/t850008/t850008

10. 在 crontab 中建立工作排程
$ crontab -e
*/5 * * * * /usr/local/bin/grive -p /home/t850008/Google
*/5 * * * * /usr/local/bin/grive -p /home/t850008/t850008

NAS4Free – 更改 IP

安裝 NAS4Free 時是使用 DHCP Server,直接取得 IP,如果想要更換成其它固定的 IP 設定方法。
1. 原先的 IP 是 192.168.1.250,選擇 2 Configure Network IP Address

[@more@]2. 不使用 DHCP Server 取得 IP

3. 設定要使用的 IP

4. 設定子網路遮罩 Subnet mask

5. 設定 Gateway

6. 設定 DNS Server

7. 不設定 IPv6

8. IP 已經改成 192.168.1.99

OpenMediaVault – 使用 grive 同步檔案到 Google Drive(成功)

參考網頁:
Grive2 — YourcmcWiki
GitHub – vitalif/grive2: Google Drive client with support for new Drive REST API and partial sync

1.安裝所需套件
# apt-get install git cmake build-essential libgcrypt11-dev libyajl-dev libboost-all-dev libcurl4-openssl-dev libexpat1-dev libcppunit-dev binutils-dev pkg-config

2. 下載 grive Source Code
# git clone https://github.com/vitalif/grive2
Cloning into ‘grive2’…
remote: Counting objects: 3914, done.
remote: Total 3914 (delta 0), reused 0 (delta 0), pack-reused 3914
Receiving objects: 100% (3914/3914), 1.05 MiB | 364.00 KiB/s, done.
Resolving deltas: 100% (2565/2565), done.
Checking connectivity… done.[@more@]3. 進行編譯
# cd grive2
# mkdir build
# cd build
# cmake ..
— Found libgcrypt: -lgcrypt
— Boost version: 1.55.0
— Found the following Boost libraries:
—   program_options
—   filesystem
—   unit_test_framework
—   regex
—   system
— Found libbfd: /usr/lib/libbfd.so
— Found CppUnit: /usr/lib/x86_64-linux-gnu/libcppunit.so
— Could NOT find ZLIB (missing:  ZLIB_LIBRARY ZLIB_INCLUDE_DIR)
— Found PkgConfig: /usr/bin/pkg-config (found version “0.28”)
— checking for module ‘yajl’
—   found yajl, version 2.1.0
— Building unitary tests along with the library and the binary
— Boost version: 1.55.0
— Found the following Boost libraries:
—   program_options
— Configuring done
— Generating done
— Build files have been written to: /root/grive2/build

4. 進行安裝
# make -j4
# make install
Install the project…
— Install configuration: “”
— Installing: /usr/local/bin/grive
— Installing: /usr/local/share/man/man1/grive.1

5. 取得 Google Drive 授權碼
# cd /home/t850008
# /usr/local/bin/grive -a

6. 進行同步
# /usr/local/bin/grive -p /home/t850008

7. 進行工作排程
# crontab -e
*/5 * * * * /usr/local/bin/grive -p /home/t850008 > /dev/null 2>&1

OpenMediaVault – 使用 grive 同步檔案到 Google Drive(失敗)

參考文件:在 Linux 中使用 Grive 指令工具同步 Google 雲端硬碟(Drive)上的檔案 – G. T. Wang
1. 安裝 grive
# apt-get update
# apt-get install grive

2. 先開啟瀏覽器登入到要同步的 Google Drive 帳號:

[@more@]3. 切換到要同步的目錄,並進行設定
# cd /home/t850008
# grive -a

4. 在下方產生網址

5. 將產生的網址,貼到瀏覽器網址列,按  Enter 鍵執行

6. 選擇 允許

7. 將產生的 授權碼 複製起來

8. 將產生的 授權碼 貼在下方,按  Enter 鍵執行

9. 執行畫面

10. 執行 grive 進行同步,但無法同步

11. 移除 grive
# apt-get remove –purge grive