參考網頁:在 ASUS Chromebook C300 使用 Ubuntu Unity 桌面 « Jamyy’s Weblog
1. 進入開發人員模式
注意:進入開發人員模式,會把 ChromeOS 上的所有設定清除,就像是重新使用新機一樣,所以請先備份好自己的檔案
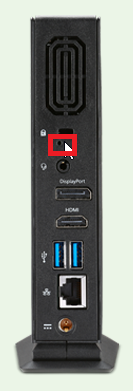
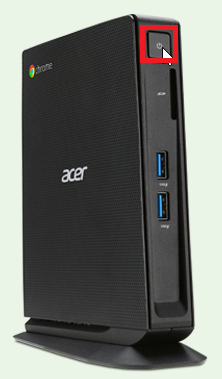
先將 Chromebox 關機
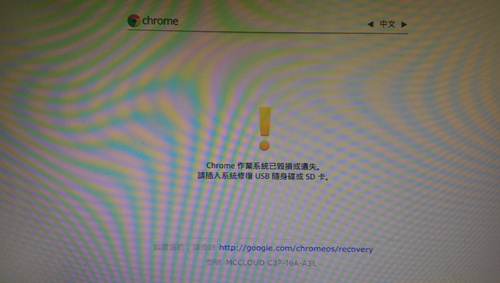
同時按 修復按鈕 和 電源鍵
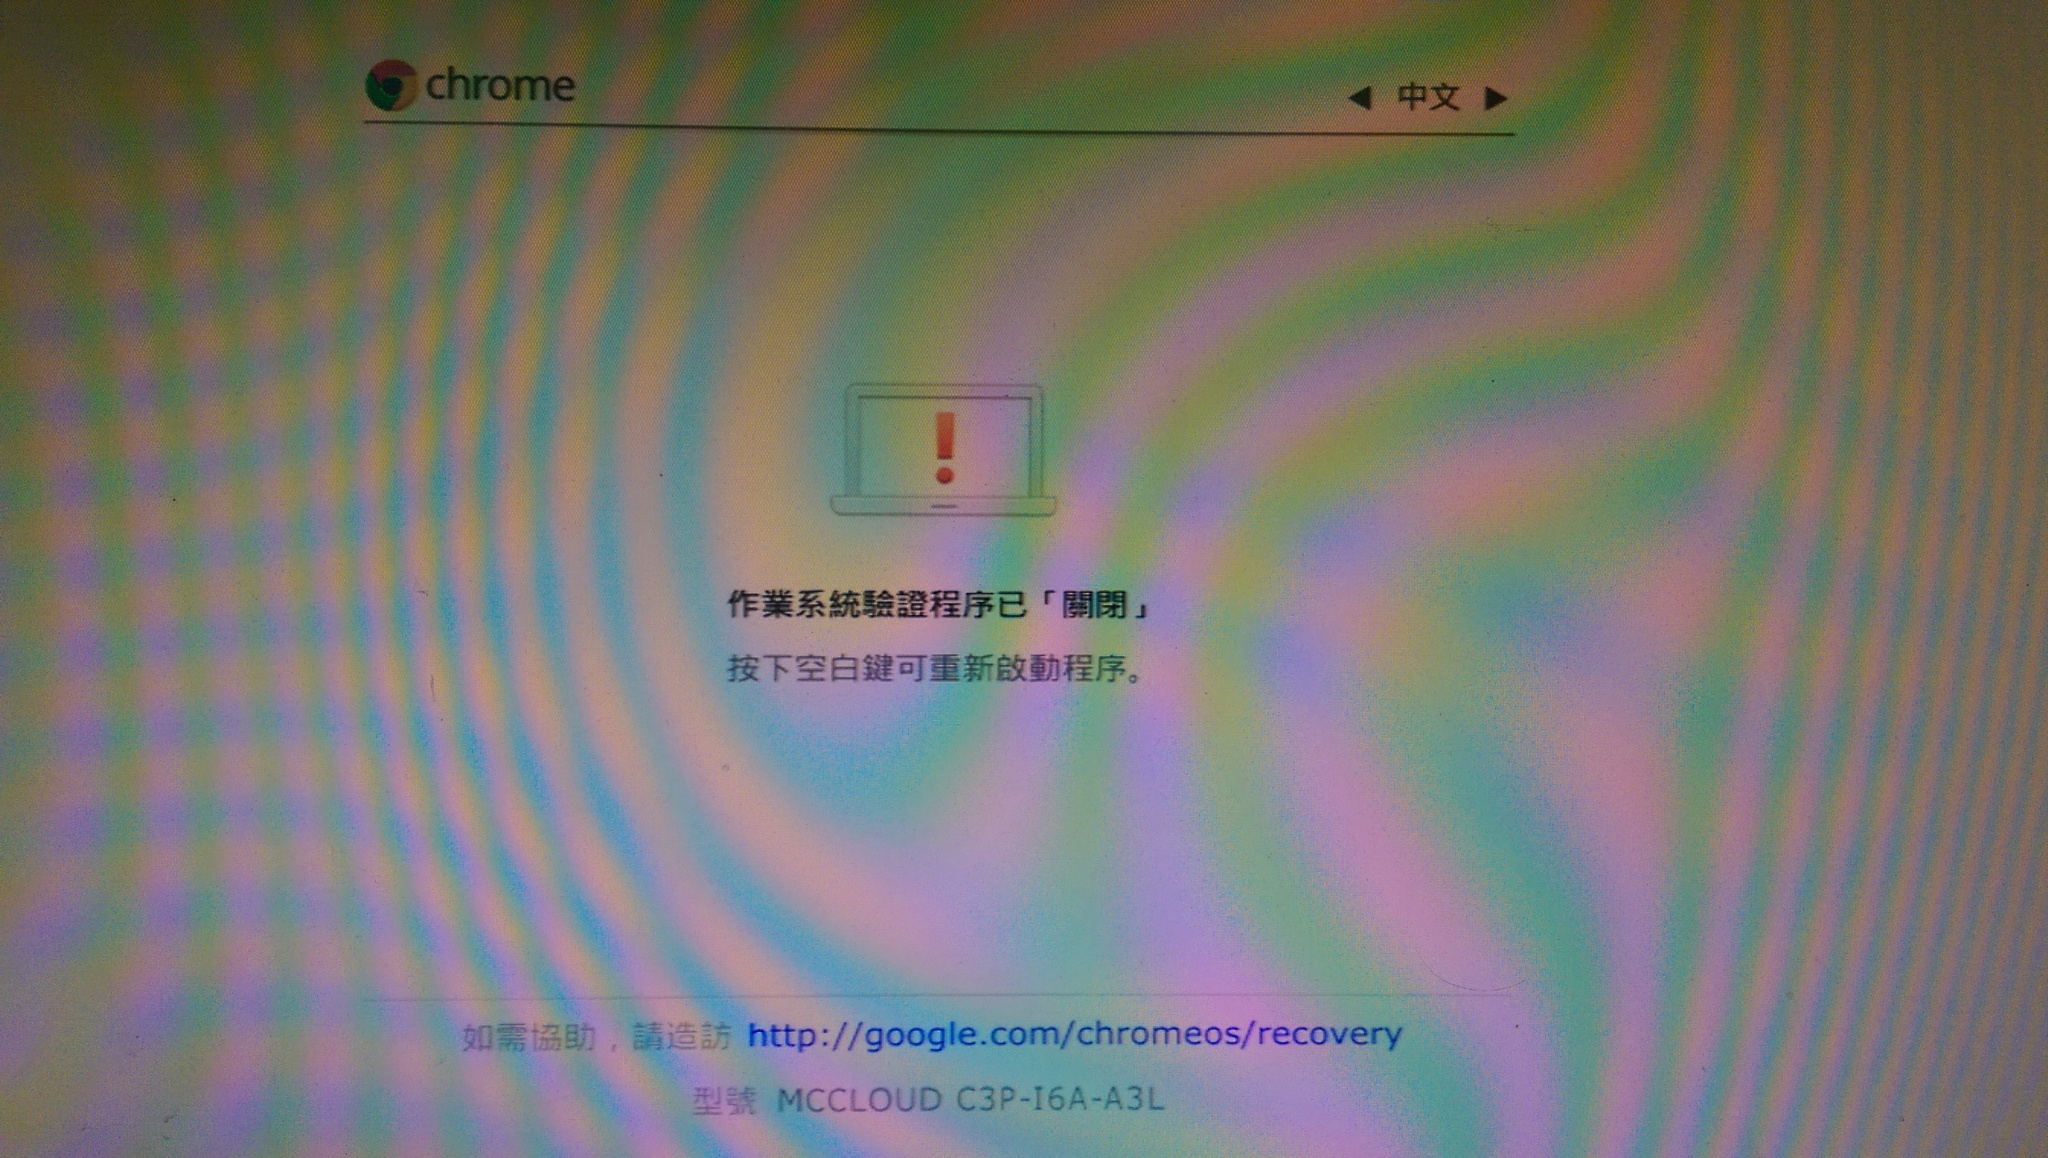
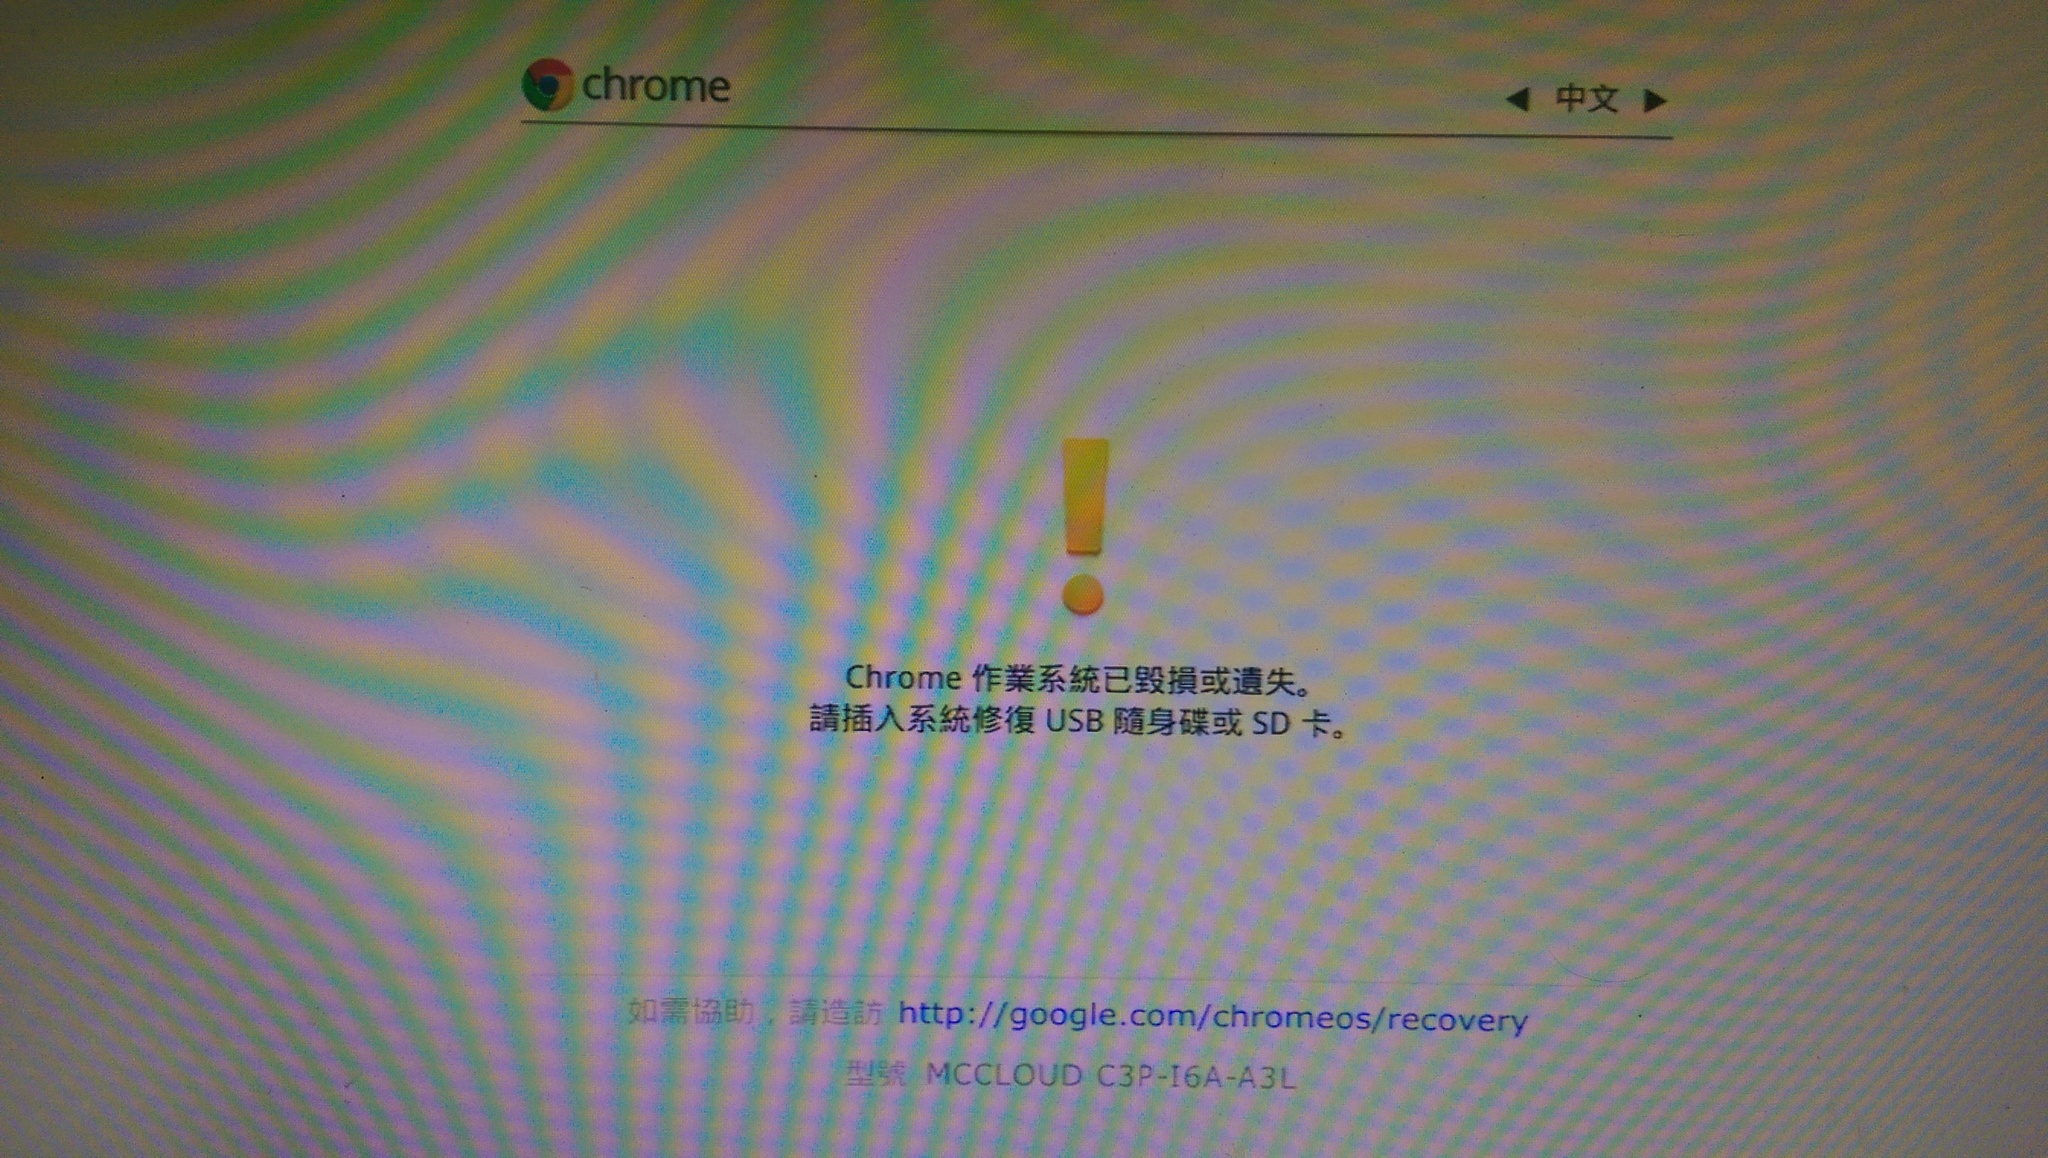
[@more@]出現 Chrome 作業系統已毀損或遺失,請按 Ctlr+D
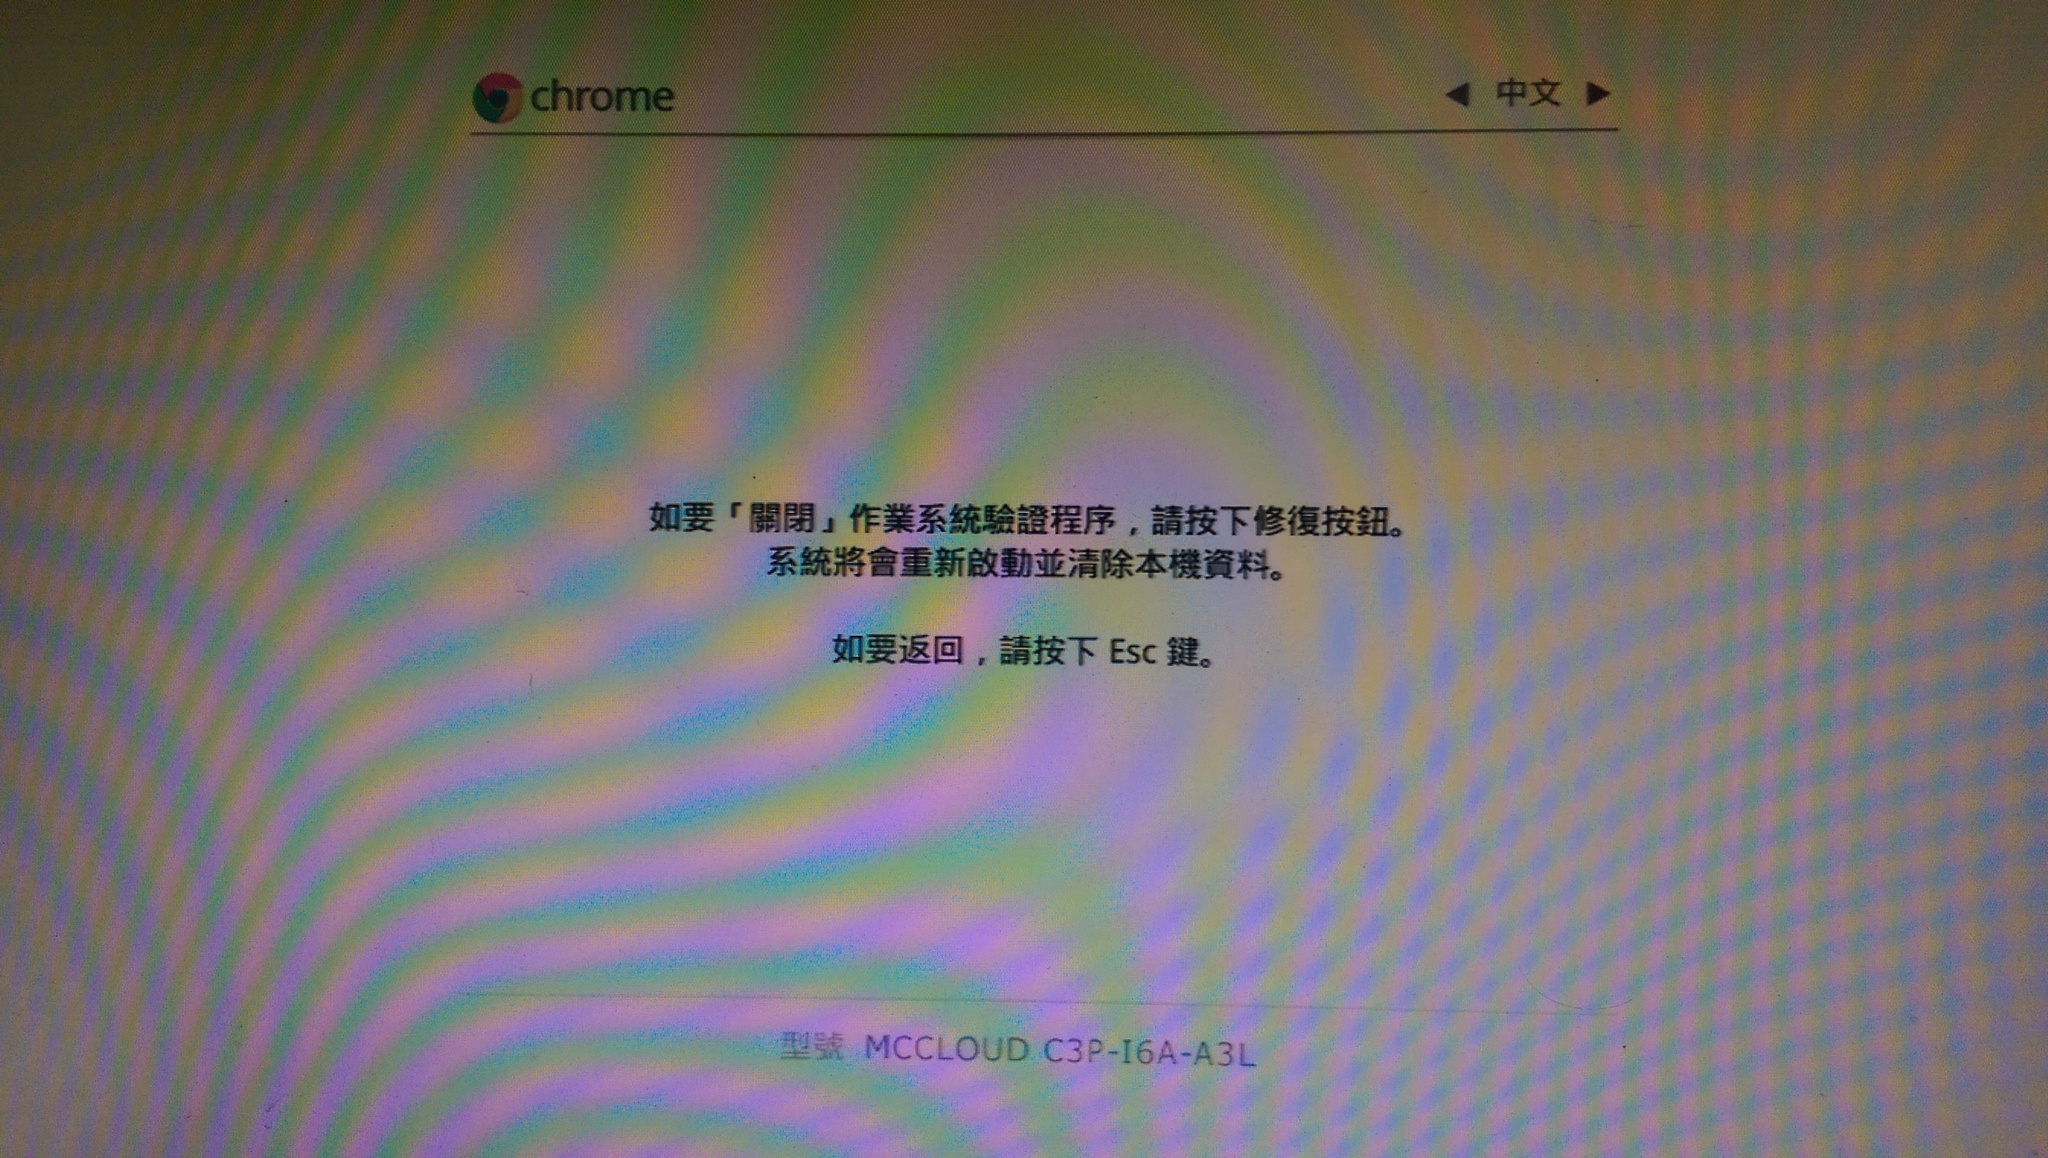
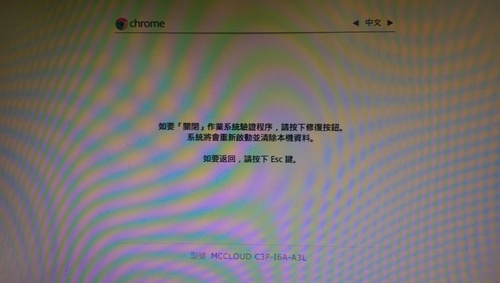
按一下 修復按鈕,關閉 Chrome 作業系統驗證程序
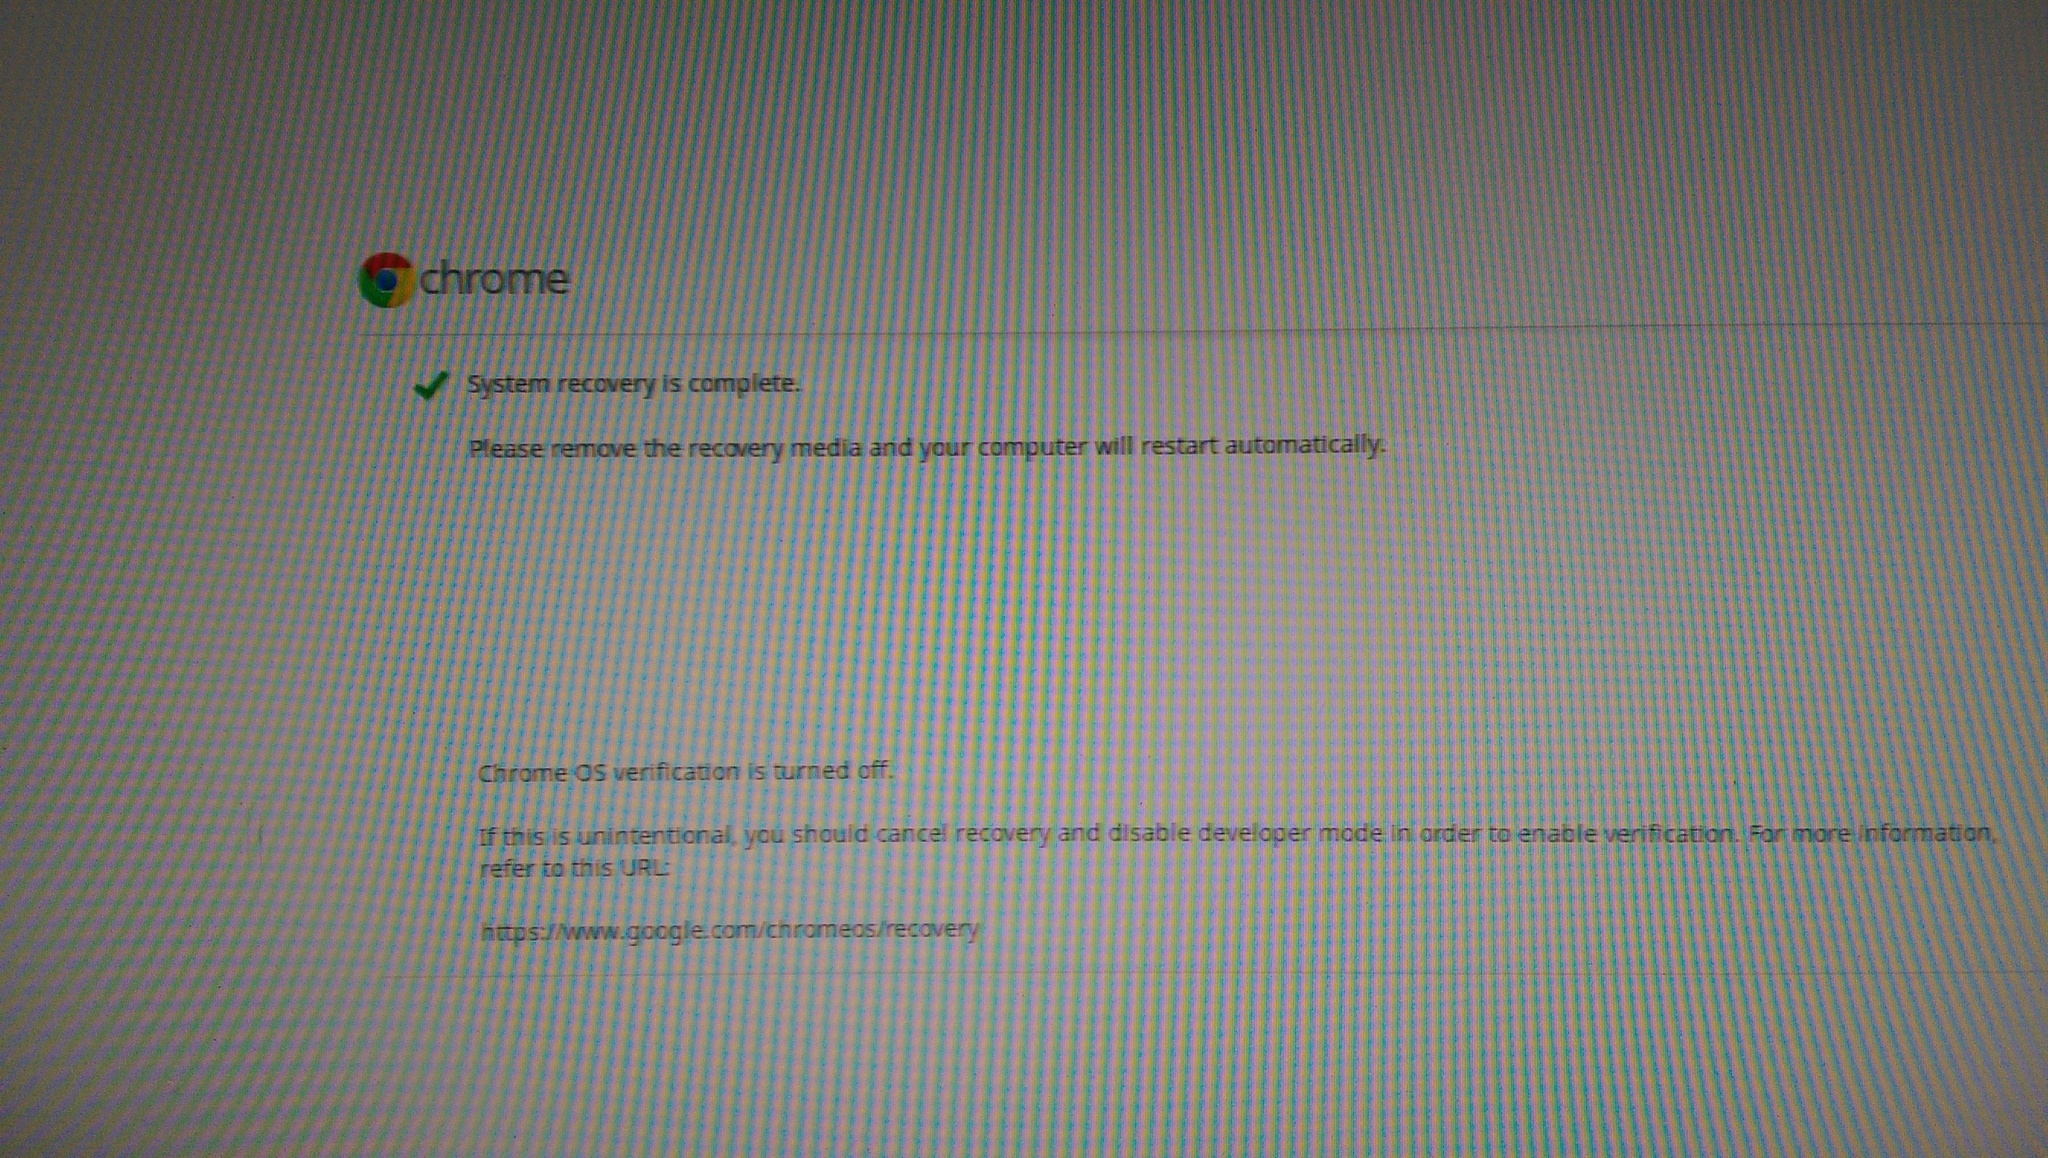
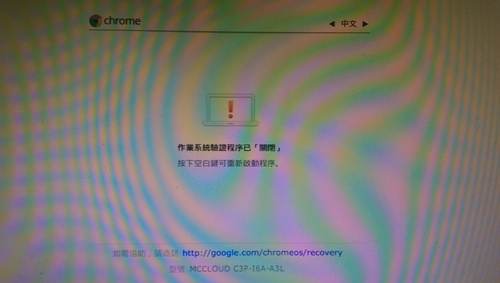
Chrome 作業系統驗證程序已關閉,按 Ctrl+D 繼續
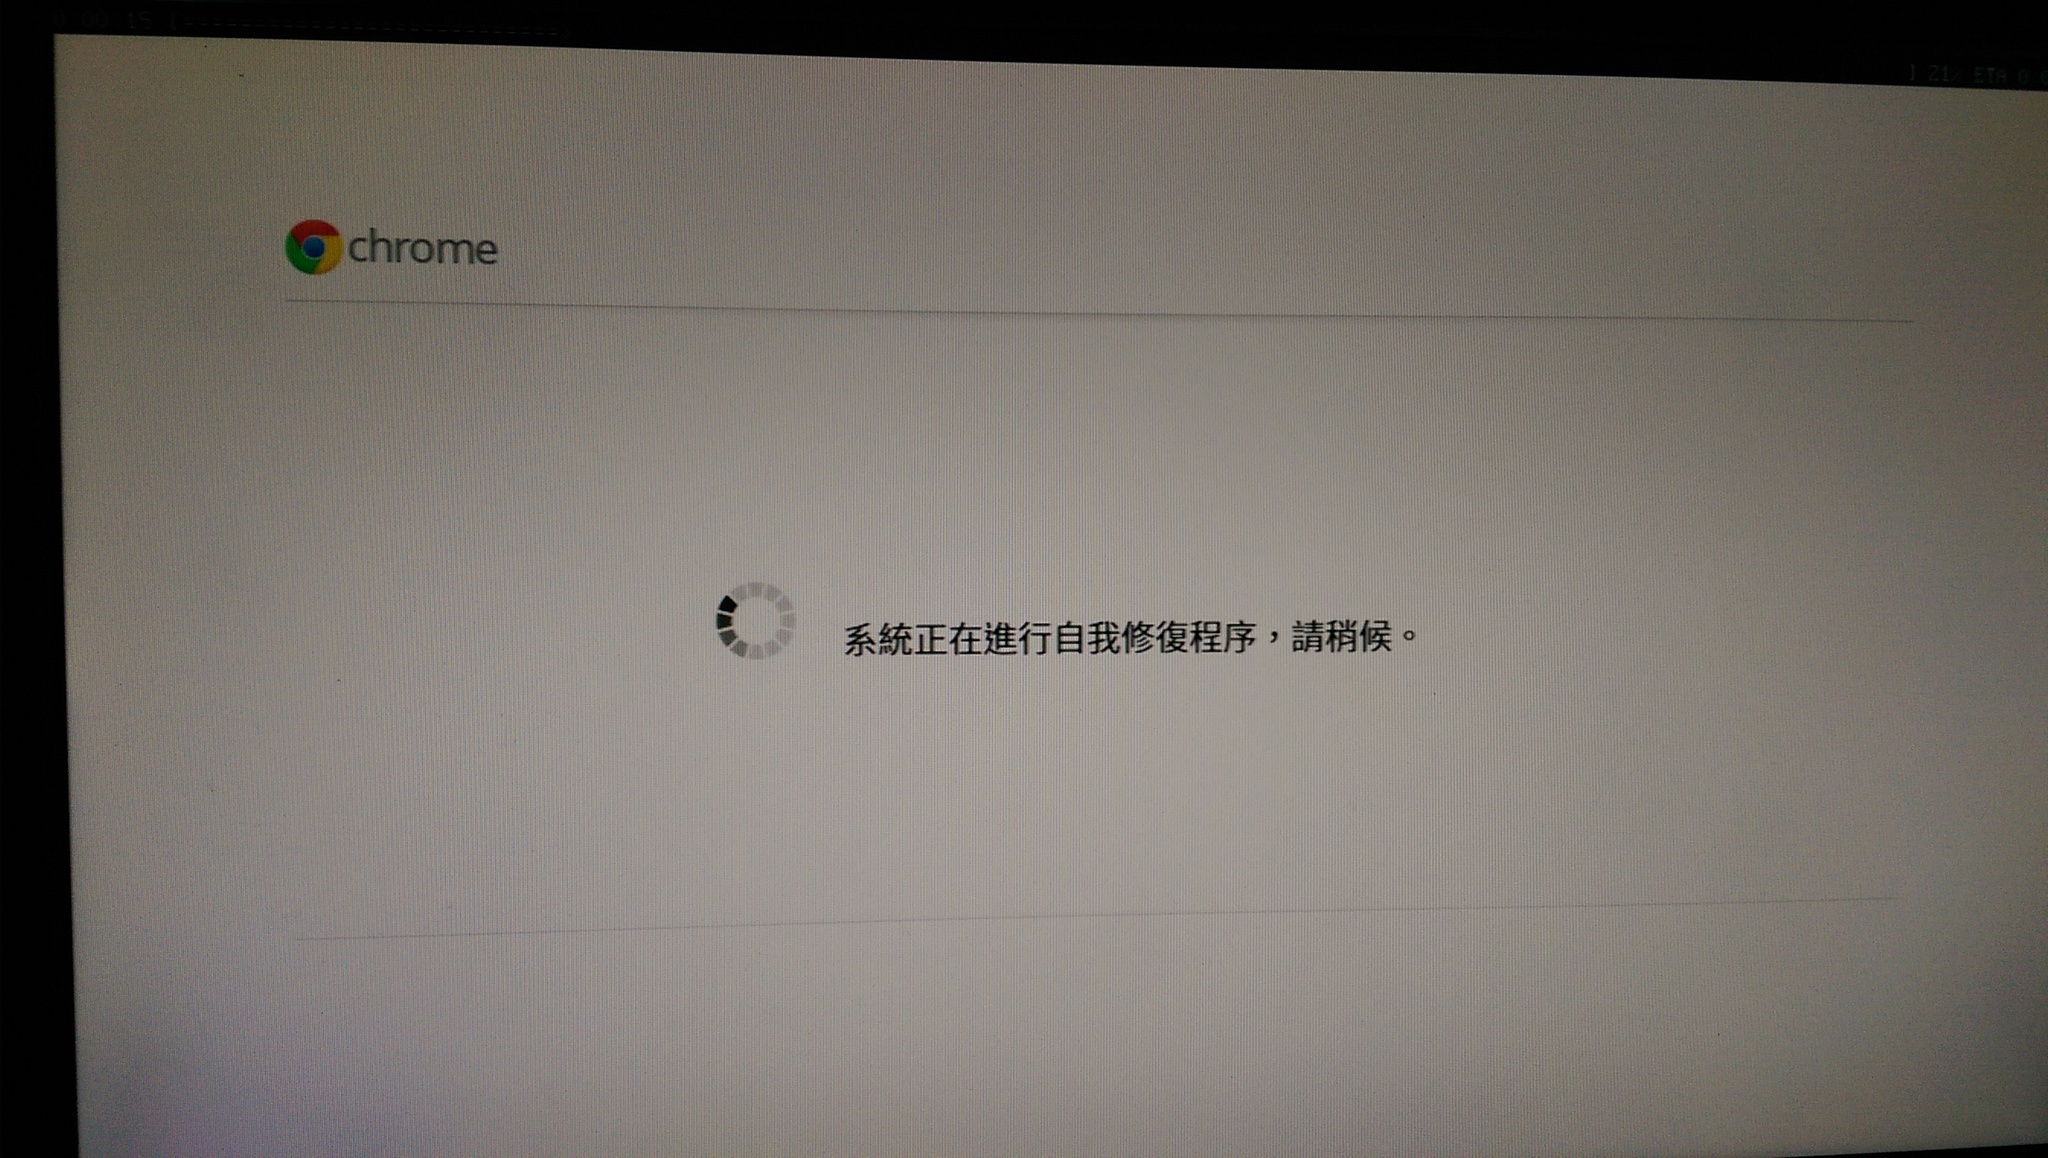
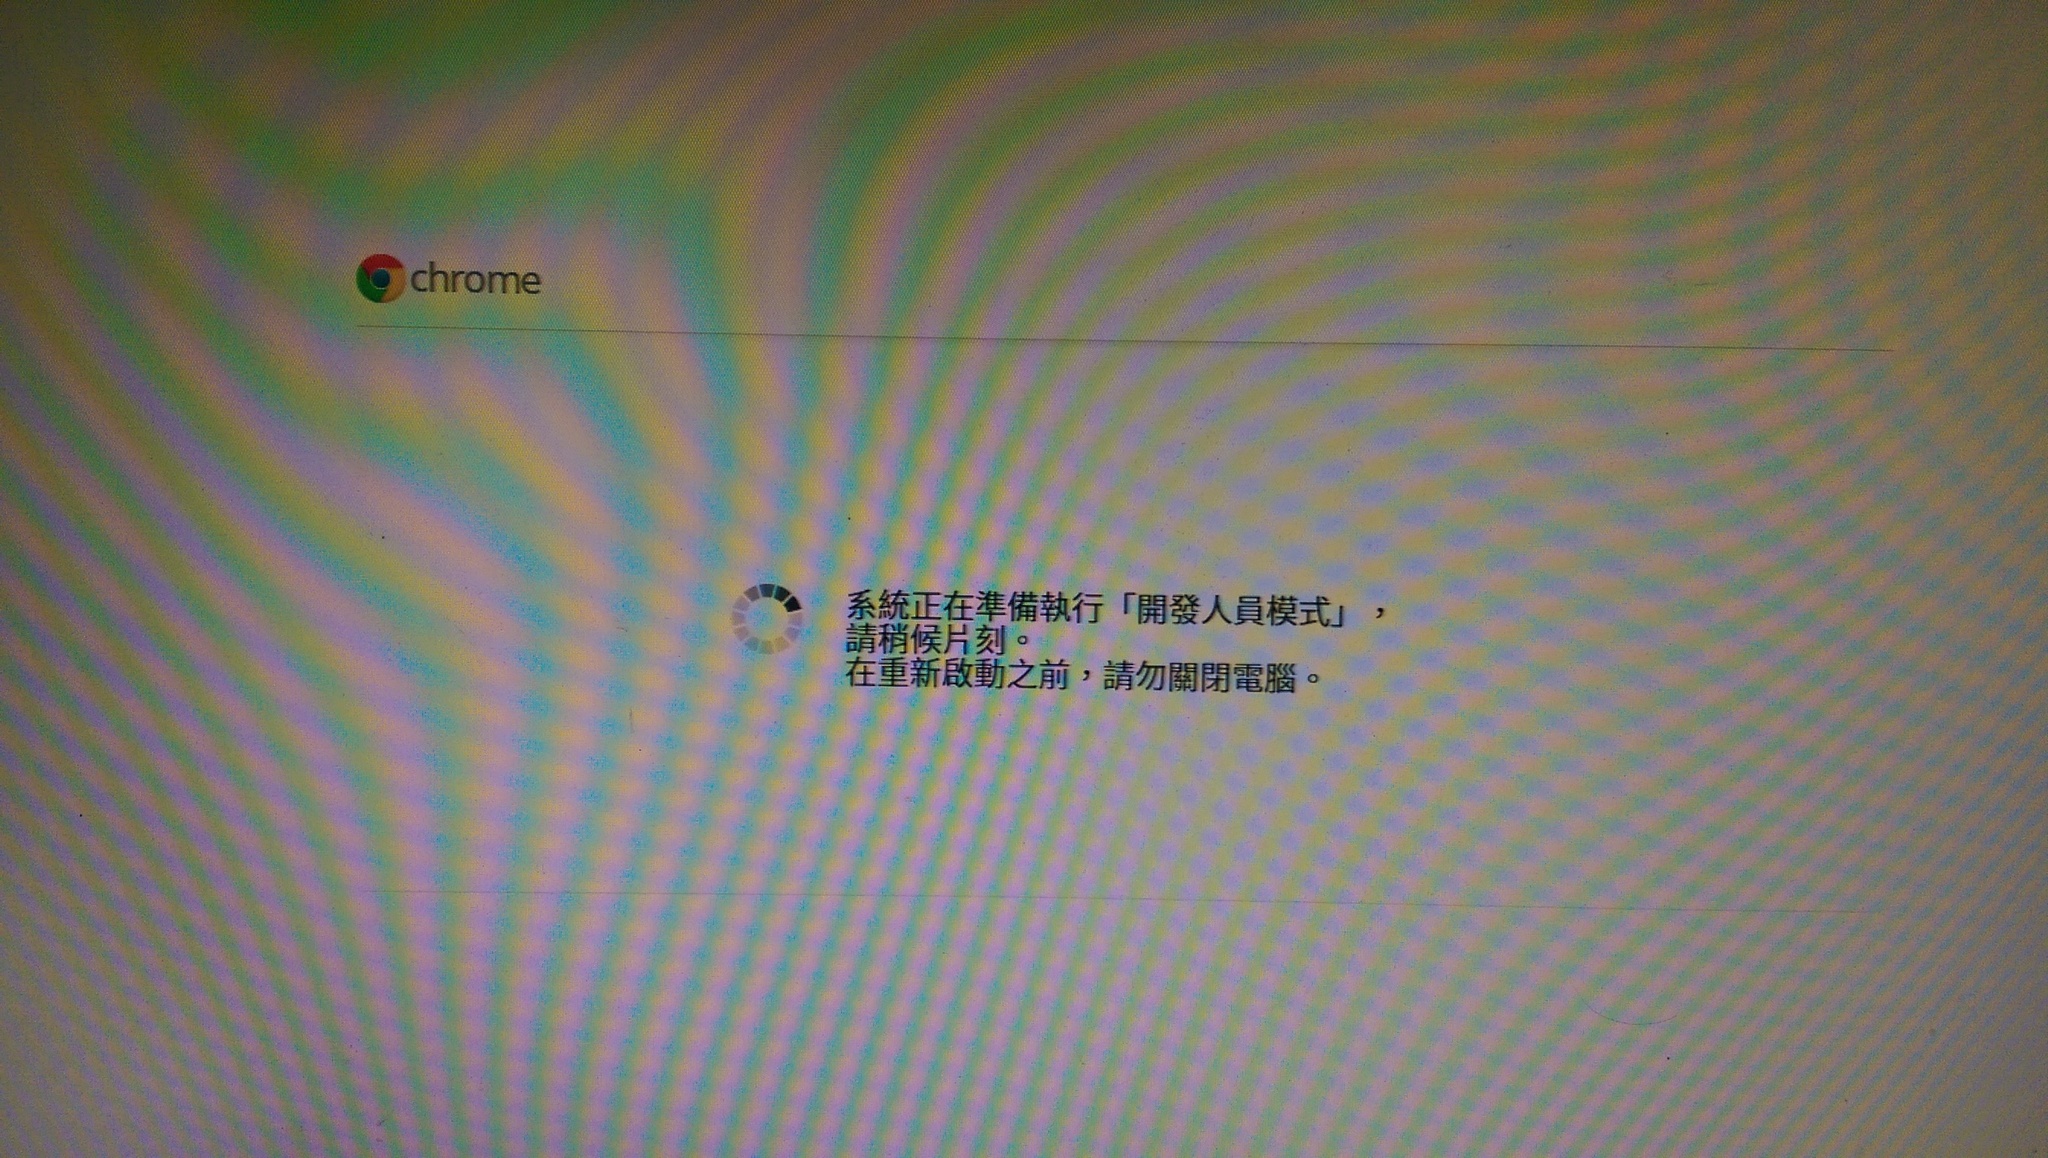
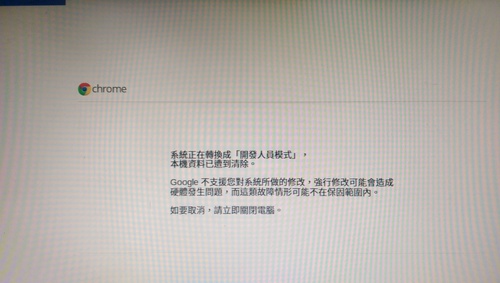
系統正在進入 開發人員模式,本機的資料已遭到清除
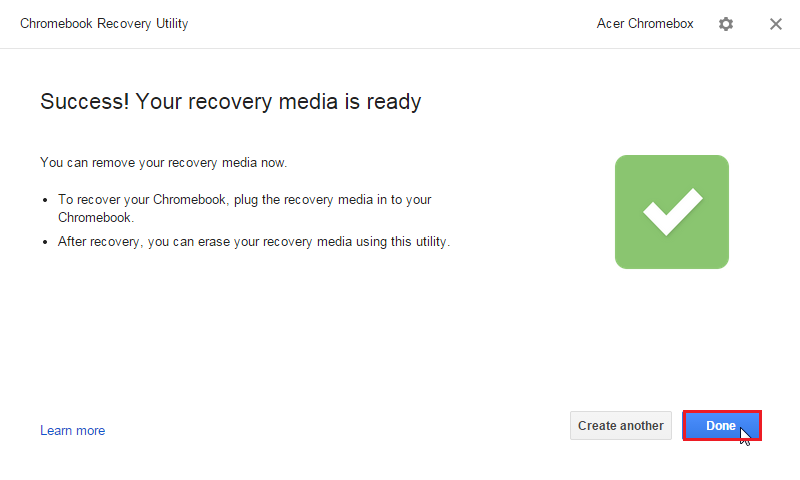
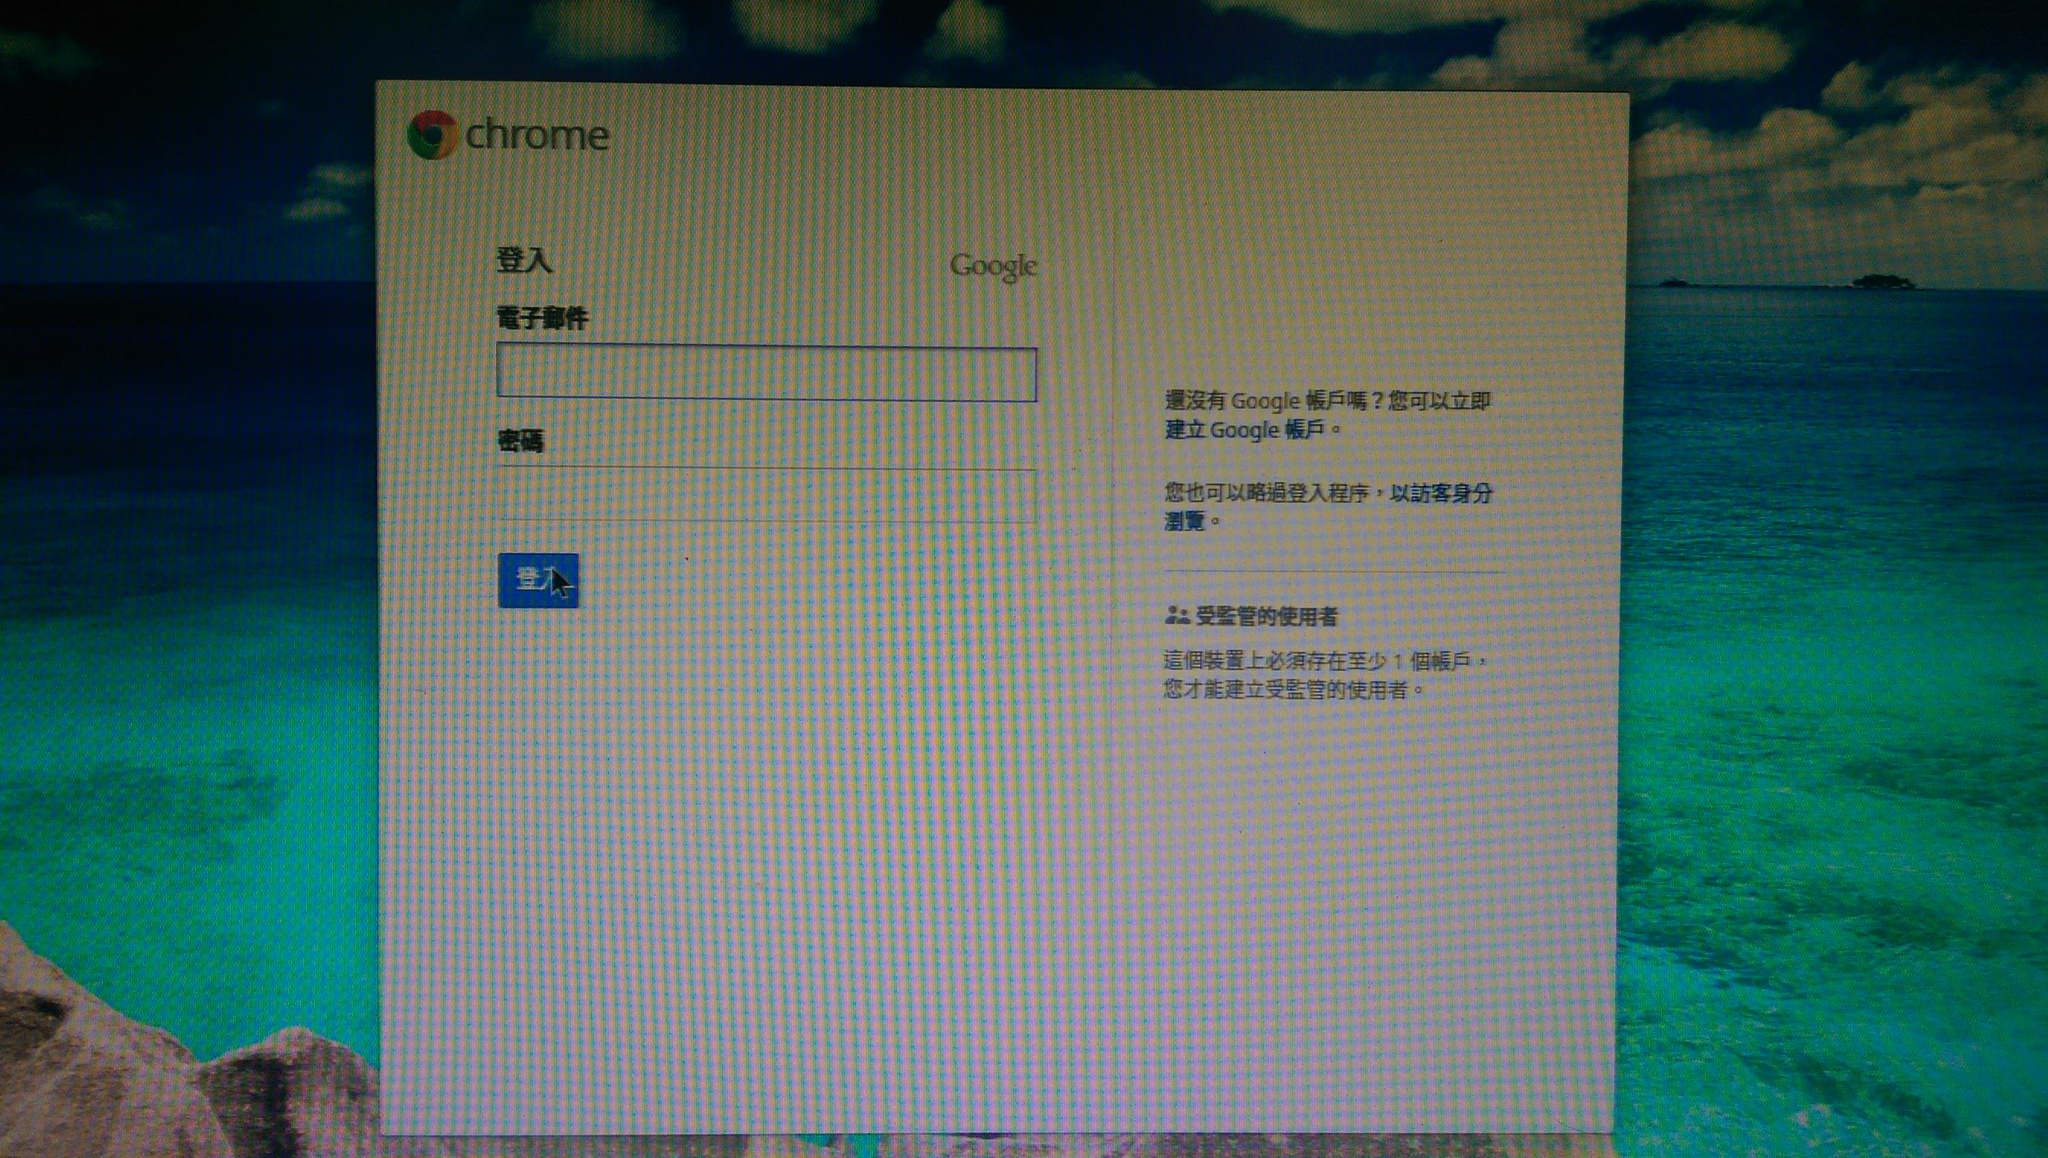
轉換完成之後,系統會重新開機

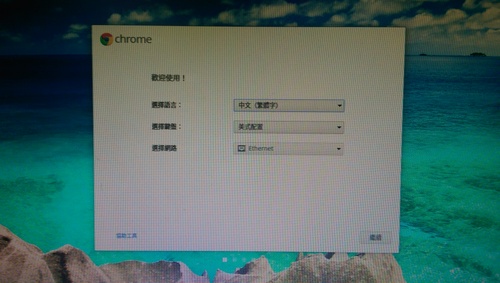
重新初始化設定

2. 下載 crouton,將檔案存放在 Downloads 目錄
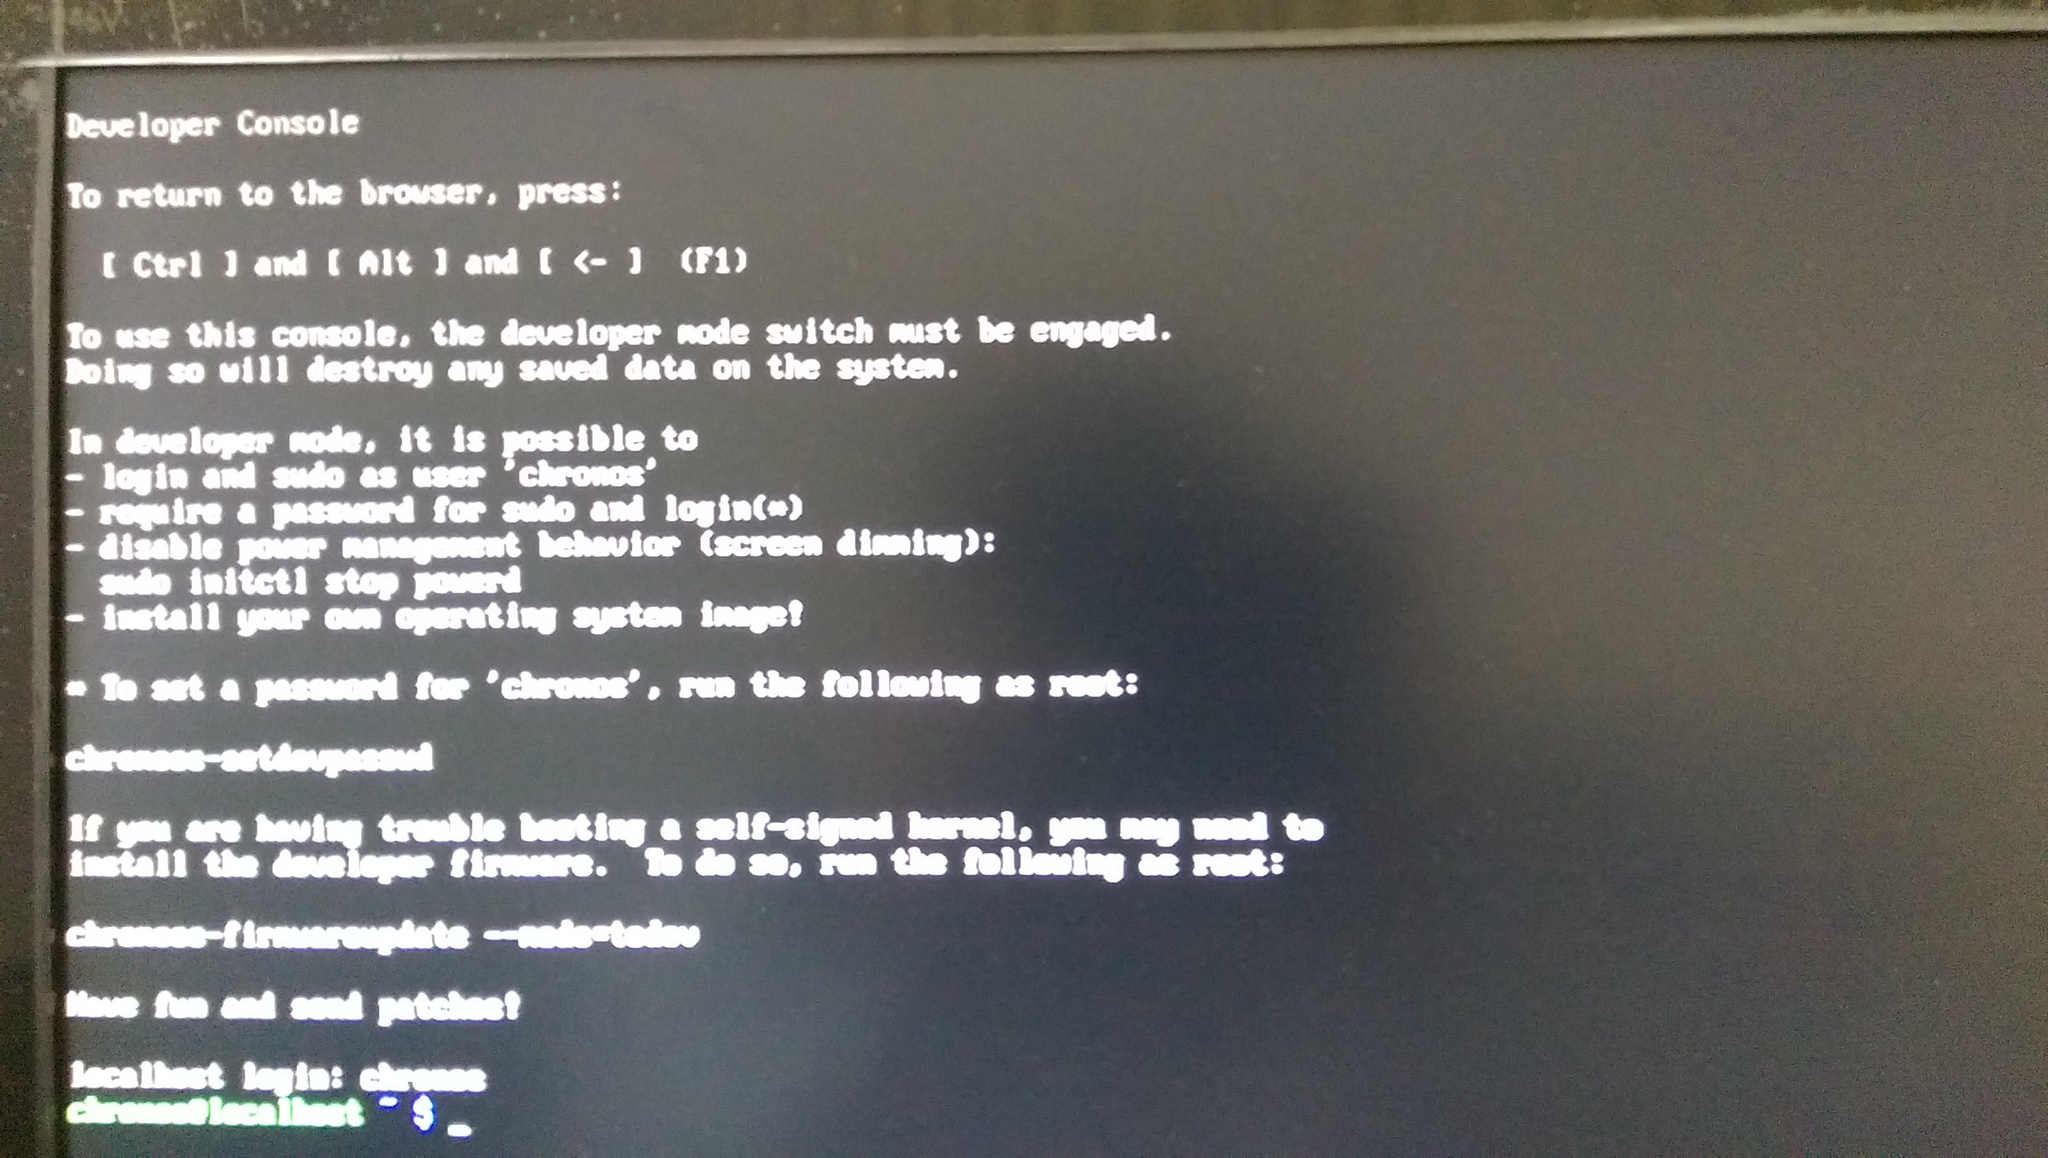
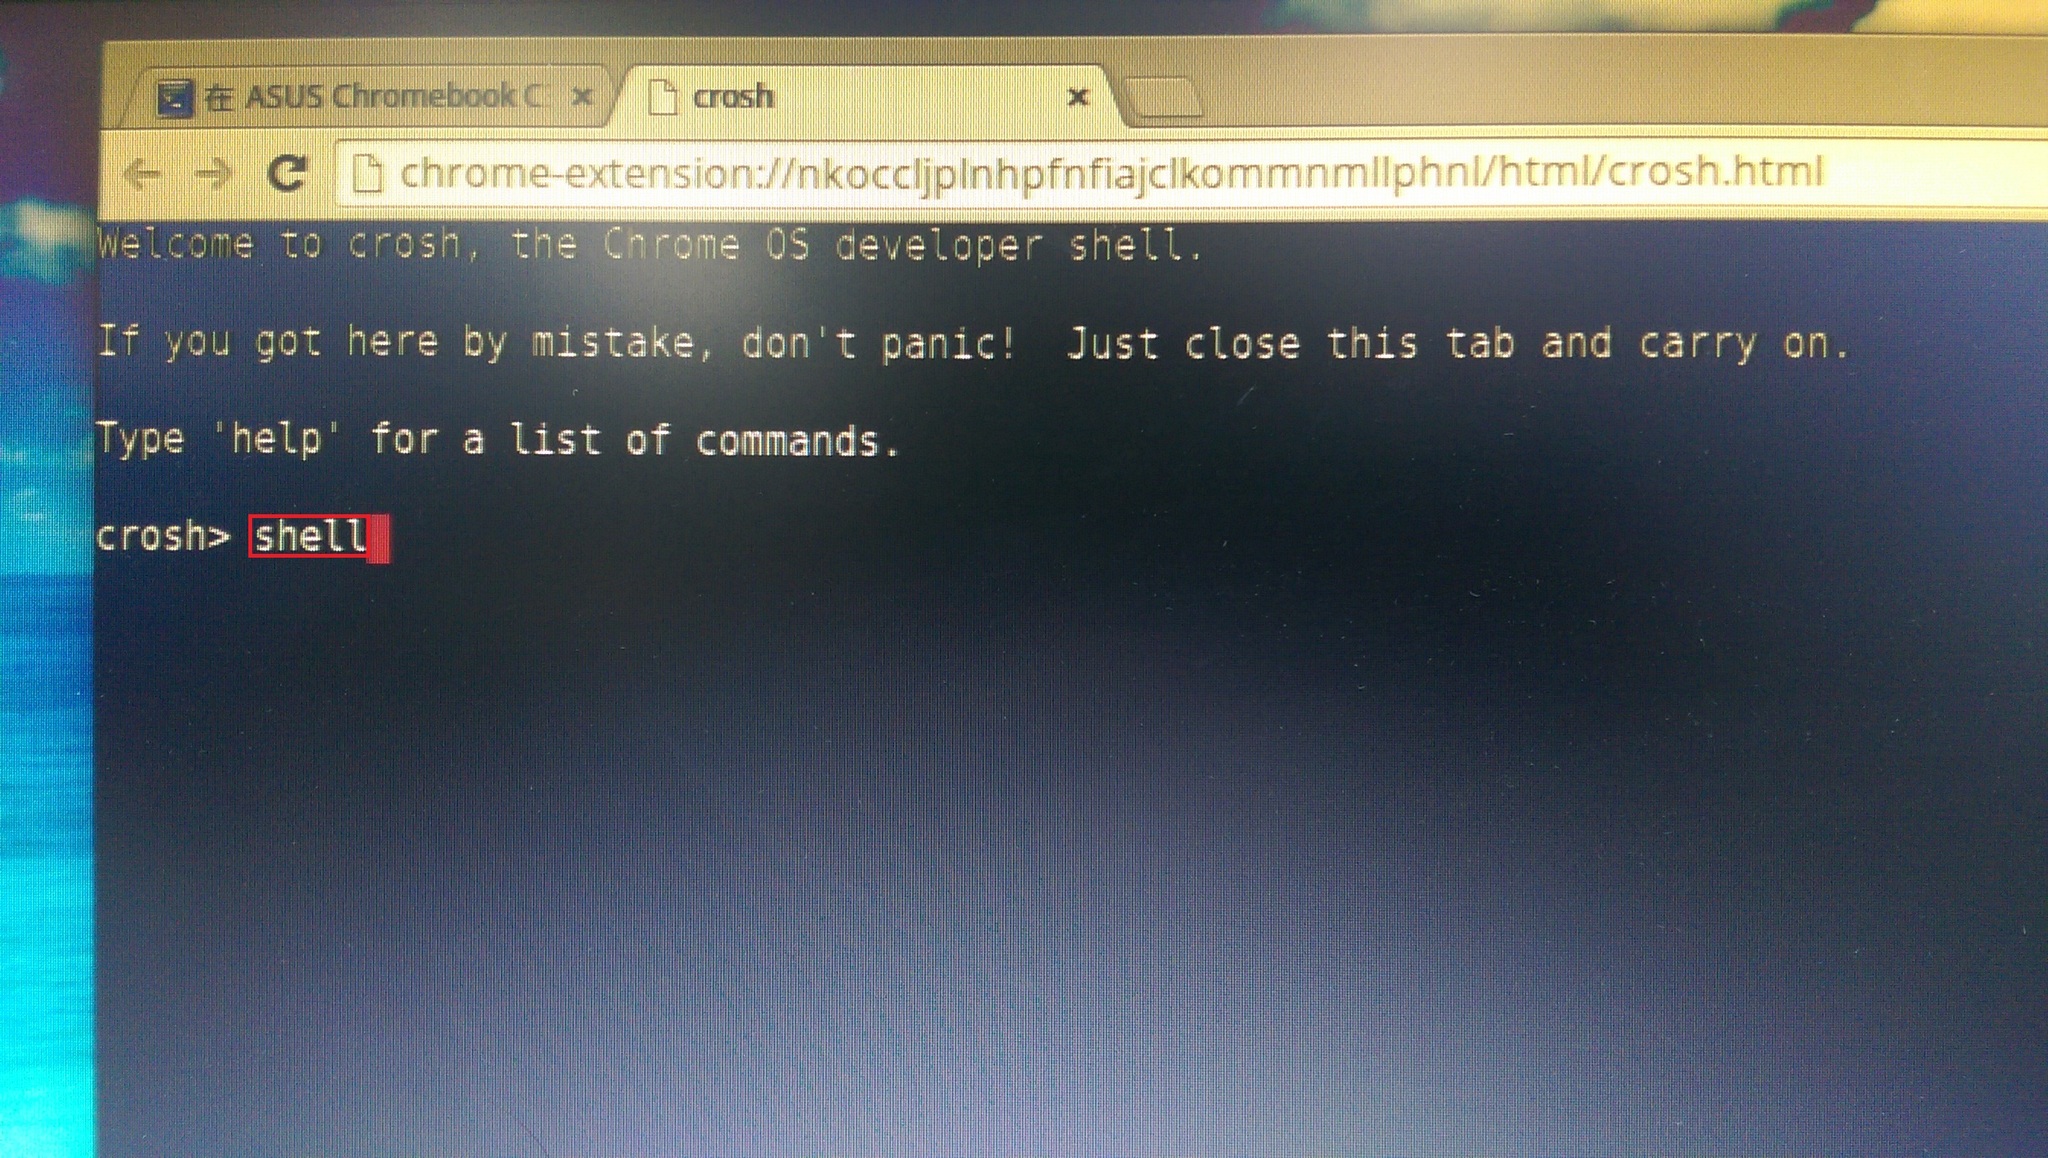
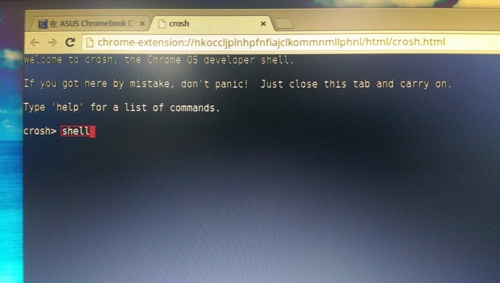
3. 按 Ctrl+Alt+T 開啟 Shell 終端機
輸入 shell 並按 Enter 鍵,進入完整的 Shell 模式
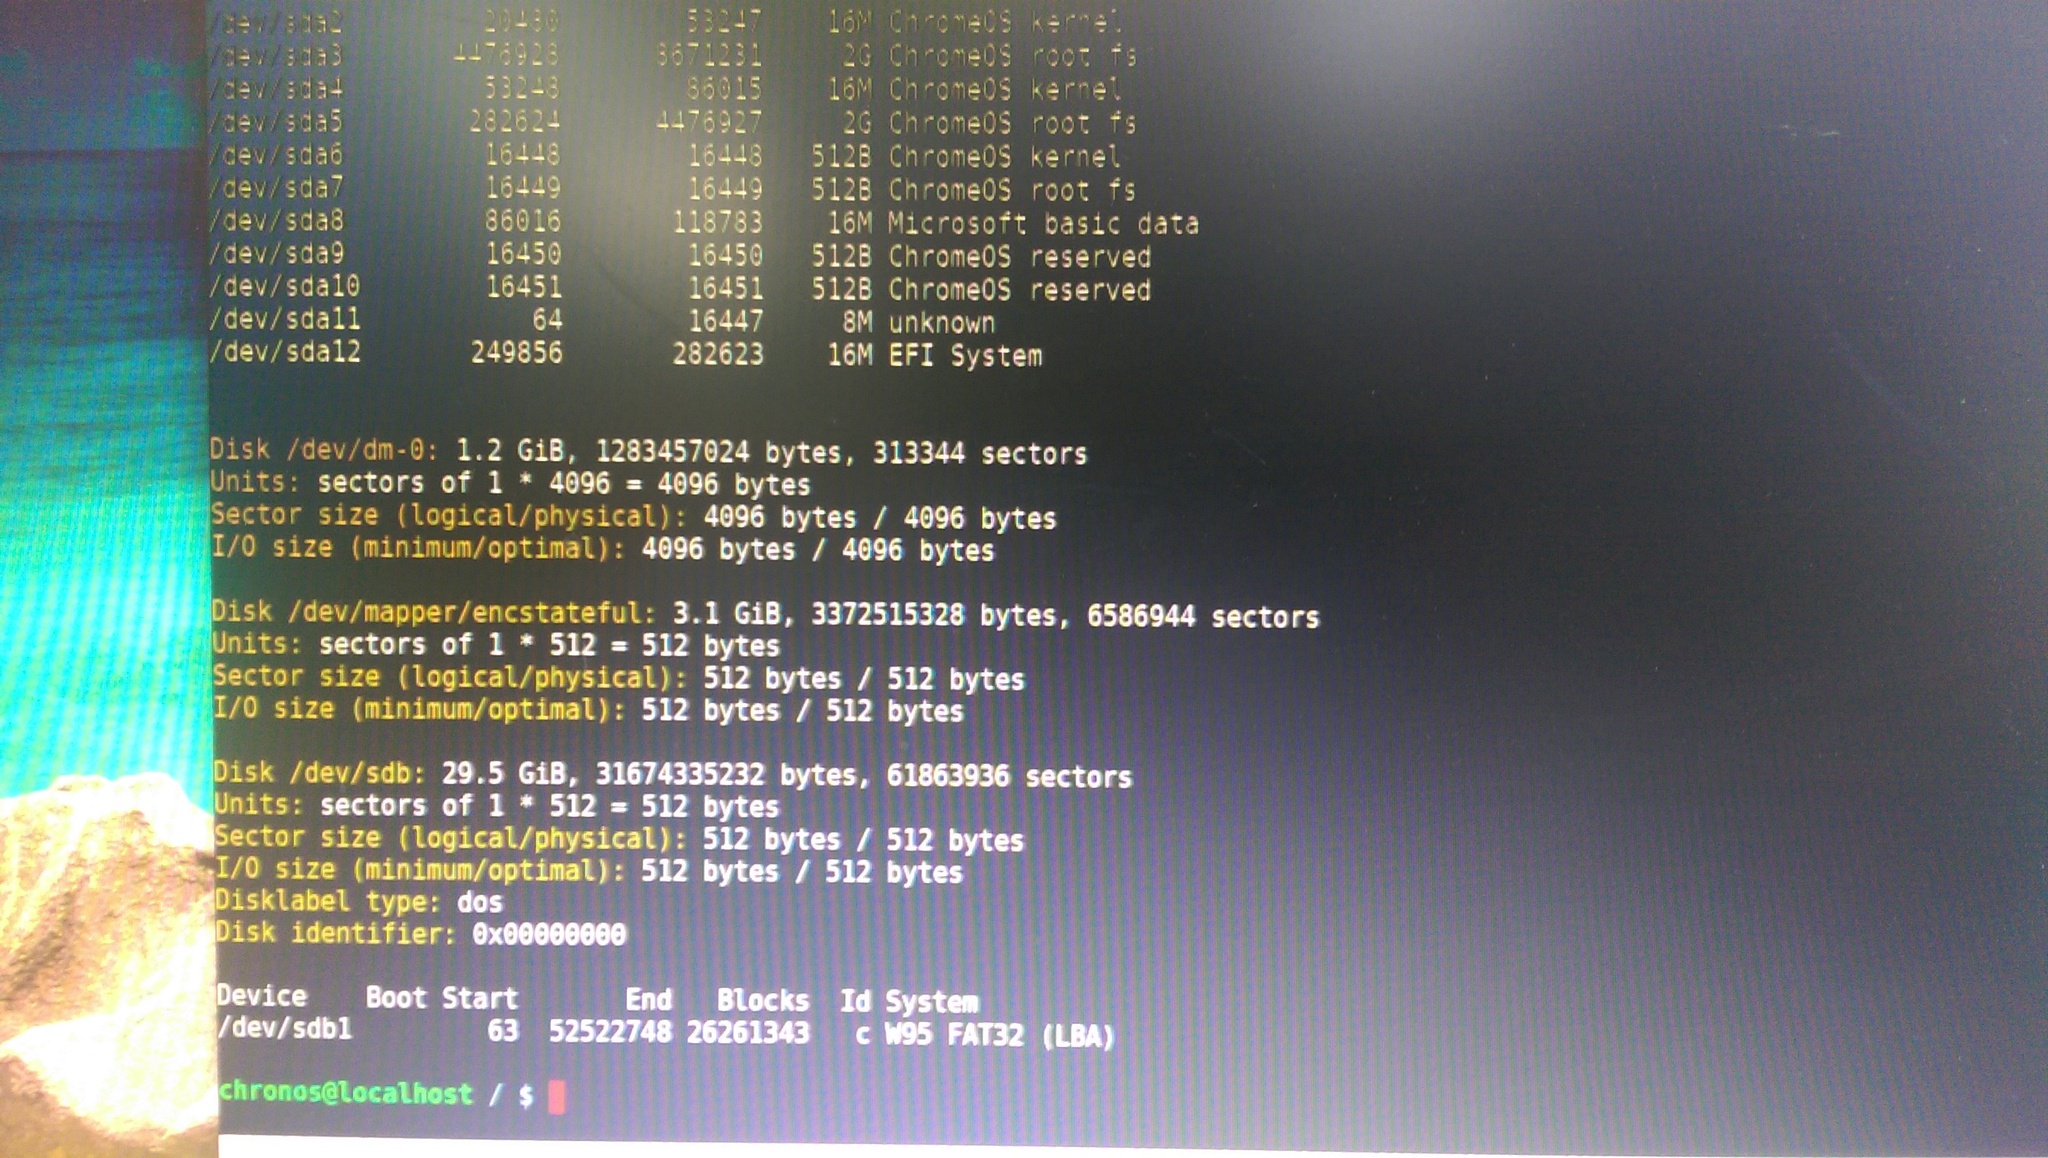
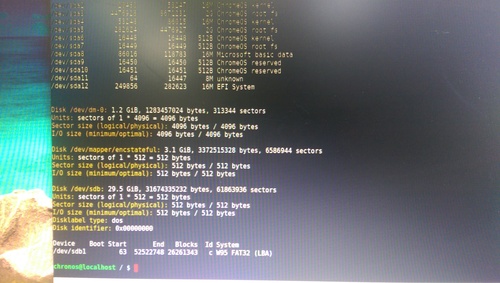
4. 查看分割區的資訊
$ sudo fdisk -l
5. 取消掛載記憶卡,這裡要視掛載的目錄而定
$ sudo umount /media/removable/SD Card
6. 分割記憶卡
$ sudo fdisk /dev/sdb
Welcome to fdisk (util-linux 2.24).
Changes will remain in memory only, until you decide to write them.
Be careful before using the write command.
Command (m for help): d
Selected partition 1
Partition 1 has been deleted.
Command (m for help): n
Partition type:
p primary (0 primary, 0 extended, 4 free)
e extended
Select (default p): p
Partition number (1-4, default 1):
First sector (2048-61863935, default 2048):
Last sector, +sectors or +size{K,M,G,T,P} (2048-61863935, default 61863935):
Created a new partition 1 of type ‘Linux’ and of size 29.5 GiB.
Command (m for help): wq
The partition table has been altered.
Calling ioctl() to re-read partition table.
Syncing disks.
7. 格式化記憶卡
$ sudo mkfs.ext4 -m 1 /dev/sdb1
mke2fs 1.42 (29-Nov-2011)
Filesystem label=
OS type: Linux
Block size=4096 (log=2)
Fragment size=4096 (log=2)
Stride=0 blocks, Stripe width=0 blocks
1933312 inodes, 7732736 blocks
77327 blocks (1.00%) reserved for the super user
First data block=0
Maximum filesystem blocks=4294967296
236 block groups
32768 blocks per group, 32768 fragments per group
8192 inodes per group
Superblock backups stored on blocks:
32768, 98304, 163840, 229376, 294912, 819200, 884736, 1605632, 2654208,
4096000
Allocating group tables: done
Writing inode tables: done
Creating journal (32768 blocks): done
Writing superblocks and filesystem accounting information: done
8. 建立掛載目錄
$ sudo mkdir /media/removable/sdcard
9. 進行掛載
$ sudo mount -o rw,noatime /dev/sdb1 /media/removable/sdcard
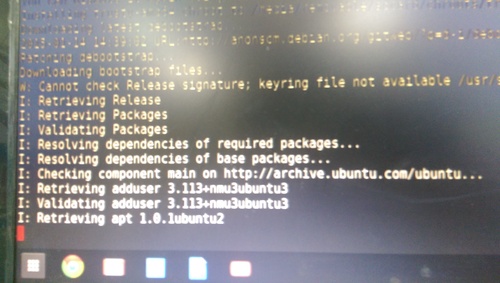
10. 建立 Chroot 環境(Ubuntu 14.04 Unity 桌面)
這一個部分須要很久的時間,因為要到網路上下載套件
-a 採用架構 i386/amd64/armhf
-r 安裝 Ubuntu 版本 trusty-14.04 precise-12.04 saucy-13.10
-t 採用 XWindow gnome/lxde/xfce/kde/cinnamon/unity
$ sudo sh ~/Downloads/crouton -r trusty -t unity -p /media/removable/sdcard
11. 設定帳號及密碼
Please specify a username for the primary user:
Enter new UNIX password:
Retype new UNIX password:
看到下面這一段時,代表終於完成了
Here’s some tips:
Audio from the chroot will now be forwarded to CRAS (Chromium OS audio server),
through an ALSA plugin.
Future Chromium OS upgrades may break compatibility with the installed version
of CRAS. Should this happen, simply update your chroot.
You can flip through your running chroot desktops and Chromium OS by hitting
Ctrl+Alt+Shift+Back and Ctrl+Alt+Shift+Forward.
You can start Unity via the startunity host command: sudo startunity
Unmounting /media/removable/sdcard/chroots/trusty…
Done! You can enter the chroot using enter-chroot.
12. 讓 Ubuntu 桌面按揵配置與 Chrome OS 相同
$ sudo sh ~/Downloads/crouton -u -r trusty -t keyboard -p /media/removable/sdcard
或將 10 和 12 合而為一
$ sudo sh -e ~/Downloads/crouton -a i386 -r trusty -t audio,core,gtk-extra,keyboard,x11,chrome,cli-extra,extension,unity -p /media/removable/sdcard
13. 建立啟動 Ubuntu 的 Script 檔
$ vim ~/startunity
#!/bin/bash
if [ -z “$(mount | grep sdb1 | grep sdcard)” ]; then
umount /dev/sdb1
if [ ! -d /media/removable/sdcard ]; then
mkdir /media/removable/sdcard
fi
mount -o rw,noatime /dev/sdb1 /media/removable/sdcard
fi
/media/removable/sdcard/bin/startunity
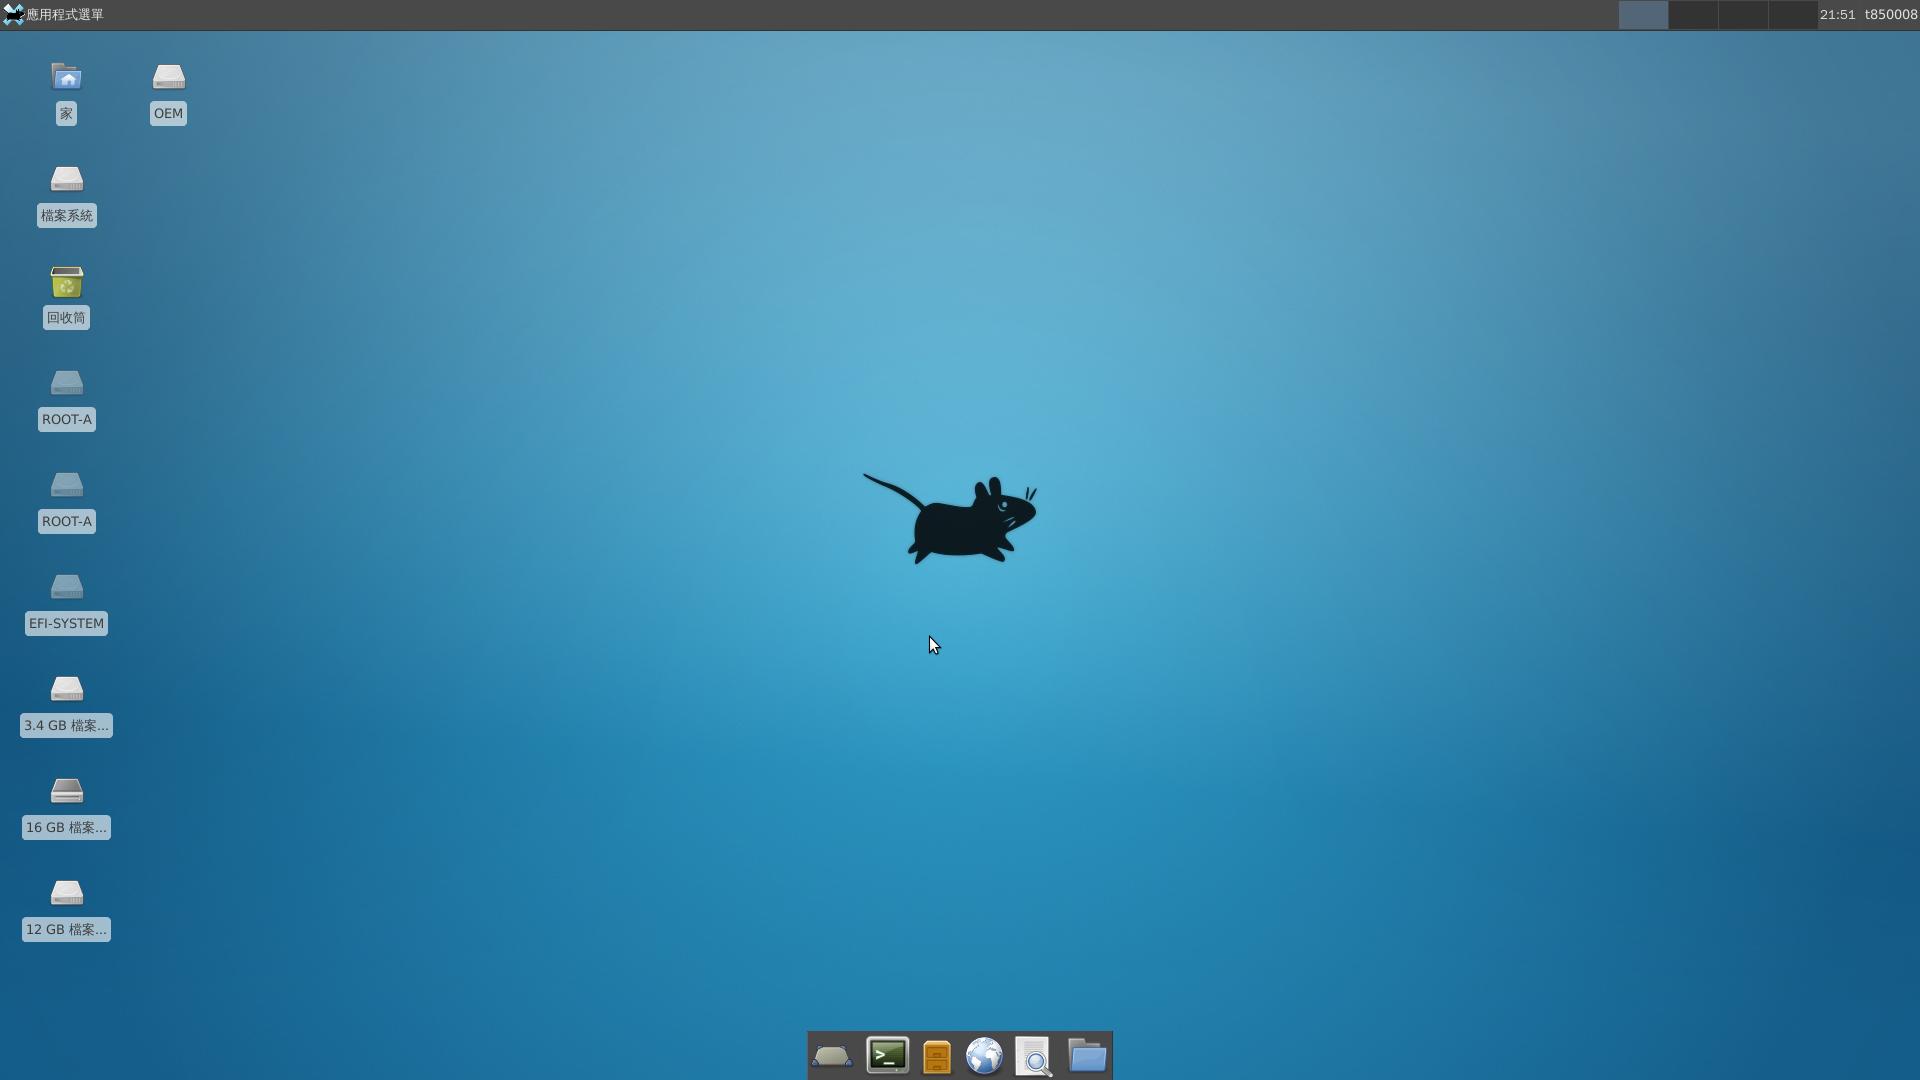
14. 進入 Ubuntu Unity 桌面
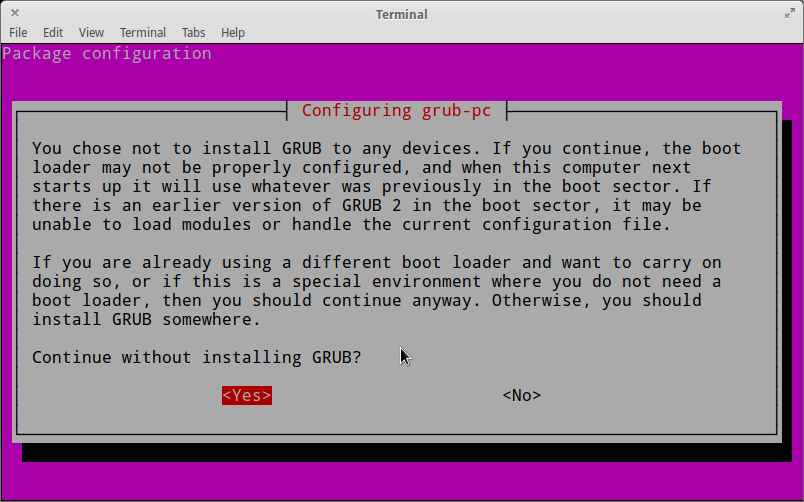
Chrome 作業系統驗證程序已關閉,按 Ctrl+D 繼續
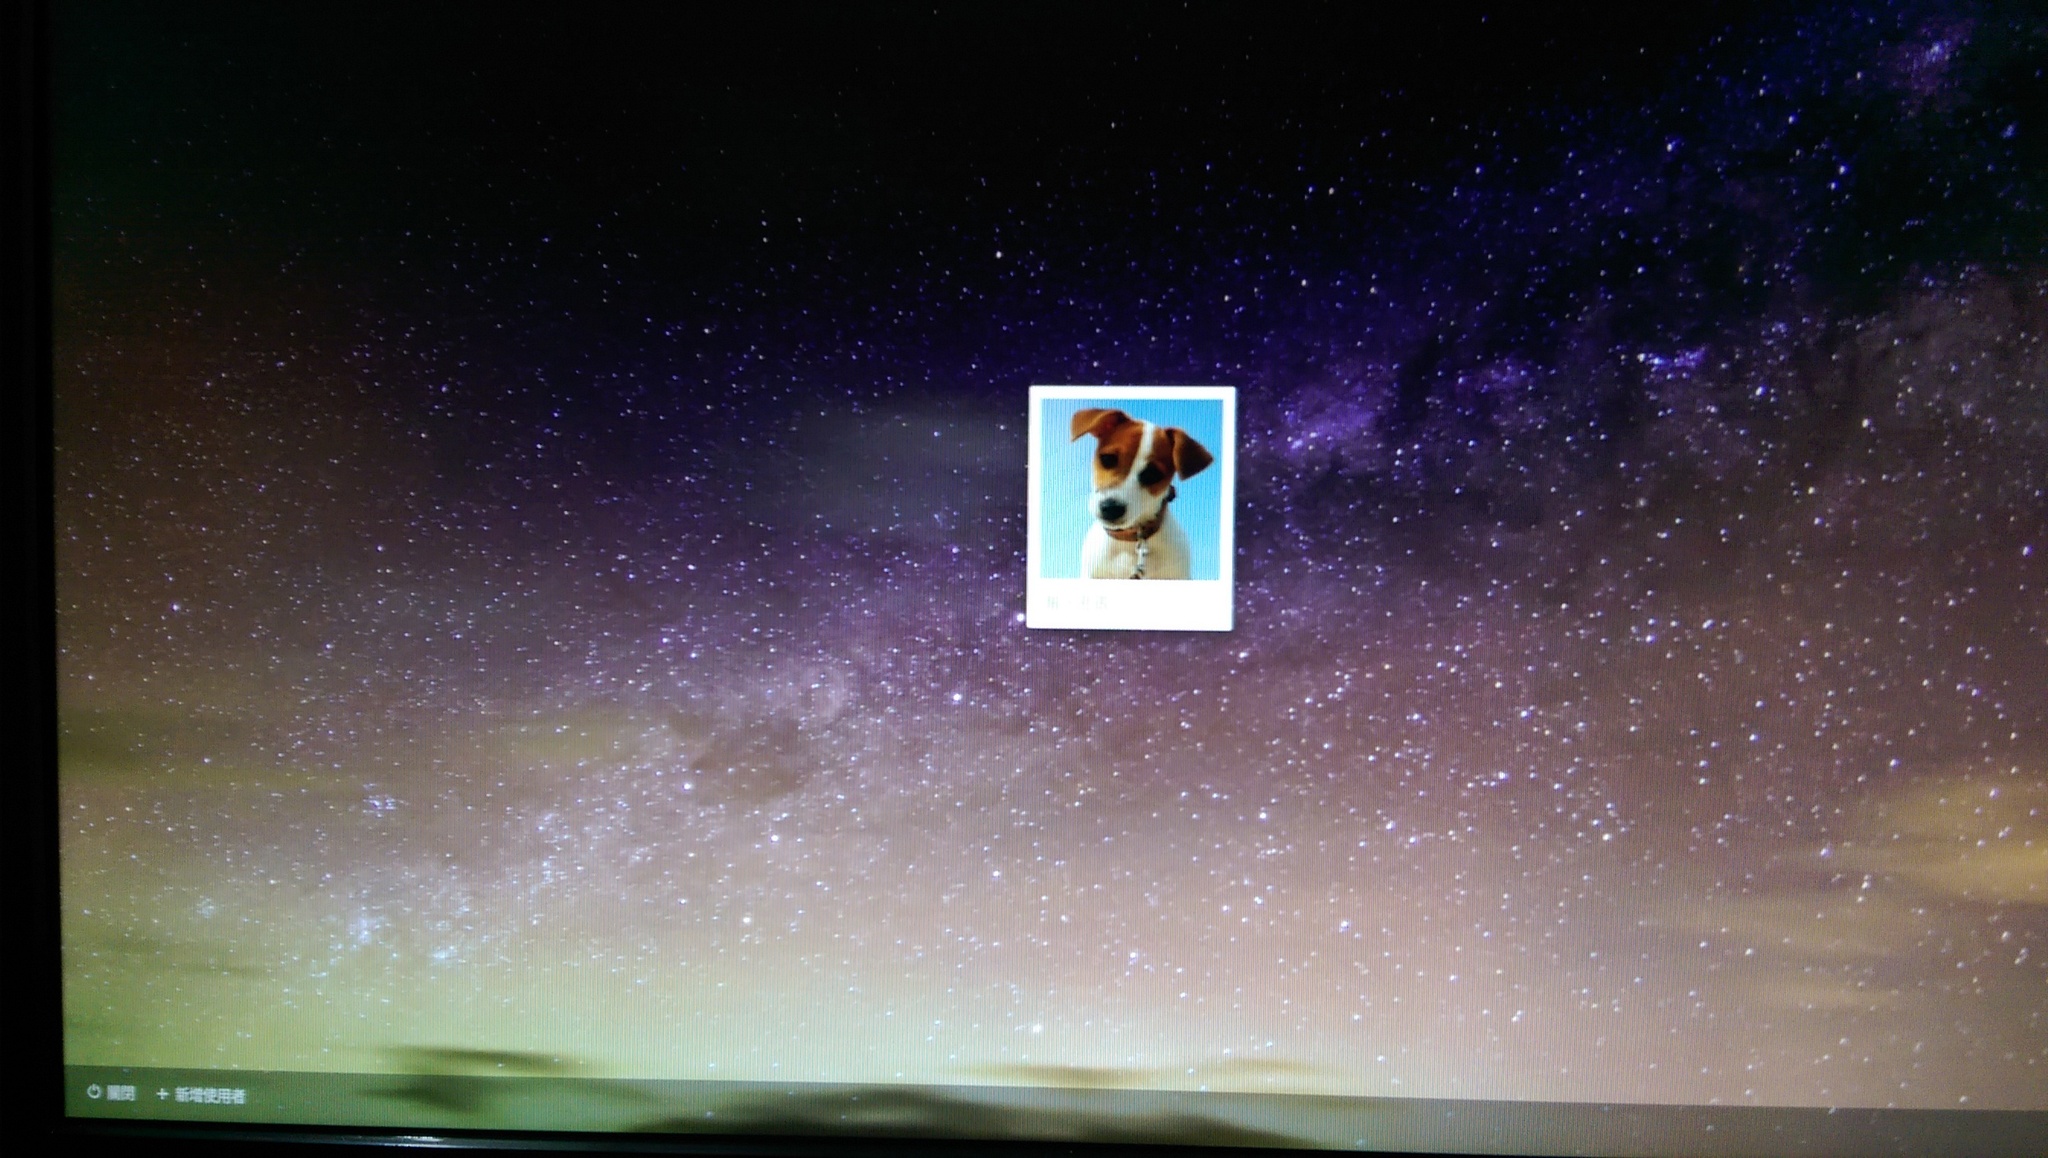
進入 Chrome OS
按 Ctrl+Alt+T,輸入 shell 進入完整 shell 模式
執行
$ sudo sh ~/startunity
進入 Ubuntu

使用 crouton 的方式來安裝 Ubuntu 的好處是可以保留原有的 ChromeOS,在進入 ChromeOS 系統後,再以 Chroot 的方式來執行 Ubuntu。