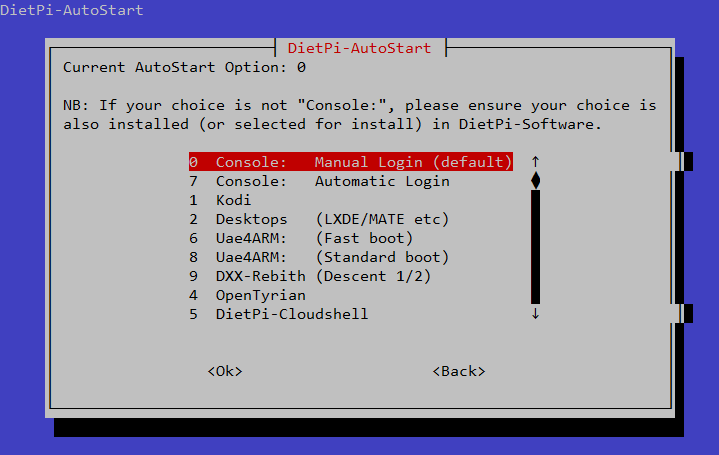
# /DietPi/dietpi/dietpi-autostart

# /DietPi/dietpi/dietpi-banner
———————————————————————–
DietPi | 15:17 | Sat 07/01/17
———————————————————————–
V141 | OrangePi PC (armv7l)
———————————————————————–
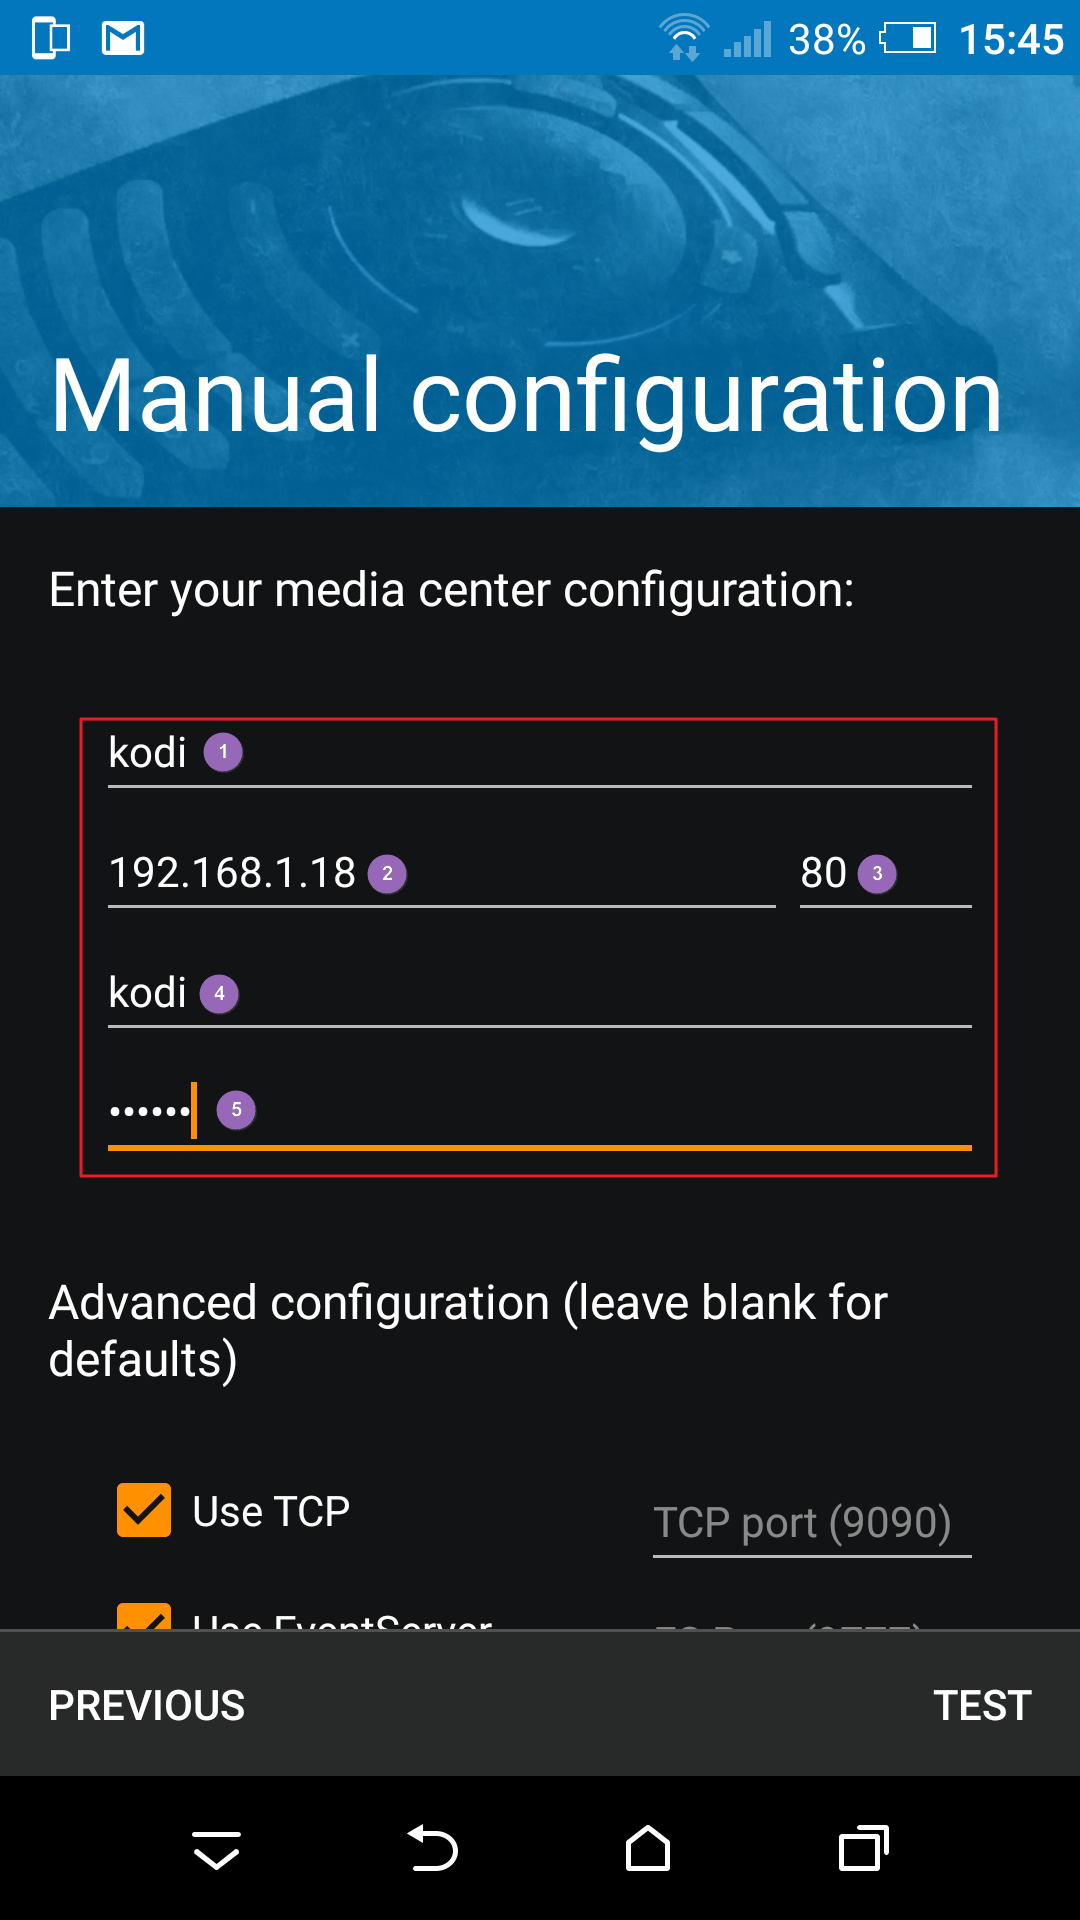
IP Address | 192.168.1.19
———————————————————————–[@more@]
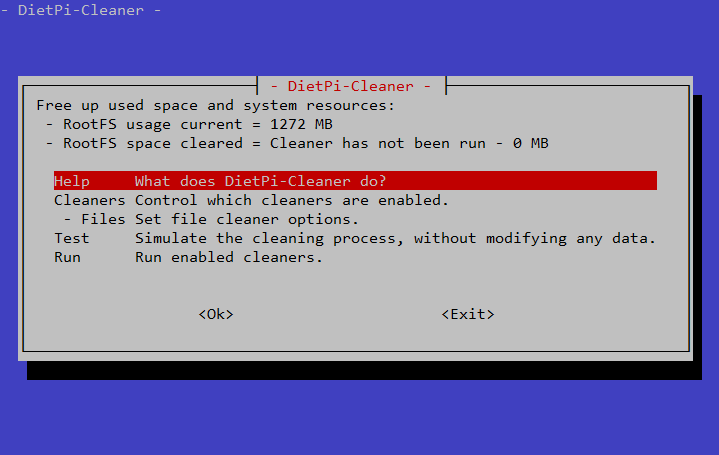
# /DietPi/dietpi/dietpi-cleaner

# /DietPi/dietpi/dietpi-cpu_set
DietPi-Cpu_Set
———————————————————————–
Mode: Applying CPU gov
Please wait…
[Ok] CPU gov applied: interactive
# /DietPi/dietpi/dietpi-cpuinfo
———————————————————————————————-
DietPi CPU Info
Use dietpi-config to change CPU / performance options
———————————————————————————————-
Architecture | armv7l
Temp | 61’c | Running hot, not recommended.
Governor | interactive
Current Freq Min Freq Max Freq
CPU0 | 480 Mhz 480 Mhz 1800 Mhz
CPU1 | 480 Mhz 480 Mhz 1800 Mhz
CPU2 | 480 Mhz 480 Mhz 1800 Mhz
CPU3 | 480 Mhz 480 Mhz 1800 Mhz
CPU4 | 480 Mhz 480 Mhz 1800 Mhz
CPU5 | 480 Mhz 480 Mhz 1800 Mhz
CPU6 | 480 Mhz 480 Mhz 1800 Mhz
CPU7 | 480 Mhz 480 Mhz 1800 Mhz
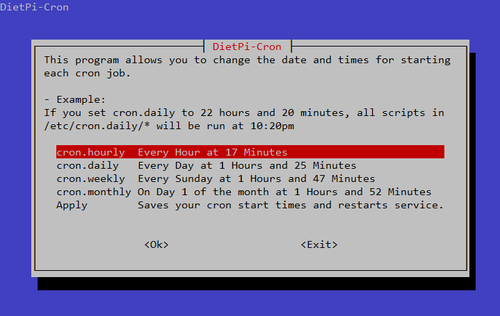
# /DietPi/dietpi/dietpi-cron
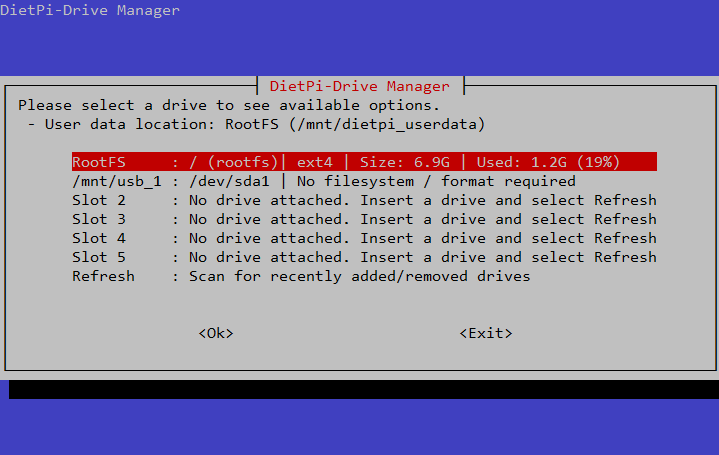
# /DietPi/dietpi/dietpi-drive_manager

# /DietPi/dietpi/dietpi-update
# /DietPi/dietpi/dietpi-logclear
DietPi-Logclear
———————————————————————————————-
Mode: Welcome
Please wait…
Available commands:
dietpi-logclear 0
Backup contents of all log files from /var/log to /root/logfile_storage/*.
Also clears the contents of all logs files in /var/log.
dietpi-logclear 1
Clear contents of all logs files in /var/log.
dietpi-logclear 2
Physically delete all files in /var/log and backups in /root/logfile_storage/*.
May prevent log files from being updated, restart services or reboot.
# /DietPi/dietpi/dietpi-process_tool

# /DietPi/dietpi/dietpi-survey
[Info] Testing connection to dietpi.com
[Info] Max duration of 20 seconds, please wait…
[Ok] Connection test | Completed
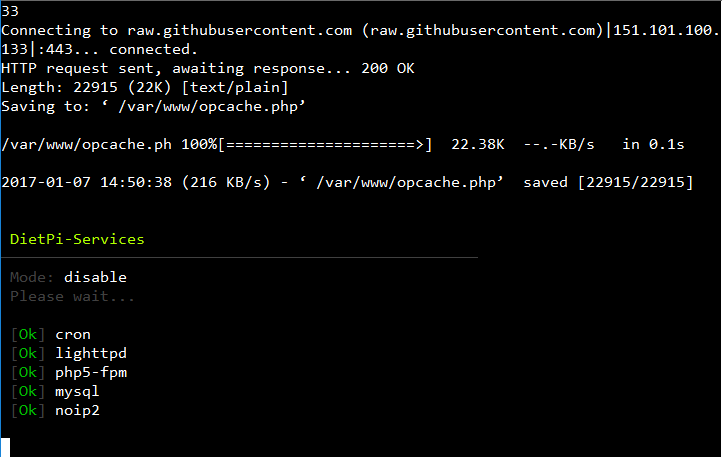
# /DietPi/dietpi/dietpi-services
DietPi-Services
———————————————————————————————-
Mode:
Please wait…
DietPi-Services
Available commands: start / stop / restart / enable / disable
# /DietPi/dietpi/dietpi-services mysql stop
DietPi-Services
———————————————————————————————-
Mode: mysql
Please wait…
DietPi-Services
Available commands: start / stop / restart / enable / disable
# /DietPi/dietpi/dietpi-sync

# /DietPi/dietpi/dietpi-update
DietPi-Update
————————————————————————–
Mode: Checking for DietPi updates
Please wait…
[Info] Checking Mirror : http://dietpi.com/downloads/dietpi-update_mirror/master/server_version
% Total % Received % Xferd Average Speed Time Time Time Current
Dload Upload Total Spent Left Speed
100 5 100 5 0 0 4 0 0:00:01 0:00:01 –:–:– 4
[Ok] Using update server: http://dietpi.com/downloads/dietpi-update_mirror/master/server_version
[Ok] No updates required, your DietPi installation is up to date.
[Info] Current Version : 141
[Info] Server Version : 141


 [@more@]