ClipBucket 是一套 OpenSource 的影音平台網站,可以讓使用者上傳影片,做為分享及交流使用。
ClipBucket SoureForge 官方網站:http://sourceforge.net/projects/clipbucket/
底下是在 CentOS 6.x x64 下進行安裝
本篇文章參考:
Garry’s 筆記: CentOS 6 安裝 ClipBucket 2.6
clipbucket教學
1. 安裝編繹套件
# yum groupinstall ‘Development Tools’ -y
2. 安裝 zlib-devel 套件
# yum install zlib-devel[@more@]3. 安裝 ffmpeg 套件
# yum install ffmpeg –enablerepo=rpmforge
4. 安裝 flvtool2 套件
# yum install flvtool2 –enablerepo=rpmforge
5. 安裝 mplayer 套件
# yum install mplayer –enablerepo=rpmforge
6. 安裝 mod_flvx 套件
# yum install mod_flvx –enablerepo=epel
7. 安裝 yasm 套件
# yum install yasm –enablerepo=rpmforge
8. 安裝 MP4Box 安裝 0.4.5 版或 0.5.0 版
下載
# wget http://downloads.sourceforge.net/gpac/gpac_extra_libs-0.5.0.tar.gz
# wget http://downloads.sourceforge.net/gpac/gpac-0.5.0.tar.gz
解壓縮
# tar xvzf gpac-0.5.0.tar.gz
# tar xvzf gpac_extra_libs-0.5.0.tar.gz
下載
# wget http://downloads.sourceforge.net/gpac/gpac_extra_libs-0.4.5.tar.gz
# wget http://downloads.sourceforge.net/gpac/gpac-0.4.5.tar.gz
解壓縮
# tar -zxvf gpac-0.4.5.tar.gz
# tar -zxvf gpac_extra_libs-0.4.5.tar.gz
切換目錄
# cd gpac
複製檔案及目錄
# cp -r ../gpac_extra_libs/* extra_lib/
更改檔案權限
# chmod 755 configure
進行編譯及安裝
# ./configure
# make lib
# make apps
# make install
# cp bin/gcc/libgpac.so /usr/lib
# ldconfig
# cp /usr/local/bin/MP4* /usr/bin/
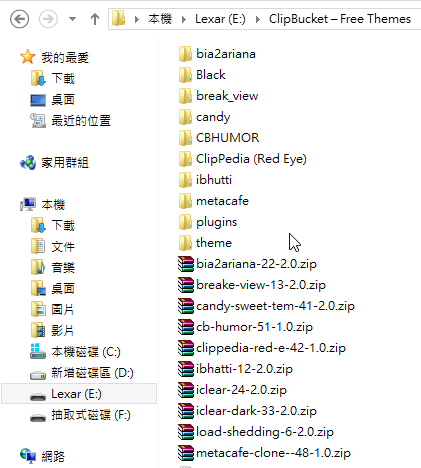
9. 下載 ClipBucket 及安裝
# cd /var/www/html
# wget http://downloads.sourceforge.net/project/clipbucket/ClipBucket%20v2/clipbucket-2.6-r738-security-fixed.zip
# unzip clipbucket-2.6-r738-security-fixed.zip
# mv clipbucket-2.6-r738-security-fixed/upload clipbucket
10. 更改檔案及目錄權限
# chmod 777 clipbucket/includes
# chmod 777 clipbucket/files
# chmod 777 clipbucket/files/conversion_queue
# chmod 777 clipbucket/files/logs
# chmod 777 clipbucket/files/original
# chmod 777 clipbucket/files/temp
# chmod 777 clipbucket/files/thumbs
# chmod 777 clipbucket/files/photos
# chmod 777 clipbucket/files/videos
# chmod 777 clipbucket/files/mass_uploads
# chmod 777 clipbucket/files/temp/install.me
# chmod 777 clipbucket/images
# chmod 777 clipbucket/images/avatars
# chmod 777 clipbucket/images/backgrounds
# chmod 777 clipbucket/images/collection_thumbs
# chmod 777 clipbucket/images/category_thumbs
# chmod 777 clipbucket/images/groups_thumbs
# chmod 777 clipbucket/includes/langs/en.lang
# chmod 777 clipbucket/cache
# chmod 777 clipbucket/cache/comments
# chmod 777 clipbucket/cache/userfeeds
# chmod 777 clipbucket/cb_install
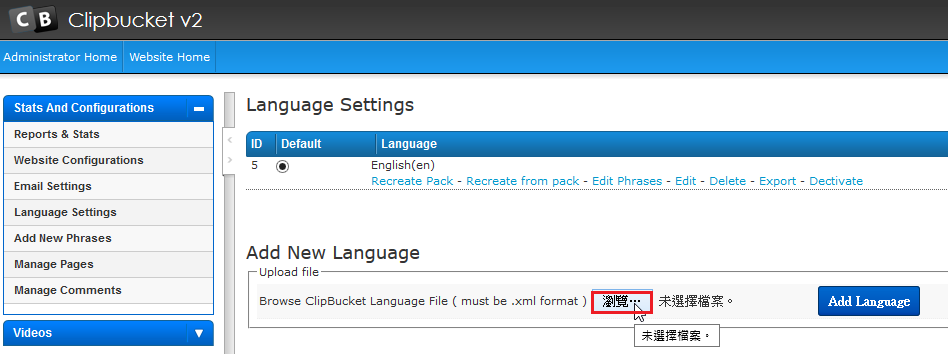
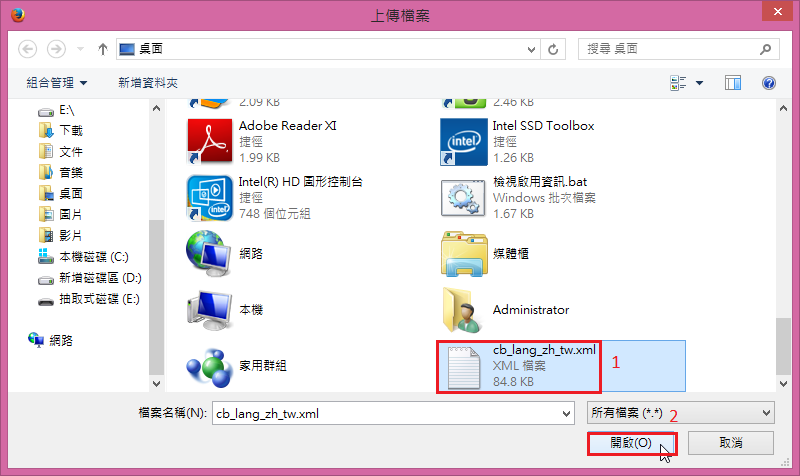
# wget http://dinno.blog.phc.edu.tw/files/2012/05/cb_lang_zh_tw.zip
# unzip cb_lang_zh_tw.zip
# mv cb_lang_zh_tw.xml clipbucket/includes/langs
# chmod 777 clipbucket/includes/langs/cb_lang_zh_tw.xml
11. 建立 ClipBucket 資料庫
# /usr/bin/mysqladmin -u root -p create ClipBucket
12. 修改 /etc/php.ini
# vim /etc/php.ini
max_execution_time = 300
max_input_time = 600
memory_limit = 512M
post_max_size =1024M
upload_max_filesize=1024M
# 開啟這項才能看到 ClipBucket安裝畫面
short_open_tag = On
date.timezone = “Asia/Taipei”
重新啟動 Apache Web Server
# service httpd restart
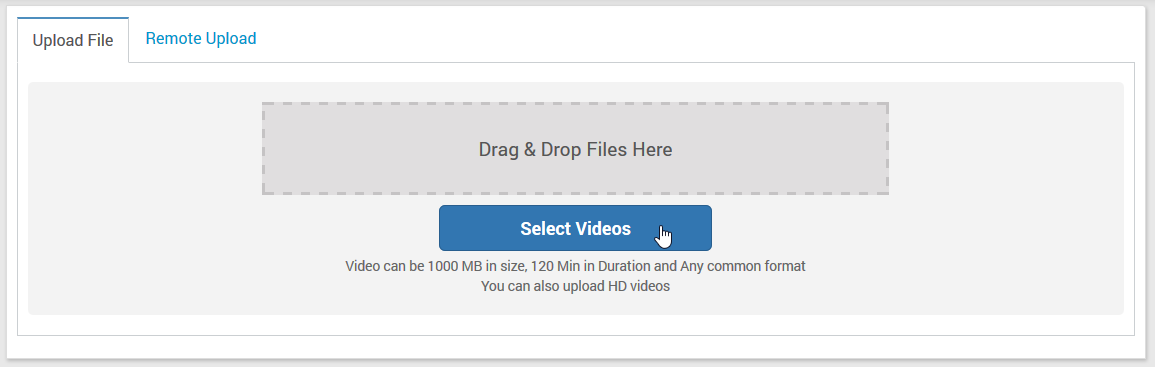
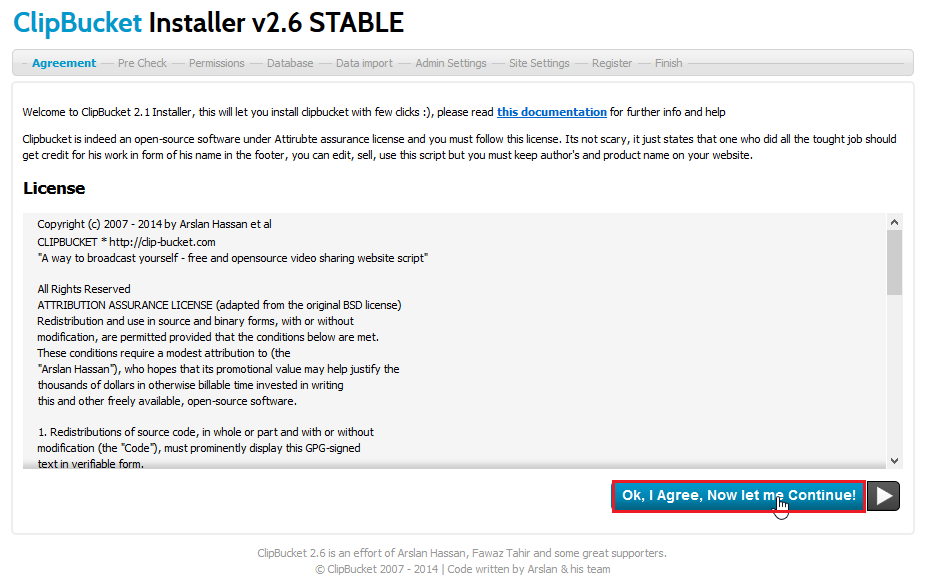
13. 進行安裝

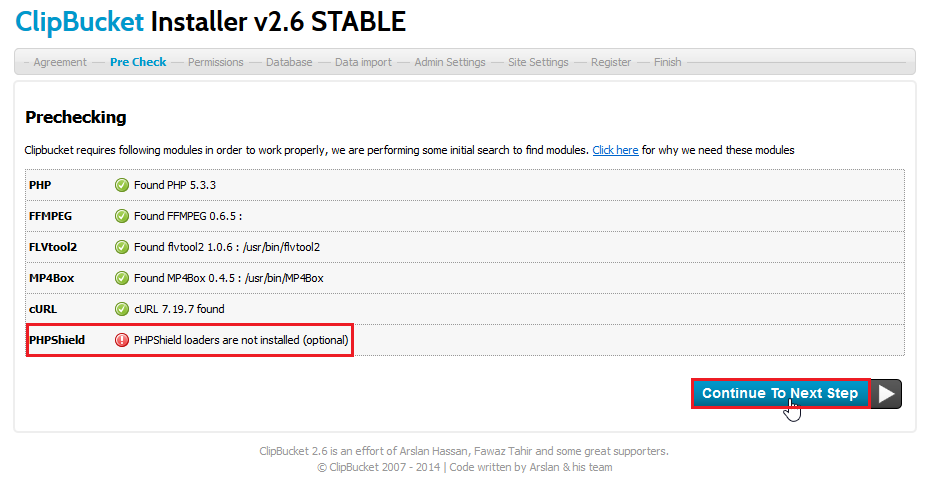
14. 系統環境檢測
PHP Shield 未安裝,不過這一項設定可以暫不用設定

15. 目錄及檔案的權限檢查


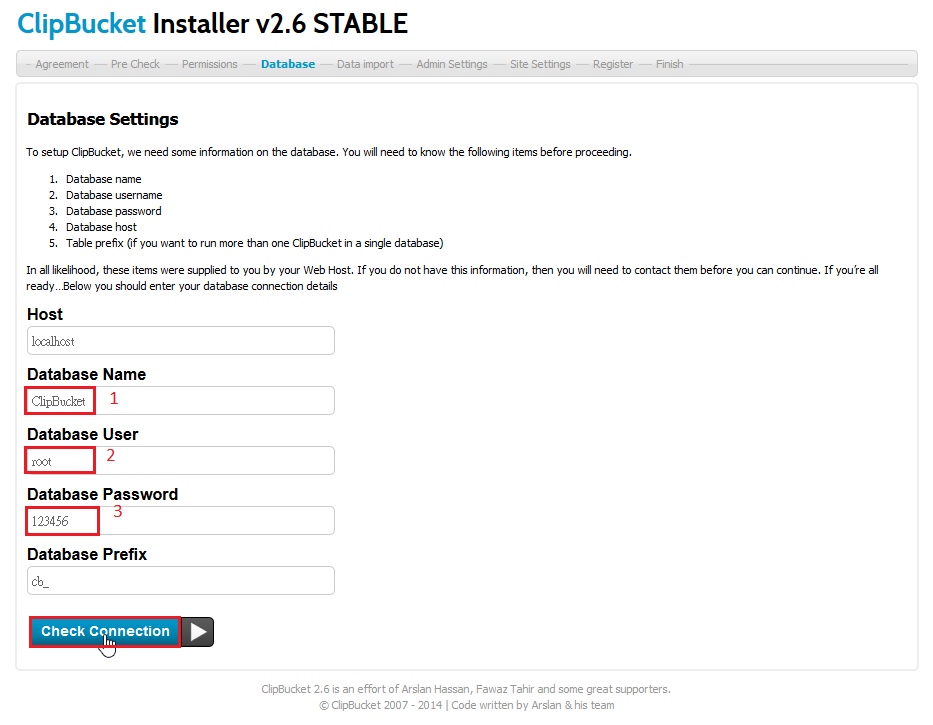
16. 資料檔名稱、管理者帳號及密碼設定

17. 如果之前沒有先建立資料庫,則會出現錯誤訊息

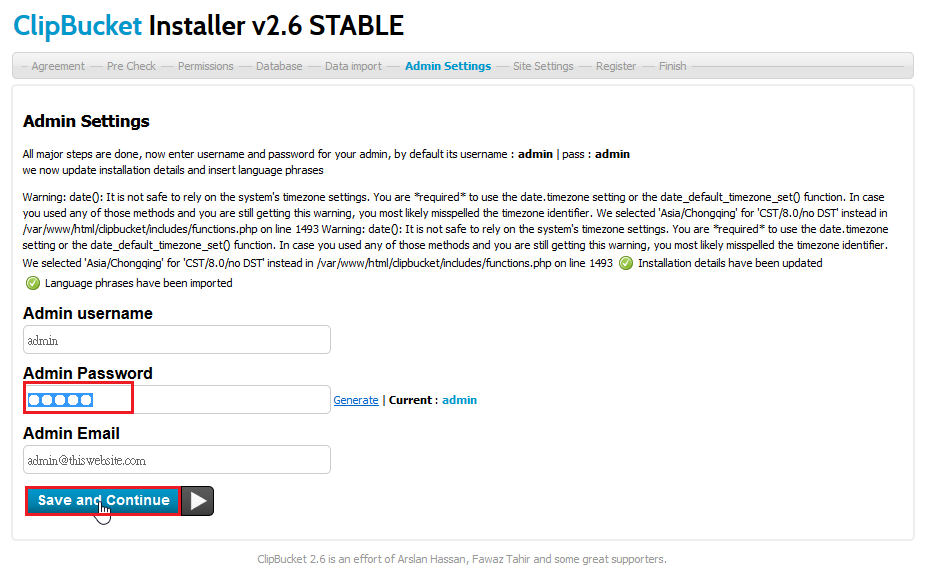
18. 設定管理者的帳號及密碼

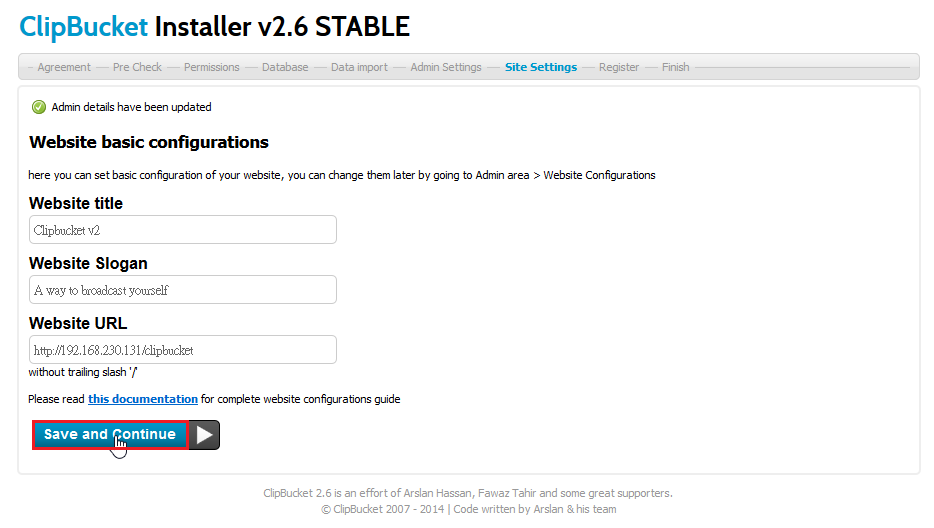
19. ClipBucket 站台的相關設定

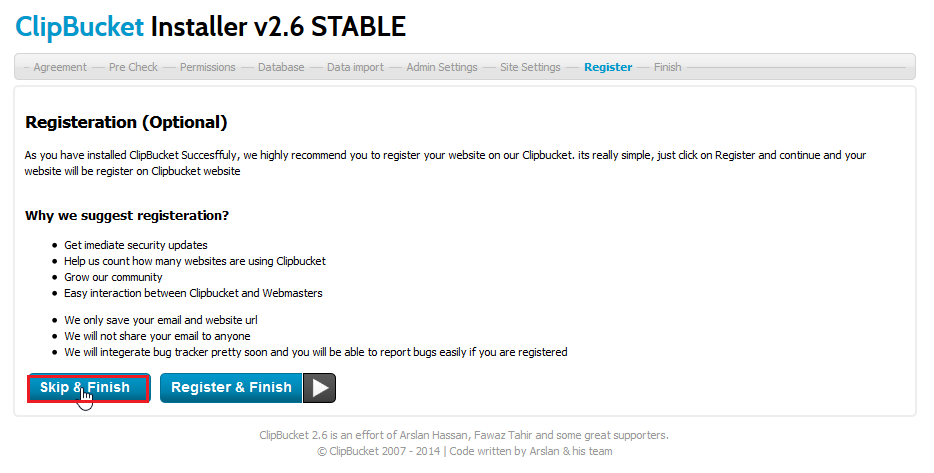
20. 站台註冊

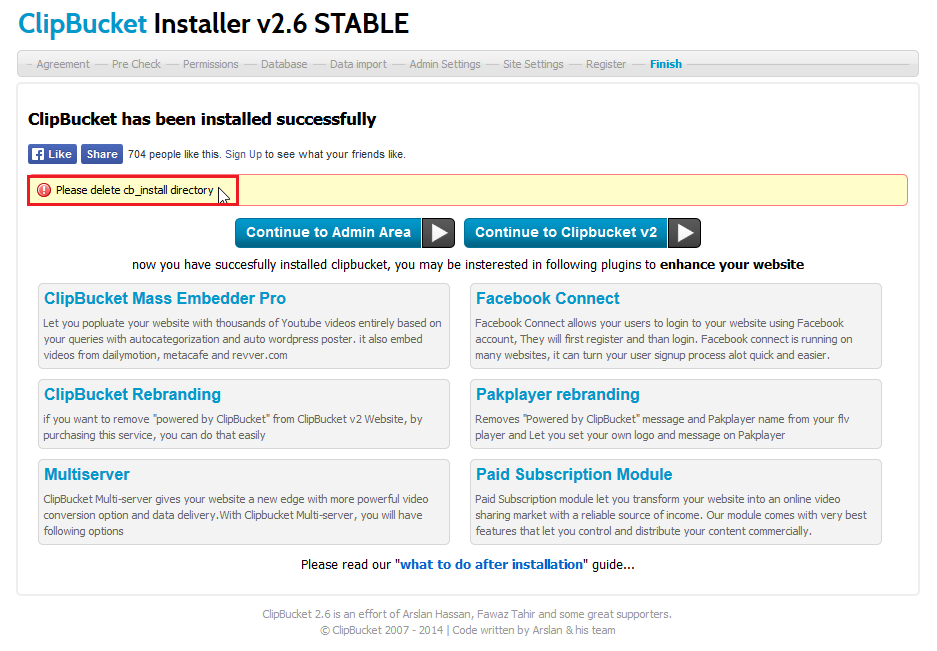
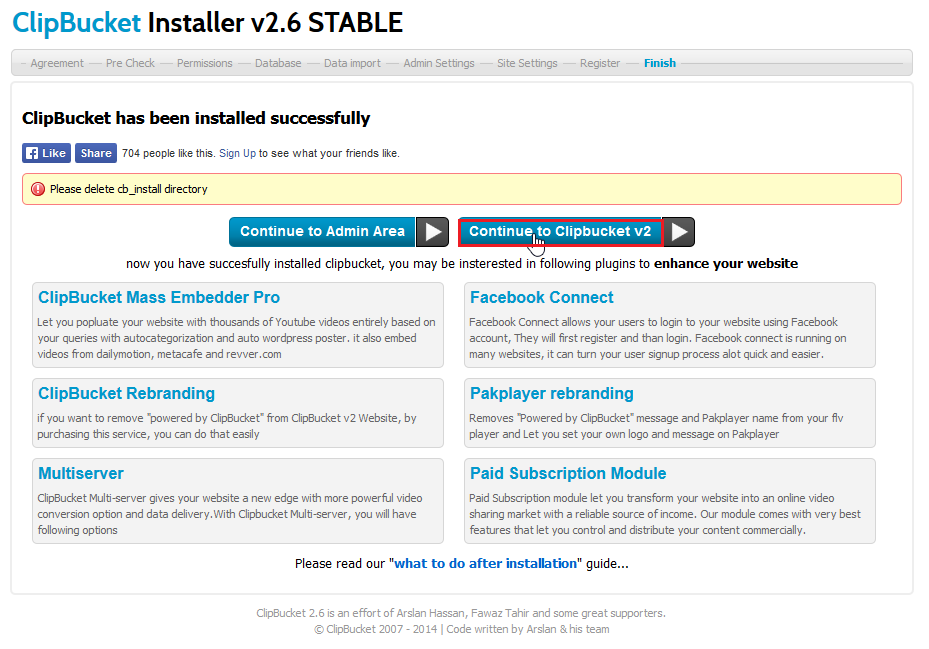
21. 為了系統安全,安裝完成後,請刪除 clipbucket/cb_install 目錄
# rm -rf /var/www/html/clipbucket/cb_install

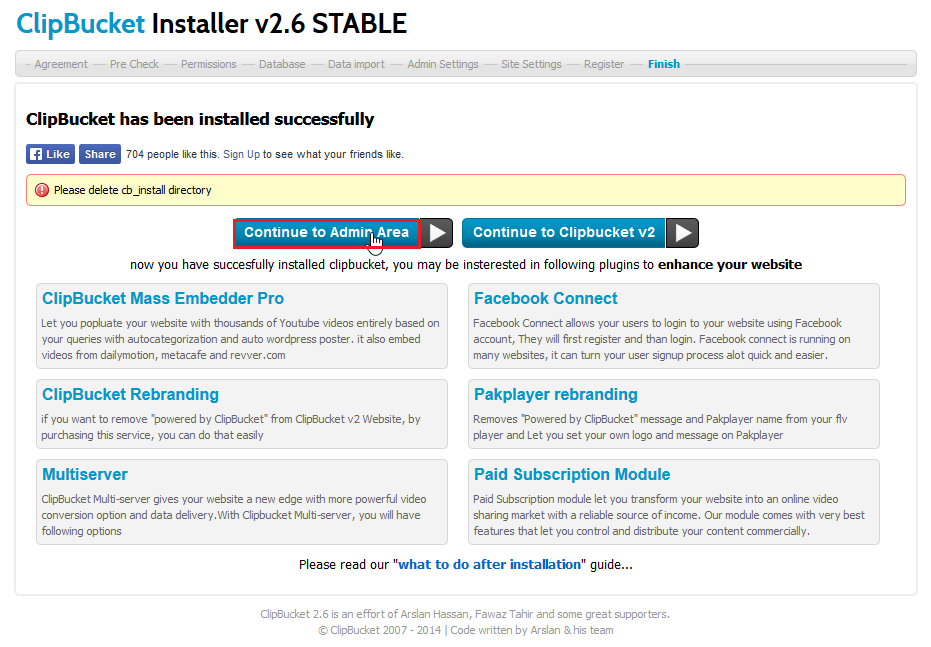
22. 按 Continue to Admin Area 可以到管理後台

23. 按 Continue to Clipbucker v2 可以到 ClipBucker 的前台

24. 輸入管理者的帳號及密碼

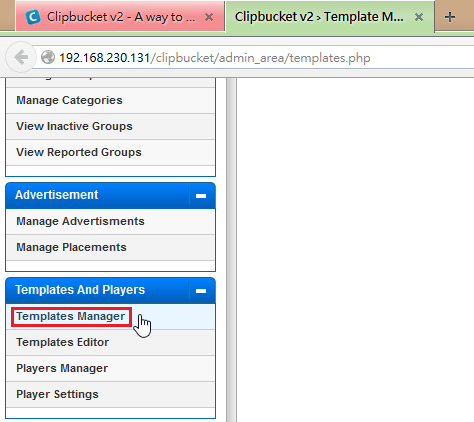
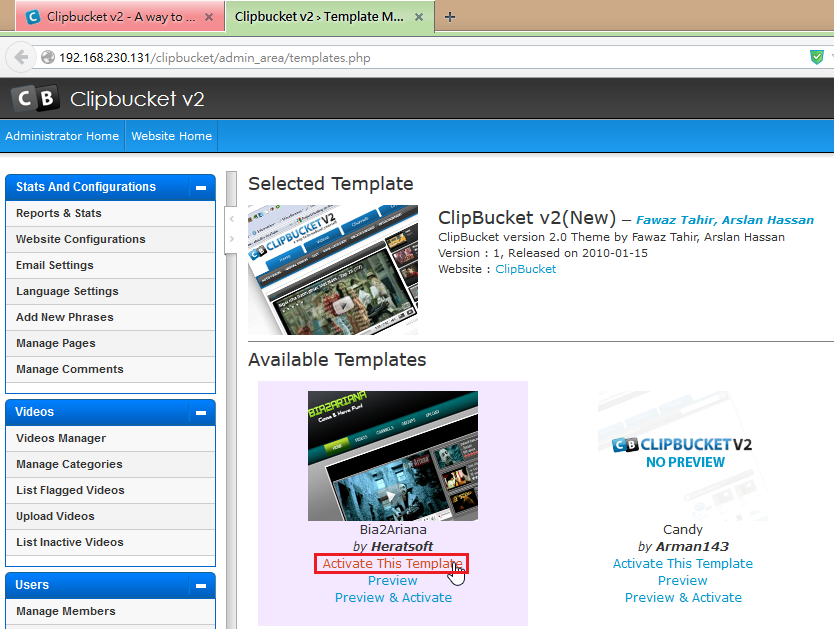
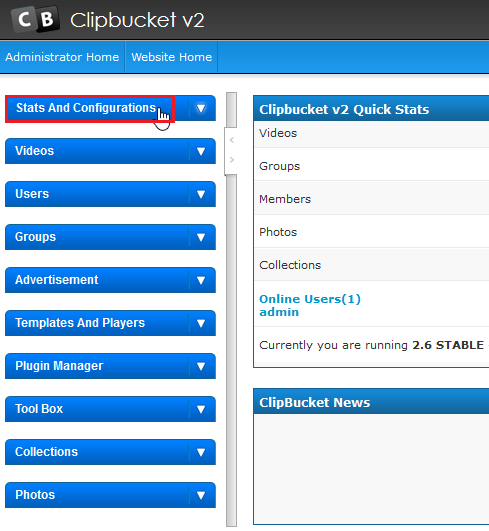
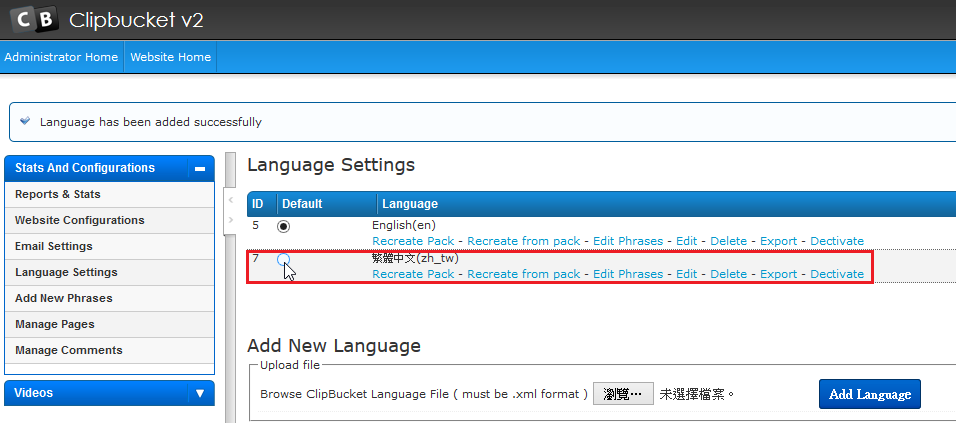
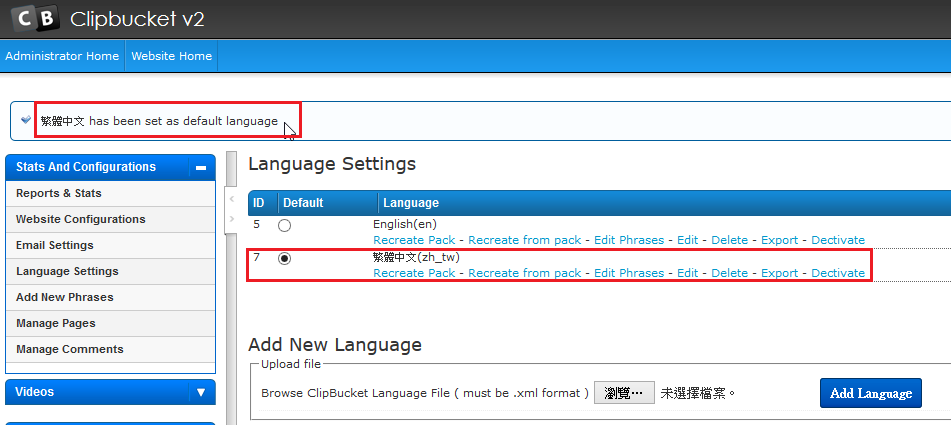
25. ClipBucket 的管理後台

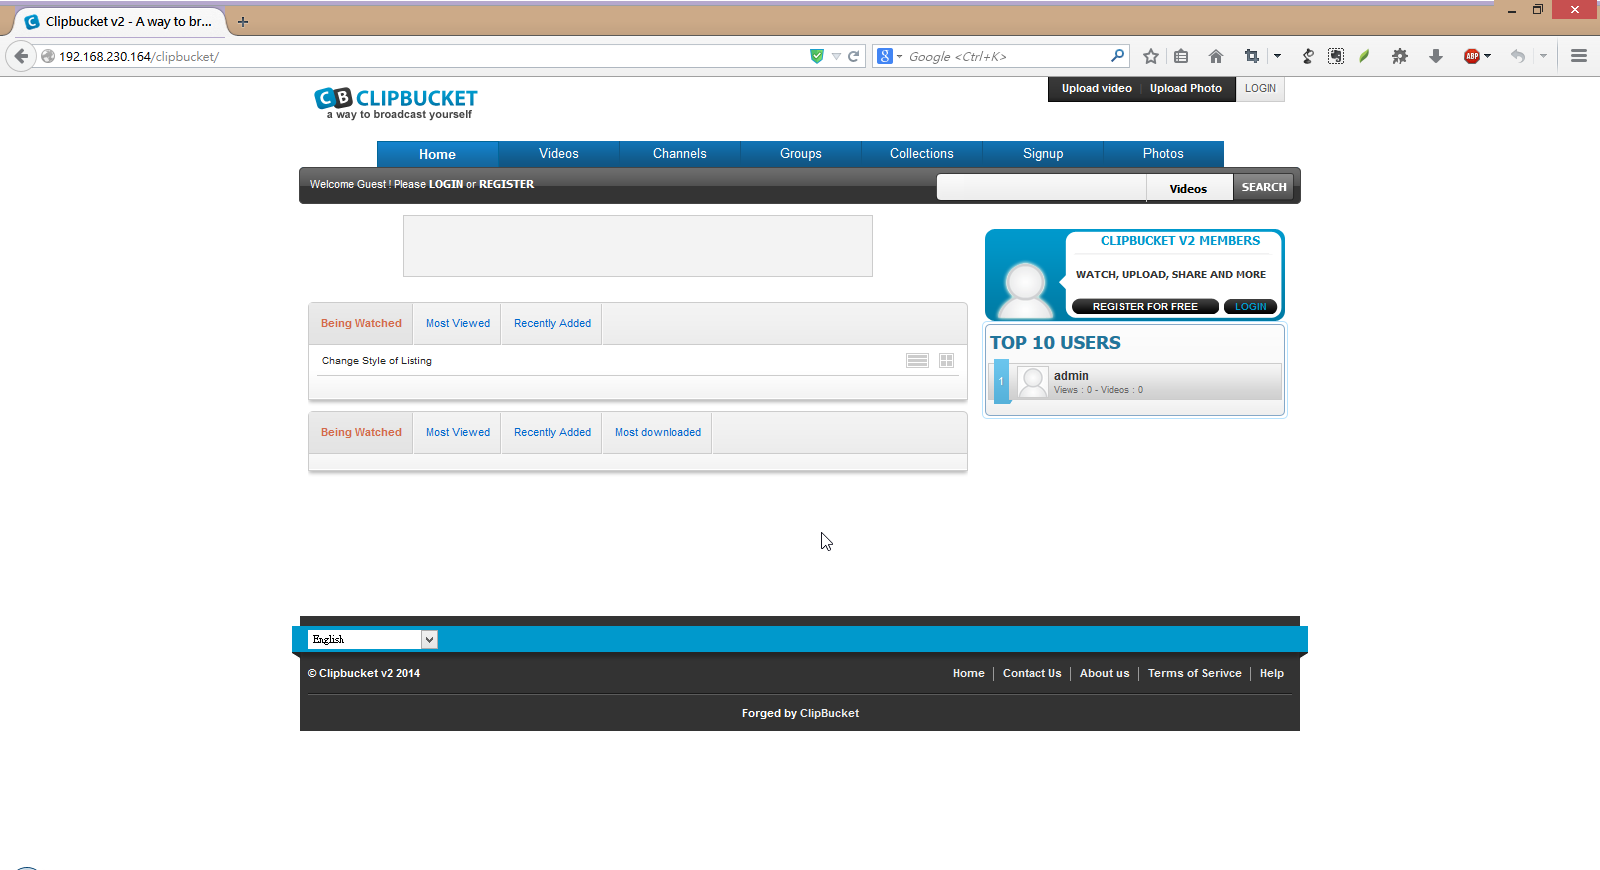
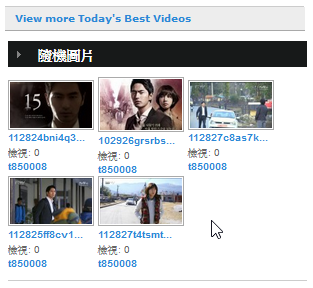
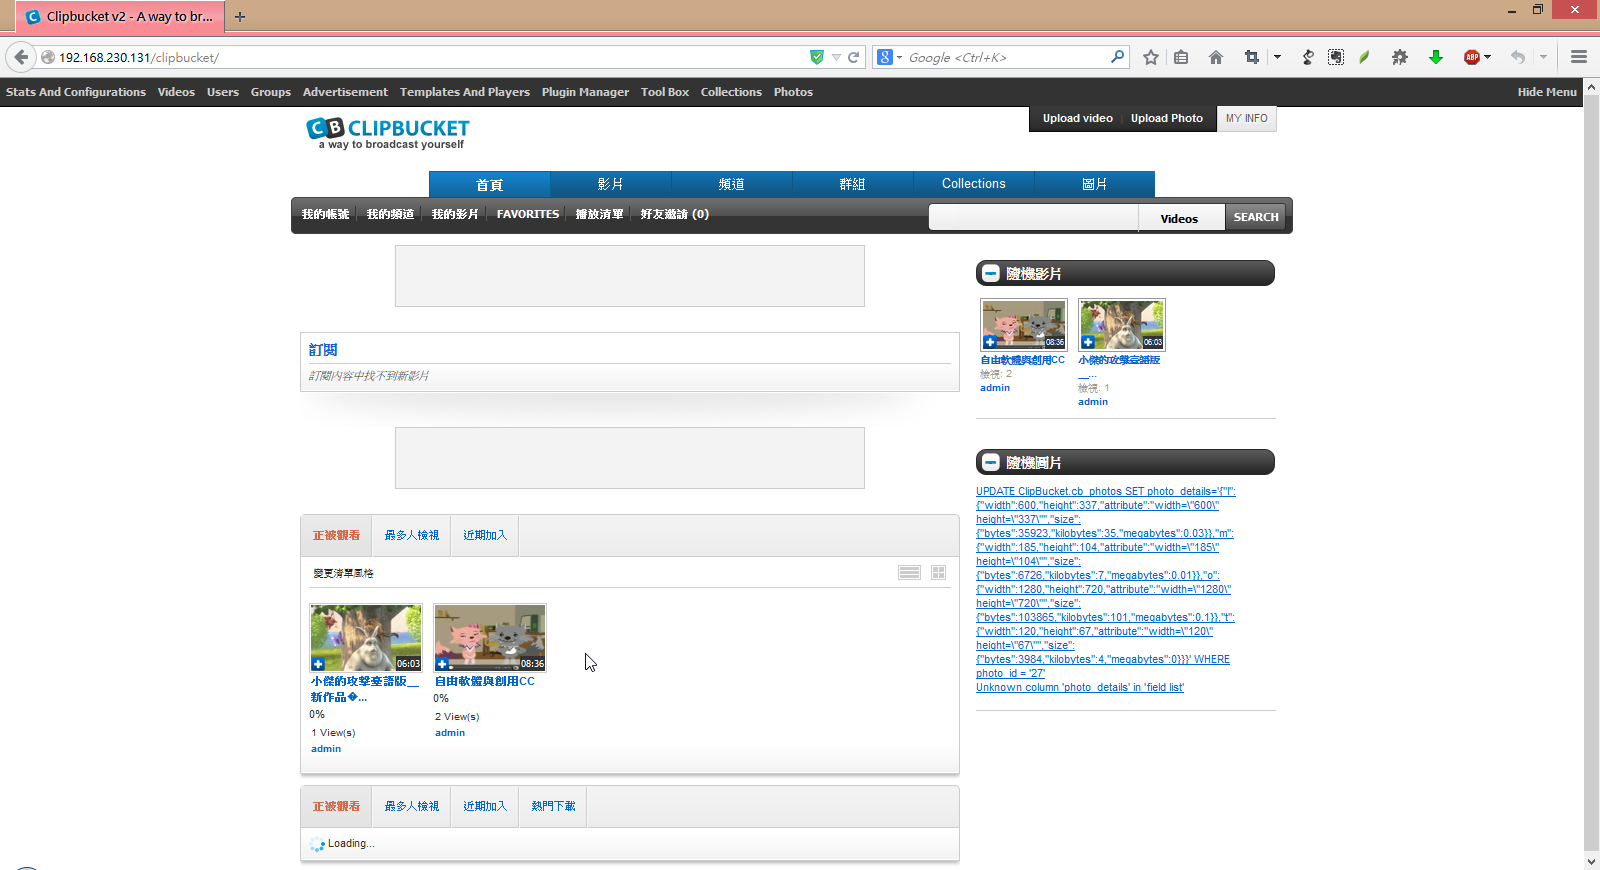
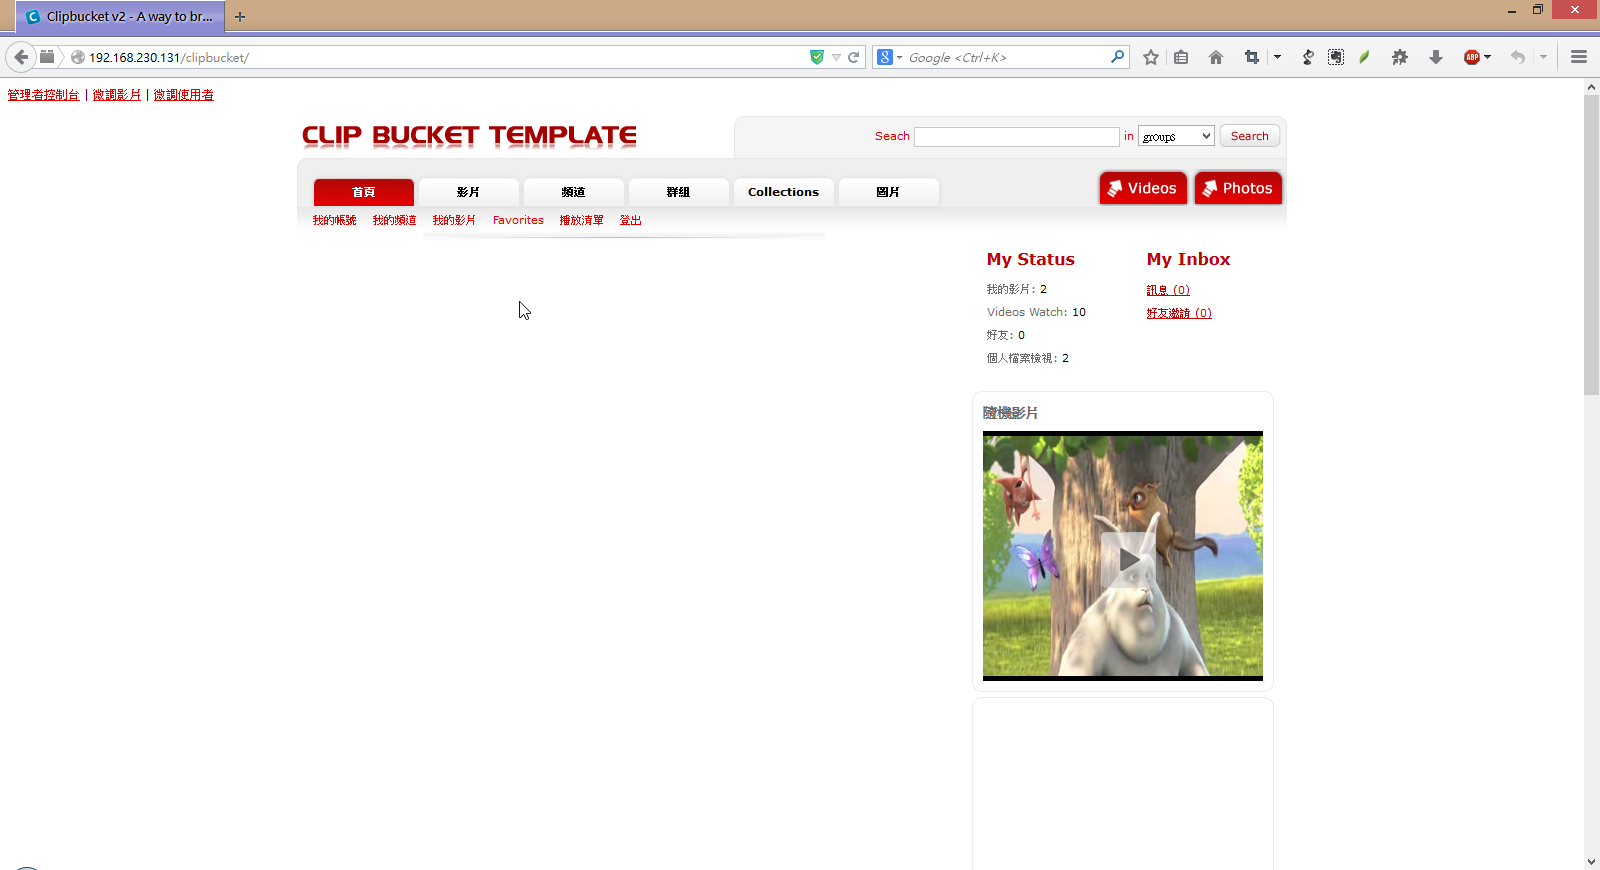
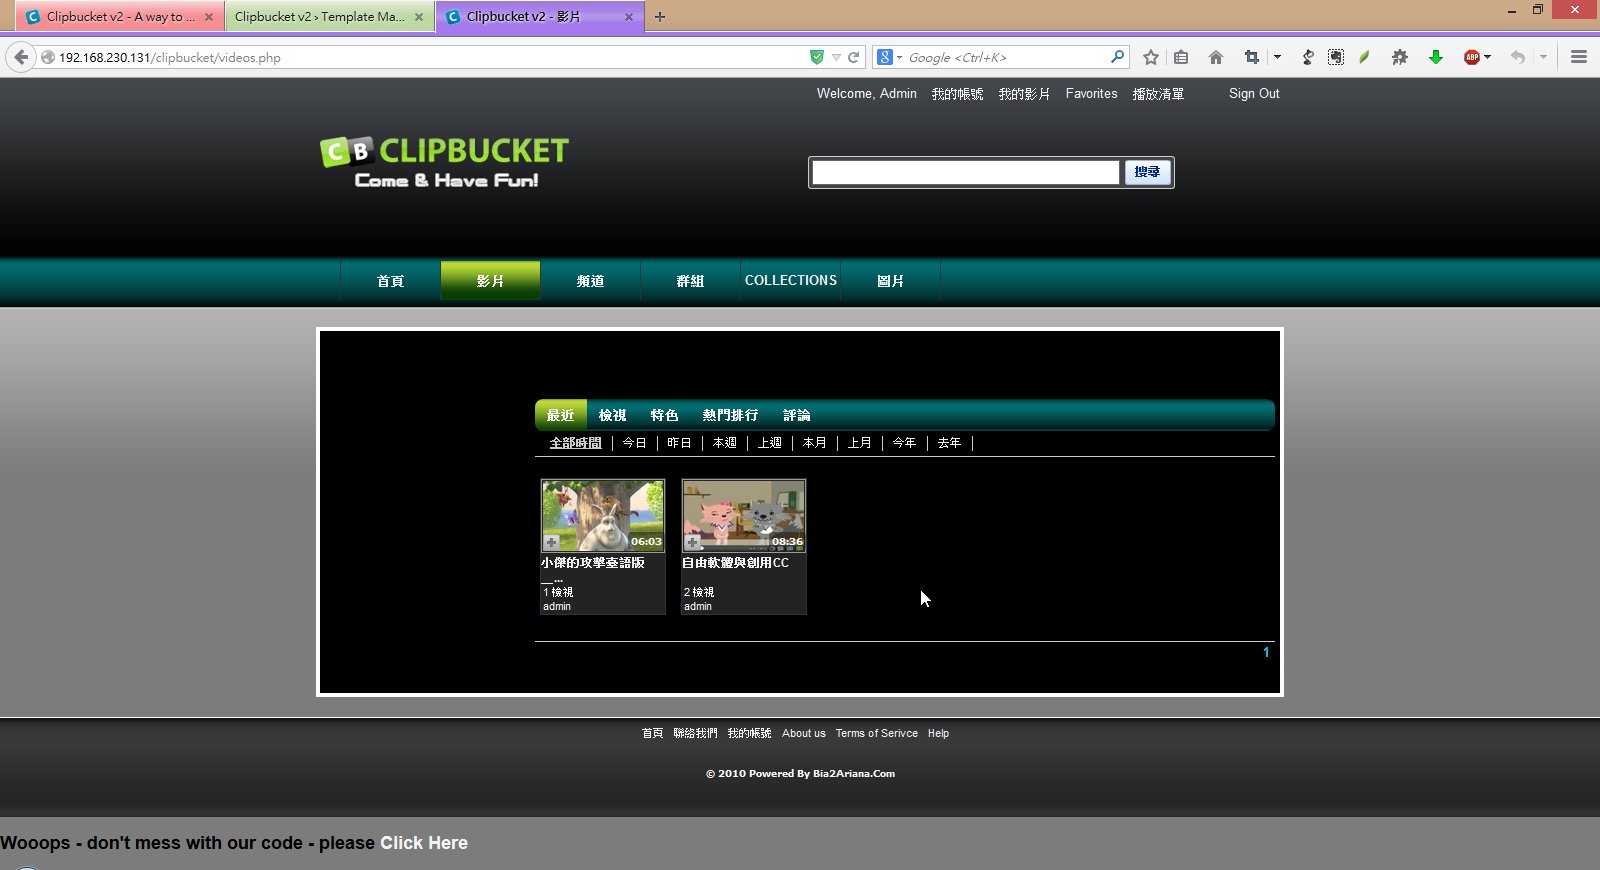
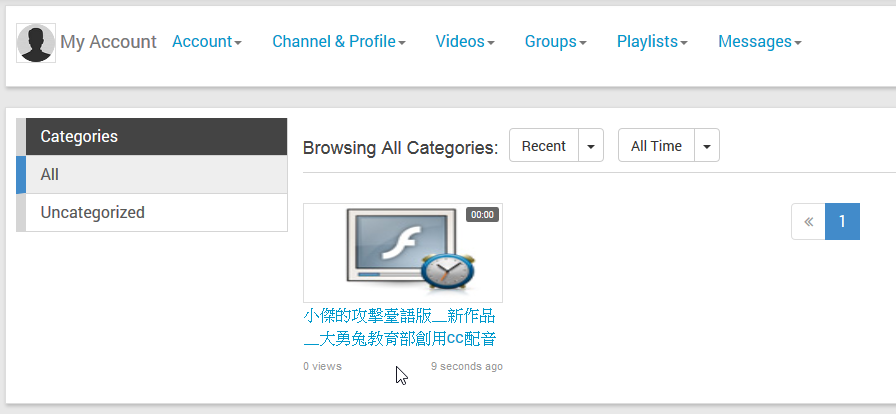
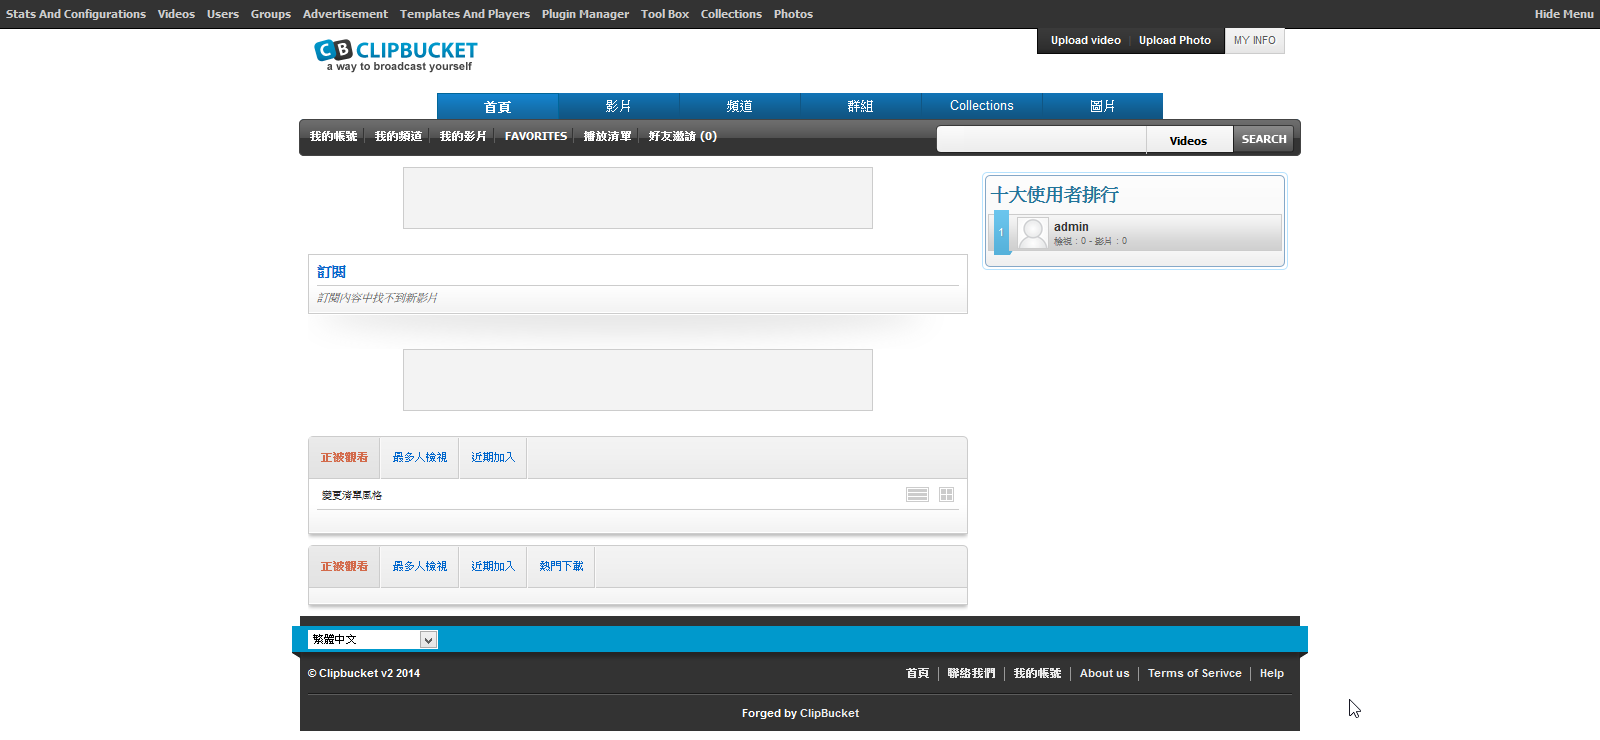
26. ClipBucket 的前台


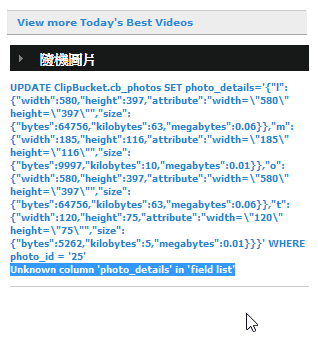
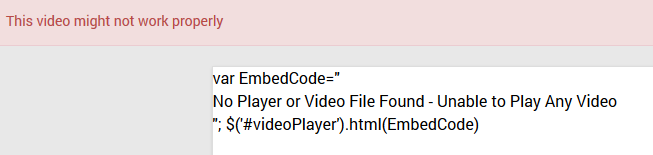
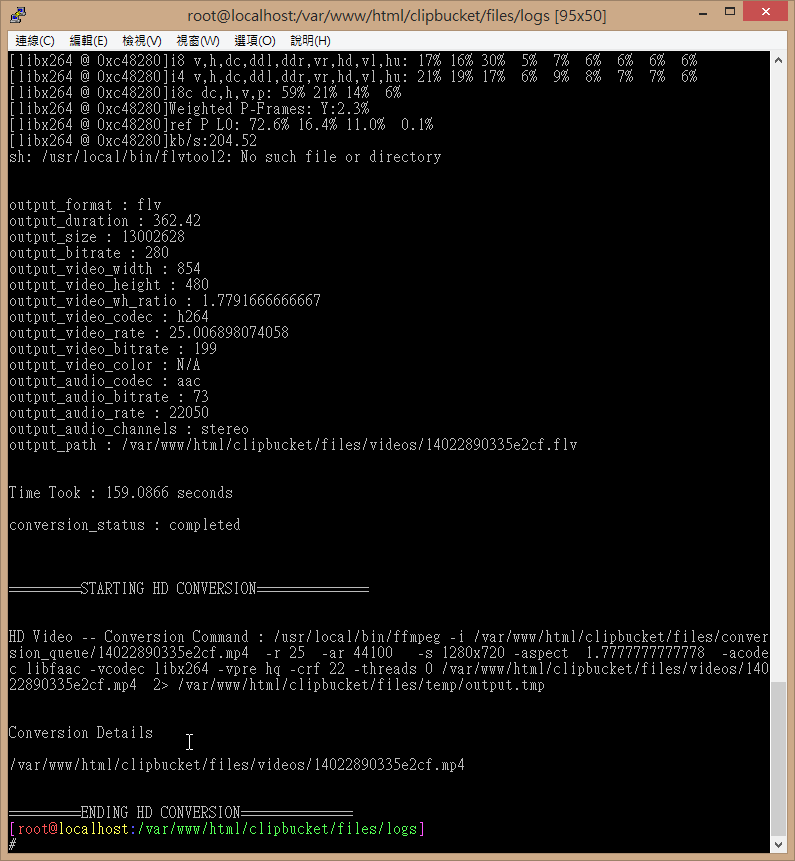
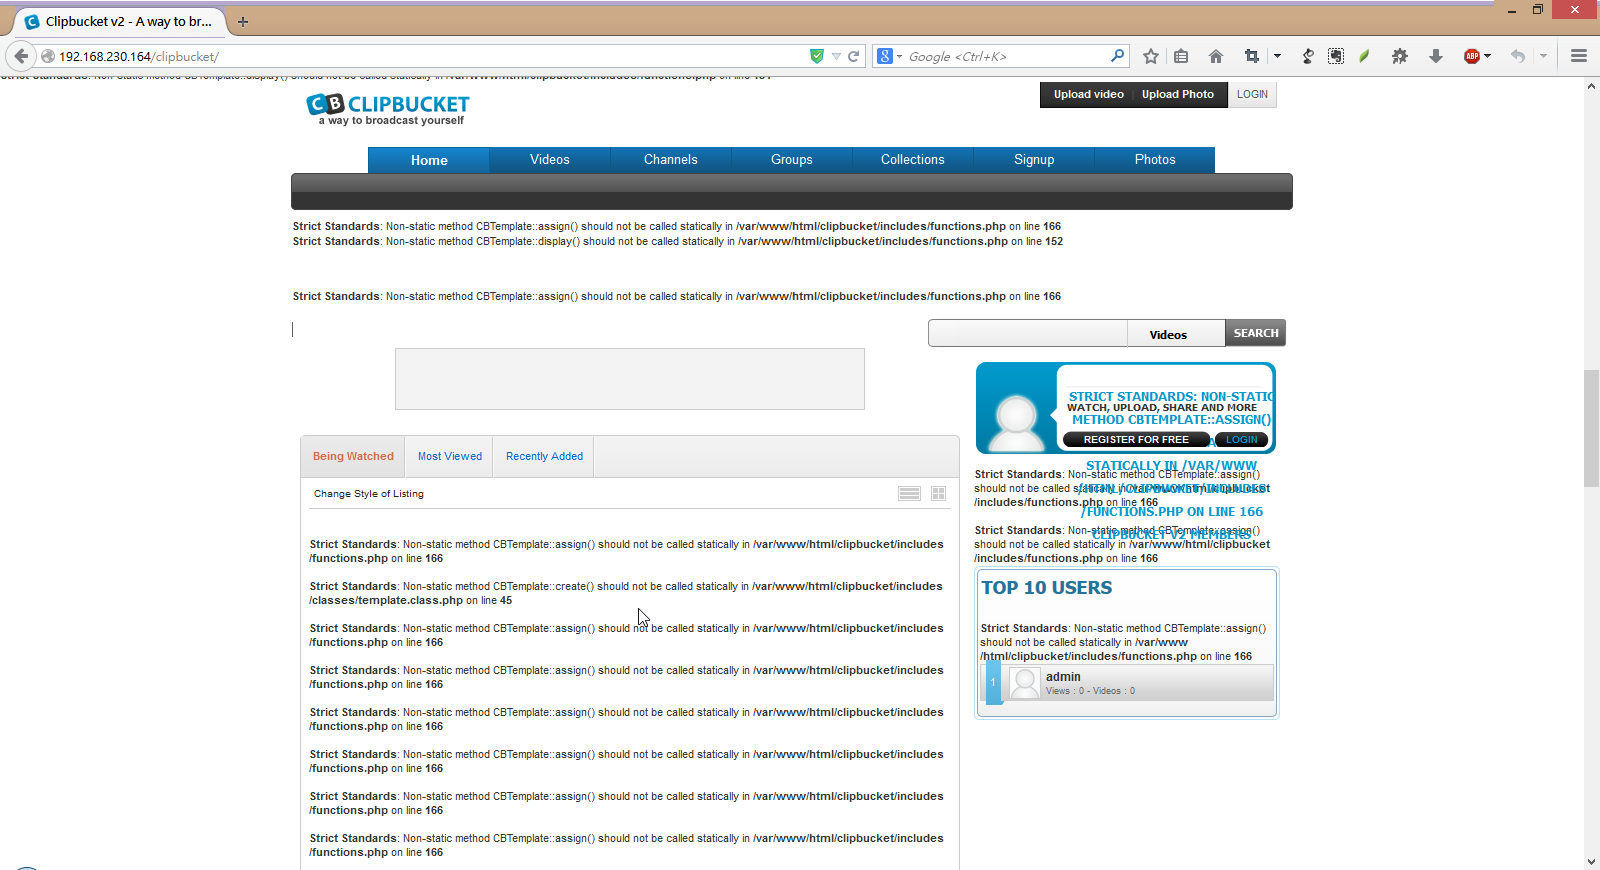 [@more@]解決方式:
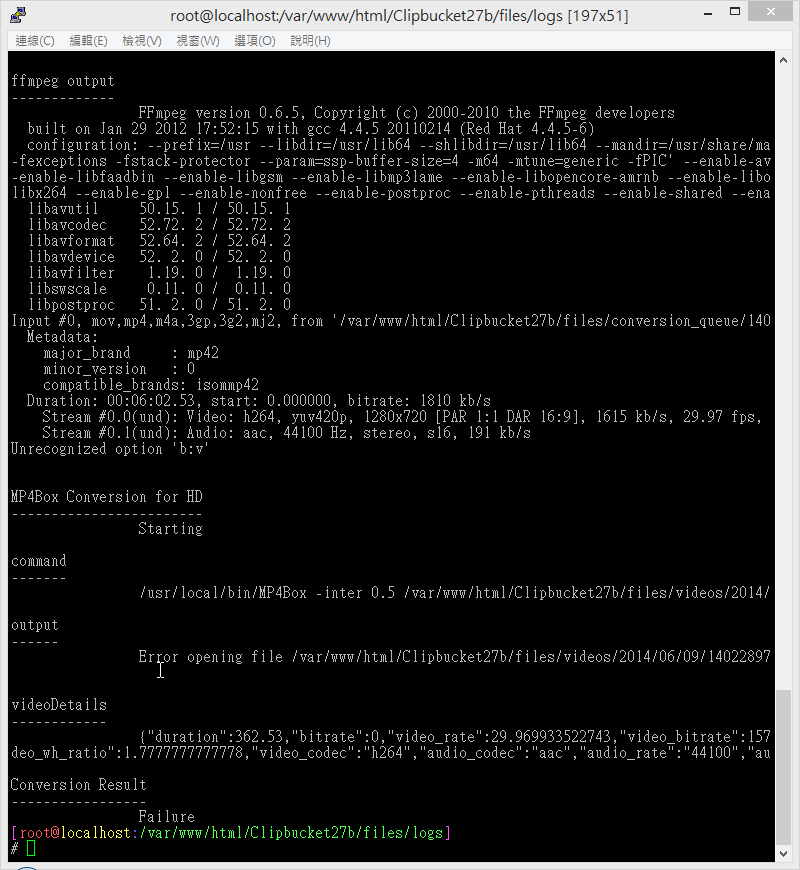