

解決 Word 2010 開啟及關閉檔案時會顯示錯誤訊息
Word 2010 開啟及關閉檔案時會顯示如下圖的錯誤訊息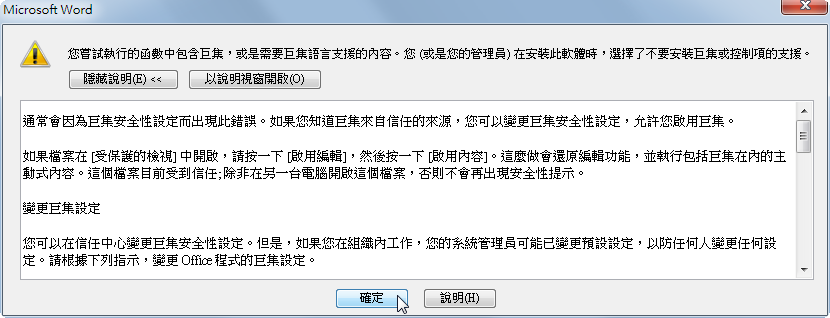 [@more@]解決方式:
1. 開啟 Word 2010
2. 選擇 檔案,另存新檔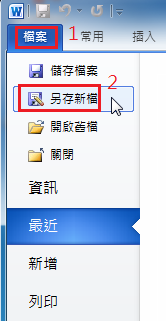
3.存檔類型選擇 word 啟用巨集的範本(*.dotm),檔案名稱 Normal.dotm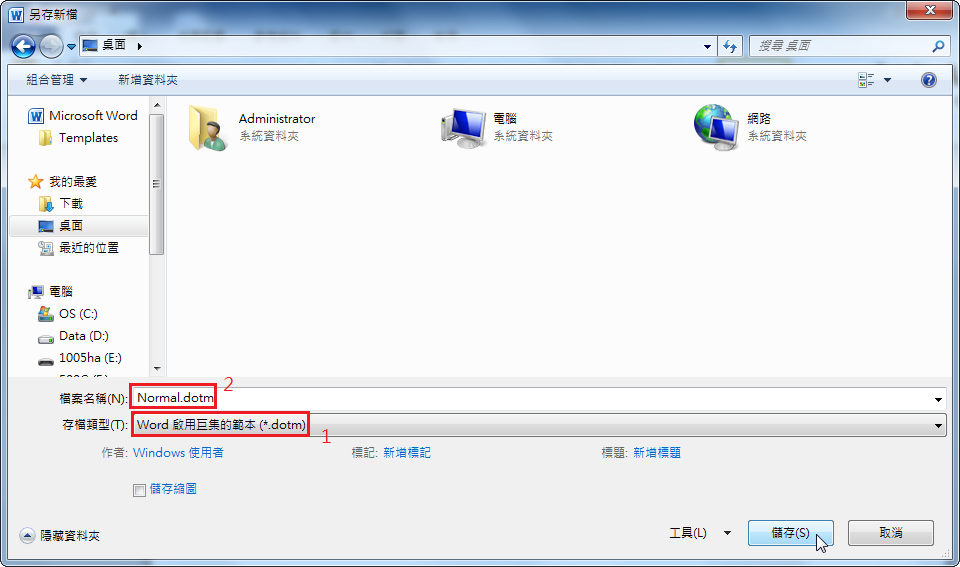
4. 將檔案搬移至 C:Users登入帳號AppDataRoamingMicrosoftTemplates 目錄下即可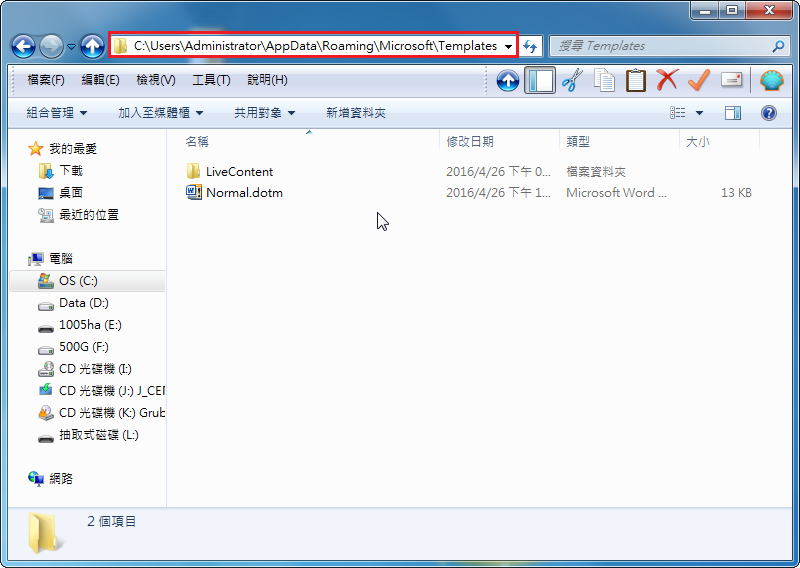
二套 Microsoft Windows 及 Office 下載離線更新程式
為了製作客製化光碟或是大批更新時須要,不用一個一個下載,可以方便許多,節省時間。
1. WSUS Offline Update
下載網站:http://download.wsusoffline.net/
使用方式:
勾選須要的版本,最後按 Start 即可! [@more@]2. WHDownloader
下載網站:http://forums.mydigitallife.info/threads/66243-WHDownloader-Download
選擇所須要的版本
選擇所須要的修正程式,最後按 Download 即可
將 Office 2010 整合到 Windows 7 SP1 安裝光碟
在之前也有做過這樣的嘗試 – 頭城國小資訊組 | 將 Office 2010 整合到 Windows 7 SP1 安裝光碟,不過是採用手動打造的方式,有些辛苦,這裡改用 sysprep 來做處理,就簡單多了。至於 sysprep 是什麼,可以參考以下的網址:
什麼是 Sysprep?
Sysprep 命令列語法
sysrep – Google 搜尋
底下的操作環境會在 VM 下進行操作[@more@]1. 將建立好的硬碟先分割成二個分割區,第一個分割區用來安裝 Windows 7 作業系統,第二個分割區用來存放 Image 檔
這裡是以 AOMEI Partition Assistant Standard Edition 5.6.3 來做硬碟分割
2. 開始進行 Windows 7 安裝
記得選第一項分割區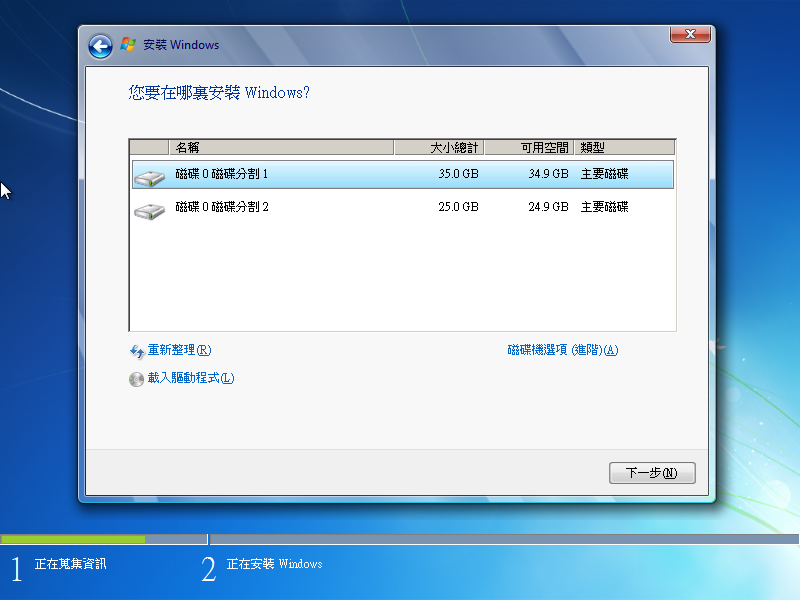
3.將要裝的軟體一一裝好,防毒軟體可以後續再安裝,Windows 7 / Office 2010 的啟動也可以後續再啟動
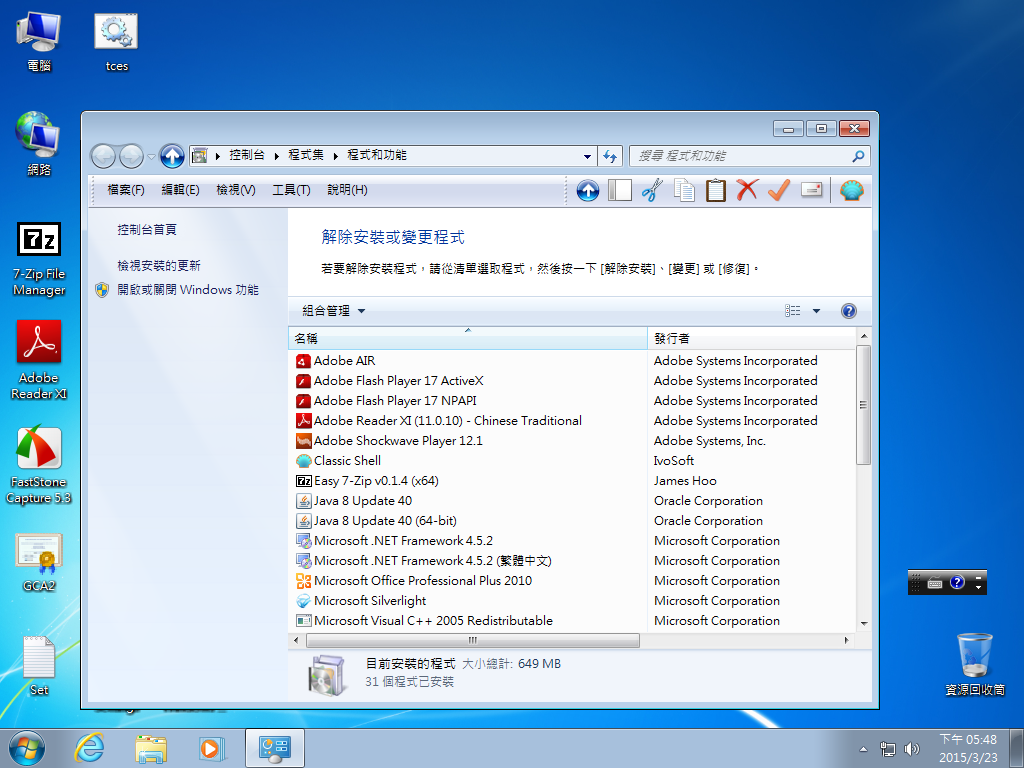
4. 修正程式也可以一併更新完畢
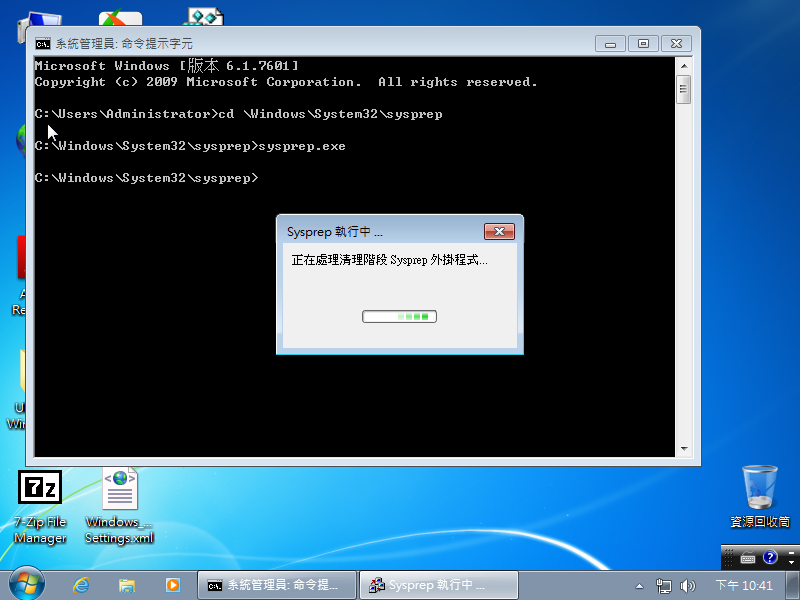
5. 以系統管理者執行命令提示字元
切換目錄 cd WindowsSystem32sysprep
執行 sysprep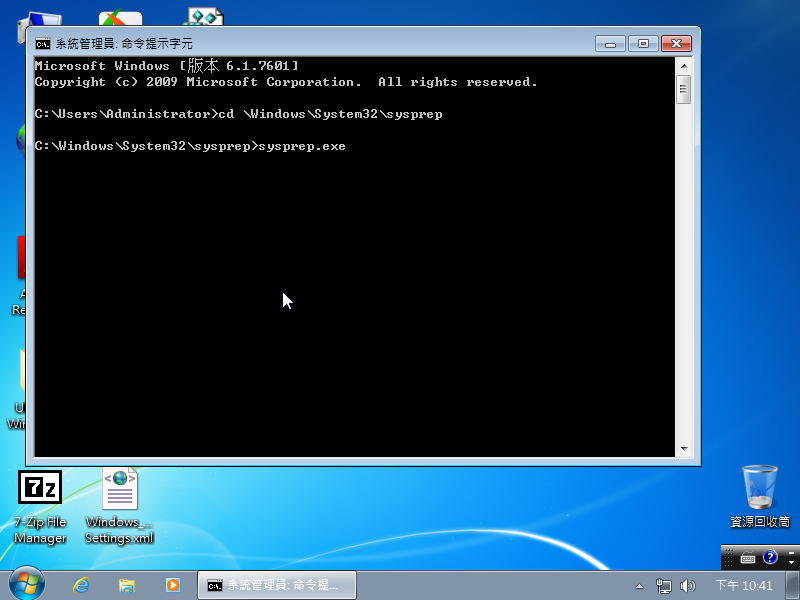
6. 勾選 一般化,關機選項請選 關機
7. 關機後,重新開機,請準備好以 Windows PE 開機,這部分自行在網路上搜尋一下,應該可以找到所需的檔案
請注意:一定不要再進入 Windows 7,否則又要執行一次 Windows 7 安裝的初始化設定,又要重第 6 步驟開始
8. 執行 Easy ImageX,進行備份,選擇上方的 備份,再設定要備份第一個分割區到第二個分割區,最後按右下方的 執行分區備份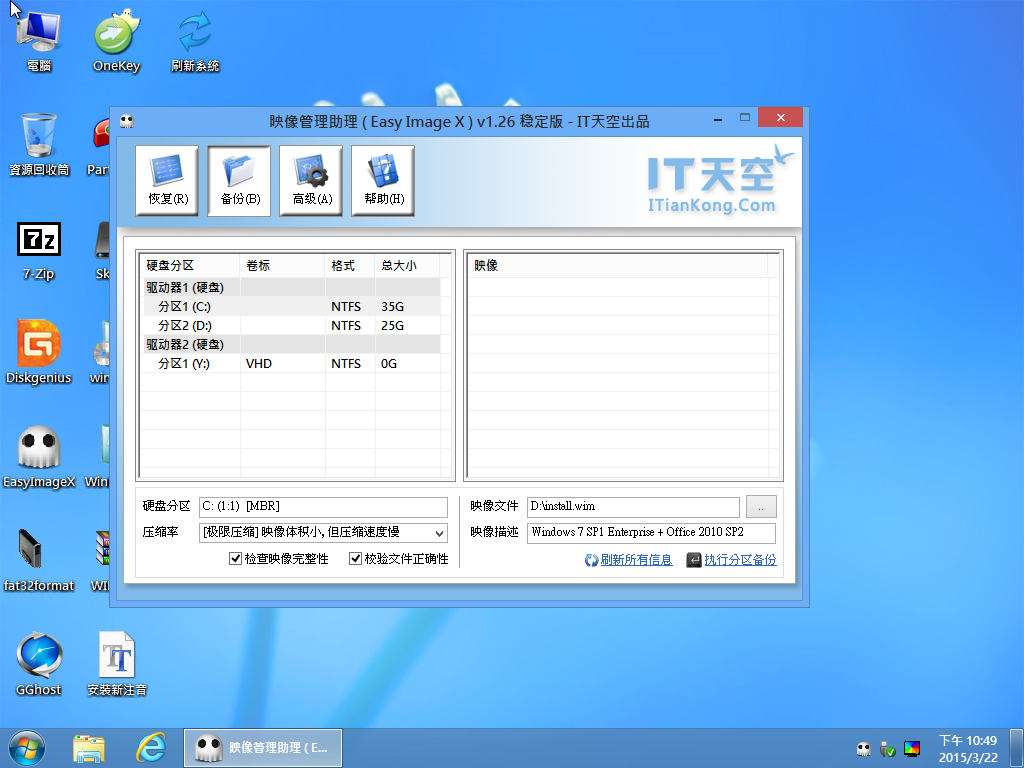
9. 備份中
10. 備份完畢
11. 將備份出來的 install.wim,替換掉原安裝光裝 sources 目錄的 install.wim 即可。
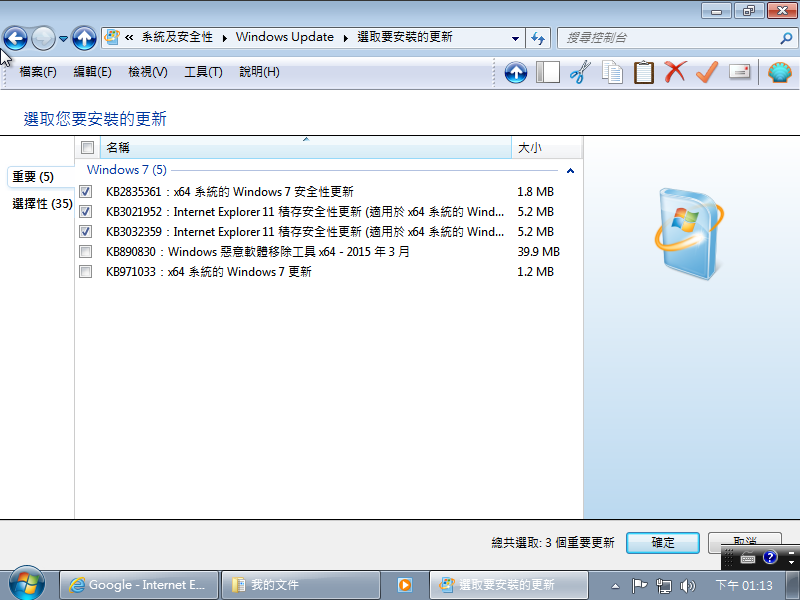
12. 安裝後還需要安裝的修正程式
縮短 Office 2010 x86/x64 更新檔的大小
Office 2010 的更新檔案似乎有支援多國語言,所以在 Updates 目錄下的檔案非常多,檔案也非常大,甚至比原本的 ISO 光碟都還來的大。
以 Office 2010 x64 為例,就有 459 個更新檔,容量到達 1.35G [@more@]可以去除一些用不到的語系,目前我只保留 en-us / zh-tw / x-none 三種檔案
檔案數量縮減到 77 個,容量大小到 1.13G
將 Office 2010 整合到 Windows 7 SP1 安裝光碟
一般安裝完 Windows 7 作業系統後,常常也會接著安裝 Office 軟體,所以這個整合主要是讓 Windows 7 SP1 安裝完後,也能接著安裝 Office 2010,整個一氣呵成。
之前一直沒有嘗試這樣做,最主要是自己偷懶,也覺得整個安裝的時間會拉長,且整合好的容量會超過光碟的大小,但現在幾乎都是使用 USB / 隨身硬碟 / 卡碟機 來安裝作業系統,所以也不存在這些問題了!
[@more@]底下以 Windows 7 SP1 Enterprise x86 及 Office 2010 SP2 x86 版為例
1. 首先將之前已經處理好的 Windows 7 SP1 光碟複製到硬碟 f:Win7
2. 建立要掛載的目錄 f:WIM
3. 以系統管理者身份執行 命令提示字元,並切換到 f:
4. 掛載 install.wim 進行修改
DISM /Mount-Wim /WimFile:Win7sourcesinstall.wim /Index:1 /MountDir:WIM
5. 在 f:WIMWindowsSetup 的目錄下,建立 Scripts 目錄
6. 將 Office 2010 複製到 f:WIMWindowsSetupScripts 目錄之下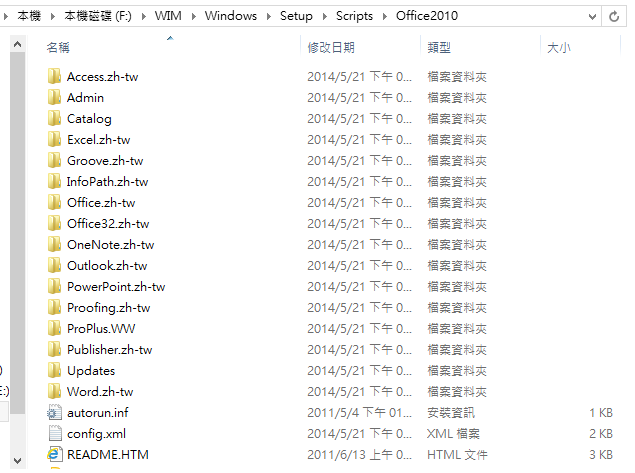
7. 修改 f:WIMWindowsSetupScripts 目錄之下的 SetupComplete.cmd 加入
start /wait %~dp0Office2010/setup.exe /config %~dp0Office2010/config.xml
RMDIR /Q /S %windir%SetupScripts >nul
exit
8. 完成寫入
DISM /Unmount-Wim /MountDir:WIM /commit
9. 更新 install.wim 資訊
imagex /info Win7sourcesinstall.wim 1 “Windows 7 企業版 SP1 x86” “Windows 7 企業版 SP1 x86 + Office 2010 x86”
10. 製作成 ISO 檔
cdimage -l”GSP1RMCULXFRER_TW_DVD” -t4/13/2011,12:18:10 -u2 -h -bWin7bootetfsboot.com -o -m “Win7” “tw_windows_7_Ent_IE11_Update_with_sp1_Office2010_x86_dvd_20140521.iso”
11. 安裝測試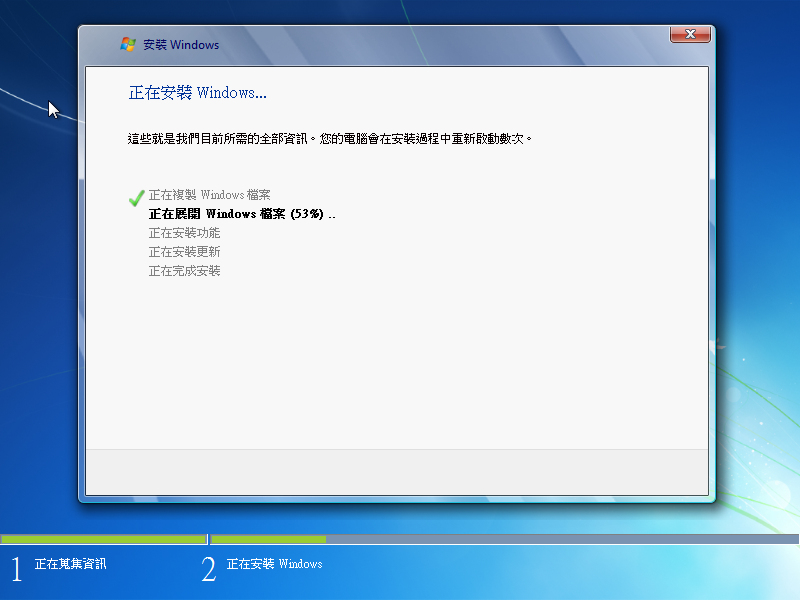
這個地方會停很久
這個地方會停很久
Office 2010 已安裝完成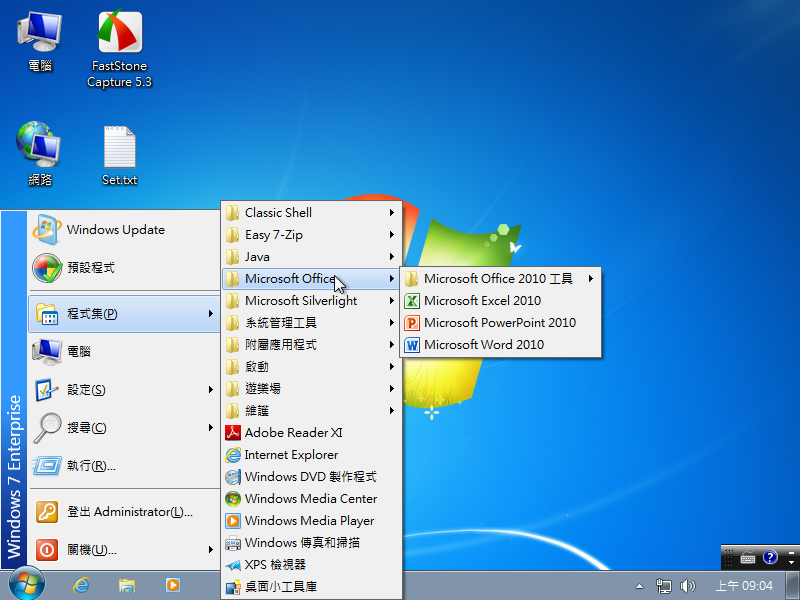
剩下的更新檔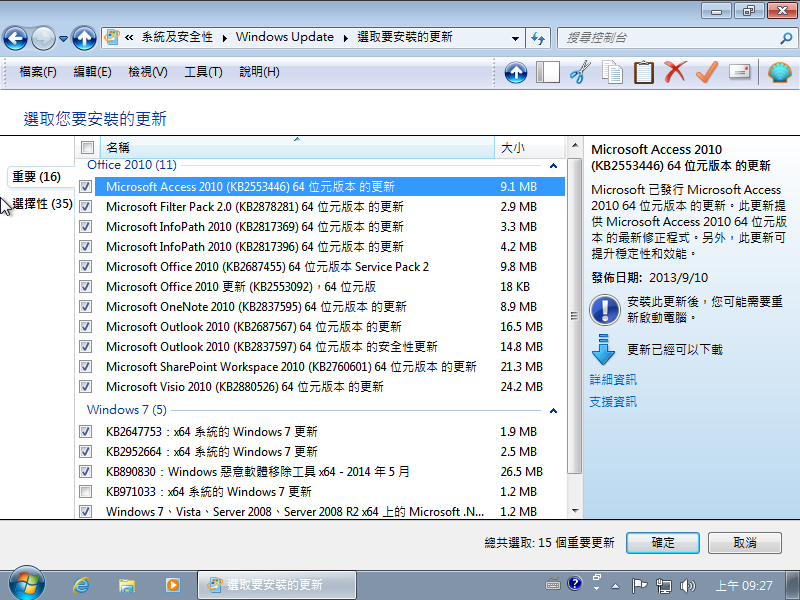
整合 Office 2010 x86/x64 的更新檔
Office 2010 安裝完成之後,也是有一堆的更新檔要做更新,這裡主要是把更新檔整合到 Office 2010 光碟內,安裝之後就不用再花很長的時間做更新了!
[@more@]1. 首先要把 Windows Update 上的 Office 2010 更新檔下載下來
2. 將更新檔解壓縮,切換到更新檔所在的目錄,執行下面指令
for %i in (*.exe) do start /wait %i /extract:Updates /passive
檔案解壓縮畫面
解壓縮後的檔案
3. 將解壓縮後的檔案複製到光碟的 Updates 目錄
4. 實際安裝測試,可以發現要更新的檔案已經少了許多
自動化安裝 Office 2010 x86/x64
在安裝 Office 2010 時,因為光碟內的軟體很多,有些軟體並不常用的到,所以在安裝時都是一一挑選,很花時間,最好的方式就是安裝時能只安裝自己需要用的軟體就好! 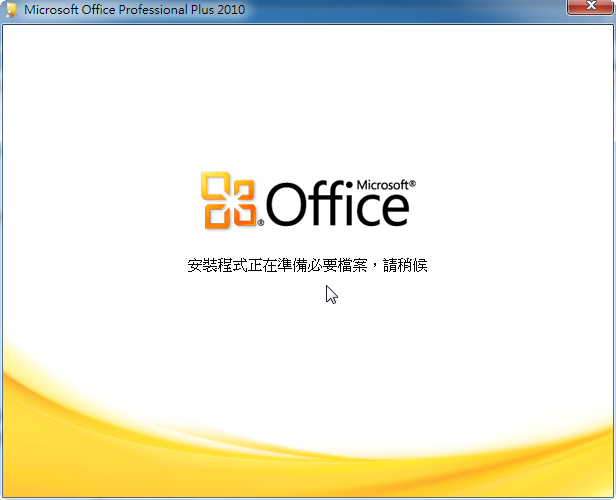
勾選 我接受這份合約條款,並選擇 繼續
挑選要安裝的軟體,最後按 立即安裝,很花時間
[@more@]在微軟網站上有每個軟體安裝軟項的 OptionState ID 值
Office 2010 的 Config.xml 檔案 OptionState ID 值
http://technet.microsoft.com/zh-tw/library/cc179006%28v=office.14%29.aspx
2010 Office Config.xml 檔案
http://technet.microsoft.com/zh-tw/library/cc179195%28v=office.14%29.aspx
請建立一個 config.xml 檔,設定檔中只安裝 Word / Excel / PowerPoint,各個 OptionState ID 值的詳細說明,請參考上述網站。
<Configuration Product=”ProPlusr”>
<Display Level=”none” CompletionNotice=”Yes” SuppressModal=”yes” AcceptEula=”yes” />
<!– Access –>
<OptionState Id=”ACCESSFiles” State=”absent” Children=”force” />
<!– Groove Server 2010 –>
<OptionState Id=”GrooveFiles” State=”absent” Children=”force” />
<!– Outlook –>
<OptionState Id=”OUTLOOKFiles” State=”absent” Children=”force” />
<!– Project –>
<OptionState Id=”PROJECTFiles” State=”absent” Children=”force” />
<!– Publisher –>
<OptionState Id=”PubPrimary” State=”absent” Children=”force” />
<OptionState Id=”QueryFiles” State=”absent” Children=”force” />
<!– Visio –>
<OptionState Id=”VISIOFiles” State=”absent” Children=”force” />
<!– InfoPath –>
<OptionState Id=”XDOCSFiles” State=”absent” Children=”force” />
<!– OneNote –>
<OptionState Id=”OneNoteFiles” State=”absent” Children=”force” />
<!– Lync –>
<OptionState Id=”LyncCoreFiles” State=”absent” Children=”force” />
<!– Visio Viewer –>
<OptionState Id=”VisioPreviewerFiles” State=”absent” Children=”force” />
<!– Excel –>
<OptionState Id=”EXCELFiles” State=”Local” Children=”force” />
<!– PowerPoint –>
<OptionState Id=”PPTFiles” State=”Local” Children=”force” />
<OptionState Id=”OrgChartFiles” State=”Local” Children=”force” />
<!– Word –>
<OptionState Id=”WORDFiles” State=”Local” Children=”force” />
<!– Shared Files –>
<OptionState Id=”SHAREDFiles” State=”local” Children=”force” />
<!– Tools –>
<OptionState Id=”TOOLSFiles” State=”local” Children=”force” />
<Setting Id=”SETUP_REBOOT” Value=”Never” />
<Setting Id=”REBOOT” Value=”ReallySuppress”/>
</Configuration>
安裝方式,假設 config.xml 是放置在 d:
setup.exe /config d:config.xml
Office 2013 Service Pack 1 釋出
Microsoft 釋出 Office 2013 Service Pack 1 版,有需要的人可以從下列網址下載:
x86 版本: http://www.microsoft.com/zh-tw/download/details.aspx?id=42017
x86_64 版本: http://www.microsoft.com/zh-tw/download/details.aspx?id=42006
64位元大小為 787MB,32 位元版本大小為 656MB。
相關的更新說明,可以參考下列網站:
http://support.microsoft.com/kb/2817430
關於 Office 2010 32 / 64 位元的啟動
因為作業系統有 32 / 64 位元的判別,所以在 32 位元的 Windows 7 / 8 上能安裝 32 位元的 Office 2010,但在 64 位元的 Windows 7 / 8 上就有可能會安裝 32 / 64 位元的 Office 2010。
所以希望在這三種情況下,程式能偵測判別所安裝的作業系統及 Office 版本,最後均能正常的啟動 Office 2010。
底下是在 64 位元的 Windows 7 下安裝 32 位元 Office 2010
 [@more@]在 64 位元的 Windows 7 下安裝 64 位元 Office 2010

最後均能正常啟動

IF exist “%programfiles% (x86)Microsoft OfficeOffice14OSPP.VBS” (
set OFFICEVERSION=”Office 2010 32bit”
set SYSBIT=”Windows 64bit”
set TRUEPATH=”%programfiles% (x86)Microsoft OfficeOffice14OSPP.VBS”
goto ACTIVATIONOFFICE )
IF exist “%programfiles%Microsoft OfficeOffice14OSPP.VBS” (
IF exist “%programfiles% (x86)Microsoft OfficeOffice14” (
set OFFICEVERSION=”Office 2010 64bit”
set SYSBIT=”Windows 64bit”
set TRUEPATH=”%programfiles%Microsoft OfficeOffice14OSPP.VBS”
) else (
set OFFICEVERSION=”Office 2010 32bit”
set SYSBIT=”Windows 32bit”
set TRUEPATH=”%programfiles%Microsoft OfficeOffice14OSPP.VBS”
)
goto ACTIVATIONOFFICE )
之後也能隨著縣網如果有配發新的 Windows 8.1 / Office 2013,修改程式來啟動 