ownCloud 在安裝完成後,在管理者登入後的管理畫面,會出現二個警告訊息
第一個警告訊息是連線時,沒有使用 https 連線,使用 https 連線,連線資料會經過加密處理,會比較安全一些
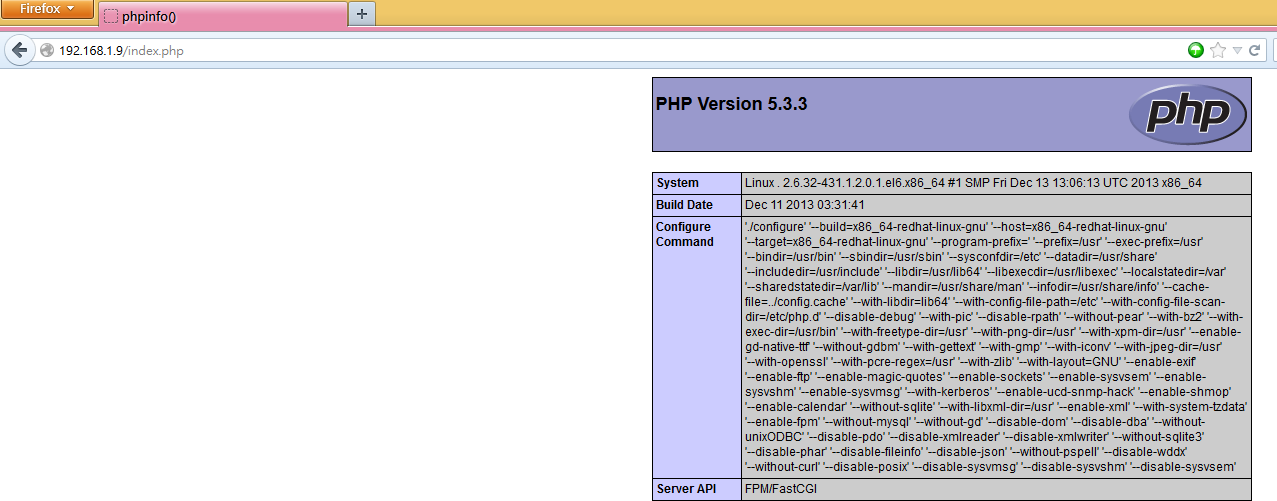
第二個警告訊息是指 PHP 的版本過舊,建議要使用到 5.3.8,而 CentOS 6.x 上最新的版本是 5.3.3-27

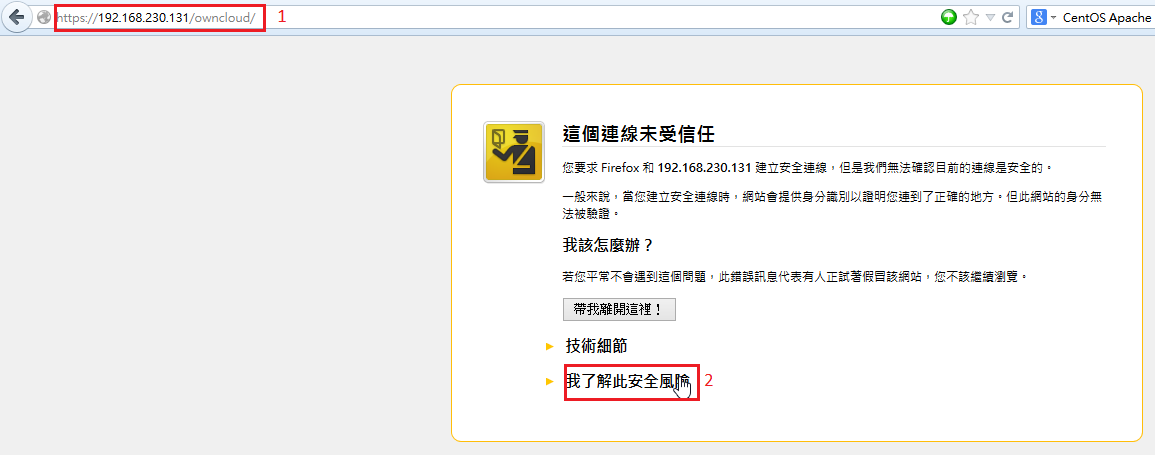
改用 https 連線的方式,選擇 我了解此安全風險
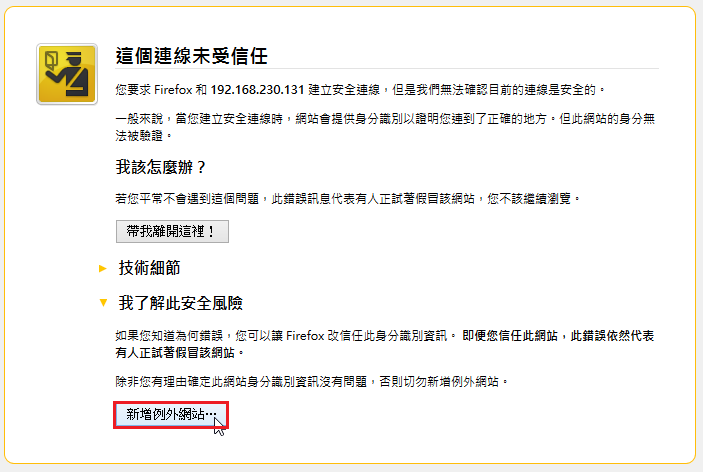
[@more@]選擇 新增例外網站
選擇 確認安全例外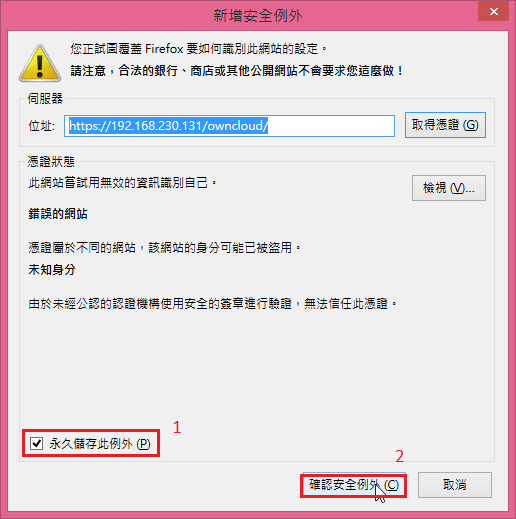
底下參考 鳥哥的 Linux 私房菜 — WWW 伺服器 Apache
# cd /etc/pki/tls/certs
# make tcesownCloud.key
umask 77 ;
/usr/bin/openssl genrsa -aes128 2048 > tcesownCloud.key
Generating RSA private key, 2048 bit long modulus
………………………+++
……………………………………………………………………..+++
e is 65537 (0x10001)
Enter pass phrase:
Verifying – Enter pass phrase:
# mv tcesownCloud.key tcesownCloud.key.raw
# openssl rsa -in tcesownCloud.key.raw -out tcesownCloud.key
Enter pass phrase for tcesownCloud.key.raw:
writing RSA key
# rm -f tcesownCloud.key.raw
# chmod 400 tcesownCloud.key
# make tcesownCloud.crt SERIAL=20140307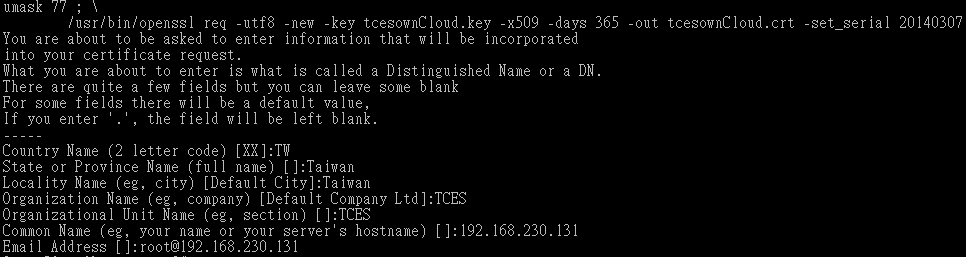
# ls -l tcesownCloud.*
-rw——-. 1 root root 1415 2014-03-07 14:16 tcesownCloud.crt
-r——–. 1 root root 1679 2014-03-07 14:05 tcesownCloud.key
修改 SSL 設定檔
# cp /etc/httpd/conf.d/ssl.conf /etc/httpd/conf.d/ssl.conf.`date +%F`
# sed -i ‘s,SSLCertificateFile /etc/pki/tls/certs/localhost.crt,SSLCertificateFile /etc/pki/tls/certs/tcesownCloud.crt,’ /etc/httpd/conf.d/ssl.conf
# sed -i ‘s,SSLCertificateKeyFile /etc/pki/tls/private/localhost.key,SSLCertificateKeyFile /etc/pki/tls/certs/tcesownCloud.key,’ /etc/httpd/conf.d/ssl.conf
重新啟動 Apache Web Server
# service httpd restart
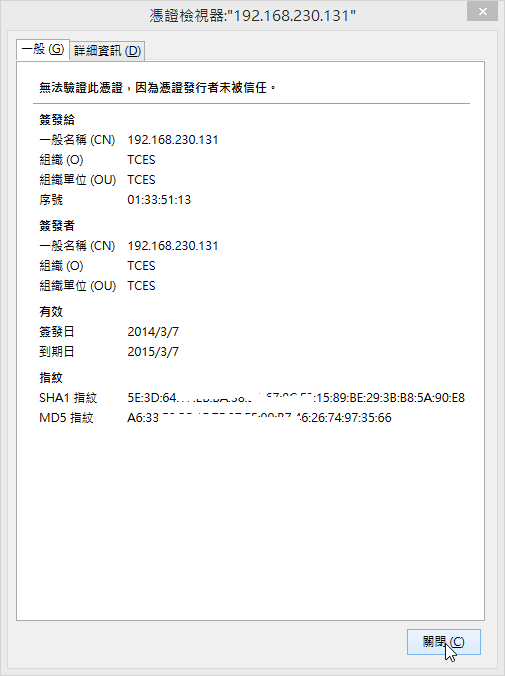
檢視憑證