安裝 Nginx Web Server
# apt-get install nginx
不過安裝的版本有些舊
# nginx -v
nginx version: nginx/1.2.1
移除 nginx 套件
# apt-get remove –purge libfreetype6 libgd2-noxpm libgeoip1 libjpeg8 libpcre3 libpng12-0 libxml2 libxslt1.1 nginx-common nginx-full nginx
所以改用 Source Code 的方式來安裝[@more@]底下文章參考 Linux Pi的奇幻旅程(22)-編譯Nginx – iT邦幫忙::IT知識分享社群
安裝編譯時所需套件
# apt-get install build-essential
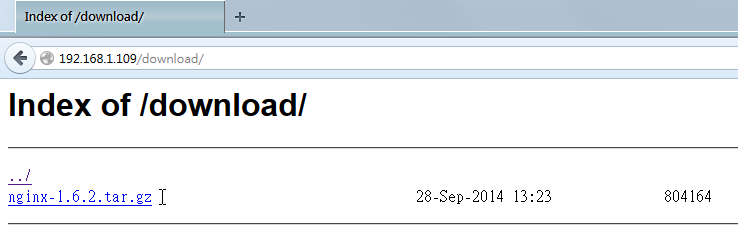
Nginx 官方網站:http://nginx.org/
下載 Source Code
# wget http://nginx.org/download/nginx-1.6.2.tar.gz
解壓縮
# tar xvzf nginx-1.6.2.tar.gz
切換目錄
# cd nginx-1.6.2
安裝編譯 nginx 所需套件
# apt-get install libpcre3* libssl-dev
進行編譯
# ./configure –prefix=/usr –sbin-path=/usr/sbin/nginx –conf-path=/etc/nginx/nginx.conf –pid-path=/var/run/nginx.pid –lock-path=/var/lock/nginx.lock –user=www-data –group=www-data –http-log-path=/var/log/nginx/access.log –error-log-path=/var/log/nginx/error.log –http-client-body-temp-path=/var/lib/nginx/body –http-proxy-temp-path=/var/lib/nginx/proxy –http-fastcgi-temp-path=/var/lib/nginx/proxy –http-uwsgi-temp-path=/var/lib/nginx/uwsgi –http-scgi-temp-path=/var/lib/nginx/scgi –with-http_ssl_module –with-http_stub_status_module –with-debug
進行安裝
# make;make install
執行時出現錯誤
# /usr/sbin/nginx
nginx: [emerg] mkdir() “/var/lib/nginx/body” failed (2: No such file or directory)
建立目錄
# mkdir -p /var/lib/nginx/body
檢查是否有執行成功
# netstat -ant | grep :80
tcp 0 0 0.0.0.0:80 0.0.0.0:* LISTEN
安裝的 nginx 版本
# nginx -v
nginx version: nginx/1.6.2
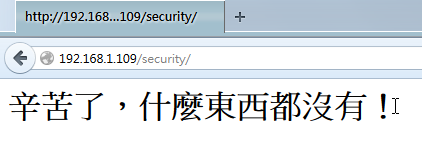
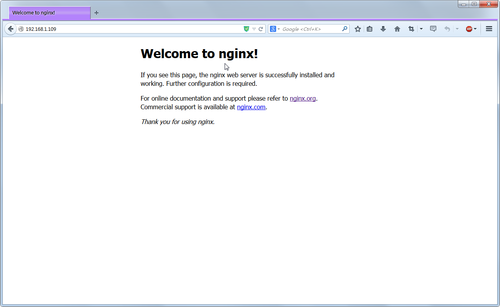
使用瀏覽器檢查
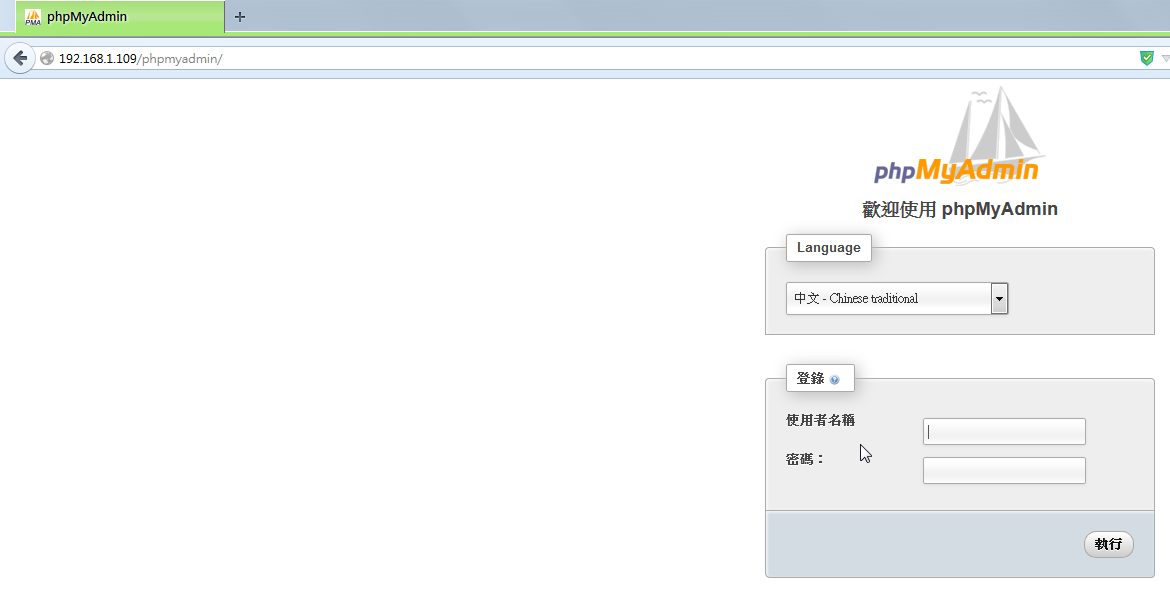
安裝 MySQL Server
# apt-get install mysql-server mysql-client
MySQL Server 安裝後設定
# /usr/bin/mysql_secure_installation
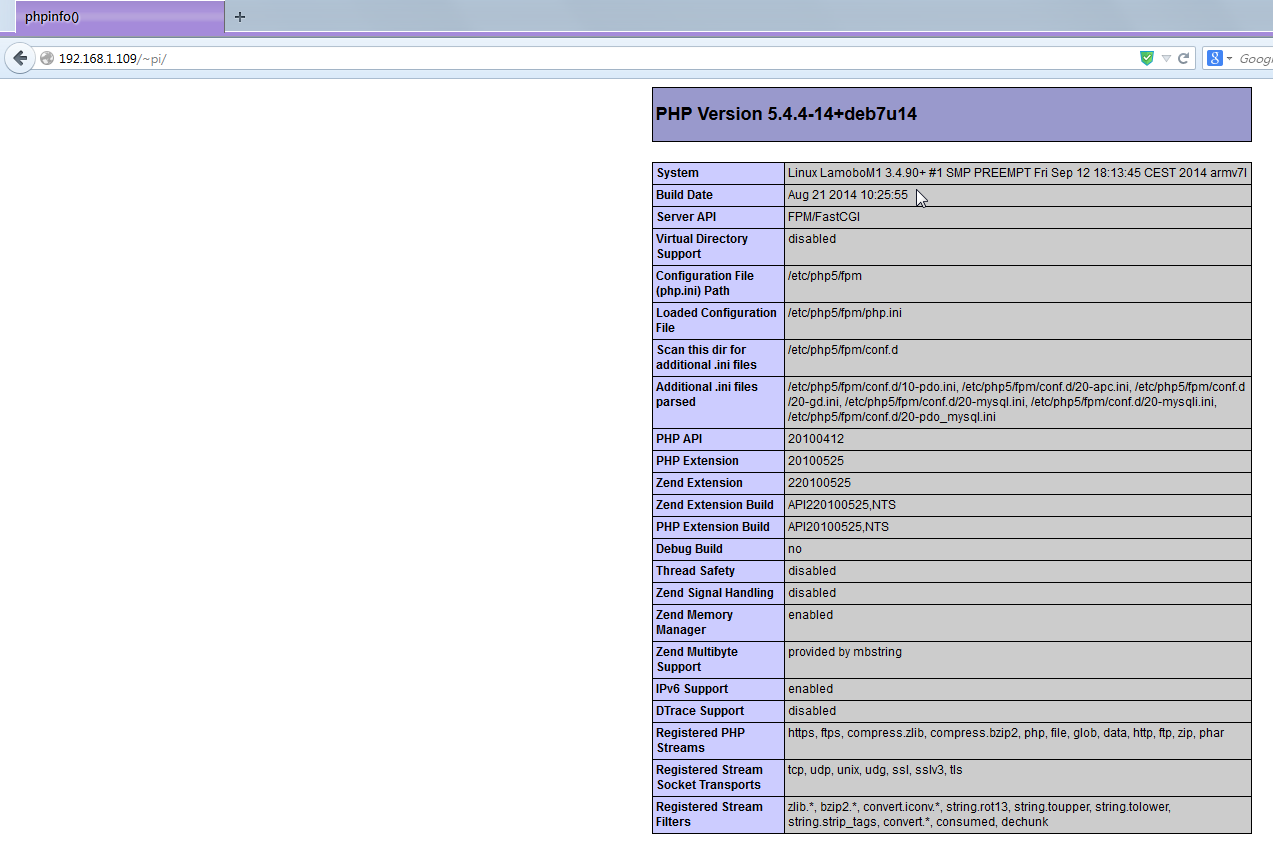
安裝 PHP
# apt-get install php5-fpm php5-mysql php5-gd php-apc php5
PHP 版本
# php5-fpm -v
PHP 5.4.4-14+deb7u14 (fpm-fcgi) (built: Aug 21 2014 10:32:42)
Copyright (c) 1997-2009 The PHP Group
Zend Engine v2.4.0, Copyright (c) 1998-2012 Zend Technologies
建立網站根目錄
# mkdir /var/www
改變目錄擁有者及群組
# chown -R www-data:www-data /var/www
查看 php5-fpm 執行時產生的 socket 檔
# ls -ls /var/run/php5-fpm.sock
0 srw-rw—- 1 www-data www-data 0 Sep 27 16:20 /var/run/php5-fpm.sock
修改 nginx Web Server 設定檔
# vim /etc/nginx/nginx.conf
server {
listen 80;
server_name localhost;
#charset koi8-r;
#access_log logs/host.access.log main;
location / {
root /var/www;
index index.php index.html index.htm;
}
#error_page 404 /404.html;
# redirect server error pages to the static page /50x.html
#
error_page 500 502 503 504 /50x.html;
location = /50x.html {
root html;
}
# proxy the PHP scripts to Apache listening on 127.0.0.1:80
#
#location ~ .php$ {
# proxy_pass http://127.0.0.1;
#}
# pass the PHP scripts to FastCGI server listening on 127.0.0.1:9000
#
location ~ .php$ {
root /var/www;
# fastcgi_pass 127.0.0.1:9000;
try_files $uri =404;
fastcgi_split_path_info ^(.+.php)(/.+)$;
fastcgi_pass unix:/var/run/php5-fpm.sock;
fastcgi_index index.php;
fastcgi_param SCRIPT_FILENAME $document_root$fastcgi_script_name;
include fastcgi_params;
}
# deny access to .htaccess files, if Apache’s document root
# concurs with nginx’s one
#
location ~ /.ht {
deny all;
}
}
檢查設定檔是否正確
# /usr/sbin/nginx -t
nginx: the configuration file /etc/nginx/nginx.conf syntax is ok
nginx: configuration file /etc/nginx/nginx.conf test is successful
關閉 nginx web Server
# kill -9 $(ps aux | grep nginx | grep -v grep | awk ‘{print $2}’)
or
# killall nginx
重新執行
# /usr/sbin/nginx
執行 php5-fpm
# /etc/init.d/php5-fpm start
檢查 php 是否能正常執行
# vim /var/www/index.php
<?php
phpinfo();
?>