參考網站:
Setting Up Prerequisites to ‘Install Windows 7’ over ‘PXE Network Boot Server’ on RHEL/CentOS 7 – Part 1
SANDeploy iSCSI Boot – Diskless Boot of Windows 7 from SANDeploy iSCSI Boot SAN
用Ubuntu建立一個由網路開機「載入WinPE 自動化安裝Windows OS」的環境 | Jerry-Yang’s Log
1. 安裝 Samba Server
# yum install samba samba-winbind
2. 備份 Samba Server 設定檔
# cp /etc/samba/smb.conf /etc/samba/smb.conf.$(date +%F)
[@more@]3. 修改 Samba Server 設定檔 /etc/samba/smb.conf
# vim /etc/samba/smb.conf
[global]
workgroup = PXISSERVER
server string = Samba Server Version %v
log file = /var/log/samba/log.%m
max log size = 50
idmap config * : backend = tdb
cups options = raw
netbios name = pxis
map to guest = bad user
dns proxy = no
public = yes
## For multiple installations the same time – not lock kernel
kernel oplocks = no
nt acl support = no
security = user
guest account = nobody
[install]
comment = Windows 7 Image
path = /Windows
read only = no
browseable = yes
public = yes
printable = no
guest ok = yes
oplocks = no
level2 oplocks = no
locking = no
4. 檢查設定檔
# /usr/bin/testparm
Load smb config files from /etc/samba/smb.conf
rlimit_max: increasing rlimit_max (1024) to minimum Windows limit (16384)
Processing section “[install]”
Loaded services file OK.
Server role: ROLE_STANDALONE
Press enter to see a dump of your service definitions
# Global parameters
[global]
netbios name = PXIS
server string = Samba Server Version %v
workgroup = PXISSERVER
log file = /var/log/samba/log.%m
max log size = 50
map to guest = Bad User
security = USER
dns proxy = No
idmap config * : backend = tdb
cups options = raw
nt acl support = No
guest ok = Yes
[install]
comment = Windows 7 Image
path = /Windows
level2 oplocks = No
locking = No
oplocks = No
read only = No
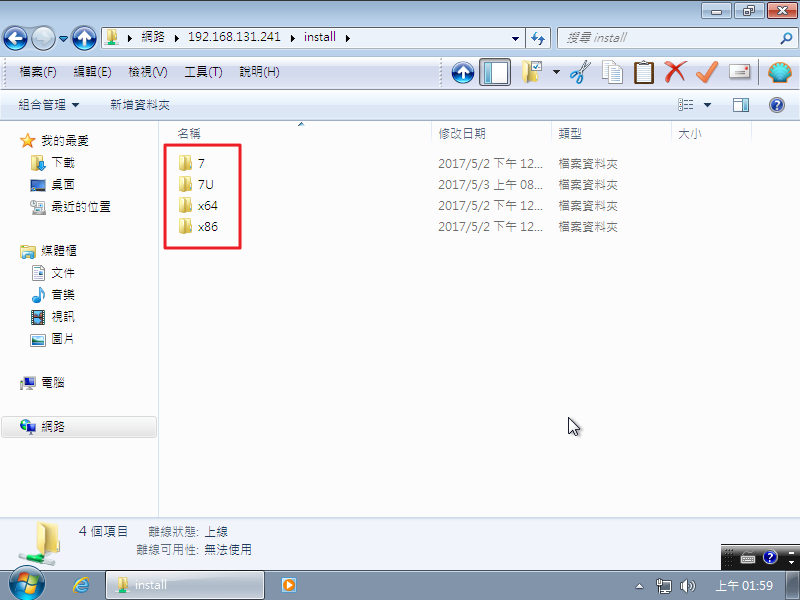
5. 建立所須目錄
# mkdir -p /Windows/{7,x86,x64}
6. 將 Windows 7 安裝光碟上傳到 Server,並掛載在 /mnt 目錄
# mount -o loop tw_windows_7_Enterprise_IE11_Update_with_SP1_x86_x64_dvd_20170425.iso /mnt
mount: /dev/loop0 is write-protected, mounting read-only
7. 將檔案複製到 /Windows/7,然後卸載光碟
# cp -rf /mnt/* /Windows/7
# umount /mnt
8. 修改檔案擁有者及權限
# chown -R 755 /Windows
# chown -R nobody:nobody /Windows
9. 處理 SELinux
# /usr/sbin/semanage fcontext -a -t samba_share_t ‘/Windows(/.*)?’
# /usr/sbin/restorecon -R -F -v /Windows
10. 防火牆設定
# firewall-cmd –permanent –add-service=samba
success
# firewall-cmd –reload
success
11. 啟用 Samba Server 相關服務
# systemctl enable smb.service
Created symlink from /etc/systemd/system/multi-user.target.wants/smb.service to /usr/lib/systemd/system/smb.service.
# systemctl start smb.service
# systemctl enable nmb.service
Created symlink from /etc/systemd/system/multi-user.target.wants/nmb.service to /usr/lib/systemd/system/nmb.service.
# systemctl start nmb.service
# systemctl enable winbind.service
Created symlink from /etc/systemd/system/multi-user.target.wants/winbind.service to /usr/lib/systemd/system/winbind.service.
# systemctl start winbind.service
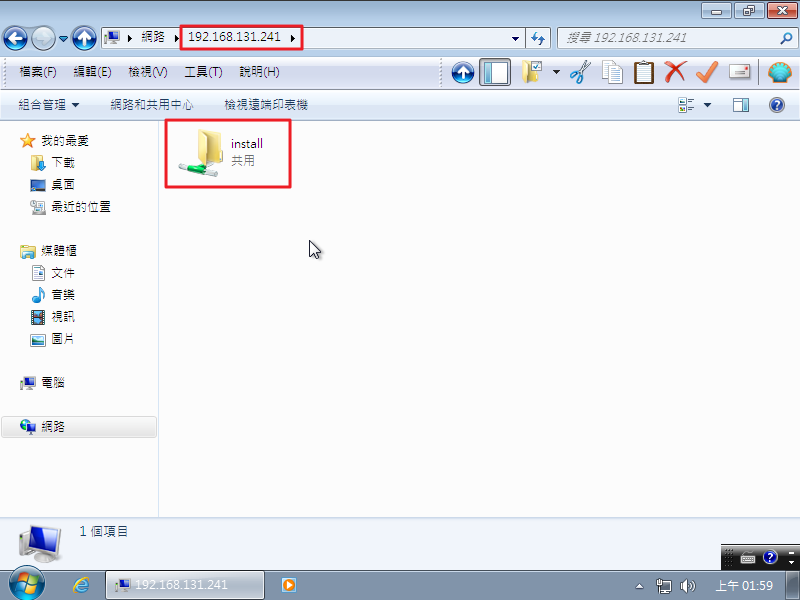
12. 測試是否能存取 Samba Server 分享的資源
13. 下載 Windows 7 Automated Installation Kit
下載網頁:https://www.microsoft.com/zh-tw/download/details.aspx?id=5753
請參考 頭城國小資訊組 | 建立 Windows 7 / 10 PE 光碟 完成 Windows PE 的製作
14. 建立目錄
# mkdir /var/lib/tftpboot/Windows
15. 將建立好的 Windows PE ISO 上傳到 /var/lib/tftpboot/Windows 目錄
# ls -l /var/lib/tftpboot/Windows/*.iso
-rw-r–r–. 1 nobody nobody 280020992 5月 2 21:09 /var/lib/tftpboot/Windows/Win10PE_amd64.iso
-rw-r–r–. 1 nobody nobody 226654208 5月 2 21:09 /var/lib/tftpboot/Windows/Win10PE_x86.iso
-rw-r–r–. 1 nobody nobody 217577472 5月 2 12:52 /var/lib/tftpboot/Windows/WinPE_amd64.iso
-rw-r–r–. 1 nobody nobody 192131072 5月 2 12:52 /var/lib/tftpboot/Windows/WinPE_x86.iso
16. 處理 SELinux 設定
# /usr/sbin/restorecon -R -F -v /var/lib/tftpboot/Windows
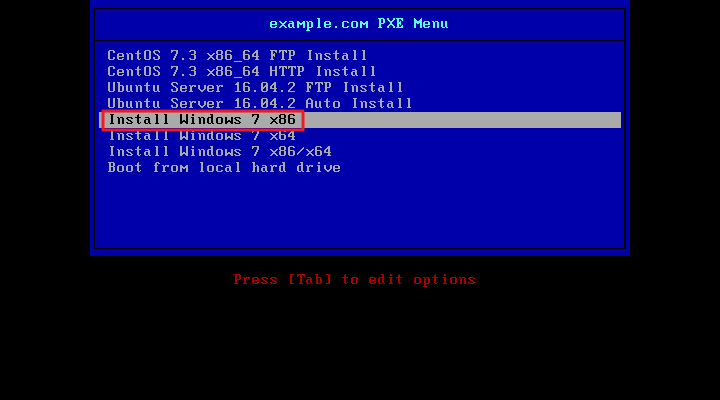
17. 修改 PXE Server 開機功能表
# vim /var/lib/tftpboot/pxelinux.cfg/default
加入
LABEL Install Windows 7 x86
MENU LABEL Install Windows 7 x86
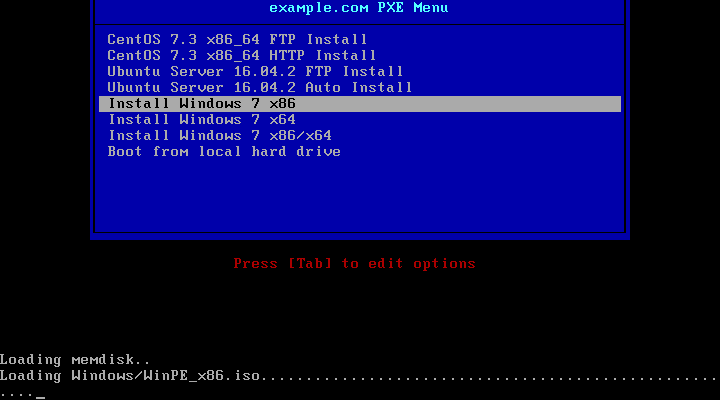
KERNEL memdisk
INITRD Windows/WinPE_x86.iso
APPEND iso raw
LABEL Install Windows 7 x64
MENU LABEL Install Windows 7 x64
KERNEL memdisk
INITRD Windows/WinPE_amd64.iso
APPEND iso raw
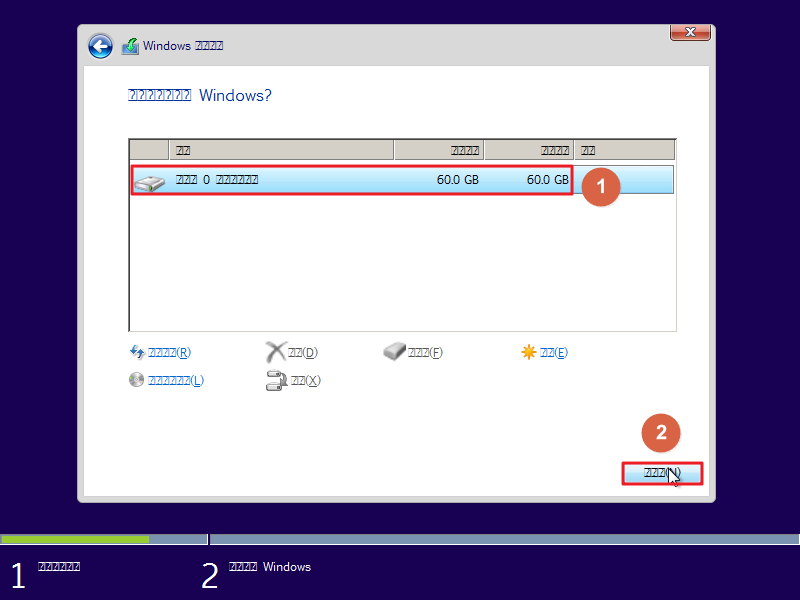
18. 設定使用網路開機,進行 Windows 7 安裝

將 Windows 7 安裝目錄掛載成 z 磁碟機
net use z: 192.168.131.241install7
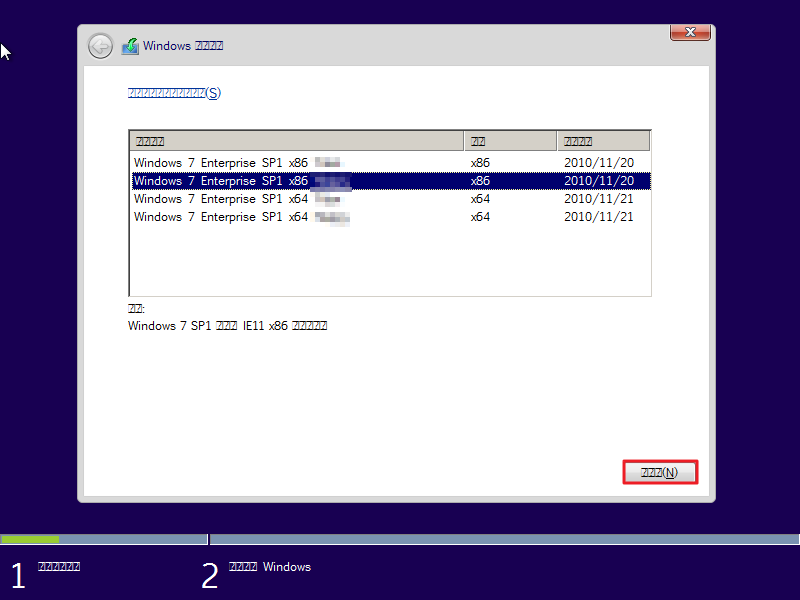
切換到 z 磁碟機並執行 setup.exe 進行安裝
z:
setup.exe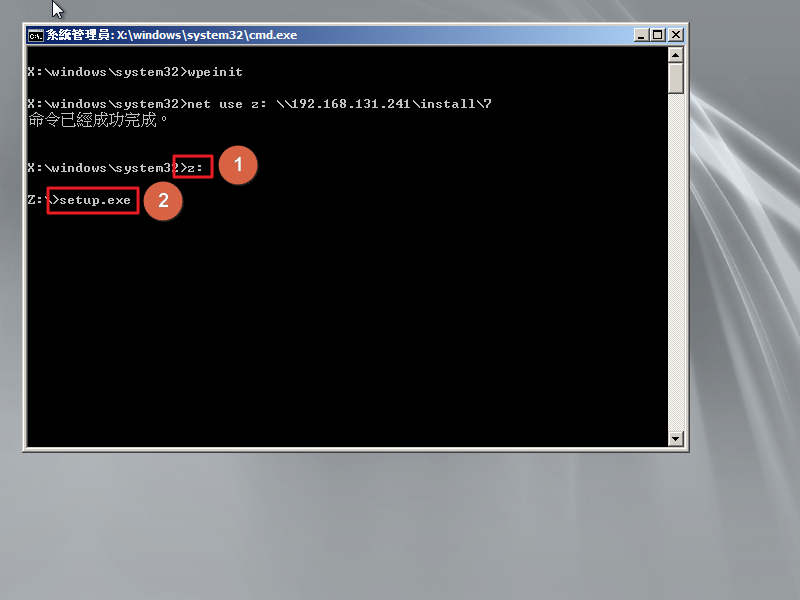
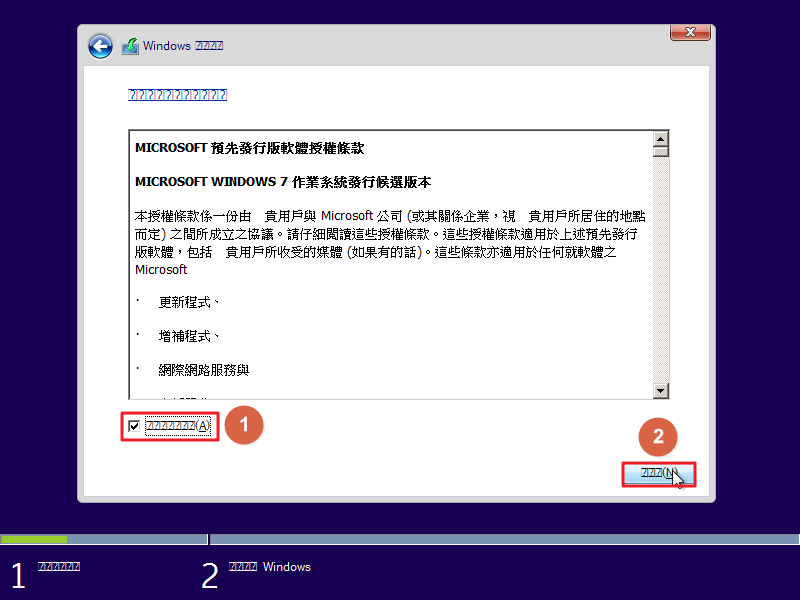
安裝光碟為縮減容量已改用以 Windows 10 為底,中文字的部份會出現亂碼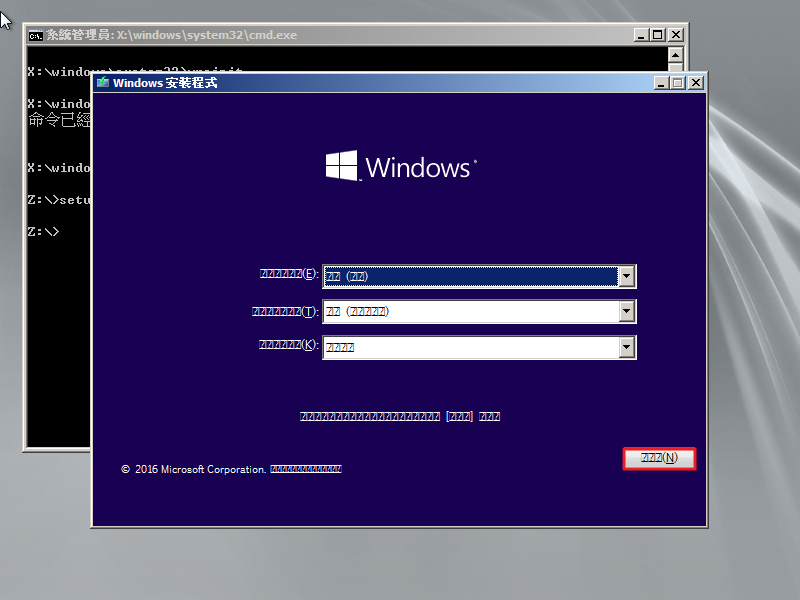

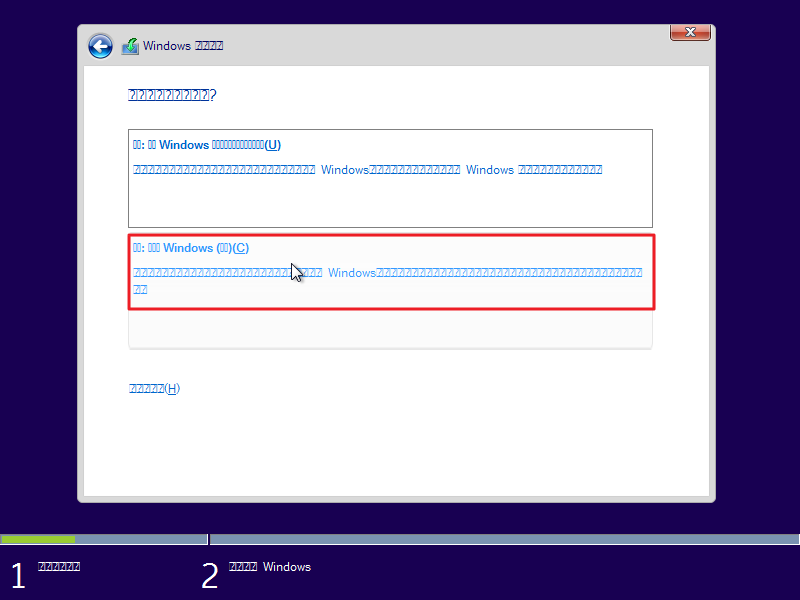
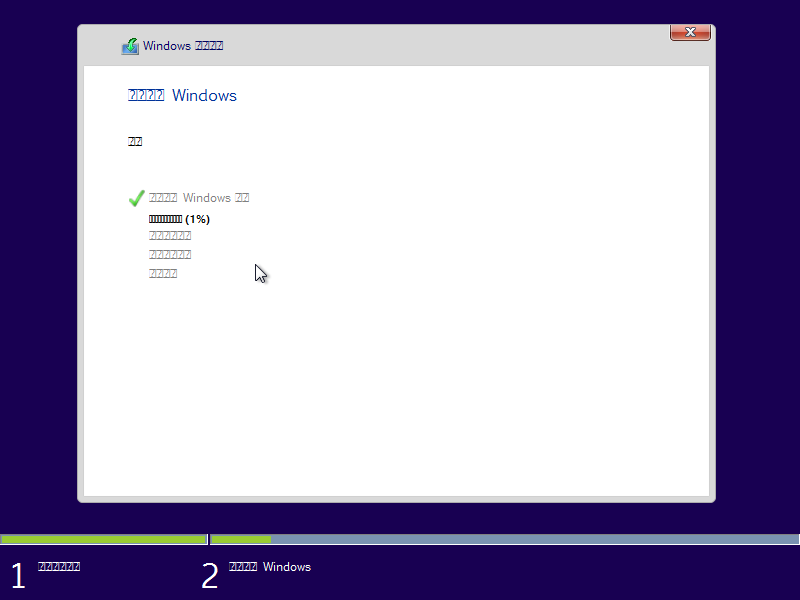

終於安裝完成!