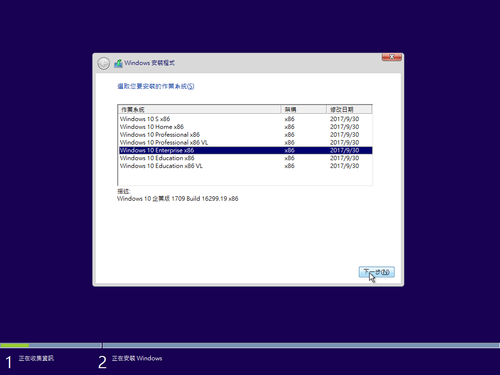
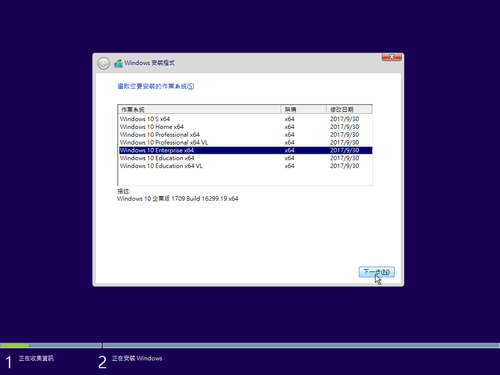
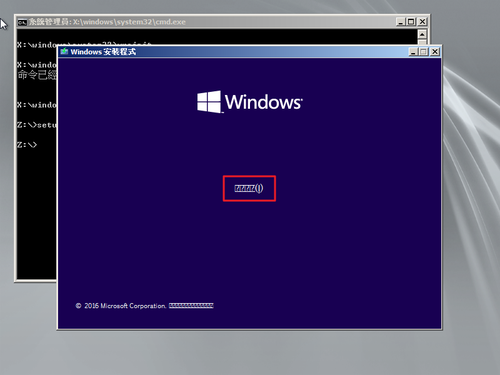
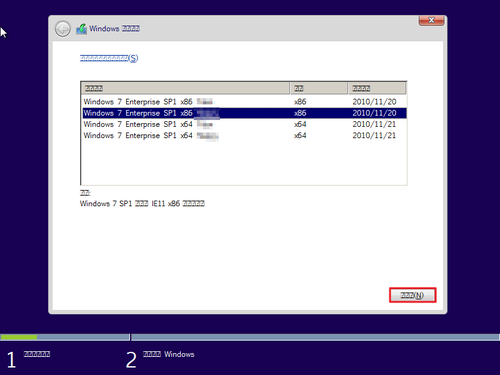
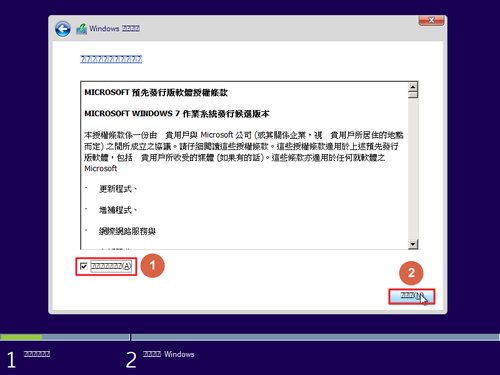
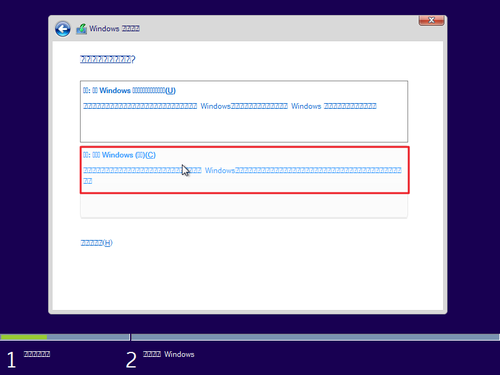
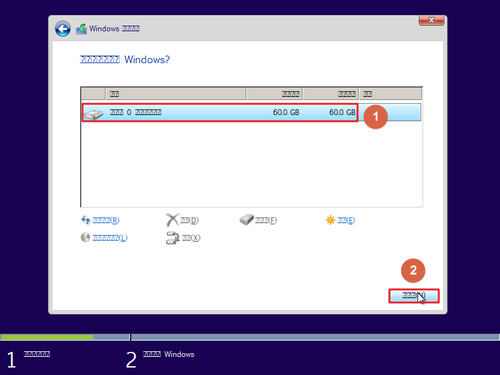
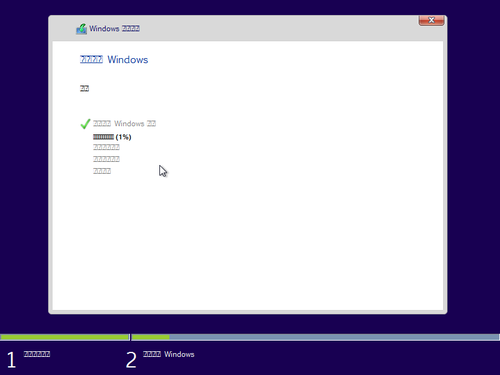
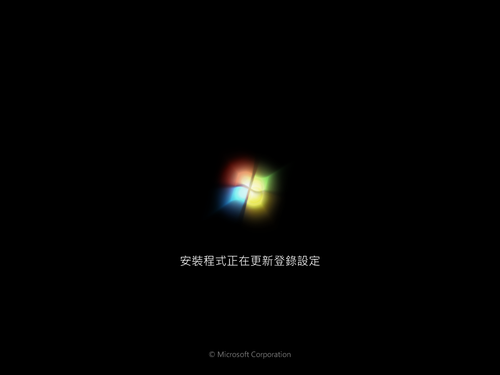
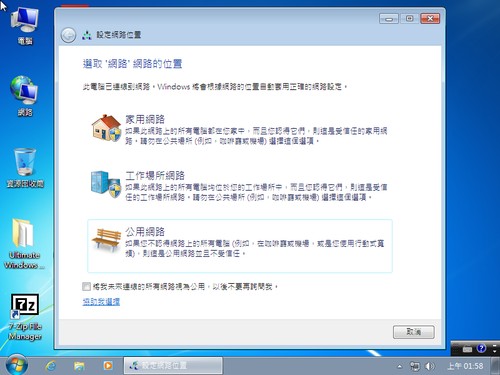
為了測試系統方便,實際上只用到企業版和專業版
使用微軟 MediaCreationTool 工具制作。
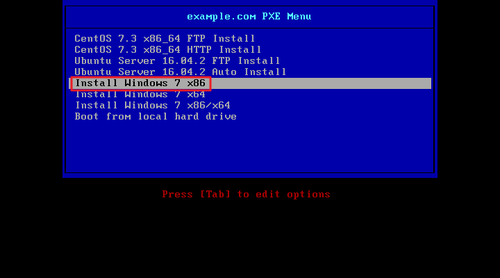
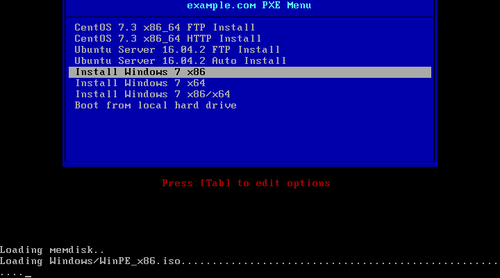
開機選單,可以選擇要安裝的是 x86 或是 x64 版本

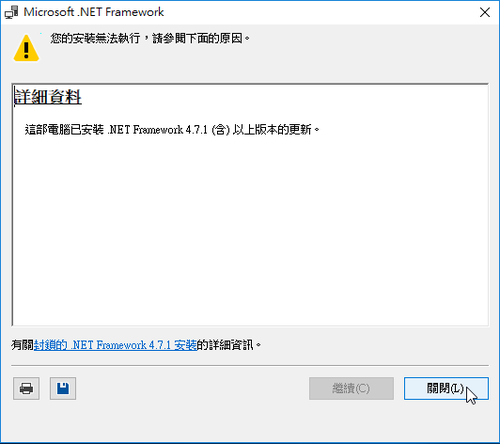
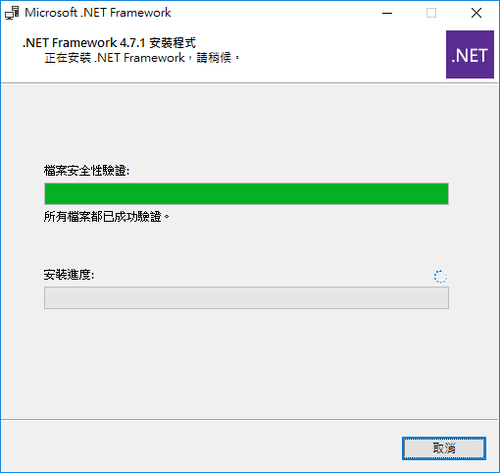
Microsoft .NET Framework 4.7.1

Microsoft .NET Framework 4.7.1:下載
Microsoft .NET Framework 4.7.1 語言套件:下載[@more@]
Windows 7 SP1 要先安裝 KB4019990 修正檔才能安裝 Microsoft .NET Framework 4.7.1
KB4019990 x86 :下載
KB4019990 x64 :下載
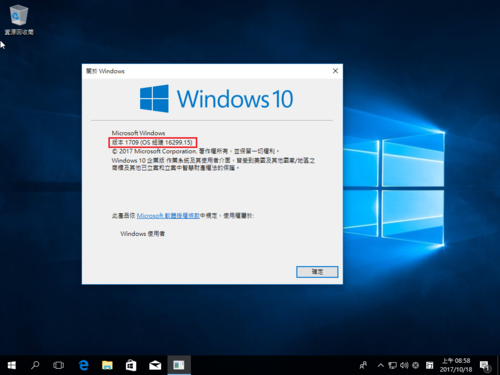
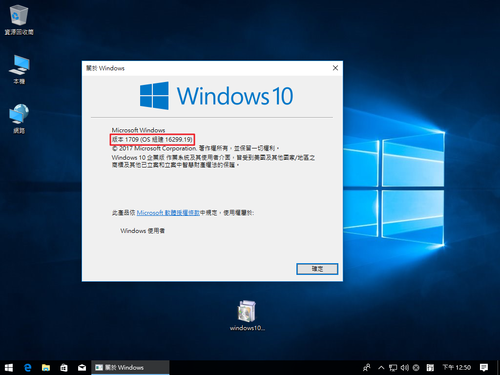
Windows 10 1709 RS3 更新至 16299.19
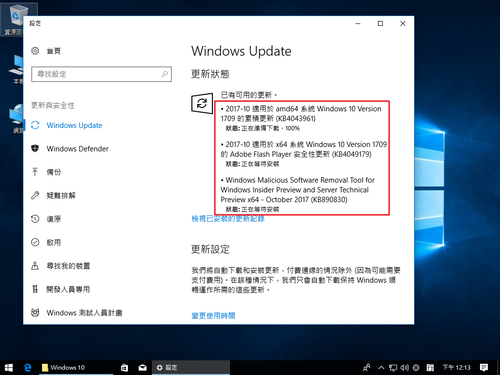
主要是更新 KB4043961
KB4043961 x86 下載:
http://download.windowsupdate.com/d/msdownload/update/software/secu/2017/10/windows10.0-kb4043961-x86_9d19c05727dd3960a4a64f58fe81c6a5d276af01.msu
KB4043961 x64 下載:
http://download.windowsupdate.com/d/msdownload/update/software/secu/2017/10/windows10.0-kb4043961-x64_5fb7d7bf32e79ea9debe8fb51af2a0c2e296e935.msu
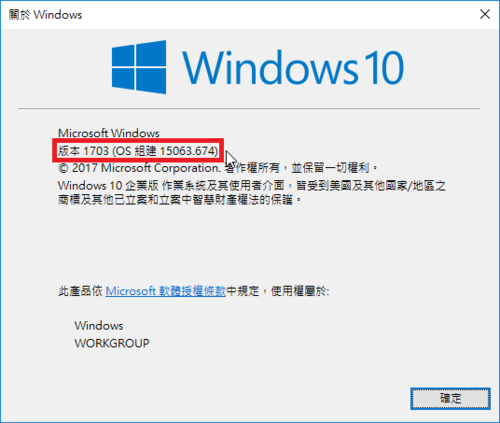
Windows 10 1703 更新至 15063.674
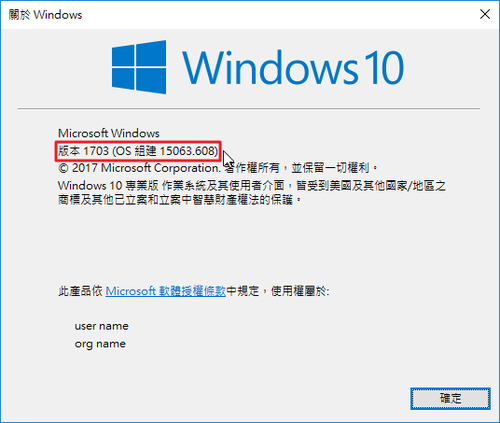
Windows 10 1703 更新至 15063.608
KB4038788 x86
http://download.windowsupdate.com/c/msdownload/update/software/secu/2017/09/windows10.0-kb4038788-x86_6a17e28a00d6d676f4563f9786441ab1429da024.msu
KB4038788 x64
http://download.windowsupdate.com/d/msdownload/update/software/secu/2017/09/windows10.0-kb4038788-x64_f03ab03f65aa8849e6df4af25c56efc8b83c0ce0.msu
使用 PXE Server 來安裝 Windows
參考網站:
Setting Up Prerequisites to ‘Install Windows 7’ over ‘PXE Network Boot Server’ on RHEL/CentOS 7 – Part 1
SANDeploy iSCSI Boot – Diskless Boot of Windows 7 from SANDeploy iSCSI Boot SAN
用Ubuntu建立一個由網路開機「載入WinPE 自動化安裝Windows OS」的環境 | Jerry-Yang’s Log
1. 安裝 Samba Server
# yum install samba samba-winbind
2. 備份 Samba Server 設定檔
# cp /etc/samba/smb.conf /etc/samba/smb.conf.$(date +%F)
[@more@]3. 修改 Samba Server 設定檔 /etc/samba/smb.conf
# vim /etc/samba/smb.conf
[global]
workgroup = PXISSERVER
server string = Samba Server Version %v
log file = /var/log/samba/log.%m
max log size = 50
idmap config * : backend = tdb
cups options = raw
netbios name = pxis
map to guest = bad user
dns proxy = no
public = yes
## For multiple installations the same time – not lock kernel
kernel oplocks = no
nt acl support = no
security = user
guest account = nobody
[install]
comment = Windows 7 Image
path = /Windows
read only = no
browseable = yes
public = yes
printable = no
guest ok = yes
oplocks = no
level2 oplocks = no
locking = no
4. 檢查設定檔
# /usr/bin/testparm
Load smb config files from /etc/samba/smb.conf
rlimit_max: increasing rlimit_max (1024) to minimum Windows limit (16384)
Processing section “[install]”
Loaded services file OK.
Server role: ROLE_STANDALONE
Press enter to see a dump of your service definitions
# Global parameters
[global]
netbios name = PXIS
server string = Samba Server Version %v
workgroup = PXISSERVER
log file = /var/log/samba/log.%m
max log size = 50
map to guest = Bad User
security = USER
dns proxy = No
idmap config * : backend = tdb
cups options = raw
nt acl support = No
guest ok = Yes
[install]
comment = Windows 7 Image
path = /Windows
level2 oplocks = No
locking = No
oplocks = No
read only = No
5. 建立所須目錄
# mkdir -p /Windows/{7,x86,x64}
6. 將 Windows 7 安裝光碟上傳到 Server,並掛載在 /mnt 目錄
# mount -o loop tw_windows_7_Enterprise_IE11_Update_with_SP1_x86_x64_dvd_20170425.iso /mnt
mount: /dev/loop0 is write-protected, mounting read-only
7. 將檔案複製到 /Windows/7,然後卸載光碟
# cp -rf /mnt/* /Windows/7
# umount /mnt
8. 修改檔案擁有者及權限
# chown -R 755 /Windows
# chown -R nobody:nobody /Windows
9. 處理 SELinux
# /usr/sbin/semanage fcontext -a -t samba_share_t ‘/Windows(/.*)?’
# /usr/sbin/restorecon -R -F -v /Windows
10. 防火牆設定
# firewall-cmd –permanent –add-service=samba
success
# firewall-cmd –reload
success
11. 啟用 Samba Server 相關服務
# systemctl enable smb.service
Created symlink from /etc/systemd/system/multi-user.target.wants/smb.service to /usr/lib/systemd/system/smb.service.
# systemctl start smb.service
# systemctl enable nmb.service
Created symlink from /etc/systemd/system/multi-user.target.wants/nmb.service to /usr/lib/systemd/system/nmb.service.
# systemctl start nmb.service
# systemctl enable winbind.service
Created symlink from /etc/systemd/system/multi-user.target.wants/winbind.service to /usr/lib/systemd/system/winbind.service.
# systemctl start winbind.service
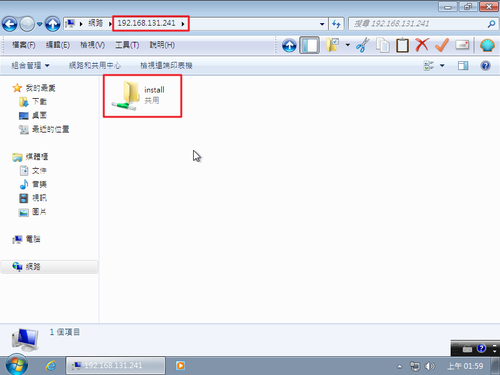
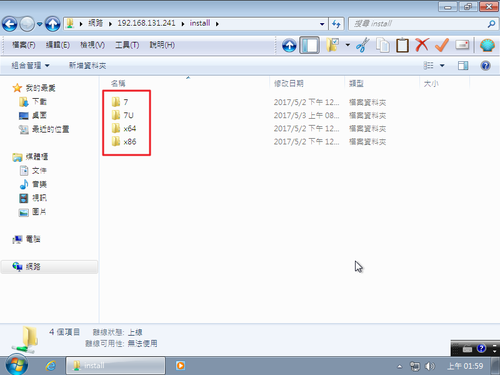
12. 測試是否能存取 Samba Server 分享的資源
13. 下載 Windows 7 Automated Installation Kit
下載網頁:https://www.microsoft.com/zh-tw/download/details.aspx?id=5753
請參考 頭城國小資訊組 | 建立 Windows 7 / 10 PE 光碟 完成 Windows PE 的製作
14. 建立目錄
# mkdir /var/lib/tftpboot/Windows
15. 將建立好的 Windows PE ISO 上傳到 /var/lib/tftpboot/Windows 目錄
# ls -l /var/lib/tftpboot/Windows/*.iso
-rw-r–r–. 1 nobody nobody 280020992 5月 2 21:09 /var/lib/tftpboot/Windows/Win10PE_amd64.iso
-rw-r–r–. 1 nobody nobody 226654208 5月 2 21:09 /var/lib/tftpboot/Windows/Win10PE_x86.iso
-rw-r–r–. 1 nobody nobody 217577472 5月 2 12:52 /var/lib/tftpboot/Windows/WinPE_amd64.iso
-rw-r–r–. 1 nobody nobody 192131072 5月 2 12:52 /var/lib/tftpboot/Windows/WinPE_x86.iso
16. 處理 SELinux 設定
# /usr/sbin/restorecon -R -F -v /var/lib/tftpboot/Windows
17. 修改 PXE Server 開機功能表
# vim /var/lib/tftpboot/pxelinux.cfg/default
加入
LABEL Install Windows 7 x86
MENU LABEL Install Windows 7 x86
KERNEL memdisk
INITRD Windows/WinPE_x86.iso
APPEND iso raw
LABEL Install Windows 7 x64
MENU LABEL Install Windows 7 x64
KERNEL memdisk
INITRD Windows/WinPE_amd64.iso
APPEND iso raw
將 Windows 7 安裝目錄掛載成 z 磁碟機
net use z: 192.168.131.241install7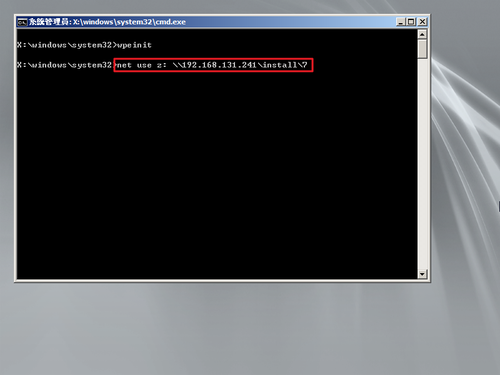
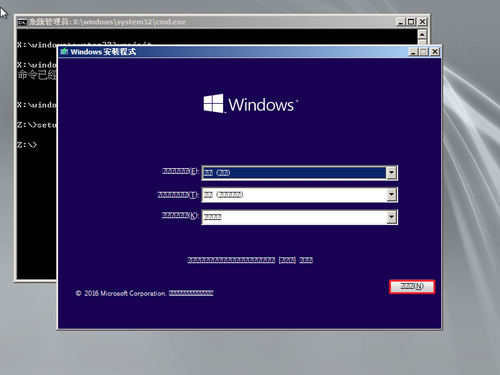
切換到 z 磁碟機並執行 setup.exe 進行安裝
z:
setup.exe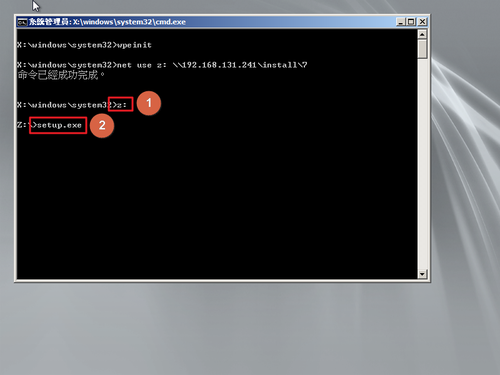
建立 Windows 7 / 10 PE 光碟
這裡所謂的 Windows PE 光碟只是用來安裝 Windows 時使用,不是那種包山包海的 Windows 工具光碟。
1. 下載 Windows 7 及 Windows 10 的 Automated Installation Kit
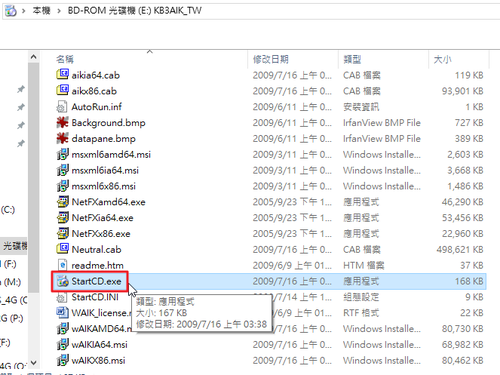
下載 Windows 7 Automated Installation Kit
下載網頁:https://www.microsoft.com/zh-tw/download/details.aspx?id=5753
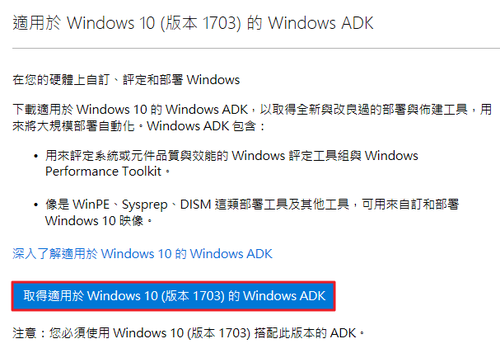
下載 Windows 10 1703 Automated Installation Kit
下載網頁:https://developer.microsoft.com/zh-tw/windows/hardware/windows-assessment-deployment-kit
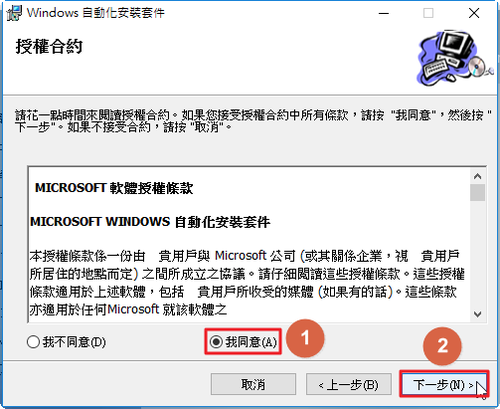
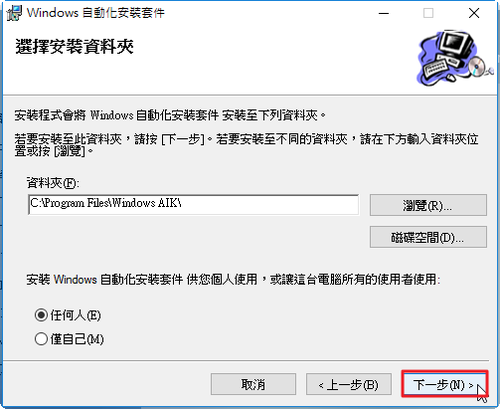
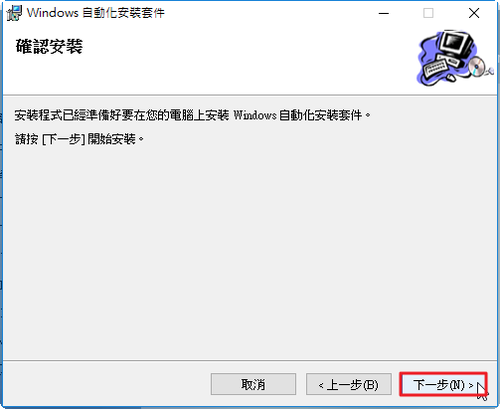
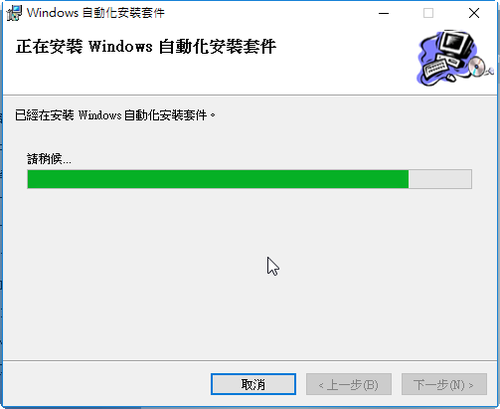
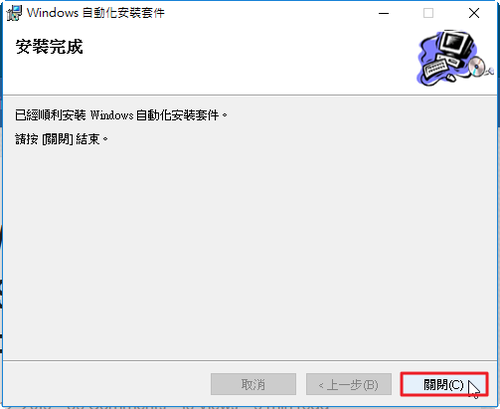
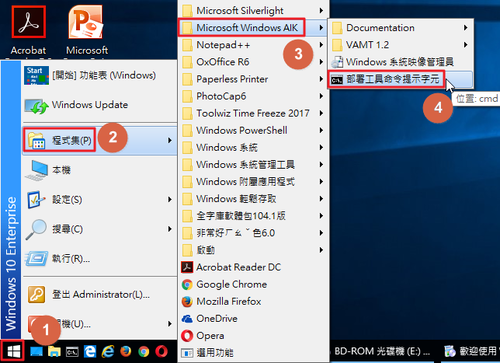
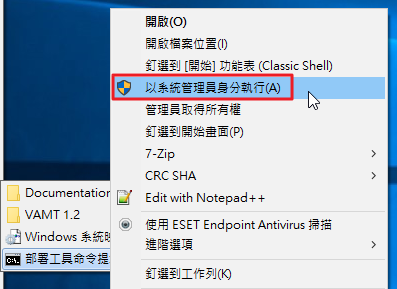
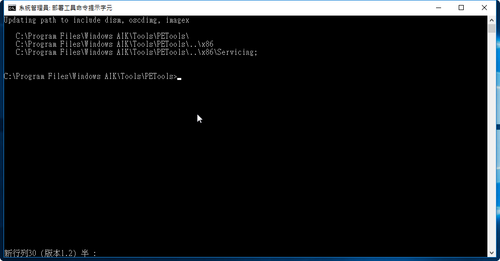
[@more@]2. Windows 7 Automated Installation Kit 安裝
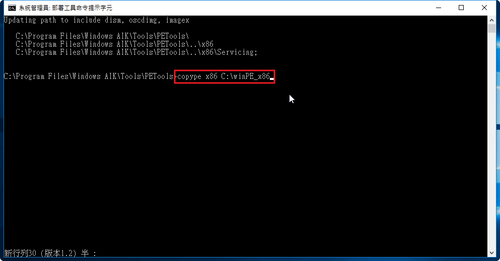
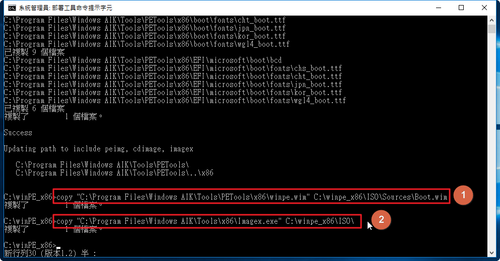
copy “C:Program FilesWindows AIKToolsPEToolsx86winpe.wim” C:winpe_x86ISOSourcesBoot.wim
copy “C:Program FilesWindows AIKToolsx86Imagex.exe” C:winpe_x86ISO
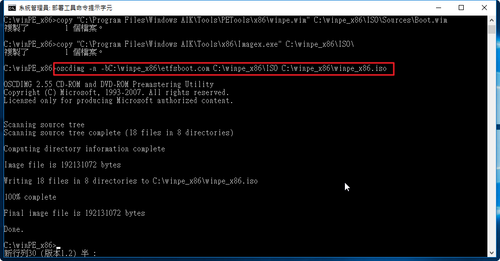
oscdimg -n -bC:winpe_x86etfsboot.com C:winpe_x86ISO C:winpe_x86WinPE_x86.iso
x86_64
copype amd64 C:winPE_amd64
copy “C:Program FilesWindows AIKToolsPEToolsamd64winpe.wim” C:winpe_amd64ISOSourcesBoot.wim
copy “C:Program FilesWindows AIKToolsamd64Imagex.exe” C:winpe_amd64ISO
oscdimg -n -bC:winpe_amd64etfsboot.com C:winpe_amd64ISO C:winpe_amd64WinPE_amd64.iso
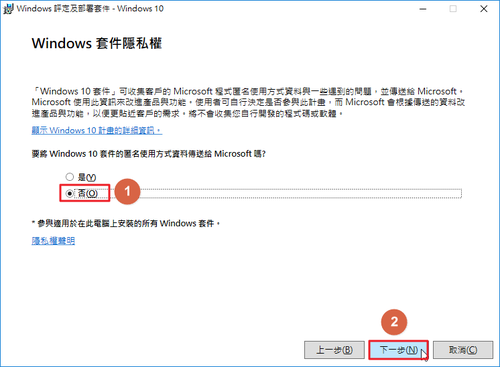
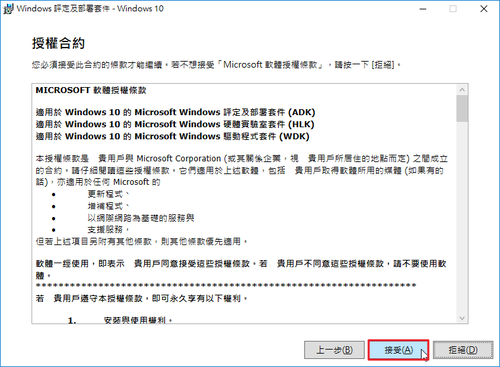
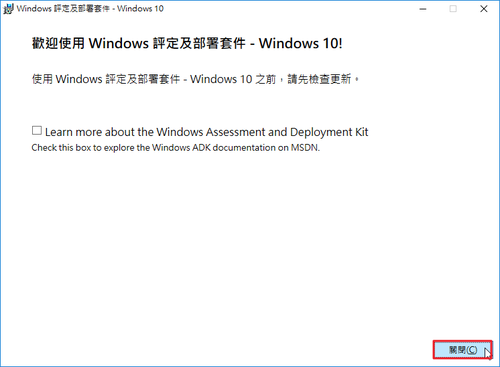
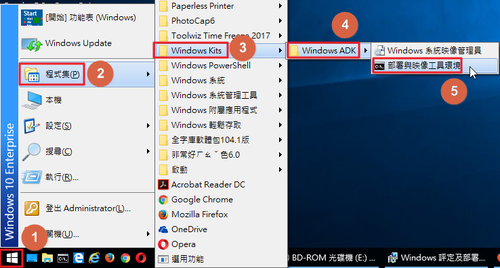
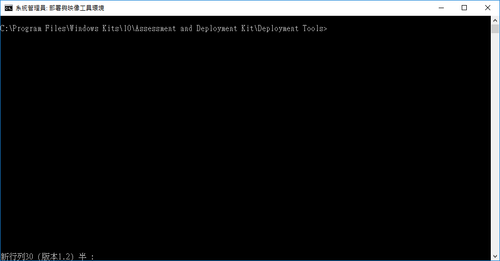
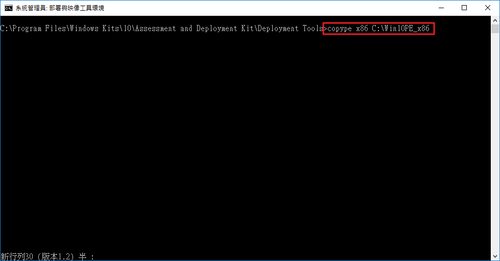
4. Windows 10 Automated Installation Kit 安裝

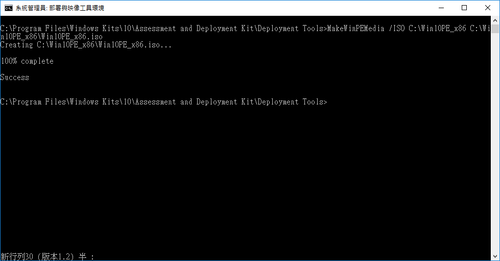
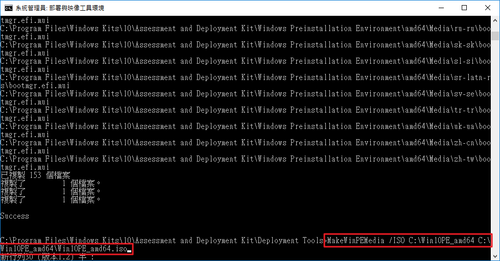
MakeWinPEMedia /ISO C:Win10PE_x86 C:Win10PE_x86Win10PE_x86.iso

copype amd64 C:Win10PE_amd64
MakeWinPEMedia /ISO C:Win10PE_amd64 C:Win10PE_amd64Win10PE_amd64.iso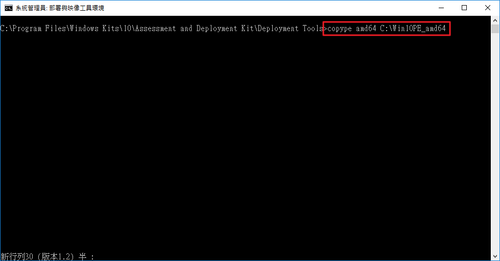
Windows 10 1703 更新至 15063.540
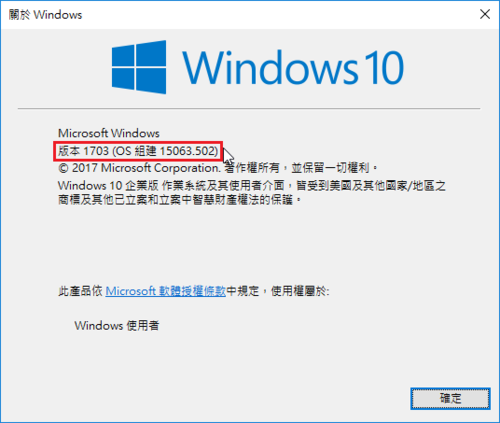
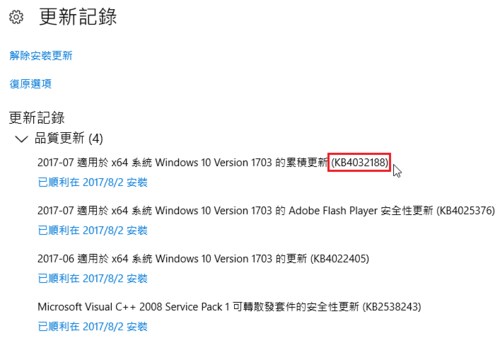
Windows 10 1703 更新至 15063.502
移除 Windows 7/10 install.wim 已封裝的更新
偶然取得一個特殊的版本,但是是別人已經封裝過的版本,可是想要自己重新封裝。
參考網頁:
離線新增或移除封裝
1. 建立掛載目錄
mkdir WIM
2. 進行掛載
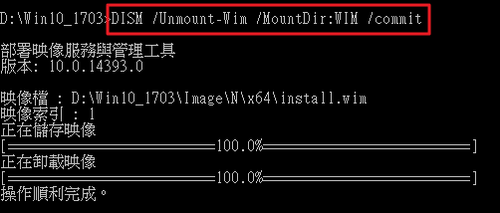
DISM /Mount-Wim /WimFile:ImageNx64install.wim /Index:1 /MountDir:WIM [@more@]3. 列出映像檔中的封裝
DISM /Image:WIM /Get-Packages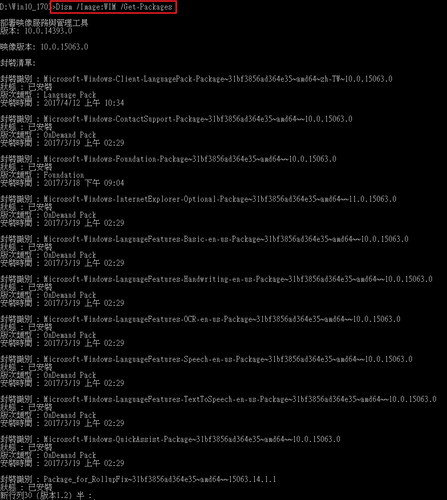
如果封裝的記錄很多,也可以輸出成一個文字檔,方便檢視!
DISM /Image:WIM /Get-Packages > c:UsersAdministratorDesktopfeaturelist.txt
4. 移除封裝檔
DISM /Image:WIM /Remove-Package /PackageName:Package_for_RollupFix~31bf3856ad364e35~amd64~~15063.14.1.1
如果有好幾個,可以使用
DISM /Image:WIM /Remove-Package /PackageName:xxxxxx /PackageName:yyyyy /PackageName:zzzzzz

