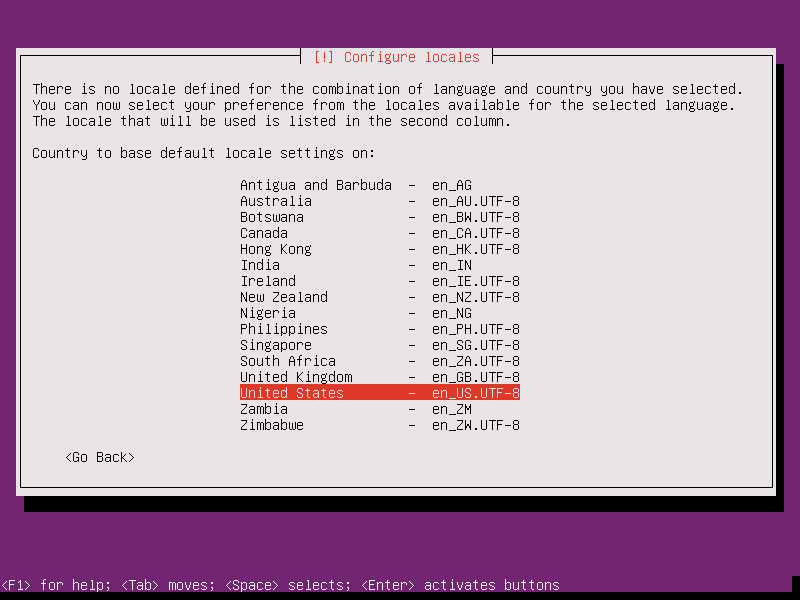
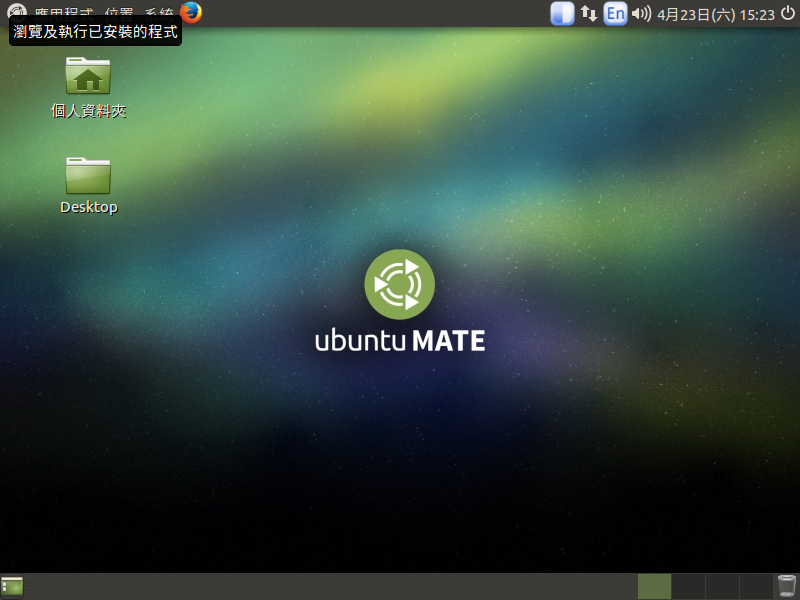
為了方便測試系統而製作
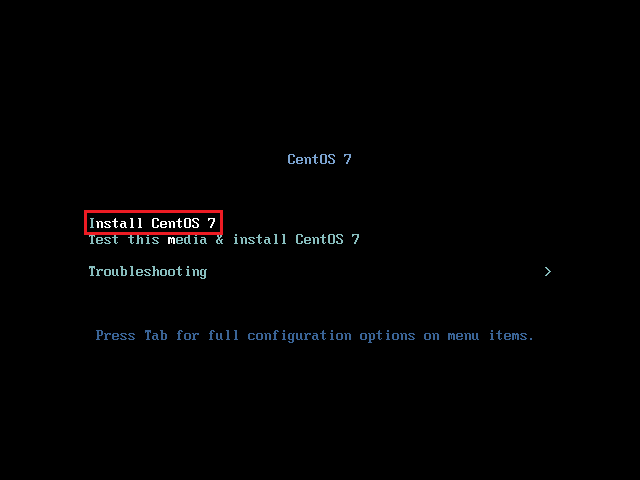
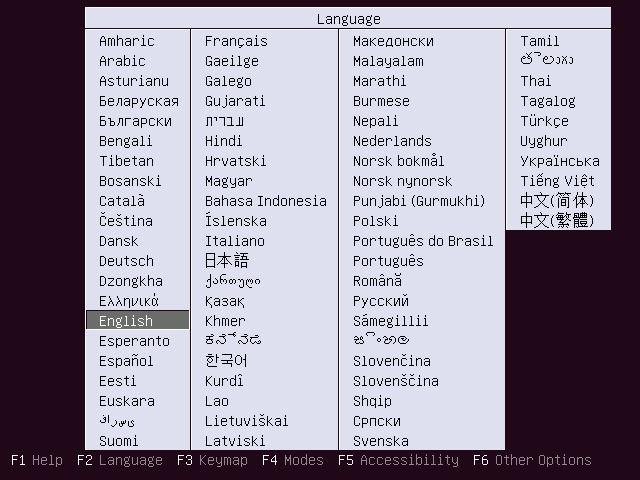
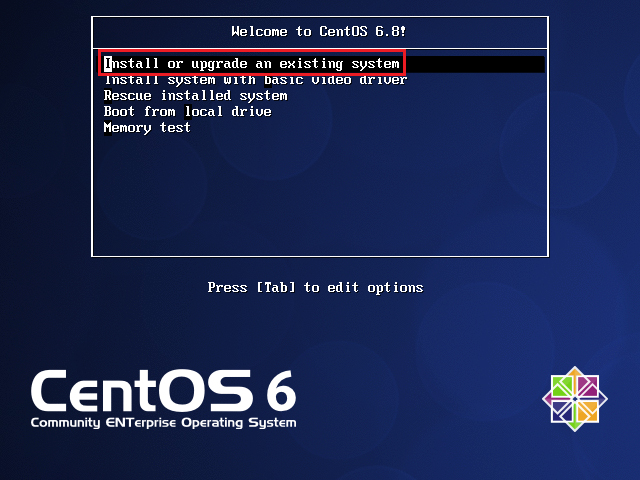
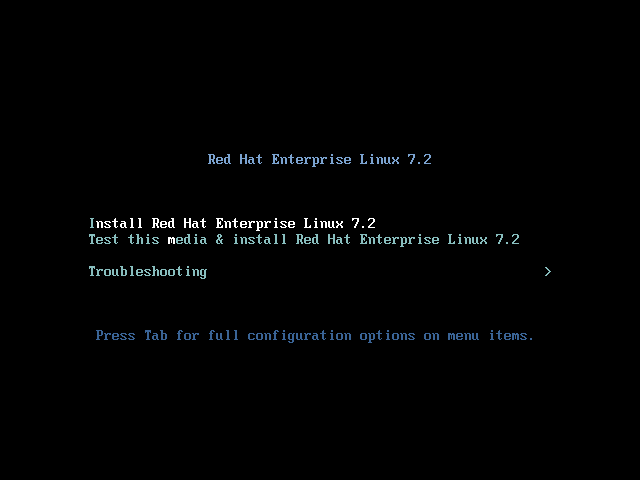
光碟開機畫面

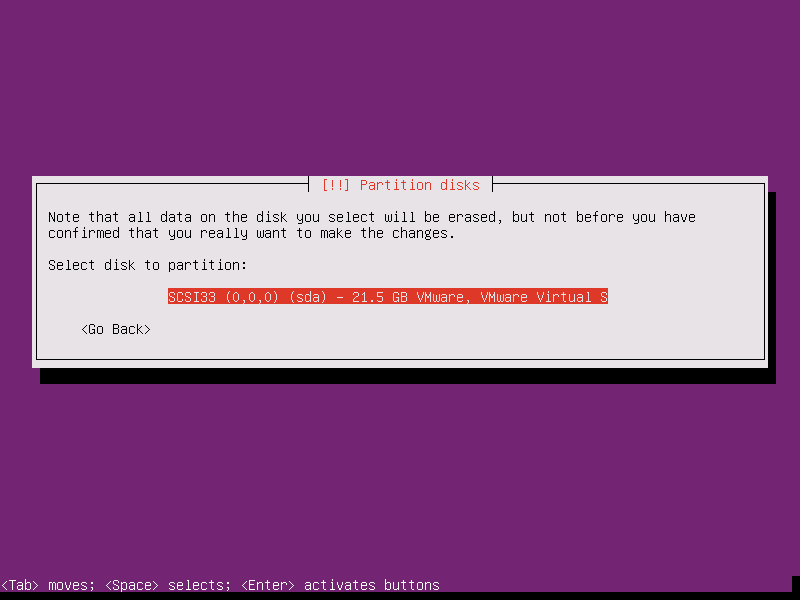
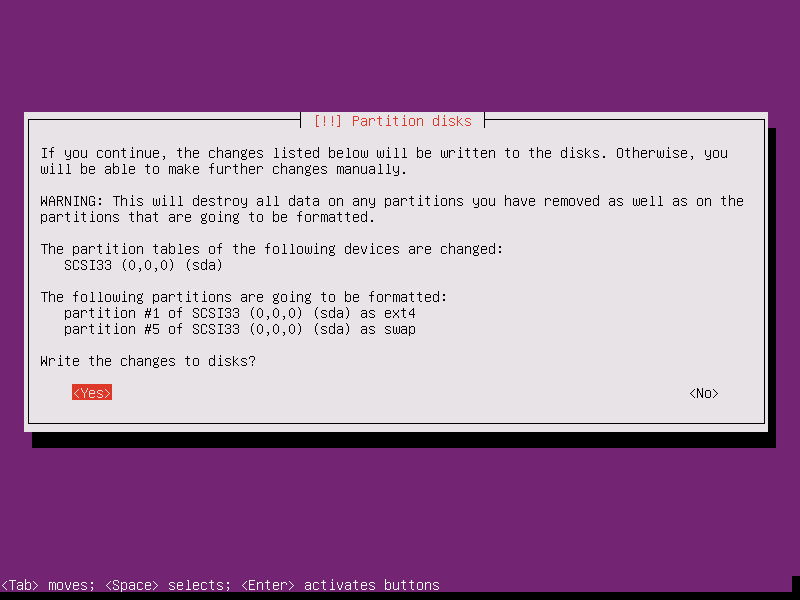
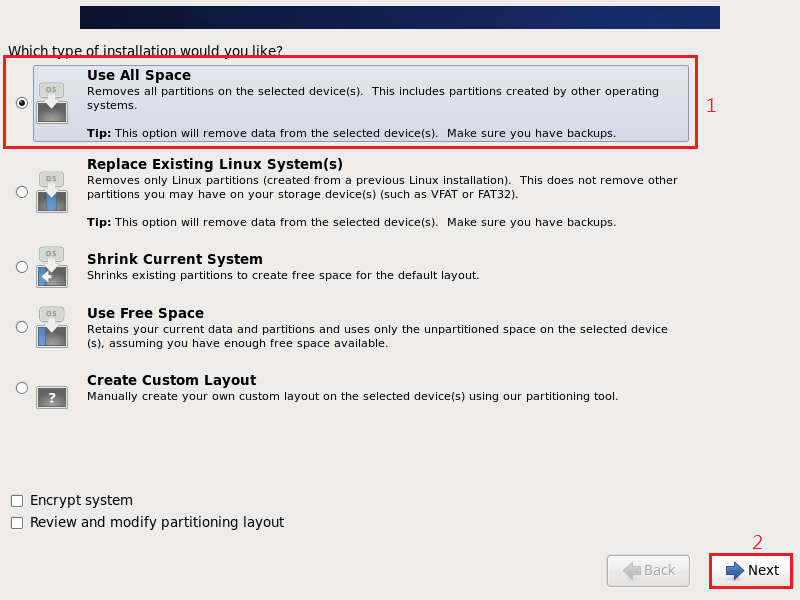
硬碟資料清除確認

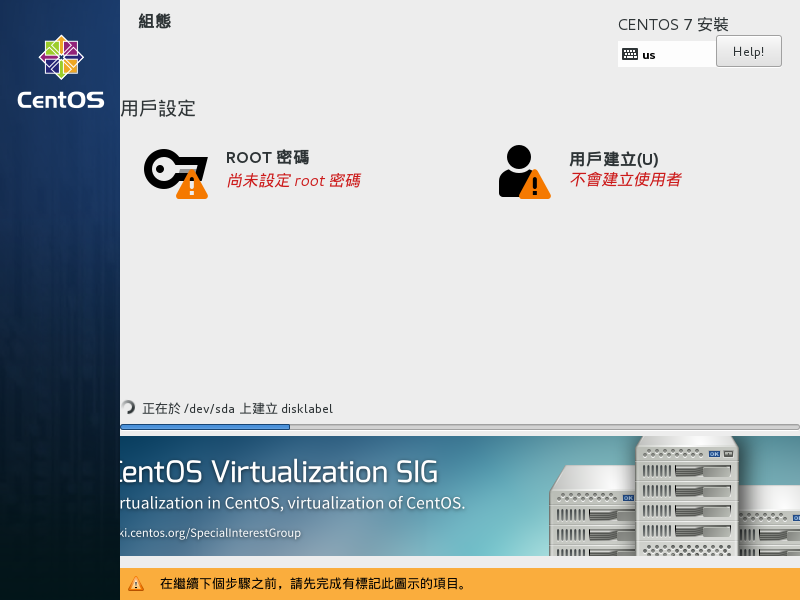
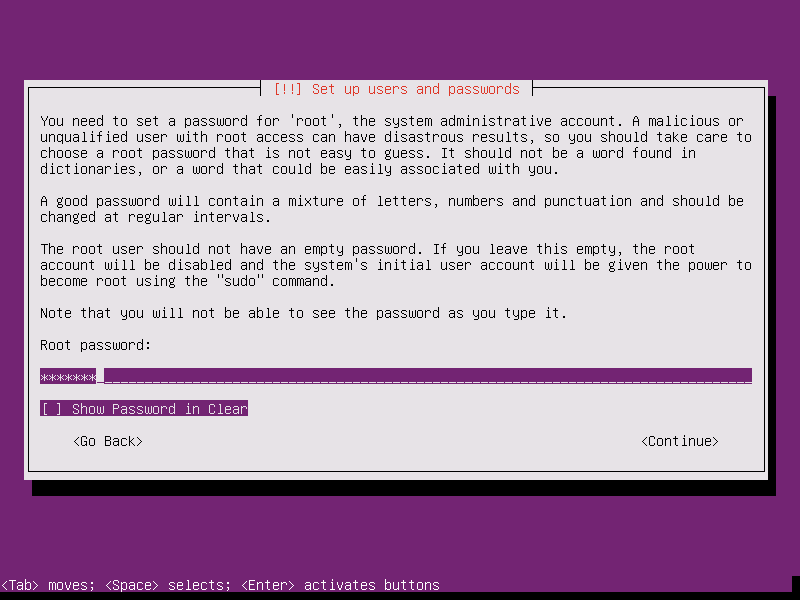
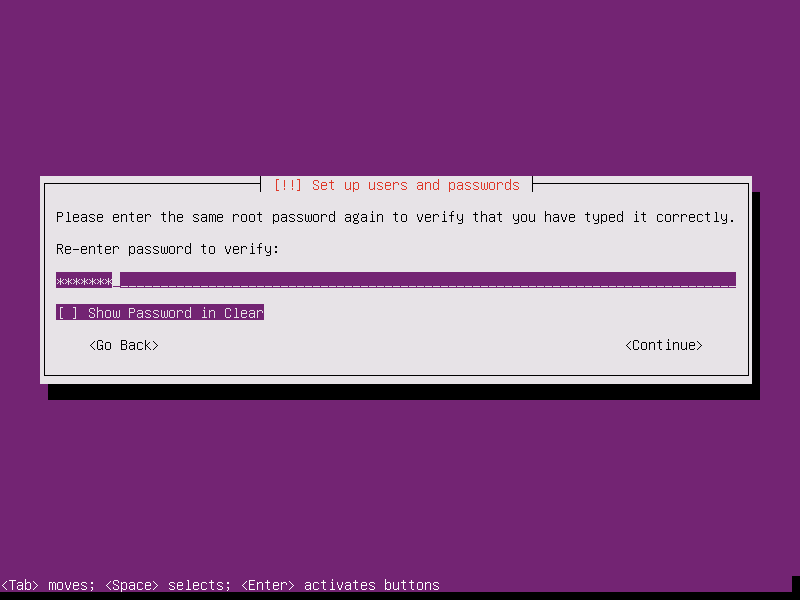
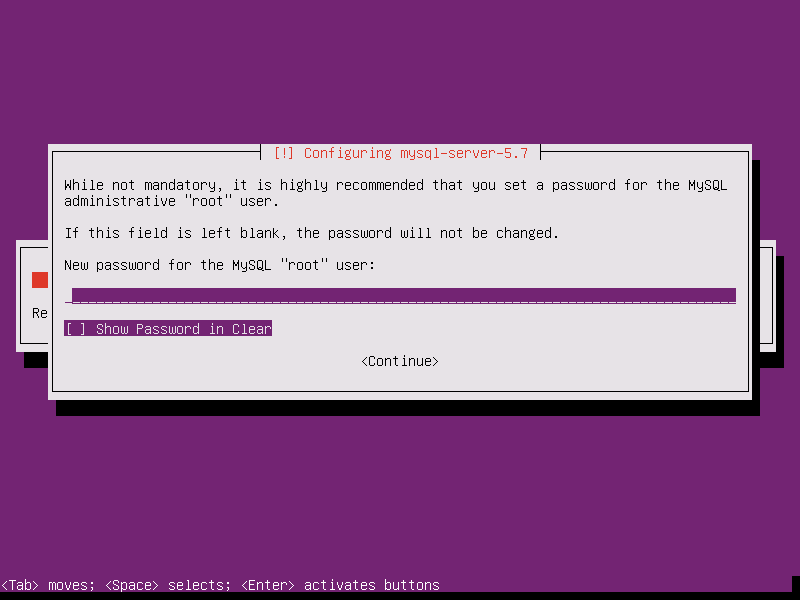
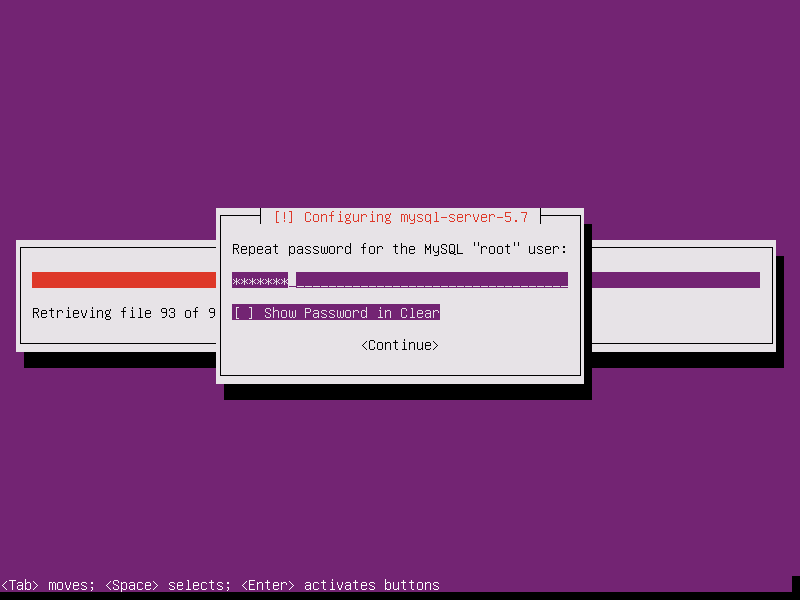
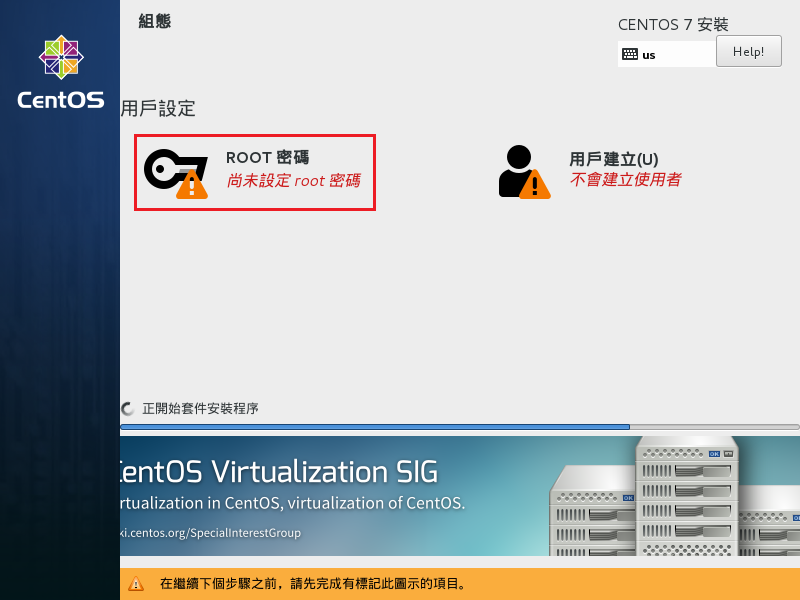
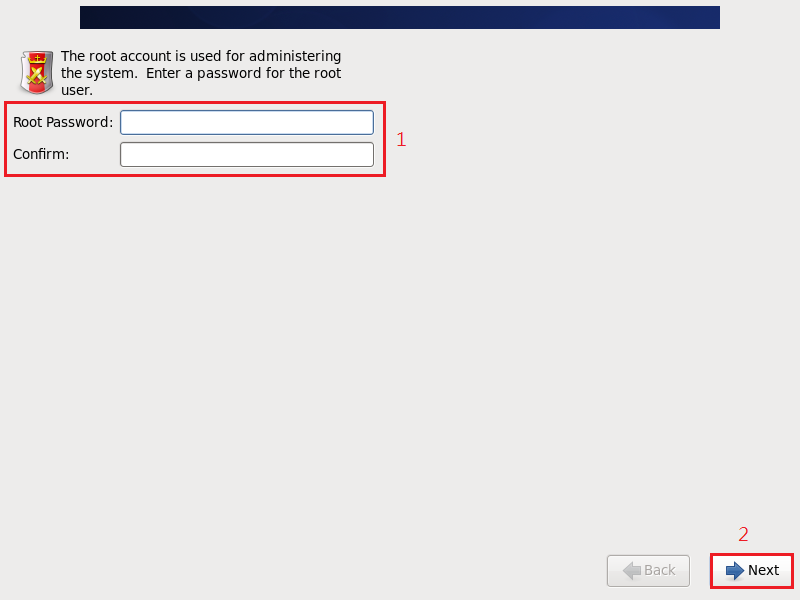
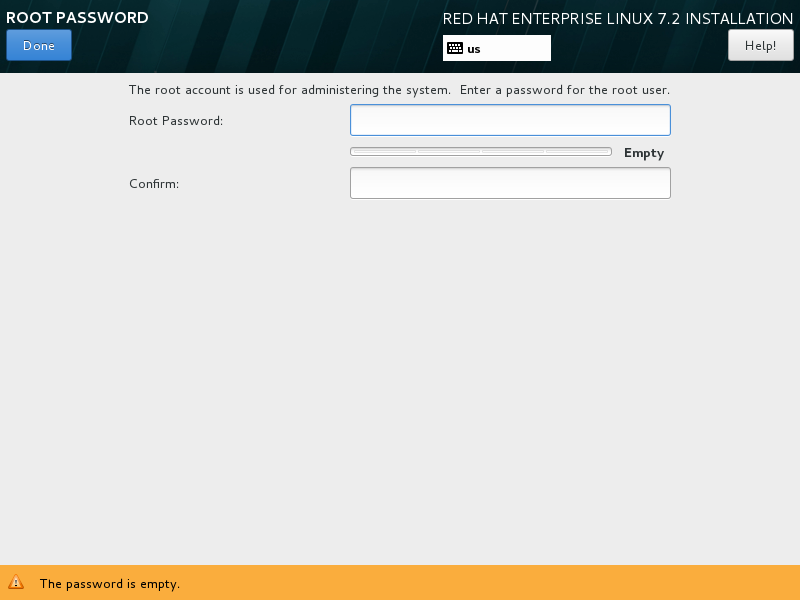
[@more@]設定 root 密碼

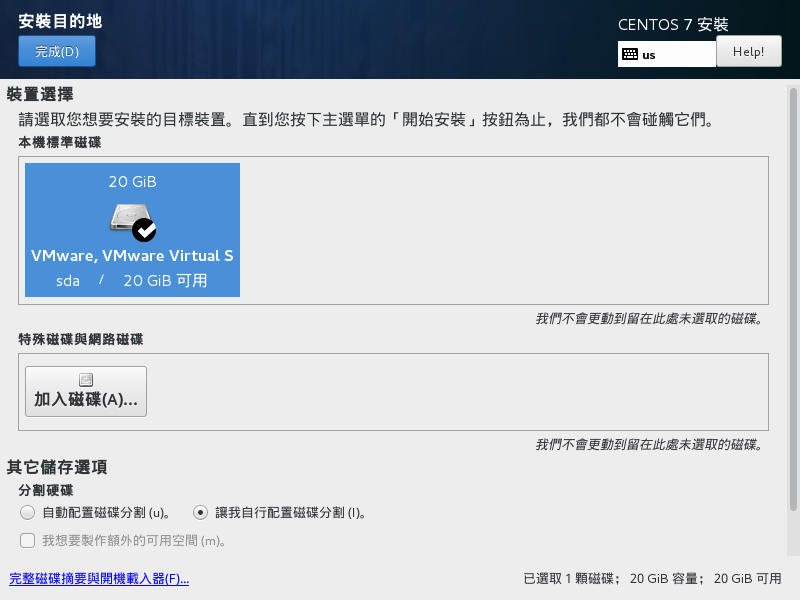
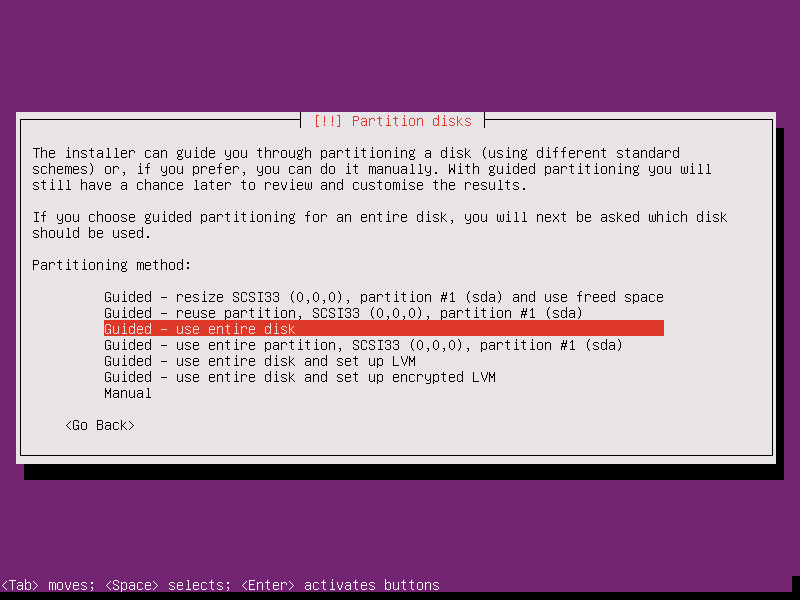
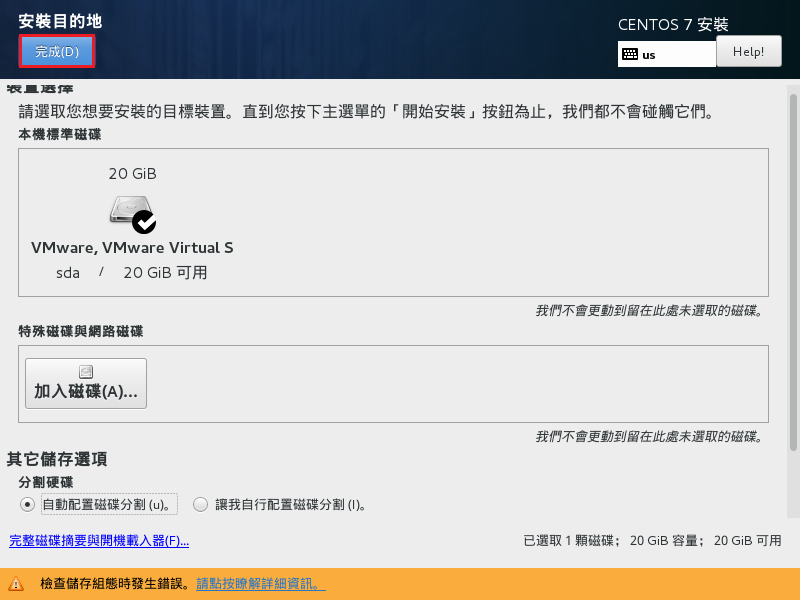
硬碟分割


GRUB 開機管理程式安裝

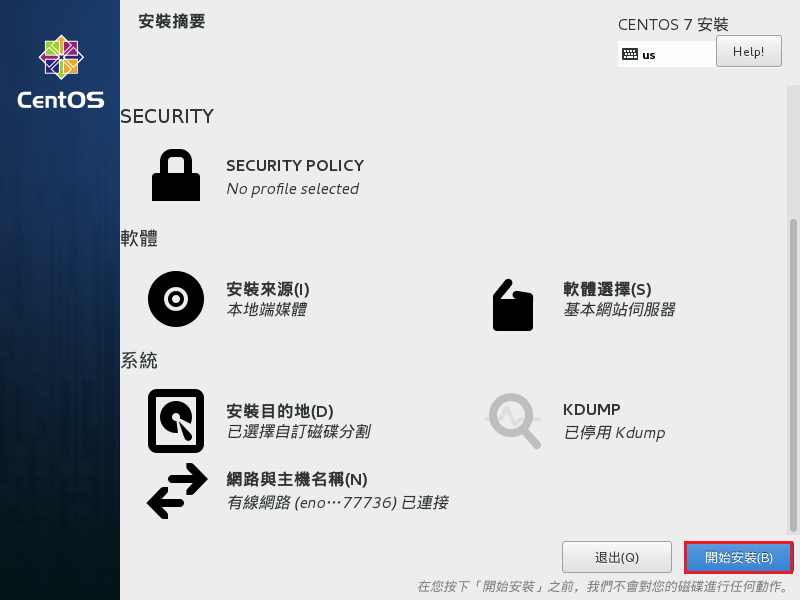
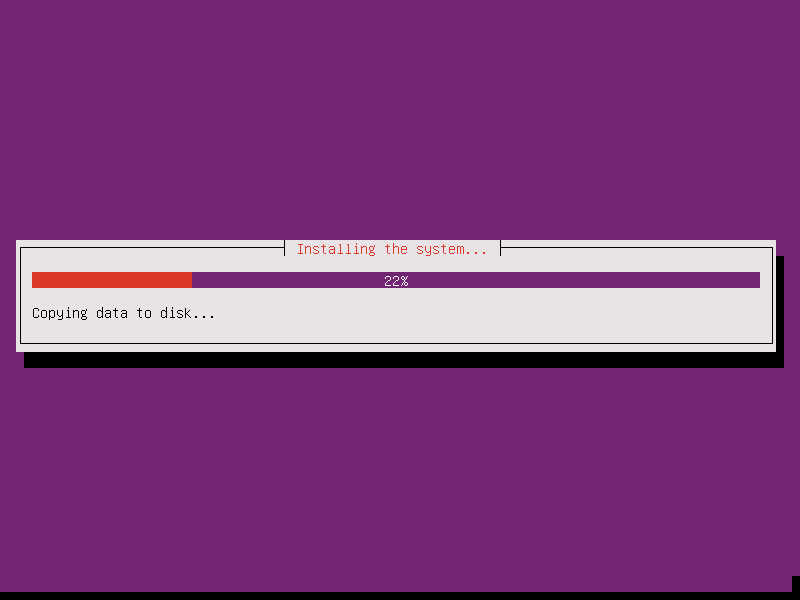
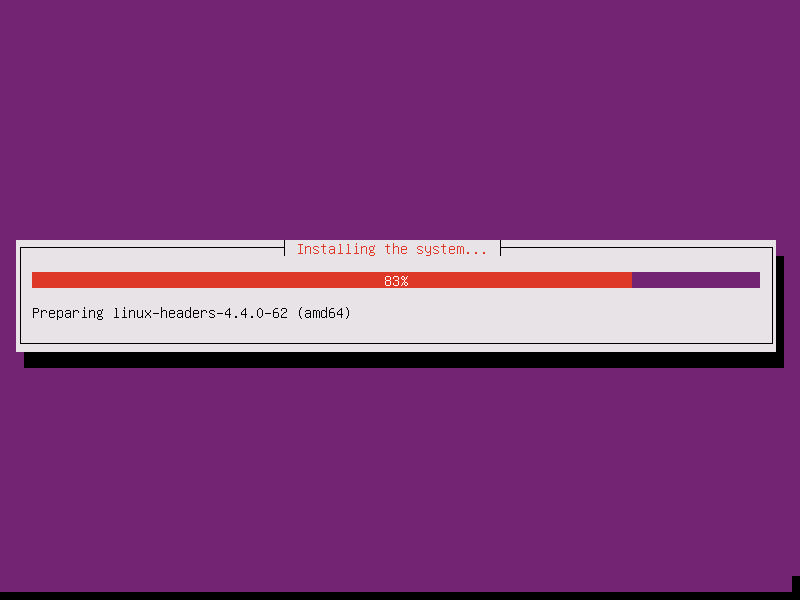
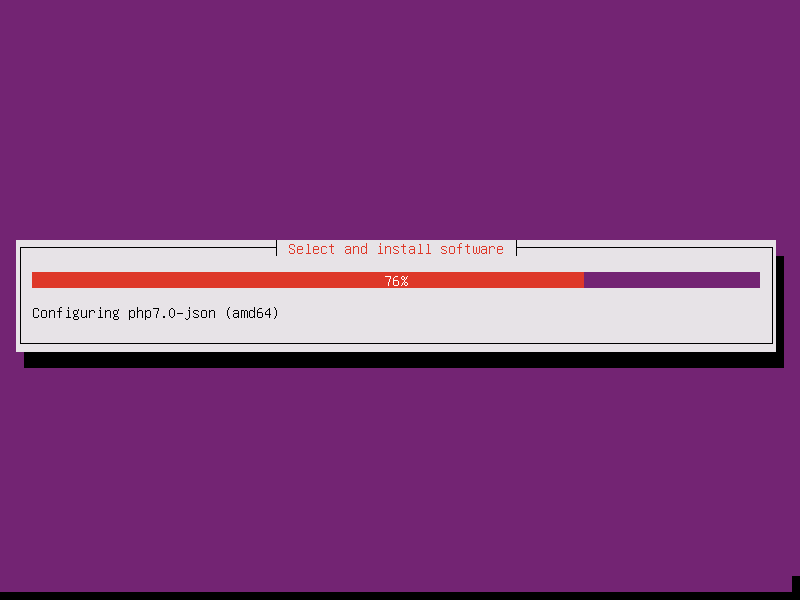
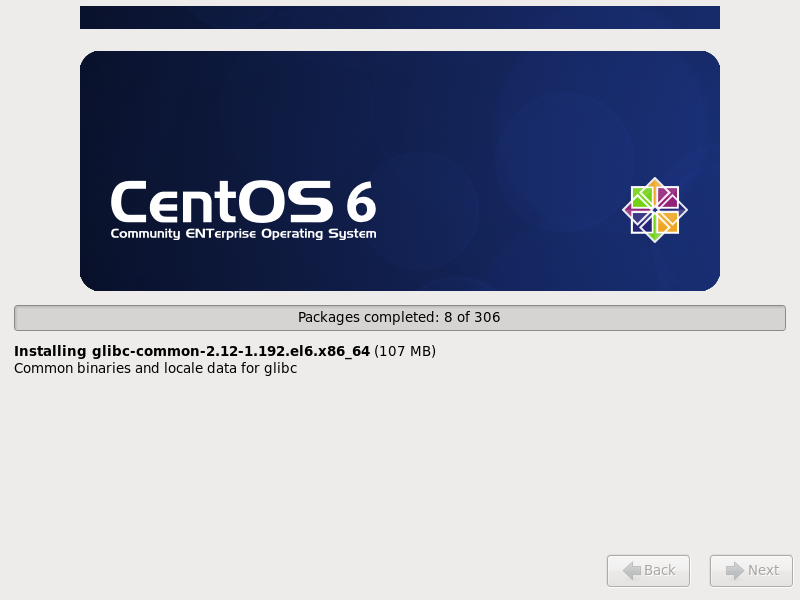
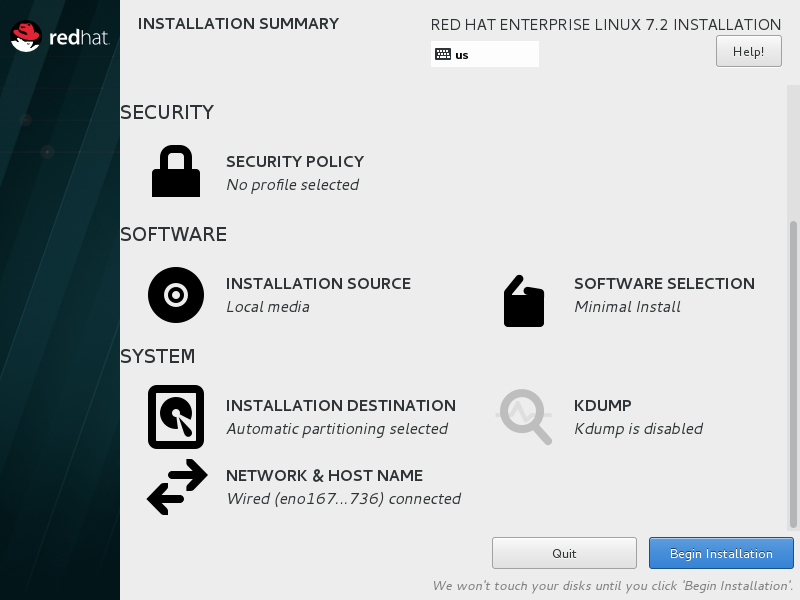
開始安裝

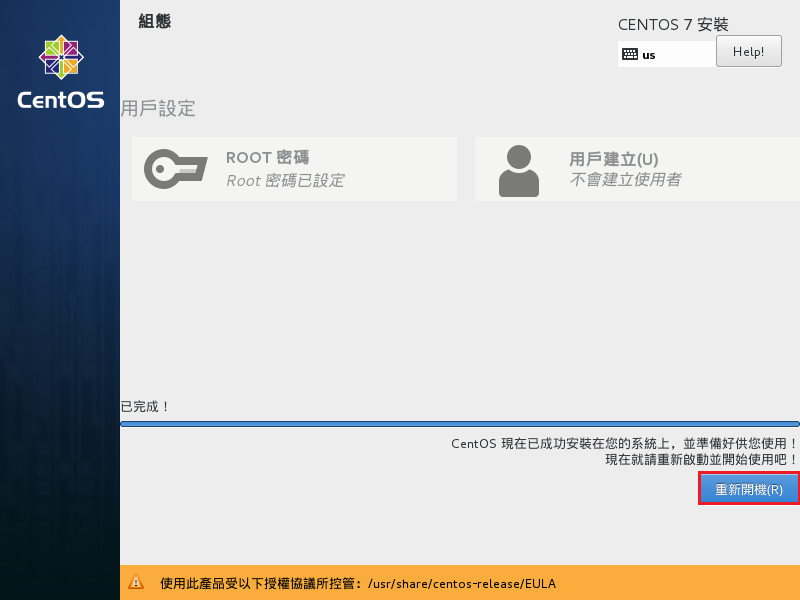
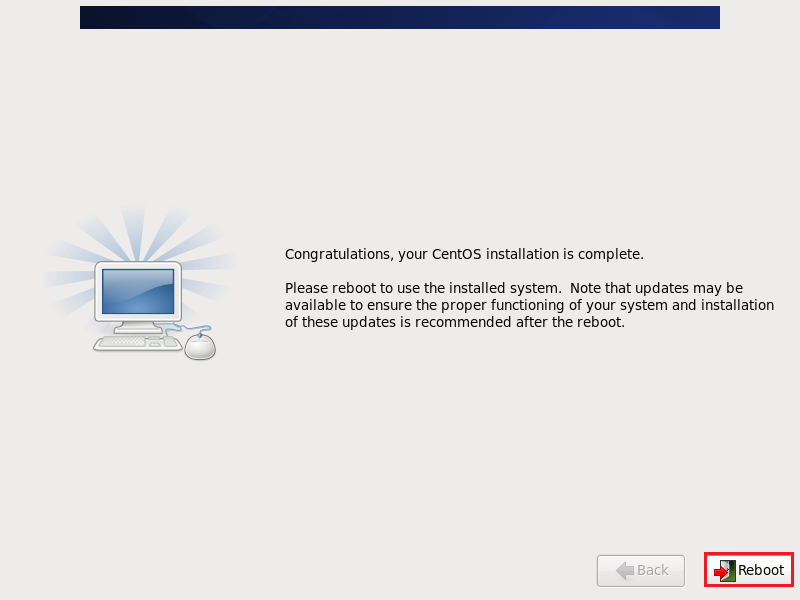
安裝完成

主要特點:
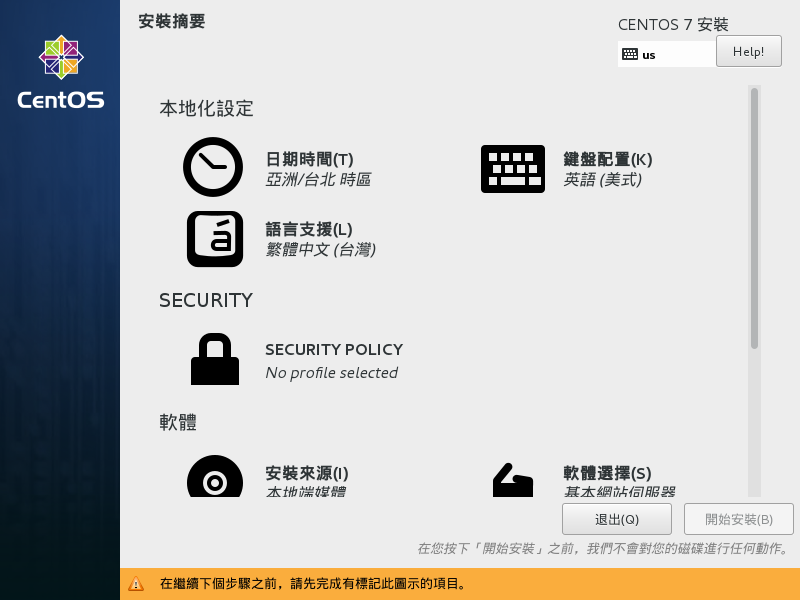
1. 簡化安裝步驟
2. 採用最小化安裝,再補上一些缺少的套件 vim/nano/zip/unzip…….
3. 安裝 Apache + MariaDB(10.1) + PHP,並做系統調整
4. 安裝 Fail2ban,啟動 SSH Server 防護
5. 系統更新改至頭城國小 140.111.74.109
預設啟動 fail2ban 及 ssh 防護
[root@localhost ~]# iptables -L -n
Chain INPUT (policy ACCEPT)
target prot opt source destination
f2b-SSH tcp — 0.0.0.0/0 0.0.0.0/0 tcp dpt:22
Chain FORWARD (policy ACCEPT)
target prot opt source destination
Chain OUTPUT (policy ACCEPT)
target prot opt source destination
Chain f2b-SSH (1 references)
target prot opt source destination
RETURN all — 0.0.0.0/0 0.0.0.0/0
開啟服務
[root@localhost ~]# netstat -antulp
Active Internet connections (servers and established)
Proto Recv-Q Send-Q Local Address Foreign Address State PID/Program name
tcp 0 0 0.0.0.0:22 0.0.0.0:* LISTEN 1447/sshd
tcp 0 0 :::80 :::* LISTEN 1788/httpd
tcp 0 0 :::22 :::* LISTEN 1447/sshd
tcp 0 0 ::1:22 ::1:54878 ESTABLISHED 1706/sshd
tcp 0 0 ::1:54878 ::1:22 ESTABLISHED 1705/ssh
udp 0 0 0.0.0.0:68 0.0.0.0:* 1201/dhclient
加入對時工作排程
[root@localhost ~]# crontab -l
# 格式
# 分 時 日 月 星期幾 執行命令
# 對時
0 6 * * * /usr/sbin/ntpdate -s time.stdtime.gov.tw > /dev/null 2>&1;/sbin/hwclock -w > /dev/null 2>&1
安裝完成的後續設定
MariaDB SQL Server 後續設定
# /usr/bin/mysql_secure_installation
開啟防火牆上 HTTPD Web Server
# iptables -A INPUT -m state –state NEW -m tcp -p tcp –dport 80 -j ACCEPT
# iptables-save > /etc/sysconfig/iptables