參考網站:
Ubuntu Linux 安裝 LDAP Server – G. T. Wang
Ubuntu 設定 LDAP + PAM + NFS 實現多台電腦單一帳號驗證 | Mowd Blog
你的程式我的Code: Ubuntu 15.04 – LDAP 架設
使用Linux建置企業虛擬私有網路SSL VPN(下) – 技術專欄 – 網管人NetAdmin
LDAP Server IP:192.168.1.20
1. 更新套件庫
# apt-get update
2. 安裝 OpenLDAP Server
# apt-get install slapd ldap-utils
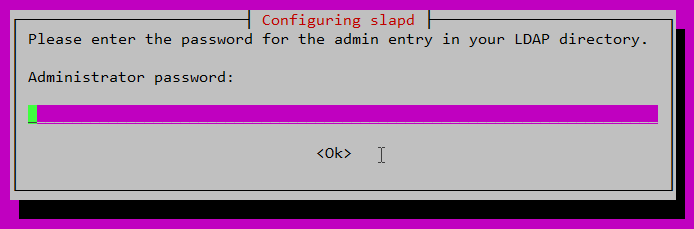
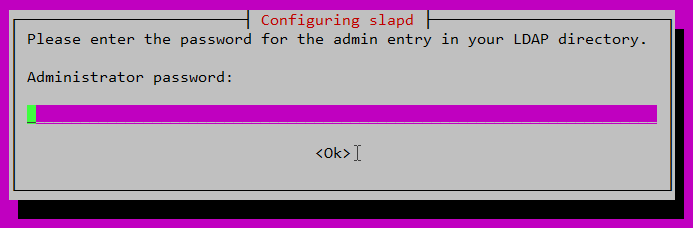
設定 LDAP 管理密碼

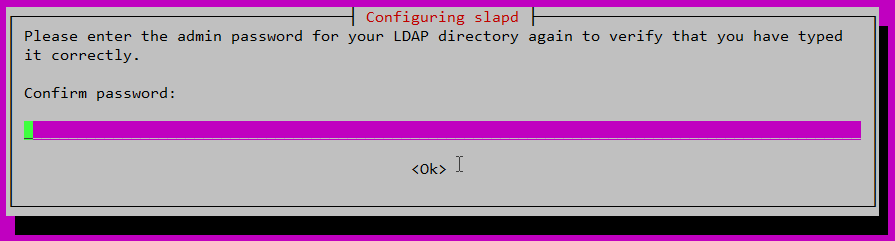
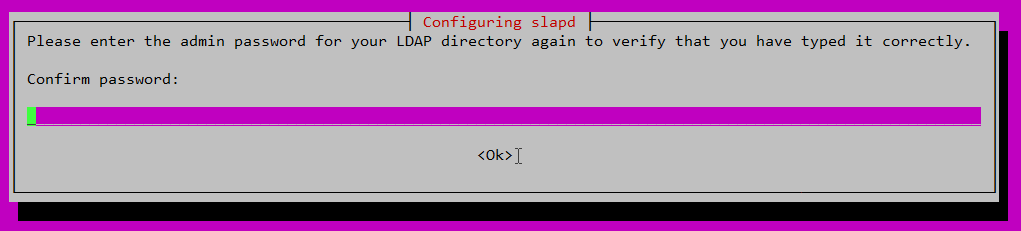
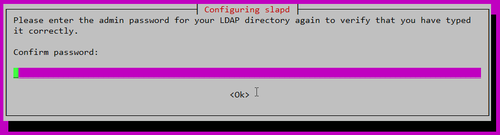
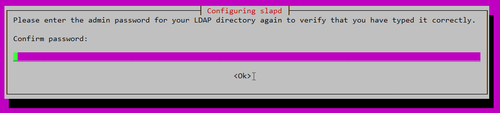
密碼確認
[@more@]3. 進行詳細的設定
# dpkg-reconfigure slapd
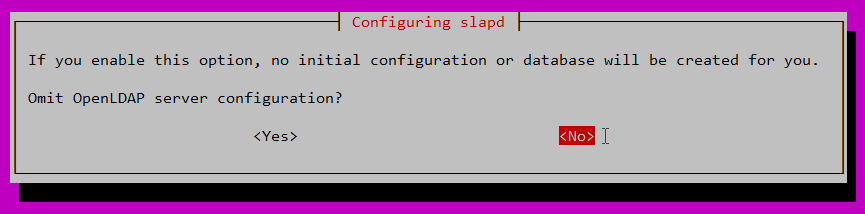
Omit OpenLDAP server configuration? No

DNS domain name:

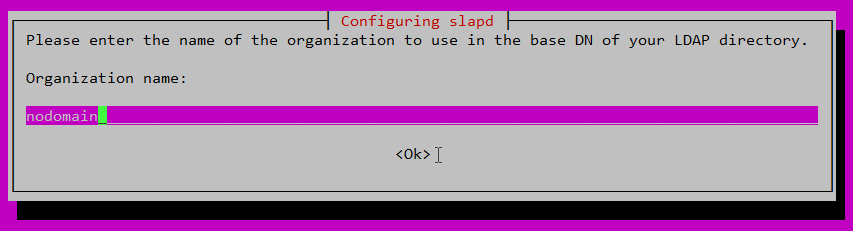
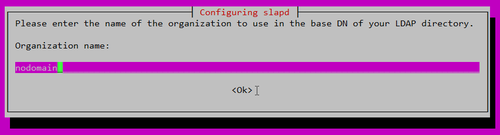
Organization name?
Administrator password: Admin Password

Confirm password: Admin Password
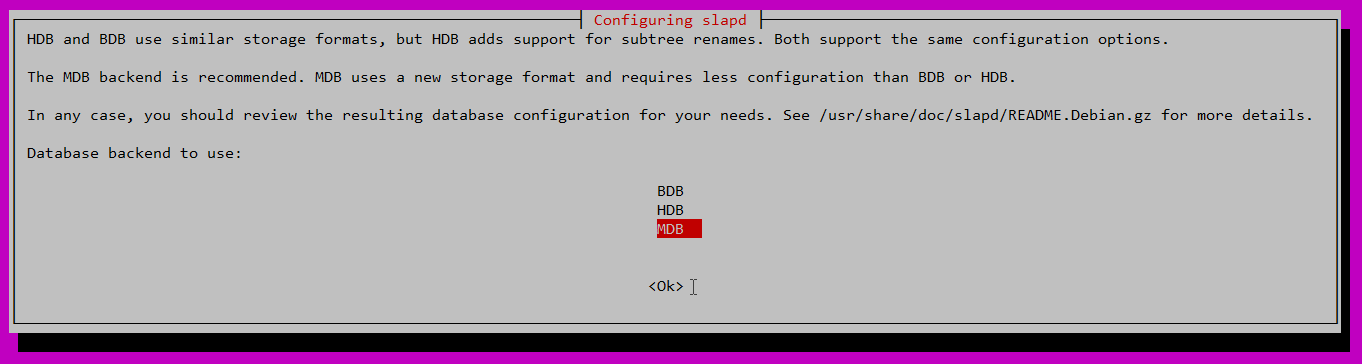
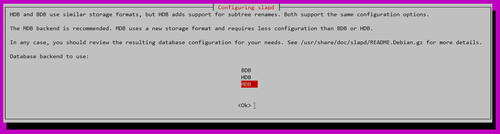
Database backend to use: MDB
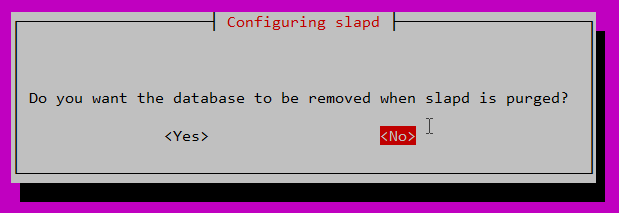
Do you want the database to be removed when slapd is purged? No

Move old database? Yes

Allow LDAPv2 protocol? No

4. 修改 /etc/ldap/ldap.conf 設定檔
# vim /etc/ldap/ldap.conf
BASE dc=bpim3,dc=test,dc=org
URI ldap://192.168.1.20/
5. 建立兩個群組:People 與 Group
# cat /root/ou.ldif
dn: ou=People,dc=bpim3,dc=test,dc=org
ou: People
objectClass: organizationalUnit
dn: ou=Group,dc=bpim3,dc=test,dc=org
ou: Group
objectClass: organizationalUnit
6. 將群組資料加入 LDAP 之中
# systemctl stop slapd
# /usr/sbin/slapadd -c -v -l /root/ou.ldif
# systemctl start slapd
7. 查詢剛建立的群組
# /usr/bin/ldapsearch -x ou=people
# extended LDIF
#
# LDAPv3
# base <dc=bpim3,dc=test,dc=org> (default) with scope subtree
# filter: ou=people
# requesting: ALL
#
# People, example.com
dn: ou=People,dc=bpim3,dc=test,dc=org
ou: People
objectClass: organizationalUnit
# search result
search: 2
result: 0 Success
# numResponses: 2
# numEntries: 1
8. 建立使用者資料 user.ldif
# cat /root/user.ldif
dn: cn=test001,ou=group,dc=bpim3,dc=test,dc=org
cn: test001
gidNumber: 1002
objectClass: top
objectClass: posixGroup
dn: uid=test001,ou=people,dc=bpim3,dc=test,dc=org
uid: test001
uidNumber: 1002
gidNumber: 1002
cn: test001
sn: LDAP
objectClass: top
objectClass: person
objectClass: posixAccount
objectClass: shadowAccount
loginShell: /bin/false
homeDirectory: /home/test001
dn: cn=test002,ou=group,dc=bpim3,dc=test,dc=org
cn: test002
gidNumber: 1003
objectClass: top
objectClass: posixGroup
dn: uid=test002,ou=people,dc=bpim3,dc=test,dc=org
uid: test002
uidNumber: 1003
gidNumber: 1003
cn: test002
sn: LDAP
objectClass: top
objectClass: person
objectClass: posixAccount
objectClass: shadowAccount
loginShell: /bin/false
homeDirectory: /home/test002
9. 匯入使用者資料
# /usr/bin/ldapadd -c -x -D cn=admin,dc=bpim3,dc=test,dc=org -W -f user.ldif
Enter LDAP Password: Admin Password
adding new entry “cn=test001,ou=group,dc=bpim3,dc=test,dc=org”
adding new entry “uid=test001,ou=people,dc=bpim3,dc=test,dc=org”
10. 設定使用者密碼
# /usr/bin/ldappasswd -x -D cn=admin,dc=bpim3,dc=test,dc=org -W -S uid=test001,ou=people,dc=bpim3,dc=test,dc=org
New password: New User Password
Re-enter new password: New User Password
Enter LDAP Password: Admin Password
Result: Success (0)
# /usr/bin/ldappasswd -x -D cn=admin,dc=bpim3,dc=test,dc=org -W -S uid=test002,ou=people,dc=bpim3,dc=test,dc=org
11. 查詢新增的使用者
# /usr/bin/ldapsearch -x uid=test001
# extended LDIF
#
# LDAPv3
# base <dc=bpim3,dc=test,dc=org> (default) with scope subtree
# filter: uid=test001
# requesting: ALL
#
# test001, People, example.com
dn: uid=test001,ou=People,dc=bpim3,dc=test,dc=org
uid: test001
uidNumber: 1002
gidNumber: 1002
cn: test001
sn: LDAP
objectClass: top
objectClass: person
objectClass: posixAccount
objectClass: shadowAccount
loginShell: /bin/false
homeDirectory: /home/test001
# search result
search: 2
result: 0 Success
# numResponses: 2
# numEntries: 1