偶然之間看到的,所以下載下來試用看看!
新北市自由軟體E學園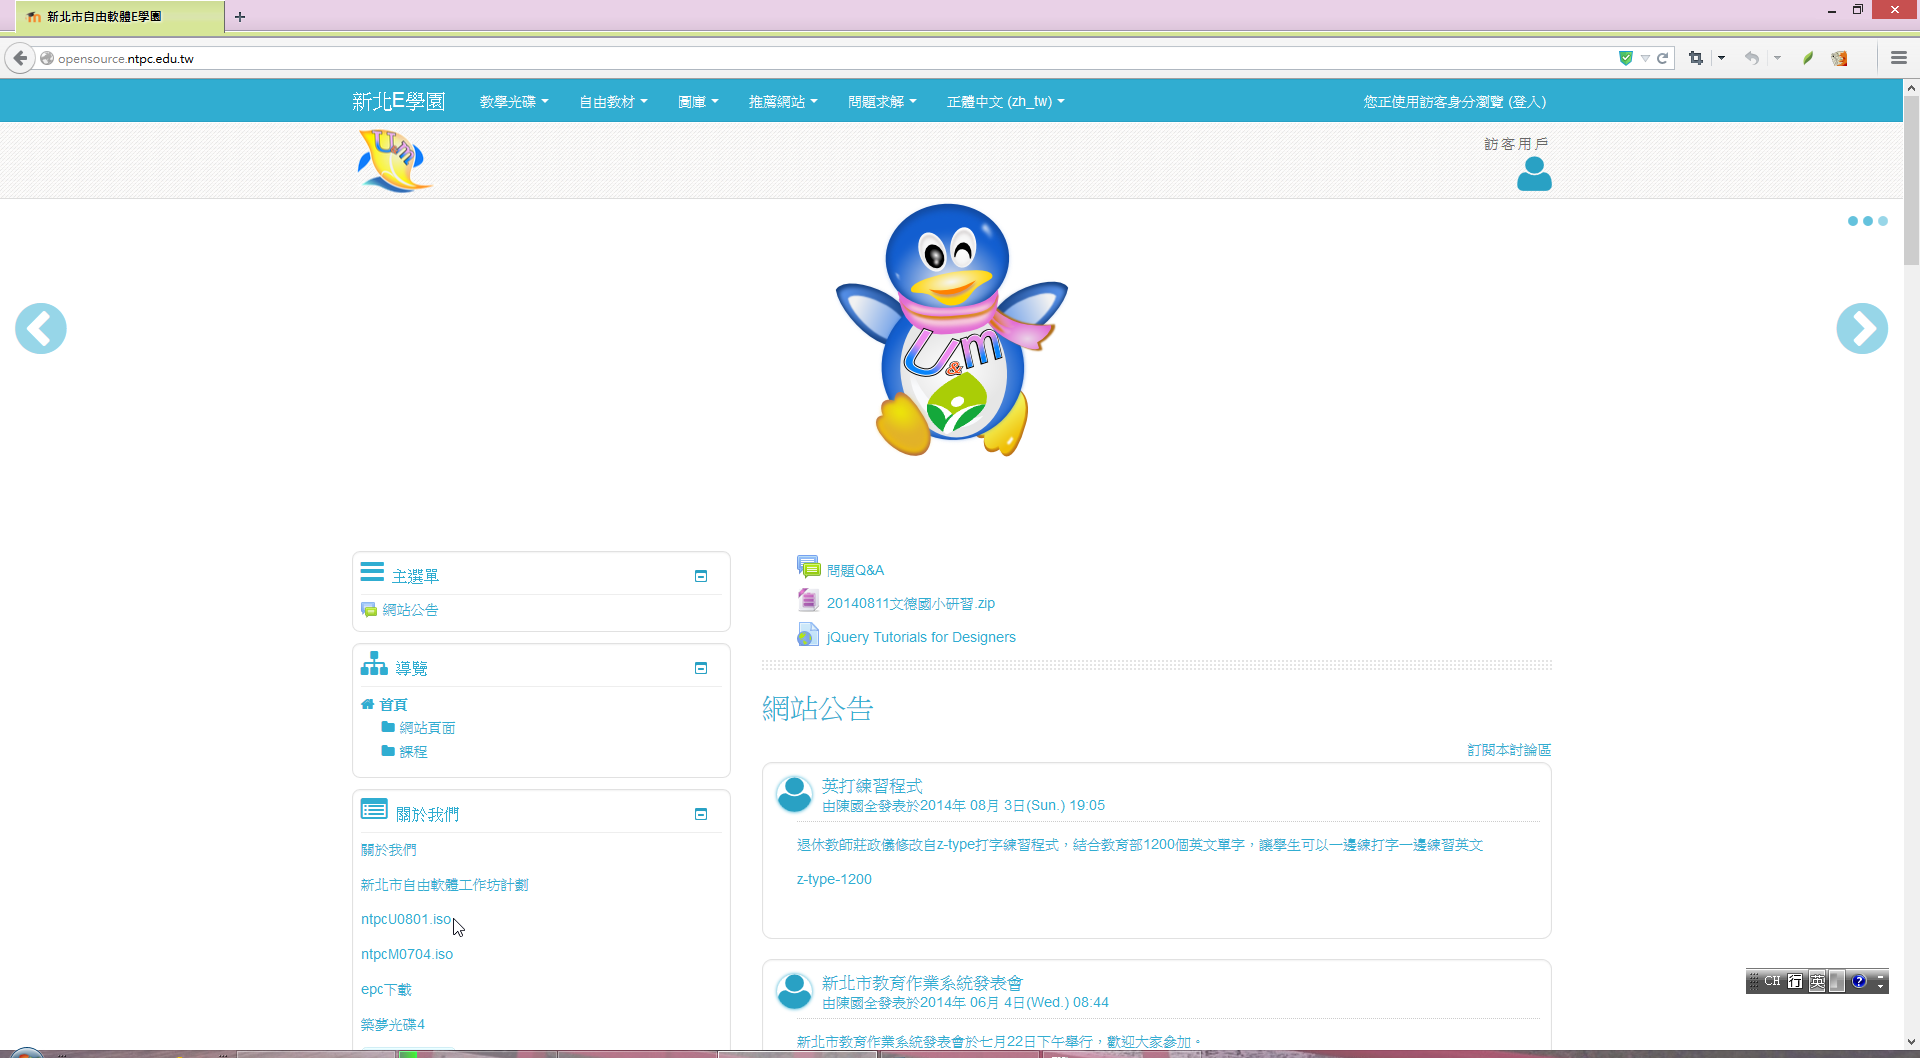
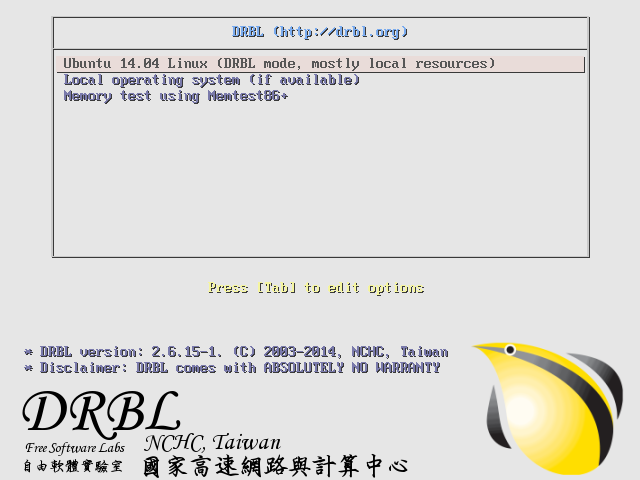
下載的是 ntpcU0801.iso[@more@]光碟開機畫面
登入畫面,直接按 Enter 鍵即可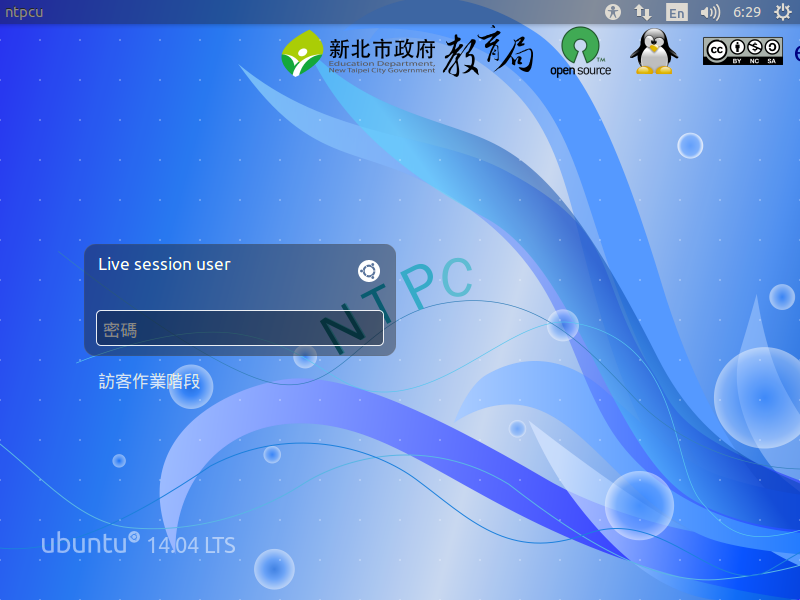
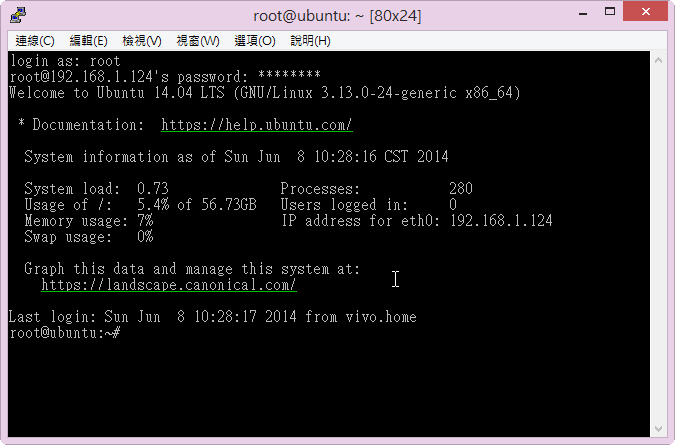
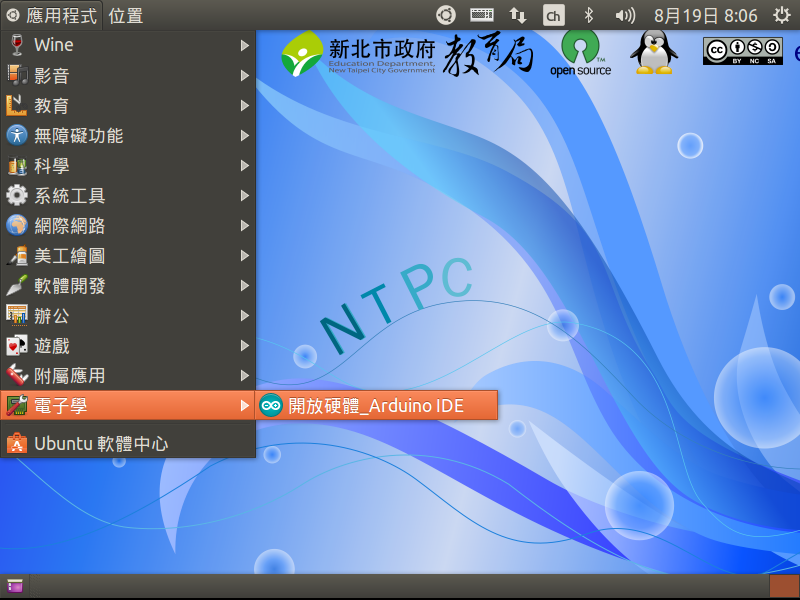
進入桌面環境,可以看的出來是 base on Ubuntu 14.04 LTS 版本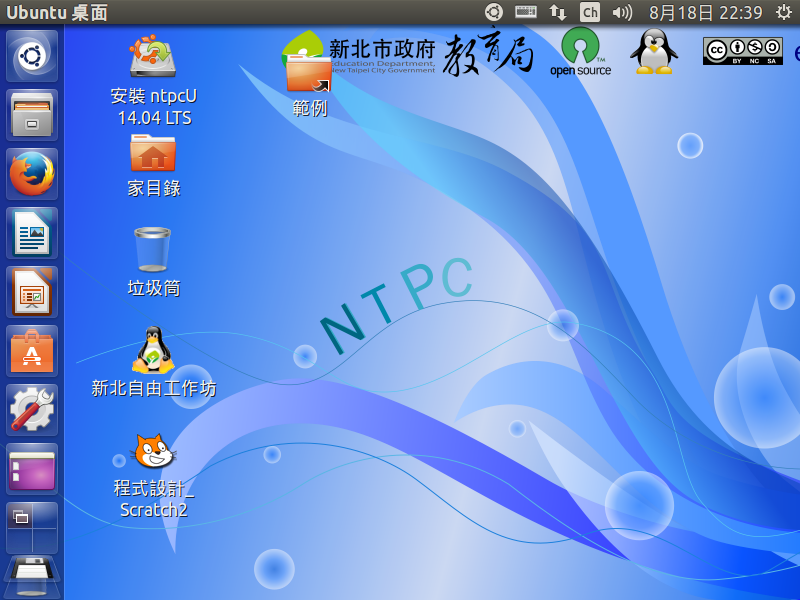
安裝到硬碟的畫面就不擷取的,因為和 elementary OS 和 Linux Mint 一樣
不過它複製檔案到硬碟的畫面比較精簡一些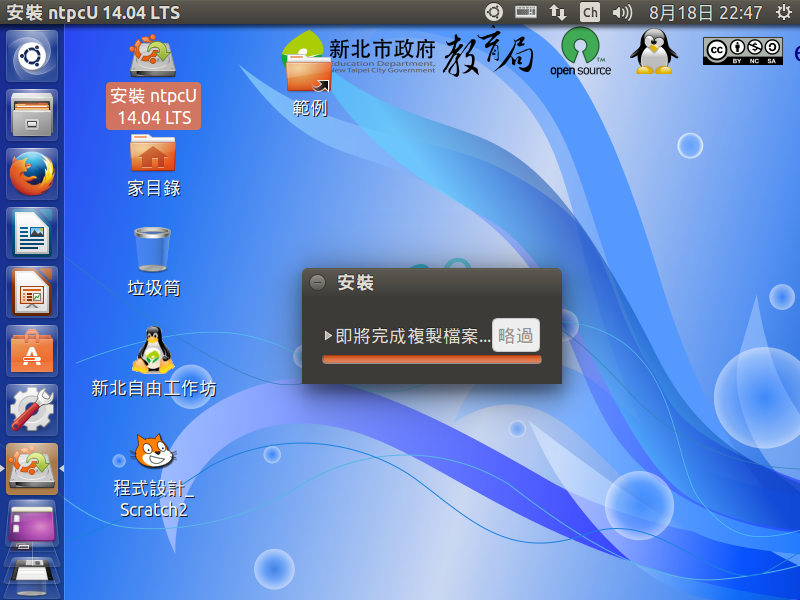
安裝完成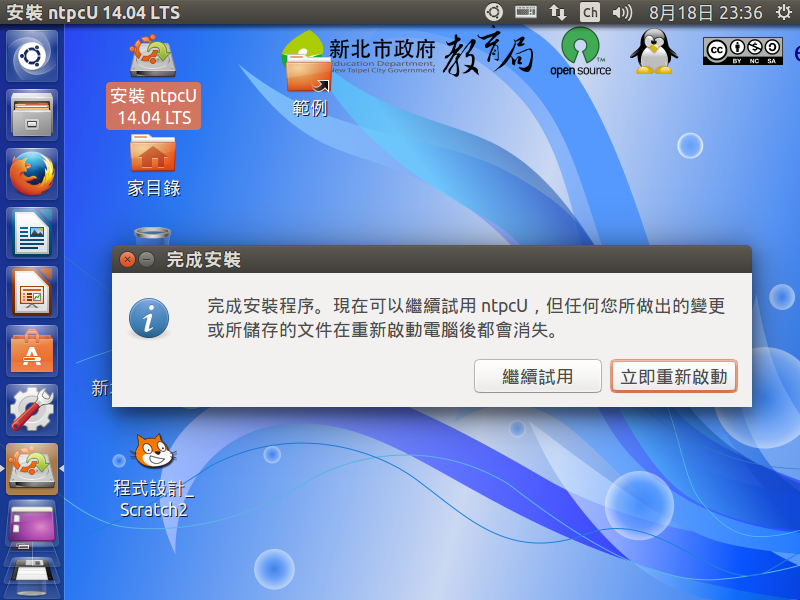
使用的感覺:
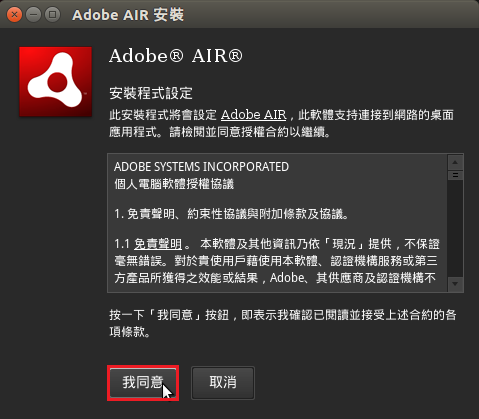
1. Firefox 可以正常瀏覽 Flash 網頁
2. 已安裝 Oracle JDK 8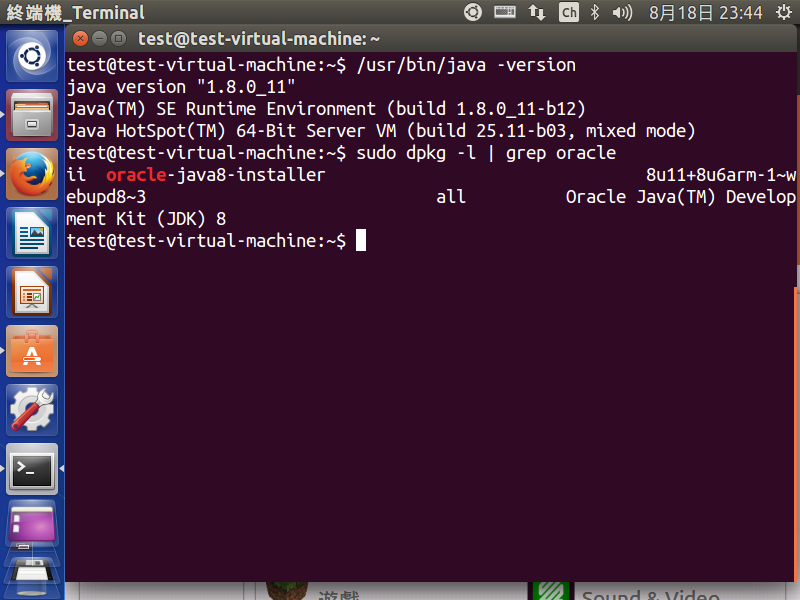
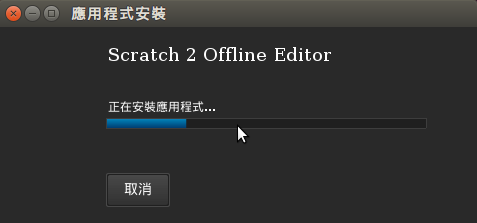
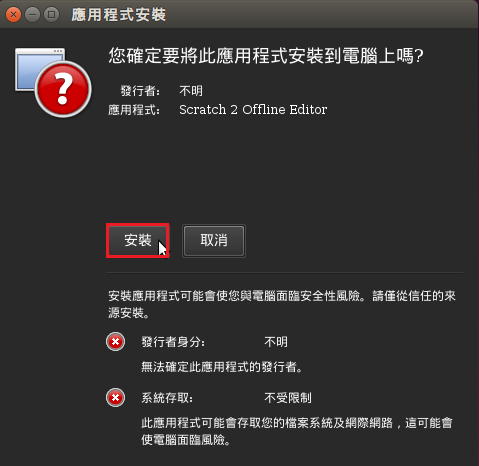
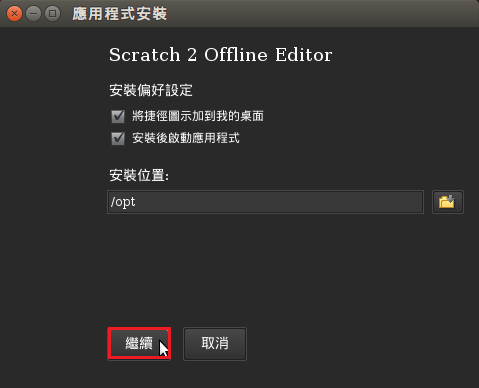
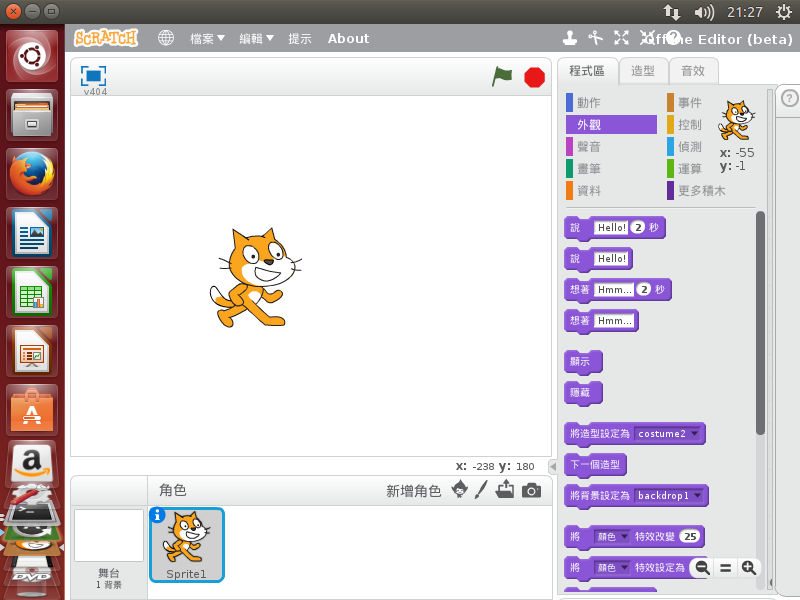
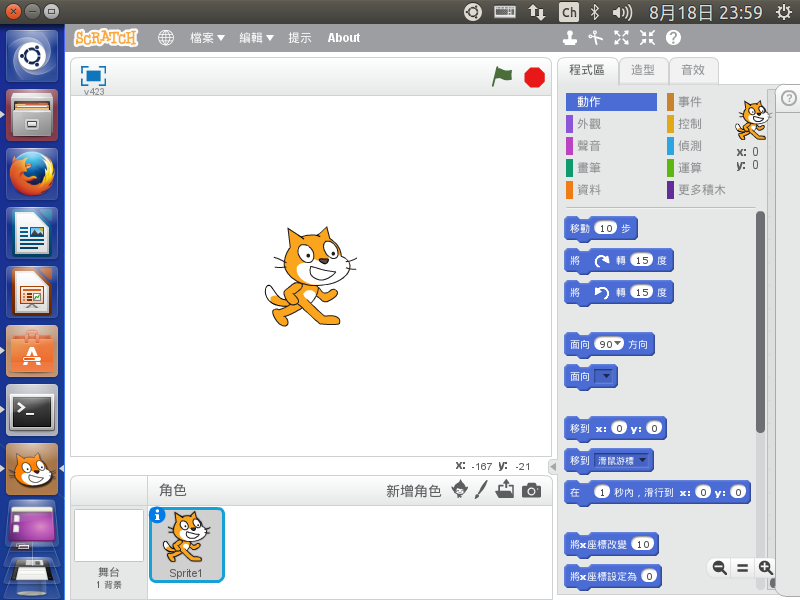
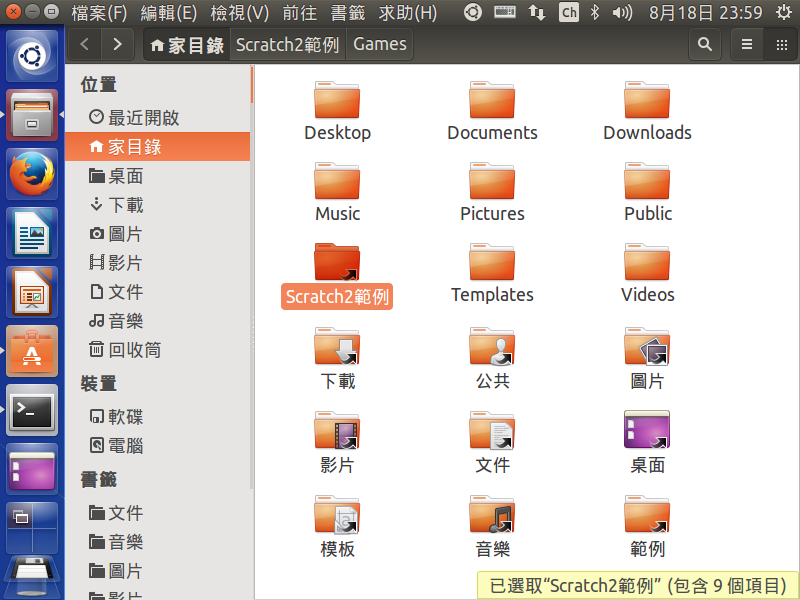
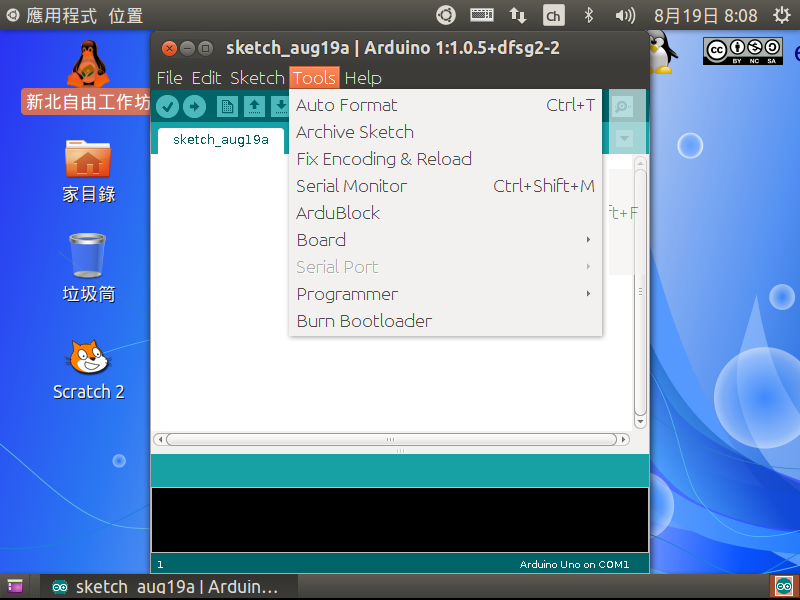
3. 已預載 Scratch 2 及範例
4. 預設安裝的中文輸入架構是 ibus / fcitx,我已經把它移除,改安裝 hime
5. 已預先安裝 wine
$ sudo dpkg -l | grep wine
ii wine-gecko2.24:amd64 2.24-0ubuntu1~ppa1 amd64 Microsoft Windows compatibility layer (embedded web browser)
ii wine-gecko2.24:i386 2.24-0ubuntu1~ppa1 i386 Microsoft Windows compatibility layer (embedded web browser)
ii wine-mono4.5.2 4.5.2-0ubuntu1~ppa1 all Microsoft Windows compatibility layer (.NET compatibility)
ii wine1.7 1:1.7.22-0ubuntu1 amd64 Microsoft Windows Compatibility Layer (Binary Emulator and Library)
ii wine1.7-amd64 1:1.7.22-0ubuntu1 amd64 Microsoft Windows Compatibility Layer (64-bit support)
ii wine1.7-i386 1:1.7.22-0ubuntu1 i386 Microsoft Windows Compatibility Layer (32-bit support)
ii winetricks 0.0+20140302-0ubuntu2 all Microsoft Windows Compatibility Layer (winetricks)
功能表上有 7-Zip 和 PhotoCap6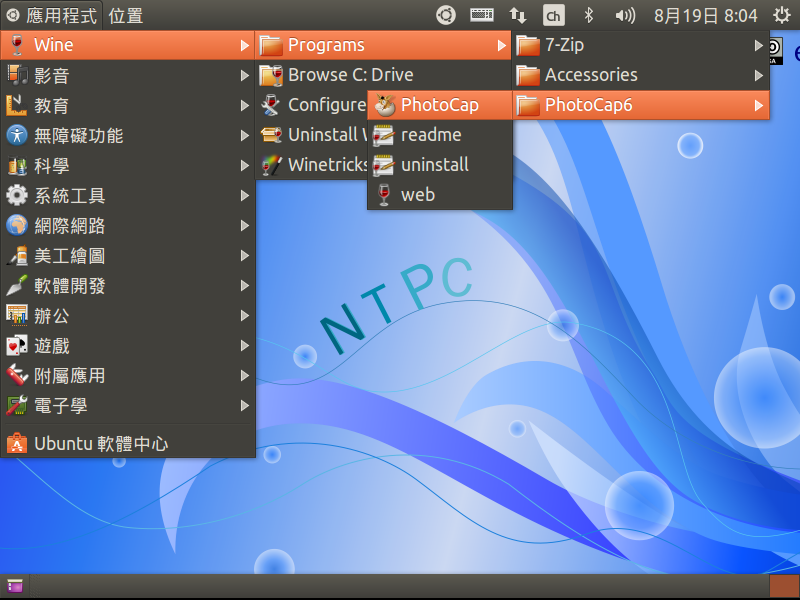
但 PhotoCap 無法正執行,可能是我建立的帳號和設定不同,也沒有把程式正確複製到對應目錄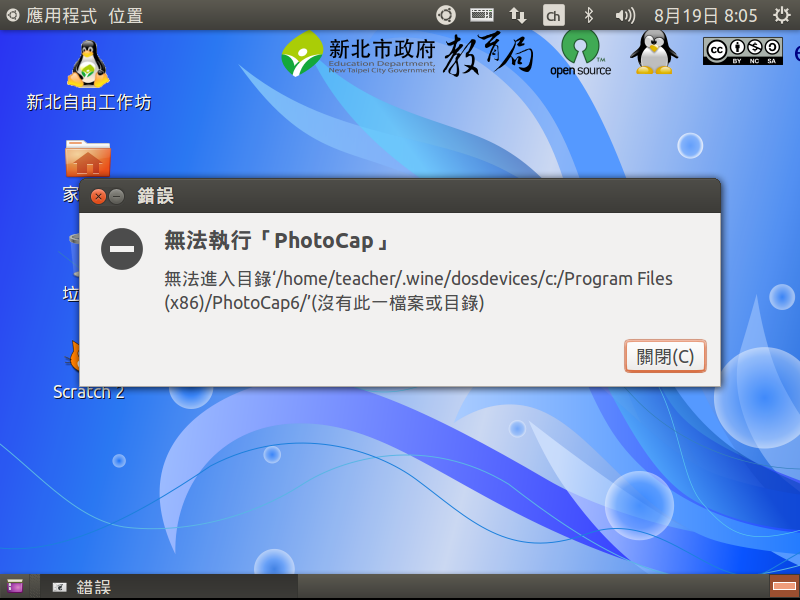
7-Zip 也是無法執行成功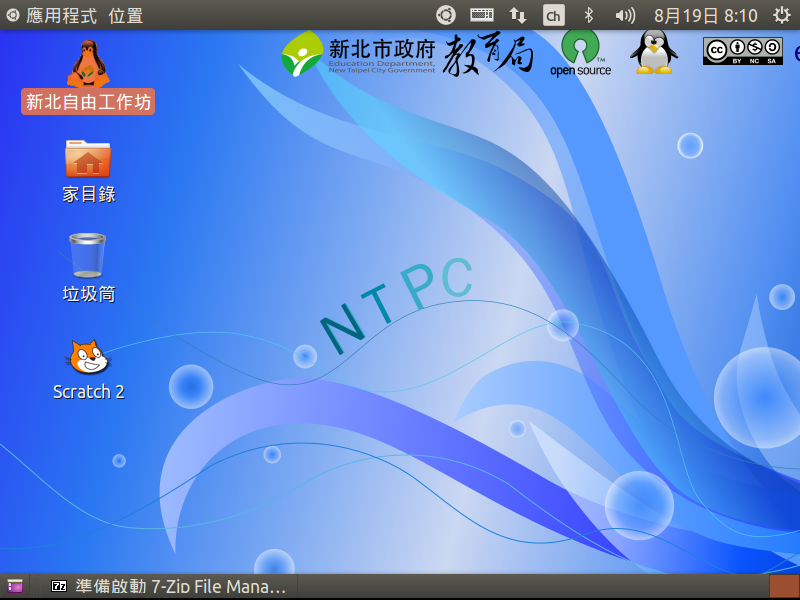
6. 預設有安裝 Chromium 瀏覽器,但無法觀看含有 Flash 的網頁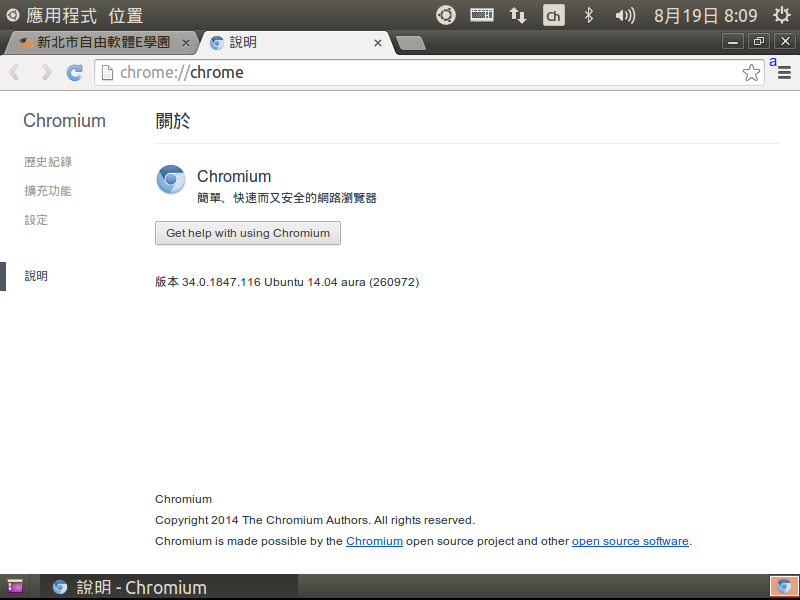
要加裝 pepperflashplugin-nonfree 套件
$ sudo apt-get install pepperflashplugin-nonfree
7. 預設安裝一些程式開發套件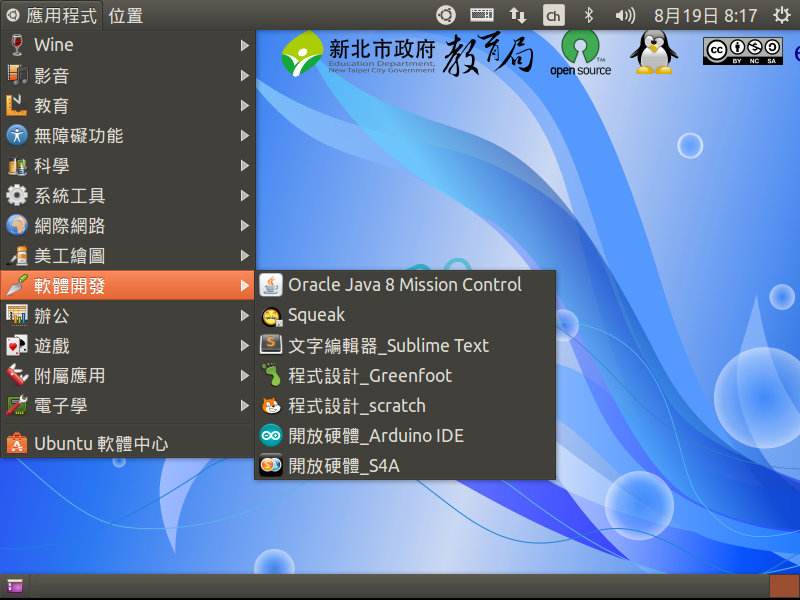
整體來說,使用感覺還不錯,只是 Ubuntu 預設使用的 Unity 介面一直使用不慣,實在很想把它給換掉。