安裝傳統桌面環境
$ sudo apt-get install gnome-session-fallback
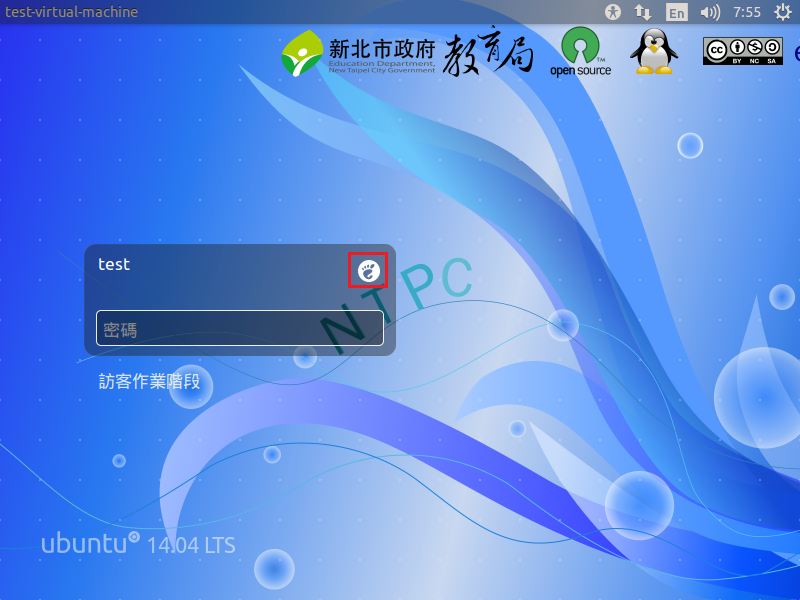
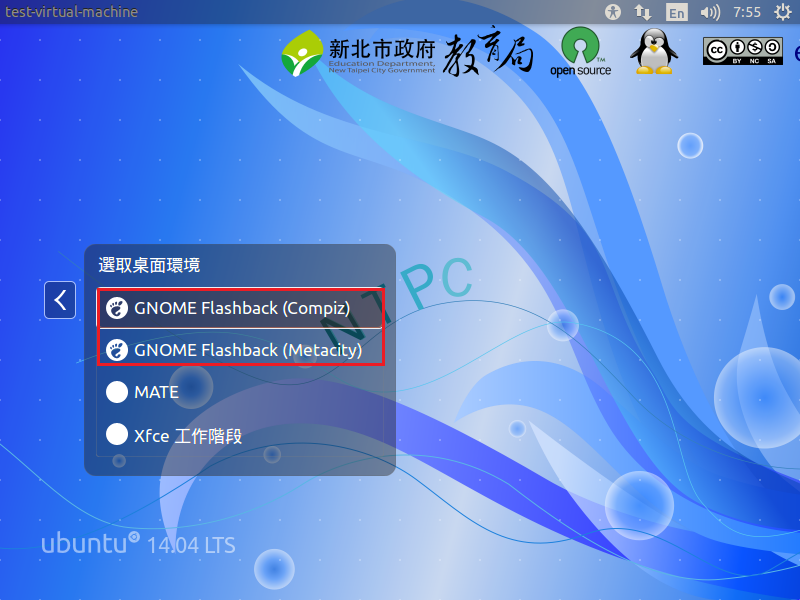
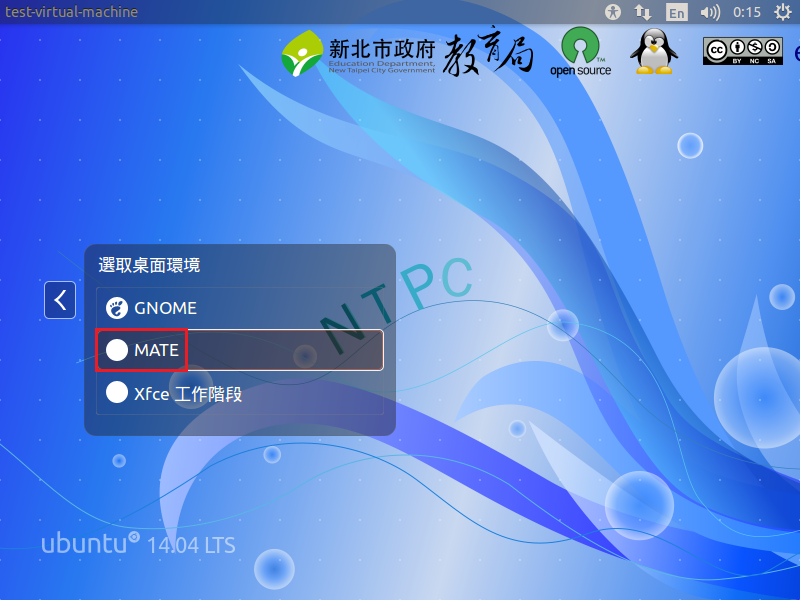
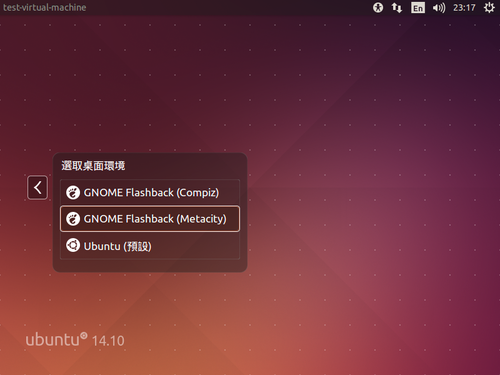
選擇 GNOME Flashback(Compiz) 和 GNOME Flashback(Metacity) 都可以
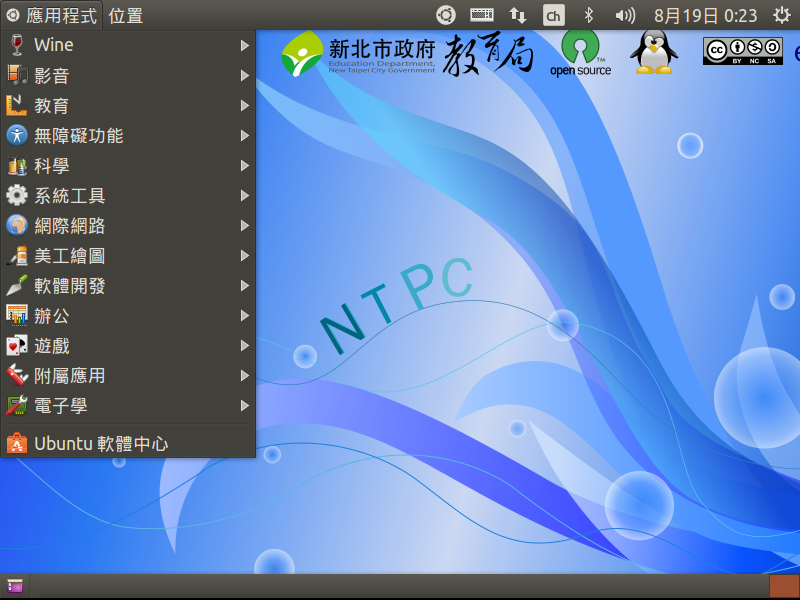
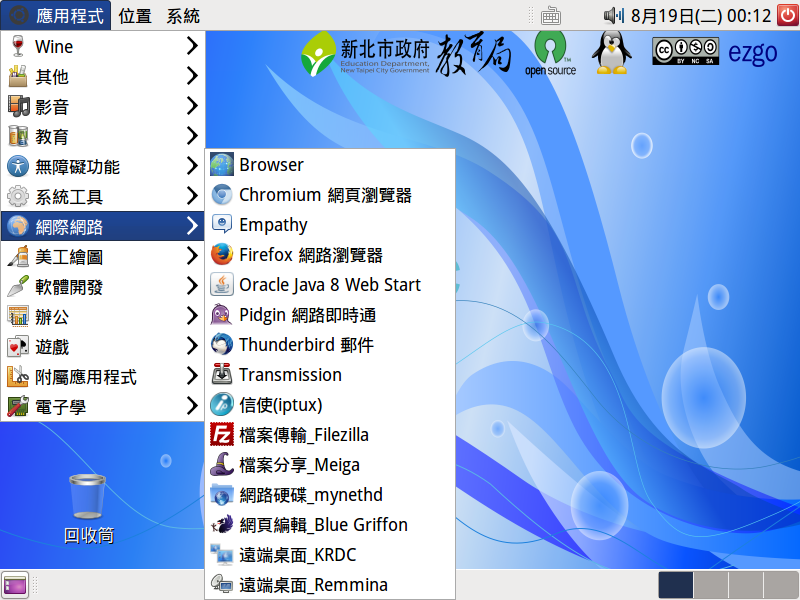
傳統桌面環境
 [@more@]安裝 ssh,方便遠端登入管理
$ sudo apt-get install ssh
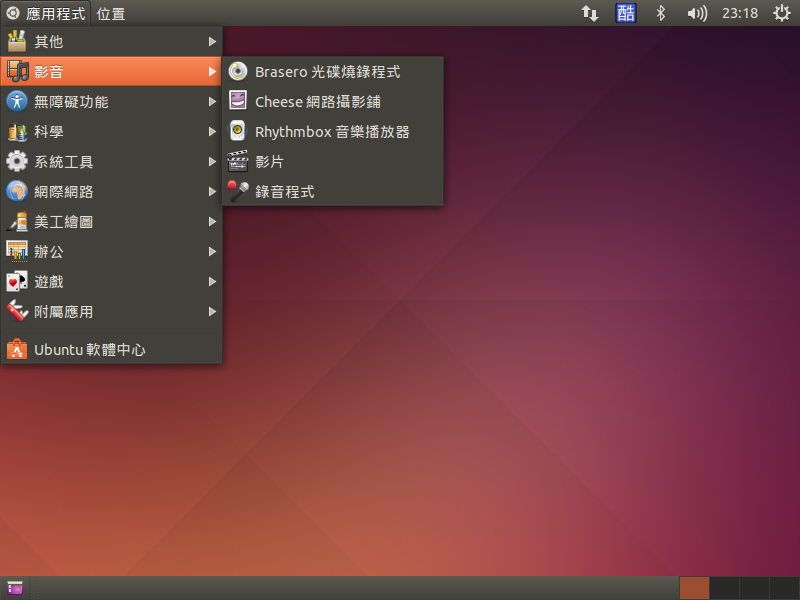
移除 Brasero 光碟燒錄程式
$ sudo apt-get remove –purge brasero-cdrkit brasero-common
移除 Cheese 網路攝影機
$ sudo apt-get remove –purge cheese cheese-common libcheese-gtk23 libcheese7
移除 Thunderbird 郵件
$ sudo apt-get remove –purge thunderbird thunderbird-gnome-support thunderbird-locale-en thunderbird-locale-en-us thunderbird-locale-zh-hant thunderbird-locale-zh-tw
移除 Transmission
$ sudo apt-get remove –purge transmission-common transmission-gtk
移除 掃描易
$ sudo apt-get remove –purge simple-scan
移除遊戲
$ sudo apt-get remove –purge aisleriot gnome-mahjongg gnome-mines gnome-sudoku
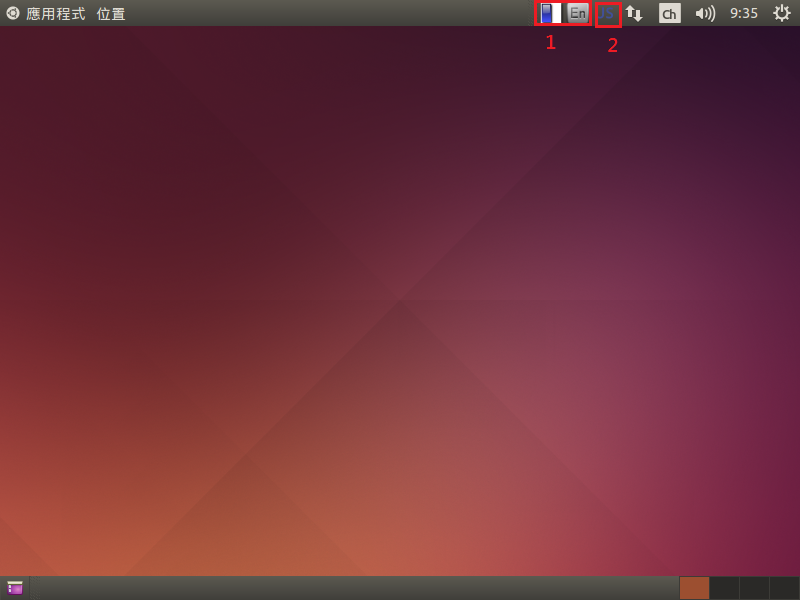
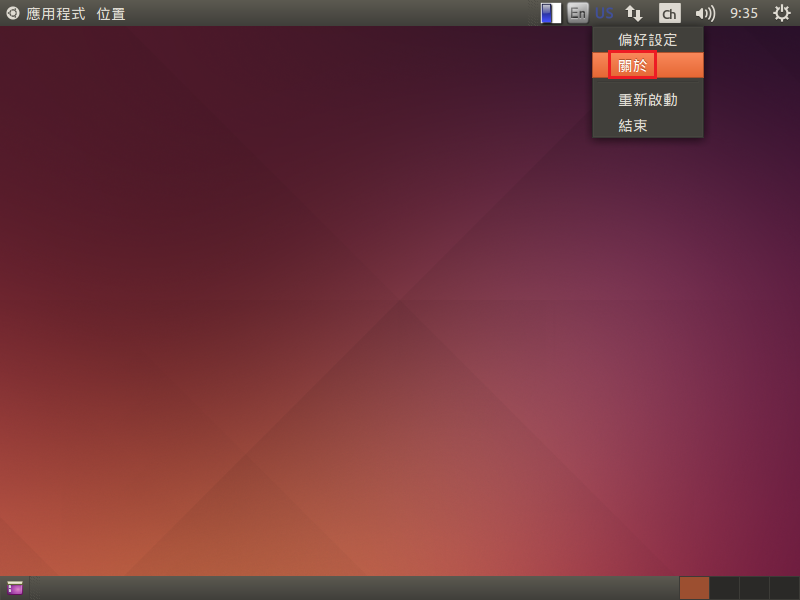
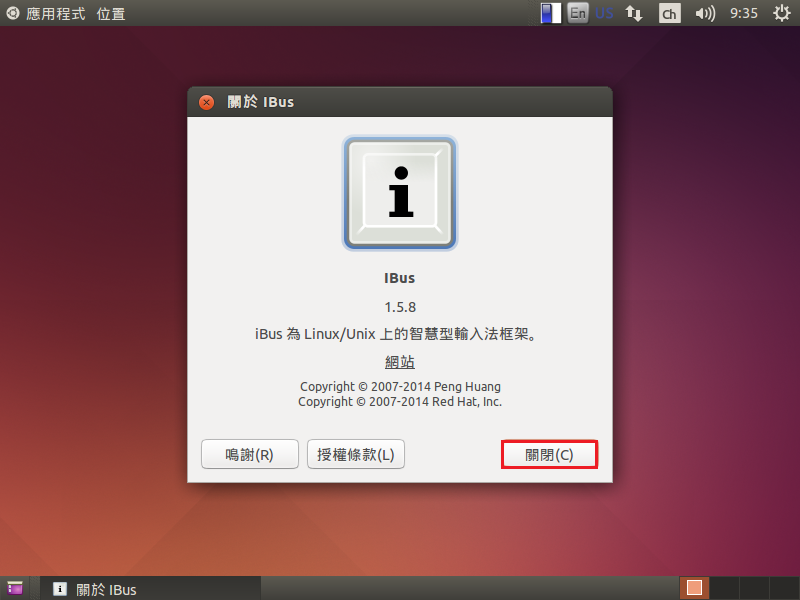
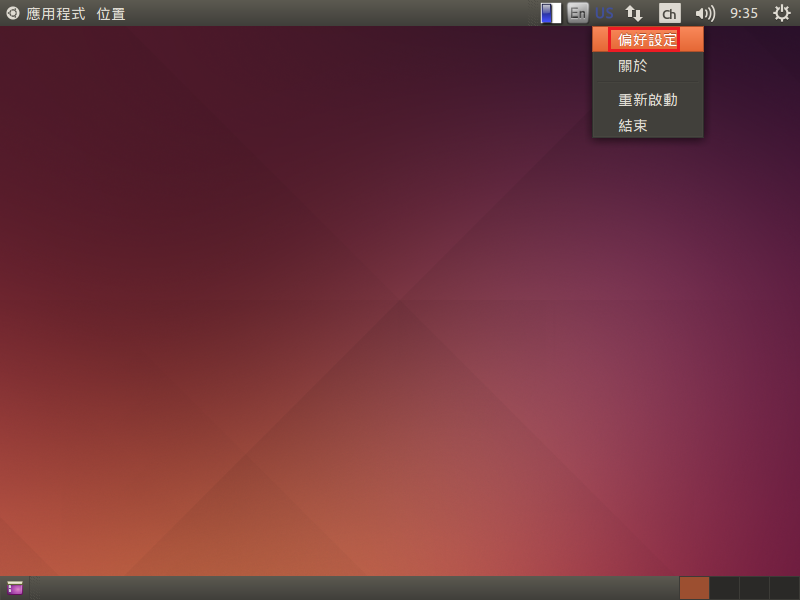
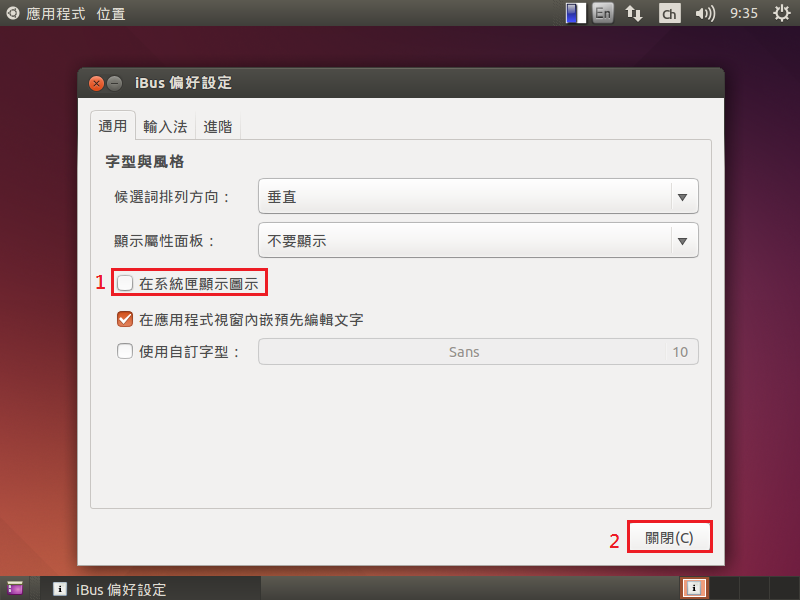
移除 ibus
$ sudo apt-get remove –purge gir1.2-ibus-1.0 ibus ibus-chewing ibus-gtk3 ibus-pinyin ibus-table ibus-table-cangjie3 ibus-table-cangjie5 libibus-1.0-5 libchewing3 libchewing3-data
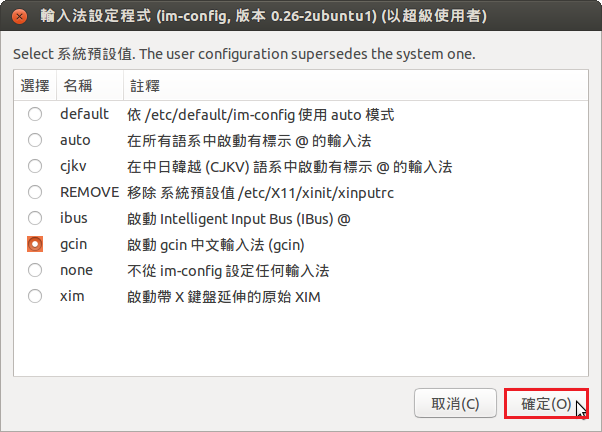
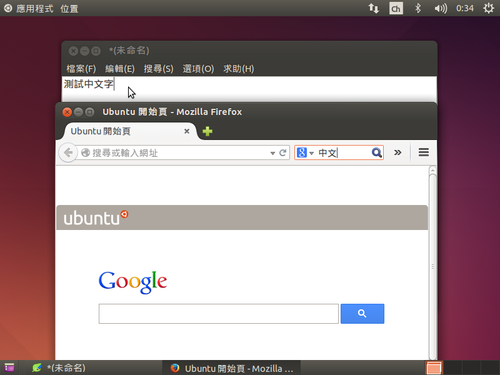
安裝 gcin
$ sudo apt-get install gcin
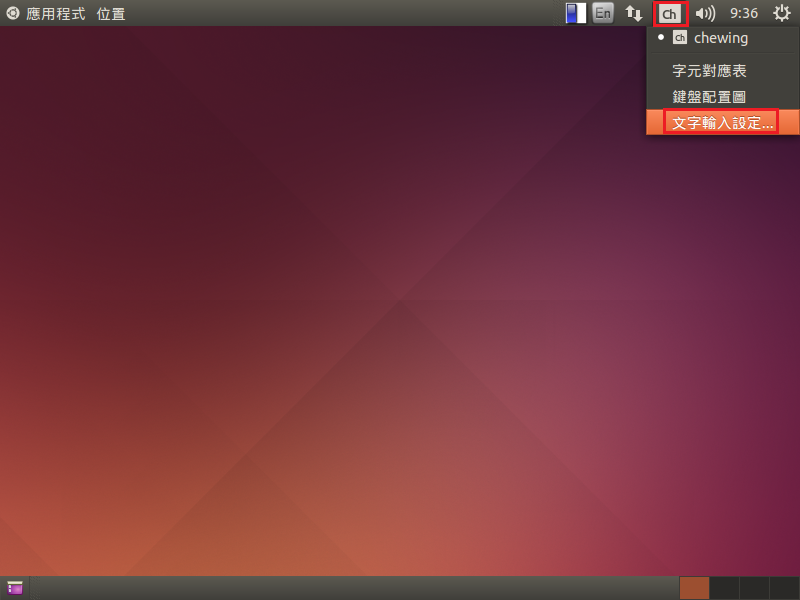
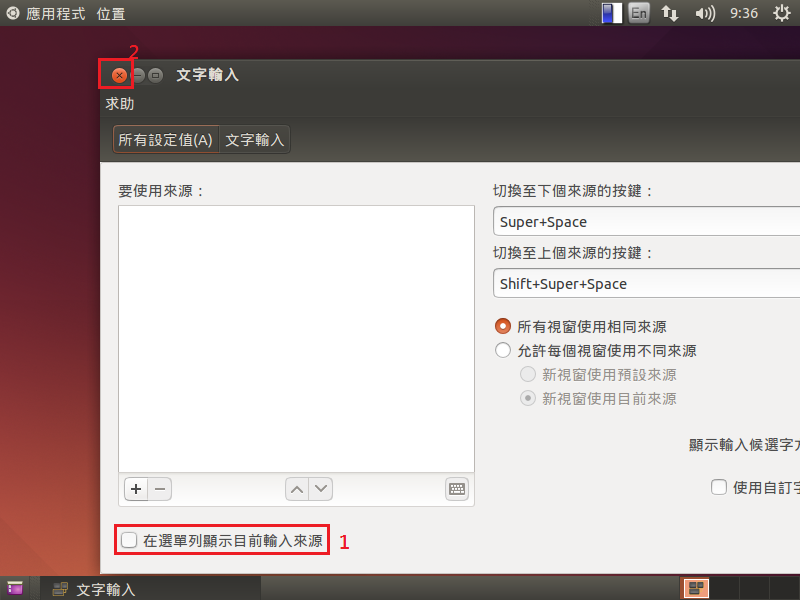
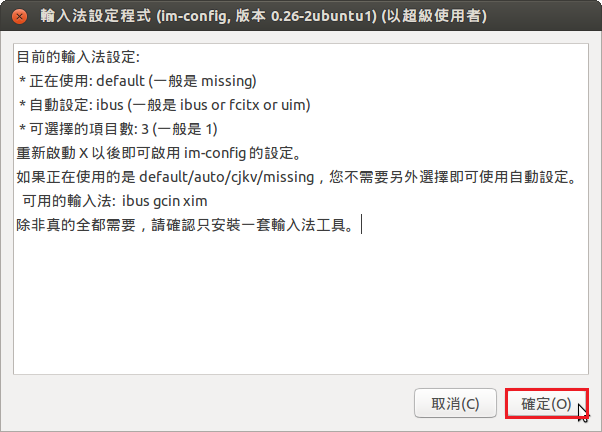
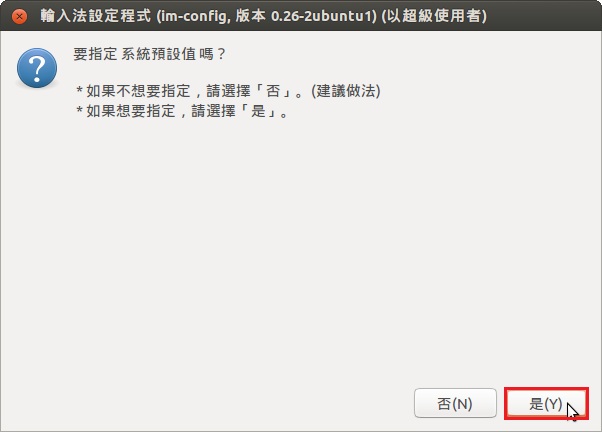
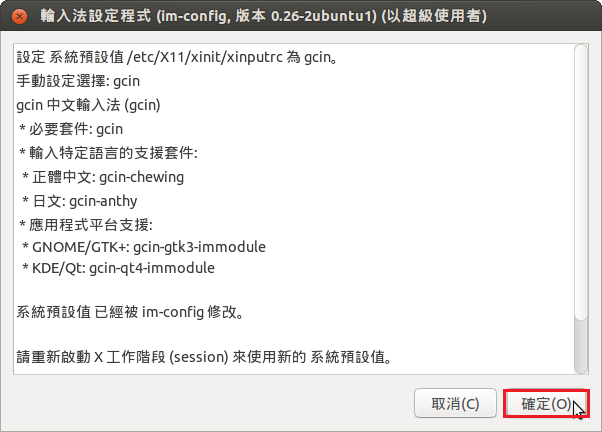
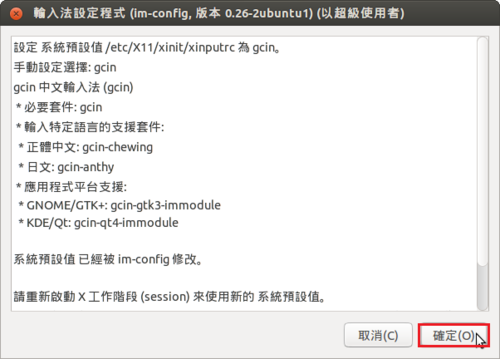
設定 gcin(這裡建議不要用 sudo 來操作)
$ sudo im-config


如果出現下面的錯誤訊息
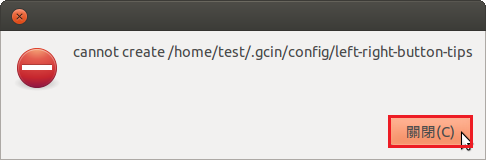
$ sudo chown -R test:test /home/test
安裝 Leafpad
$ sudo apt-get install leafpad
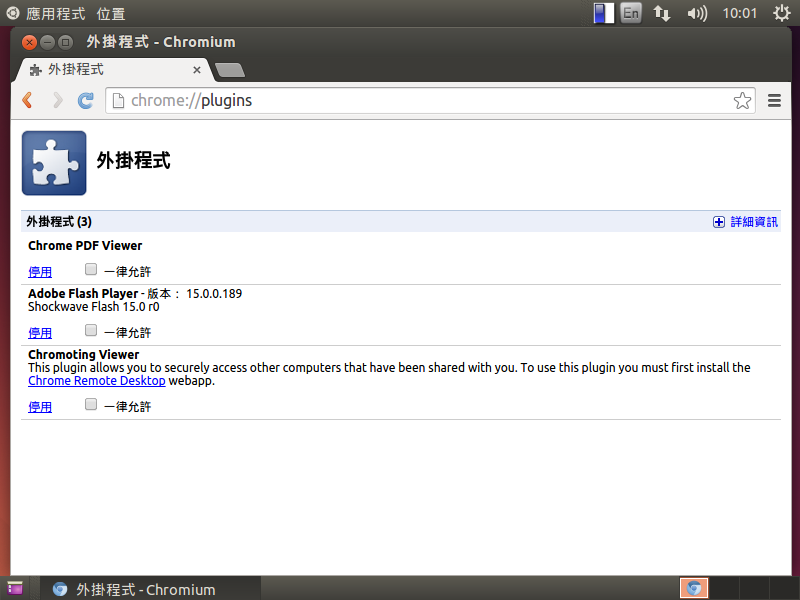
安裝 Chromium 瀏覽器
$ sudo apt-get install chromium-browser chromium-browser-l10n
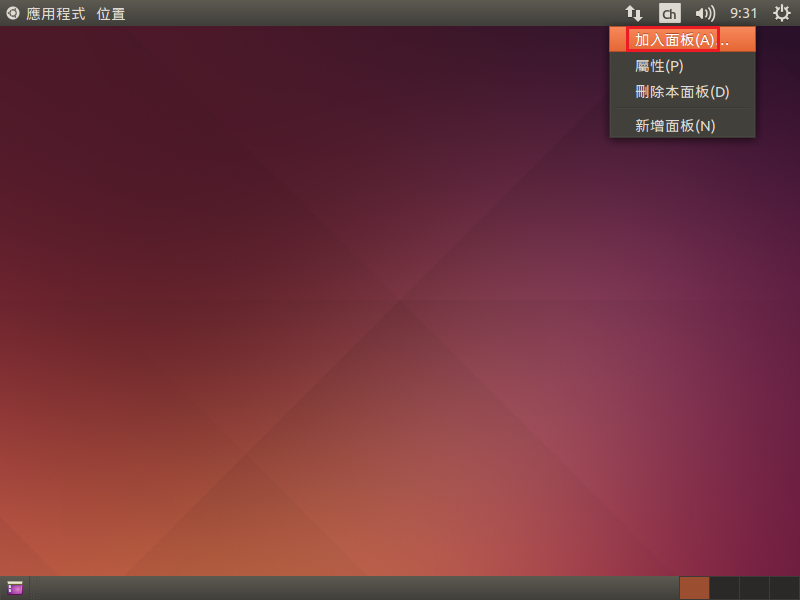
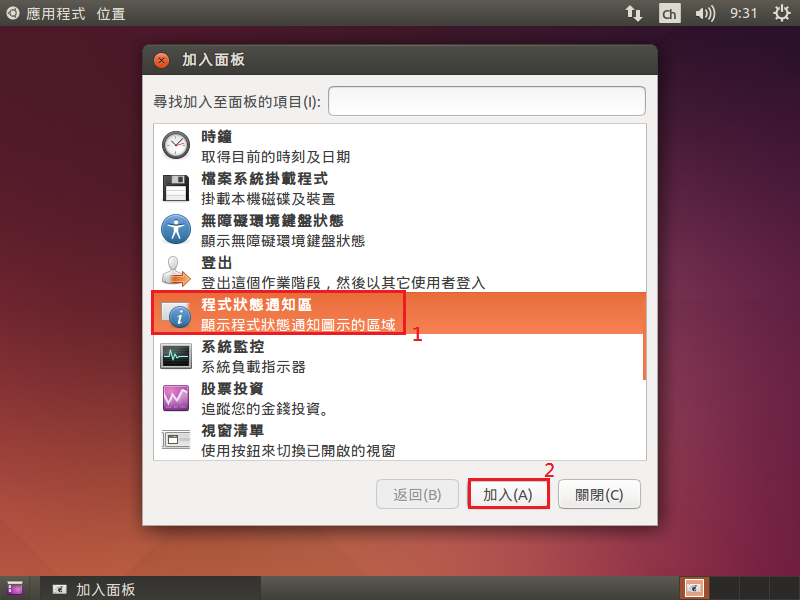
中文輸入沒有問題,但還是沒有辦法出現 gcin 的圖示
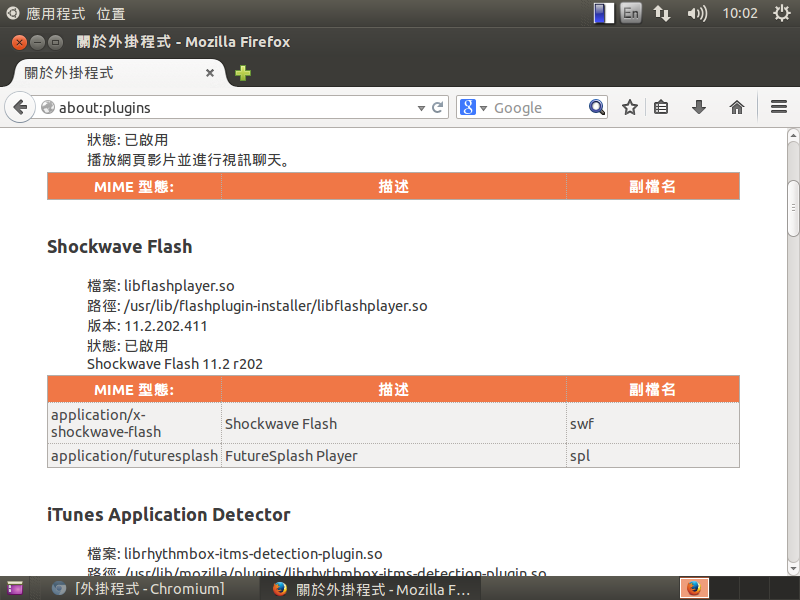
安裝 Flash Player Plugin
$ sudo apt-get install pepperflashplugin-nonfree
或
$ sudo apt-get install flashplugin-installer
Firefox about:plugins
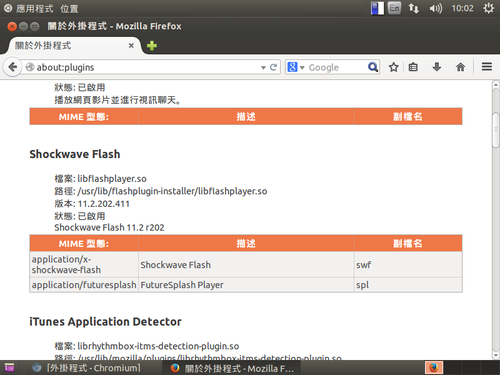
Chromium chrome://plugins

清除用不到的套件
$ sudo apt-get autoremove


 [@more@]