參考網頁:
Ubuntu 16.04 / Debian 8: Run PXE boot server for automated install – Narrow Escape
B.4. Contents of the preconfiguration file (for xenial)
https://help.ubuntu.com/16.04/installation-guide/example-preseed.txt
system installation – How do I create a completely unattended install of Ubuntu? – Ask Ubuntu
CentOS 7 PXE Server:192.168.131.241
與 頭城國小資訊組 | 使用 PXE Server 來安裝 Ubuntu Server 16.04.2 相同,底下僅列出不一樣的地方
1. 修改設定檔 /var/lib/tftpboot/pxelinux.cfg/default
# vim /var/lib/tftpboot/pxelinux.cfg/default
LABEL Ubuntu Server 16.04.2 x64 Auto Install
MENU LABEL Ubuntu Server 16.04.2 Auto Install
kERNEL /netboot/ubuntu_server/ubuntu-installer/amd64/linux
APPEND auto=true priority=critical vag=788 initrd=/netboot/ubuntu_server/ubuntu-installer/amd64/initrd.gz url=ftp://192.168.131.241/pub/Ubuntu16042/preseed/preseed.cfg preseed/interactive=false[@more@]2. 建立設定檔 /var/ftp/pub/Ubuntu16042/preseed/preseed.cfg
取消自動化的部份:
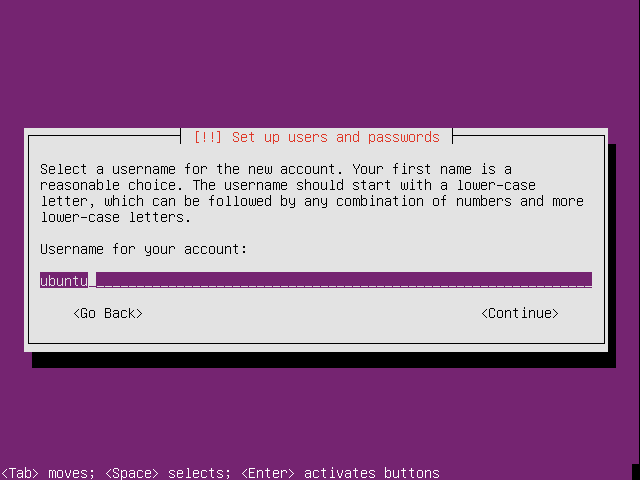
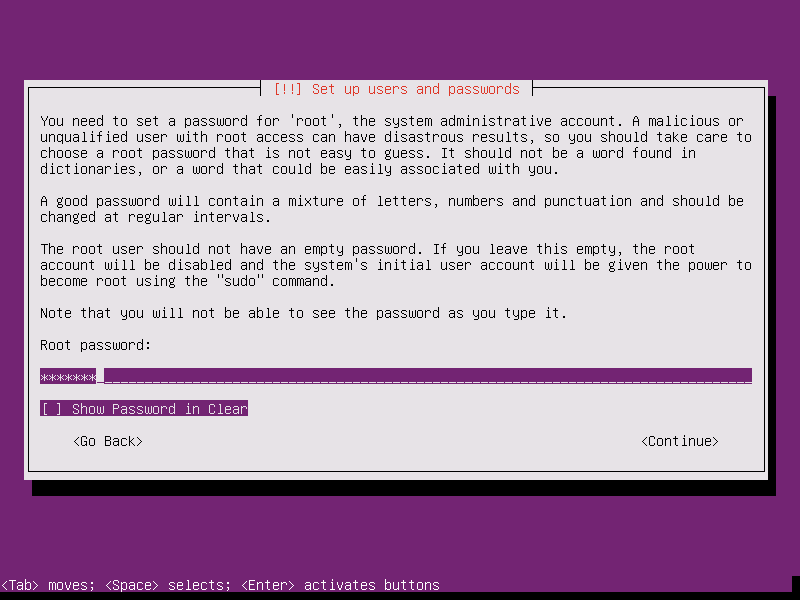
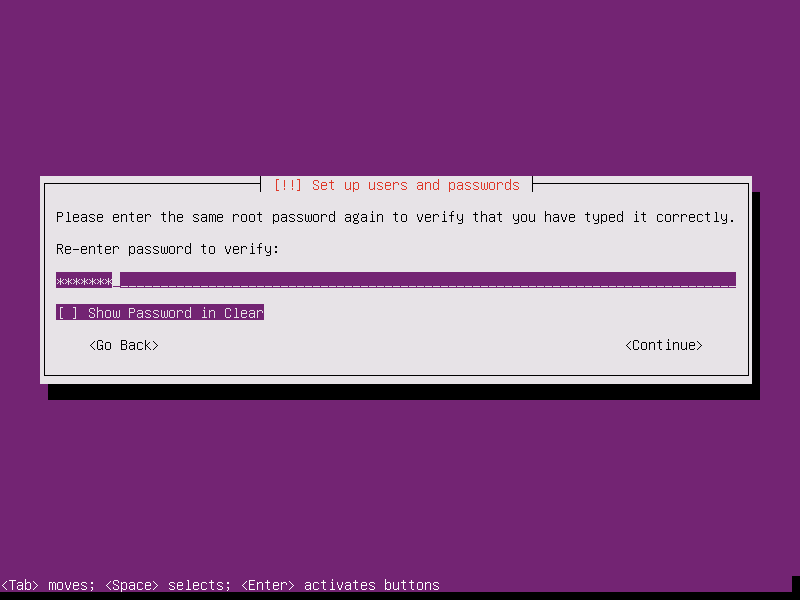
建立一個普通的使用者及設定密碼
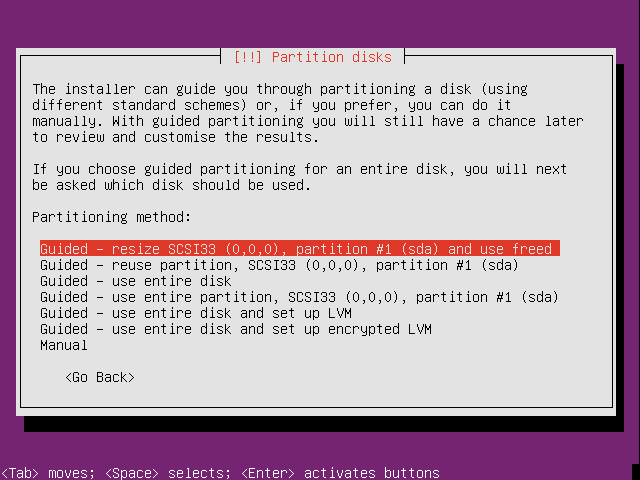
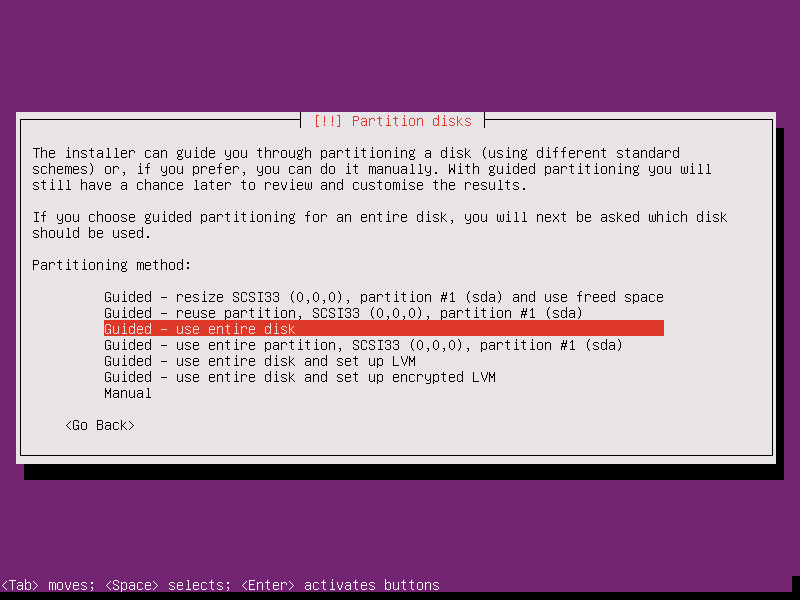
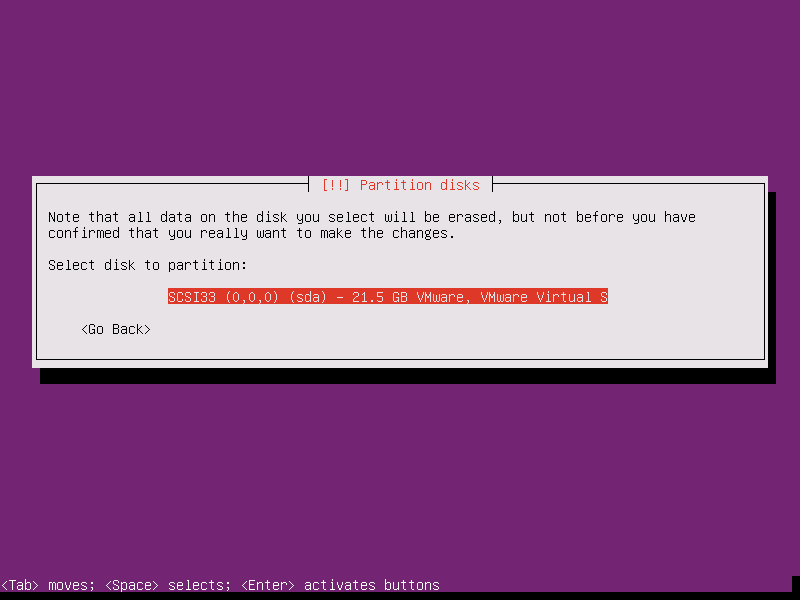
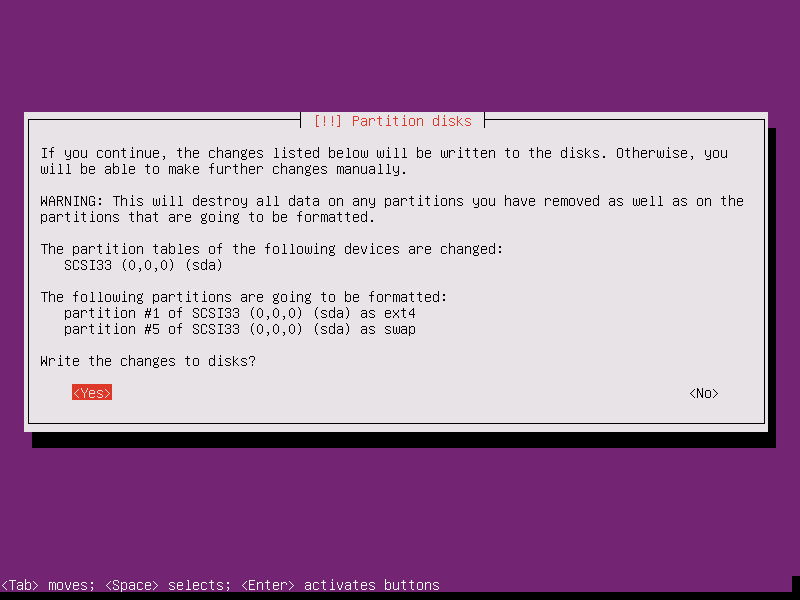
取消硬碟自動分割
# vim /var/ftp/pub/Ubuntu16042/preseed/preseed.cfg
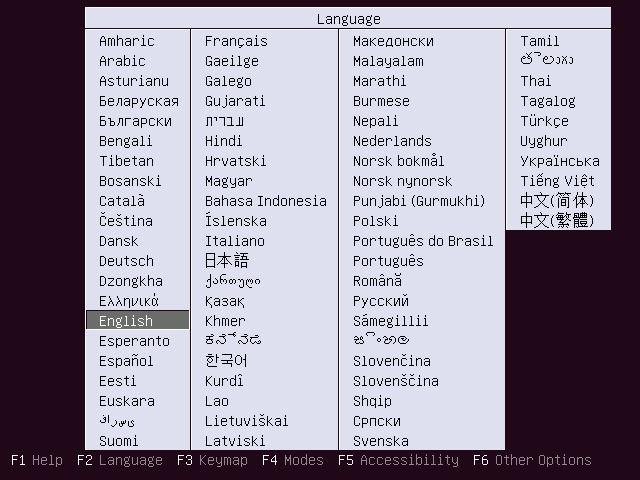
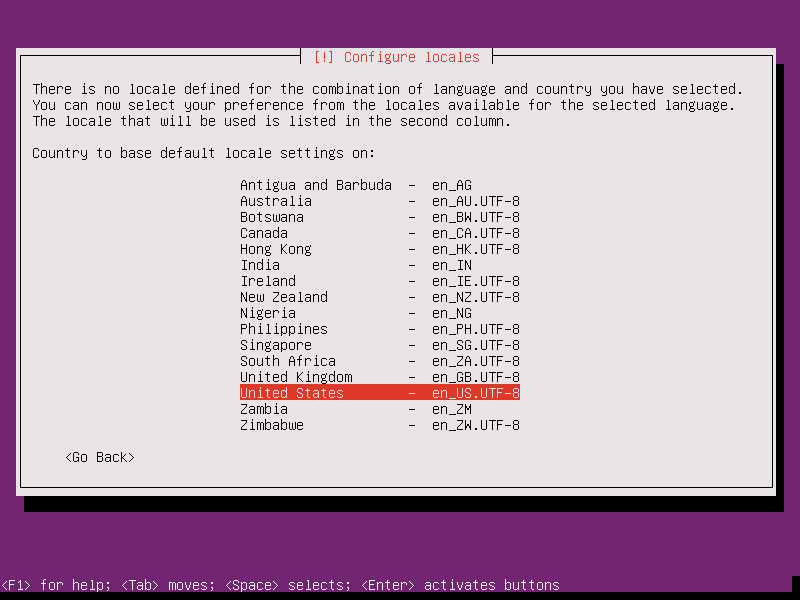
d-i debian-installer/locale string en_US
d-i debian-installer/language string en
d-i debian-installer/country string TW
d-i console-setup/ask_detect boolean false
d-i keyboard-configuration/xkb-keymap select us
#d-i passwd/user-fullname string
#d-i passwd/username string ubuntu
#d-i passwd/root-password password ubuntu
#d-i passwd/root-password-again password ubuntu
#d-i passwd/user-password password ubuntu
#d-i passwd/user-password-again password ubuntu
#d-i user-setup/allow-password-weak boolean true
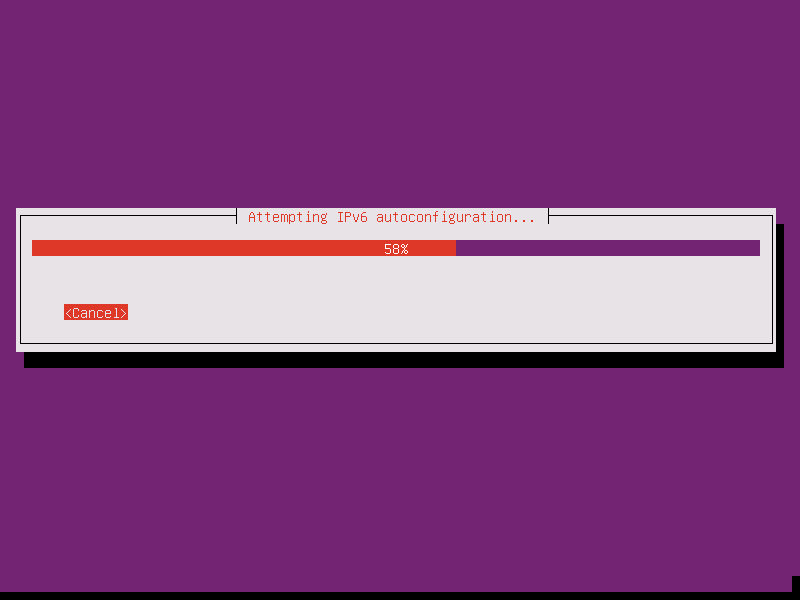
d-i netcfg/choose_interface select auto
d-i netcfg/get_hostname string unassigned-hostname
d-i netcfg/get_domain string unassigned-domain
d-i mirror/country string manual
#d-i mirror/http/hostname string http://tw.archive.ubuntu.com
d-i mirror/http/hostname string http://free.nchc.org.tw
d-i apt-setup/services-select multiselect security
d-i apt-setup/security_host string free.nchc.org.tw
d-i apt-setup/security_path string /ubuntu
d-i mirror/http/directory string /ubuntu
d-i mirror/http/proxy string
d-i clock-setup/utc boolean false
d-i clock-setup/ntp boolean true
d-i time/zone string Asia/Taipei
#d-i partman/confirm boolean true
#d-i partman/choose_partition select finish
#d-i partman/confirm_nooverwrite boolean true
#d-i partman-auto/disk string /dev/[sv]da
#d-i partman-auto/method string lvm
#d-i partman-auto/choose_recipe select atomic
#d-i partman-lvm/device_remove_lvm boolean true
#d-i partman-lvm/confirm boolean true
#d-i partman-lvm/confirm_nooverwrite boolean true
#d-i partman-auto-lvm/guided_size string max
#d-i partman-partitioning/confirm_write_new_label boolean true
#d-i grub-installer/grub2_instead_of_grub_legacy boolean true
#d-i grub-installer/only_debian boolean true
#d-i grub-installer/bootdev string /dev/[sv]da
d-i pkgsel/update-policy select none
#d-i pkgsel/include string unity ubuntu-desktop openssh-server
# 安裝 lamp 及 openssh Server
tasksel tasksel/first multiselect lamp-server, openssh-server
d-i finish-install/reboot_in_progress note
3. 處理 SELinux
# restorecon -R -F -v /var/ftp/pub/
4. Client 端以 PXE 網路開機