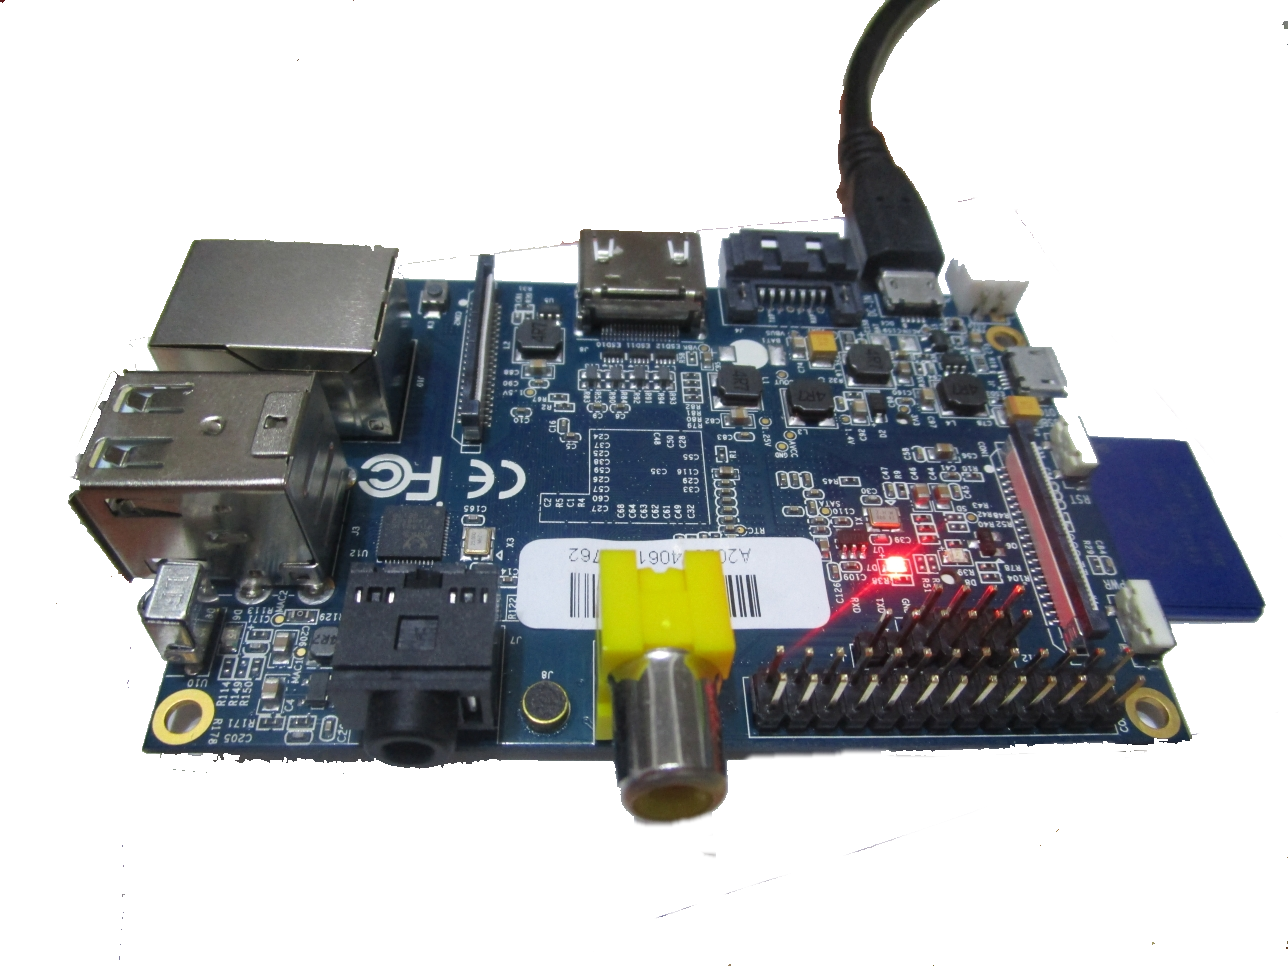
亂玩了一下子,Lubuntu 系統被玩掛了,所以又重新使用 PhoenixSuit 燒錄系統到 Nand Flash。
系統開機後,發現竟然無法 ssh 連線
Pietty 錯誤訊息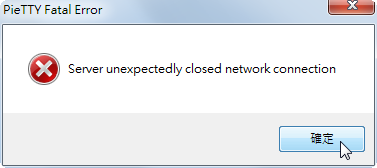
Putty 錯誤訊息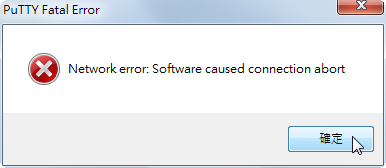 [@more@]ssh 連線出現的錯誤訊息
# ssh linaro@192.168.1.110
Read from socket failed: Connection reset by peer
但系統 Ping 的到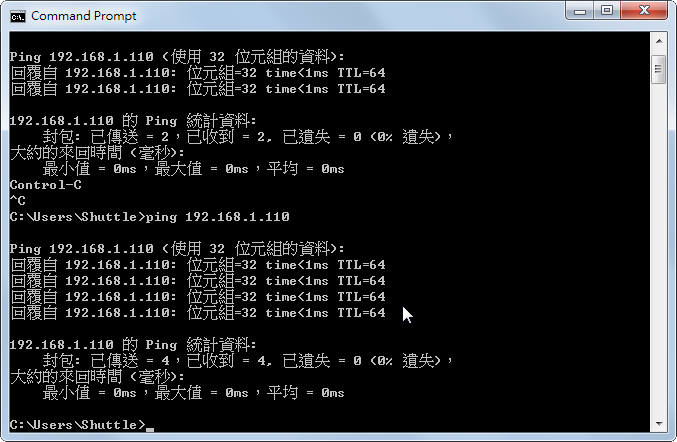
ssh 服務有開放
# netstat -ant | grep :22 | grep LISTEN
tcp 0 0 0.0.0.0:22 0.0.0.0:* LISTEN
tcp6 0 0 :::22 :::* LISTEN
iptables 防火牆也沒有阻擋
# iptables -L -n
Chain INPUT (policy ACCEPT)
target prot opt source destination
Chain FORWARD (policy ACCEPT)
target prot opt source destination
Chain OUTPUT (policy ACCEPT)
target prot opt source destination
後來檢查 ssh server 的設定檔目錄
# cd /etc/ssh
# ls -latr
total 156
-rw-r–r– 1 root root 1669 Sep 6 2012 ssh_config
-rw-r–r– 1 root root 136156 Sep 6 2012 moduli
-rw-r–r– 1 root root 0 Oct 8 13:40 sshd_config
-rw-r–r– 1 root root 0 Oct 8 13:40 ssh_host_rsa_key.pub
-rw——- 1 root root 0 Oct 8 13:40 ssh_host_rsa_key
-rw-r–r– 1 root root 0 Oct 8 13:40 ssh_host_dsa_key.pub
-rw——- 1 root root 0 Oct 8 13:40 ssh_host_dsa_key
-rw-r–r– 1 root root 0 Oct 8 13:40 ssh_host_ecdsa_key.pub
-rw——- 1 root root 0 Oct 8 13:40 ssh_host_ecdsa_key
-rw——- 1 root root 980 Oct 8 13:42 ssh_host_key
drwxr-xr-x 2 root root 4096 Oct 8 13:42 .
-rw-r–r– 1 root root 645 Oct 8 13:42 ssh_host_key.pub
drwxrwxr-x 97 root root 4096 Oct 8 13:51 ..
發現 ssh_host_* key 的檔案大小都是 0
建立 ssh_host_key
# ssh-keygen -t rsa -f /etc/ssh/ssh_host_rsa_key
Generating public/private rsa key pair.
/etc/ssh/ssh_host_rsa_key already exists.
Overwrite (y/n)? y
Enter passphrase (empty for no passphrase):
Enter same passphrase again:
Your identification has been saved in /etc/ssh/ssh_host_rsa_key.
Your public key has been saved in /etc/ssh/ssh_host_rsa_key.pub.
The key fingerprint is:
8c:0a:32:2a:1b:02:6f:70:a1:2e:44:50:ee:35:f3:de root@cubietruck
The key’s randomart image is:
+–[ RSA 2048]—-+
|… |
|.. |
| .o + |
|.o o + o |
|*.+ o S |
|=* . o . |
|*.o . . E |
|++ |
|. |
+—————–+
# ssh-keygen -t dsa -f /etc/ssh/ssh_host_dsa_key
Generating public/private dsa key pair.
/etc/ssh/ssh_host_dsa_key already exists.
Overwrite (y/n)? y
Enter passphrase (empty for no passphrase):
Enter same passphrase again:
Your identification has been saved in /etc/ssh/ssh_host_dsa_key.
Your public key has been saved in /etc/ssh/ssh_host_dsa_key.pub.
The key fingerprint is:
2f:36:fc:7c:5b:d4:d9:33:f4:2a:e6:fb:9b:5f:8c:81 root@cubietruck
The key’s randomart image is:
+–[ DSA 1024]—-+
| |
| |
| . |
| …+|
| S E o++|
| . . . =o|
| = . o + o|
| . = o.o ..|
| o.+++o.|
+—————–+
建立完成後,就可以正常連線了!
# ssh linaro@192.168.1.110
The authenticity of host ‘192.168.1.110 (192.168.1.110)’ can’t be established.
RSA key fingerprint is 8c:0a:32:2a:1b:02:6f:70:a1:2e:44:50:ee:35:f3:de.
Are you sure you want to continue connecting (yes/no)? yes