光碟開機畫面
可以選擇 Try Ubuntu 試用 Ubuntu 或 Install Ubuntu 安裝 Ubuntu [@more@]改成中文(繁體)語系
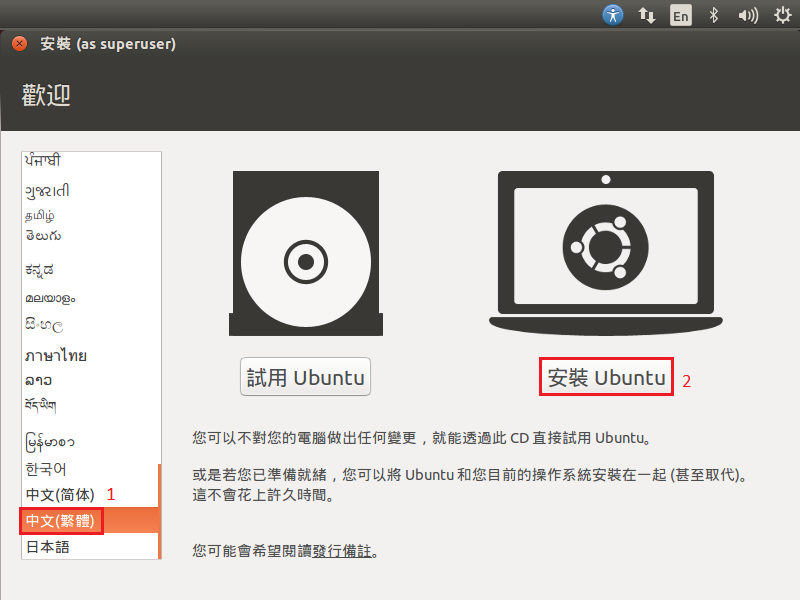
勾選 當安裝時下載更新 及 安裝這個第三方軟體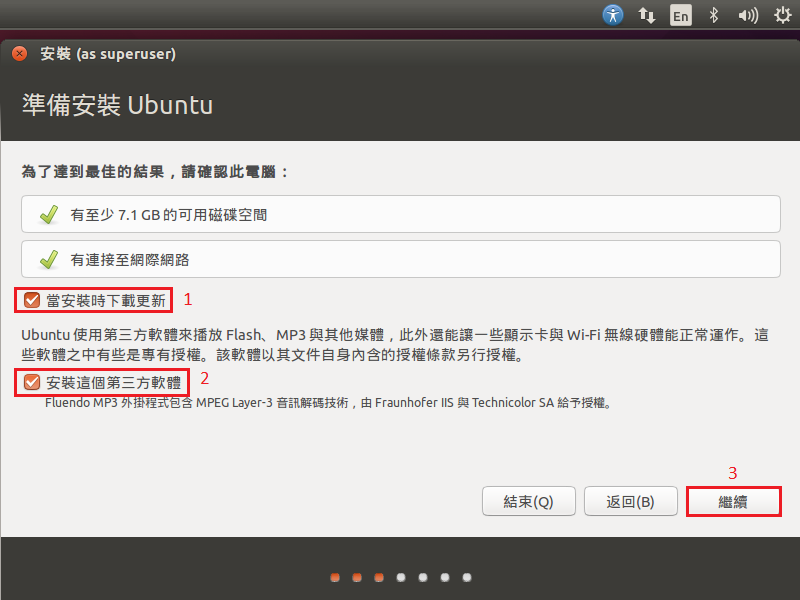
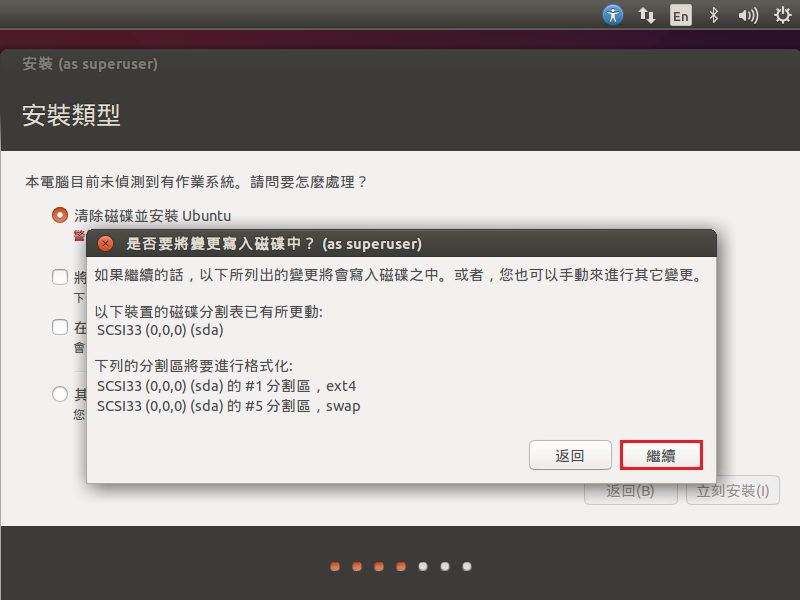
硬碟分割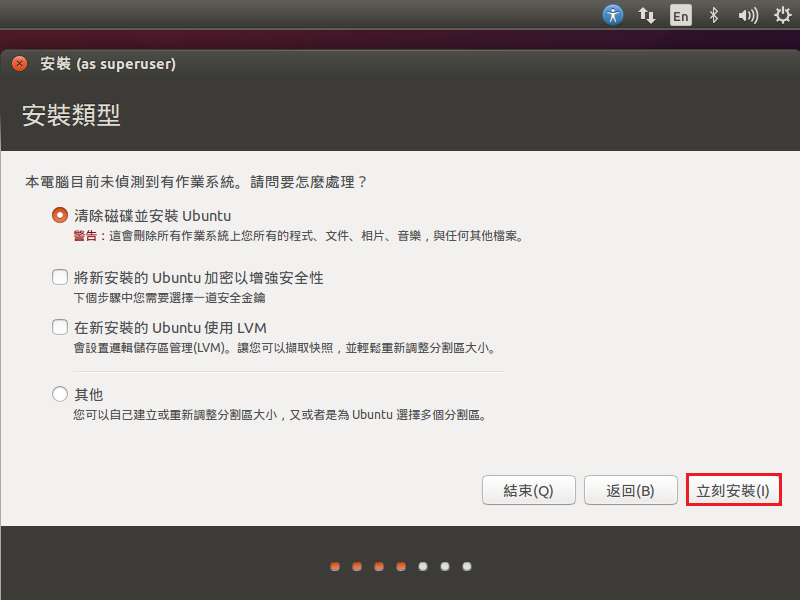
時區選擇
鍵盤選擇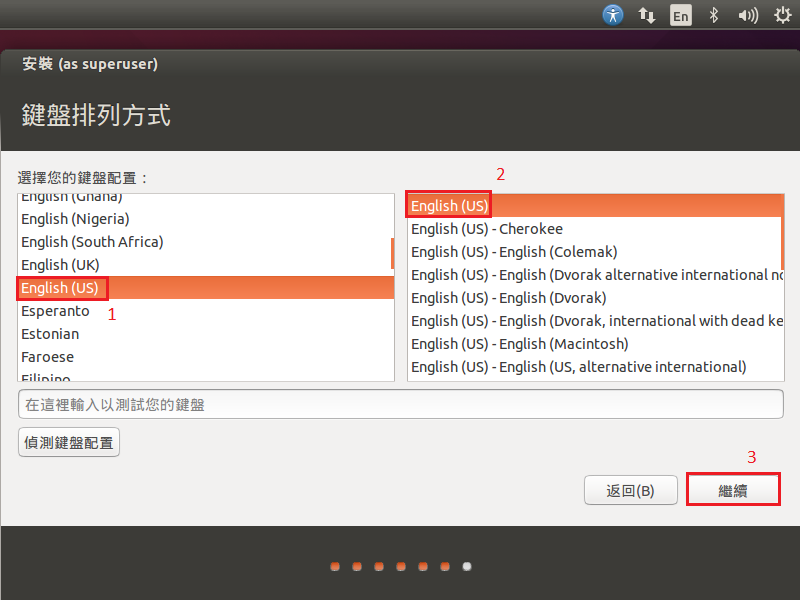
新增使用者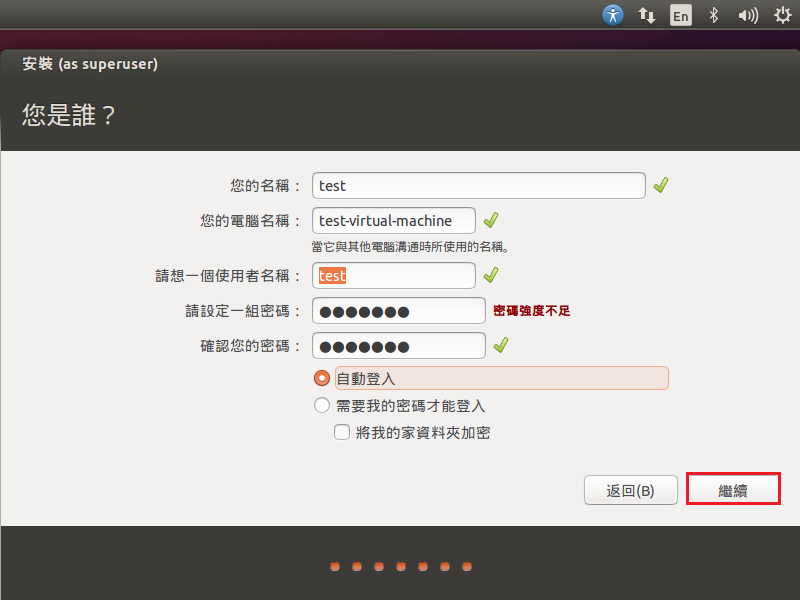
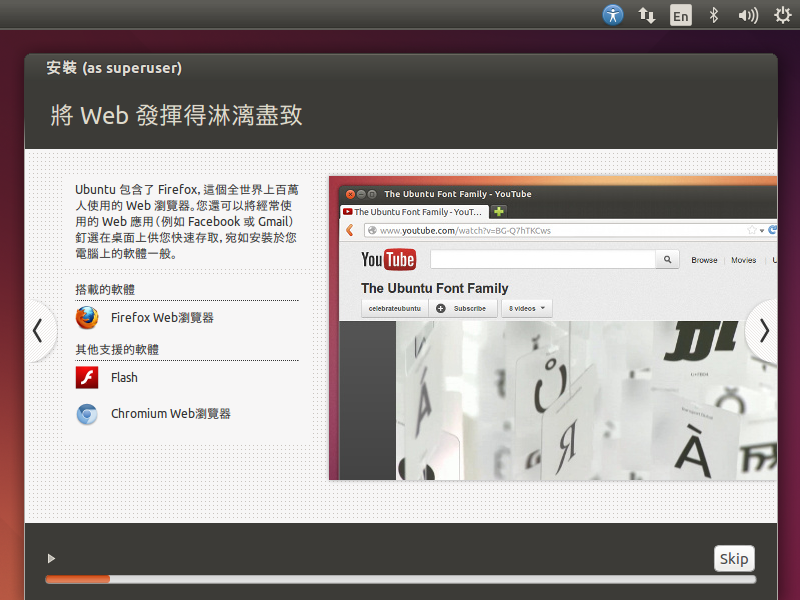
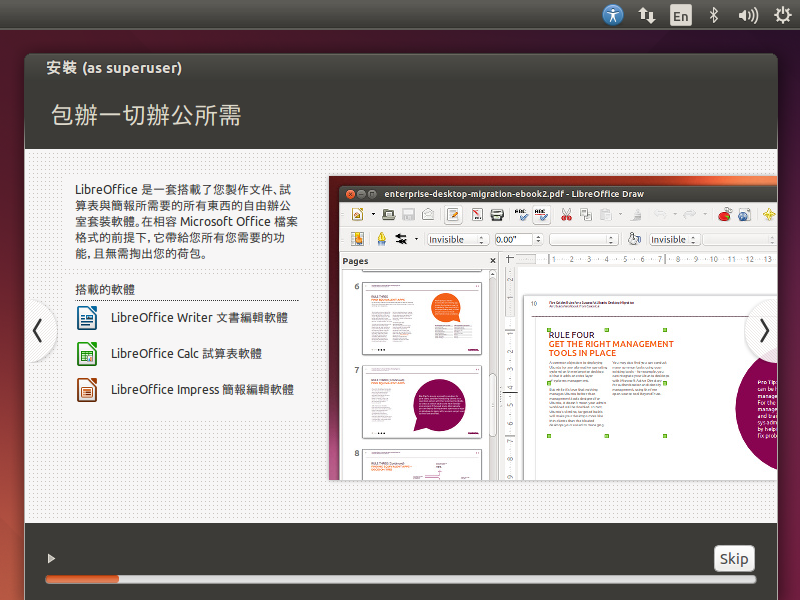
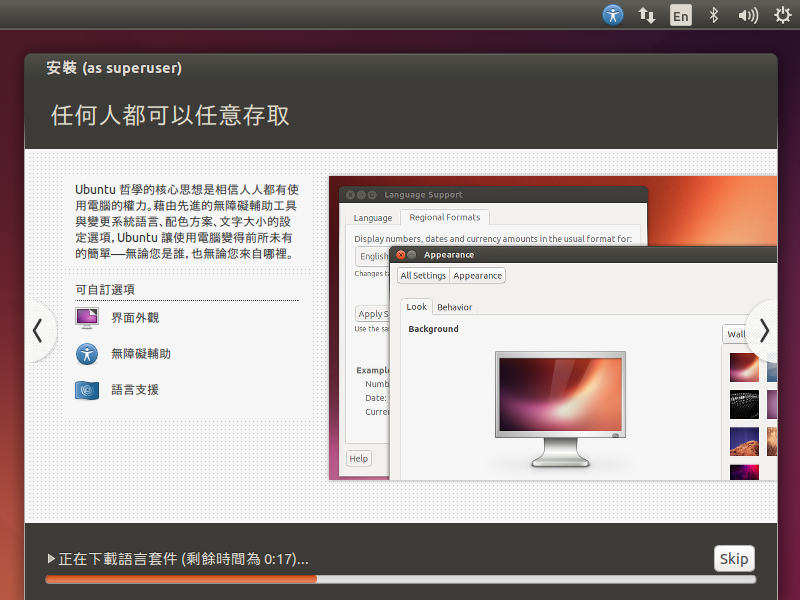
安裝過程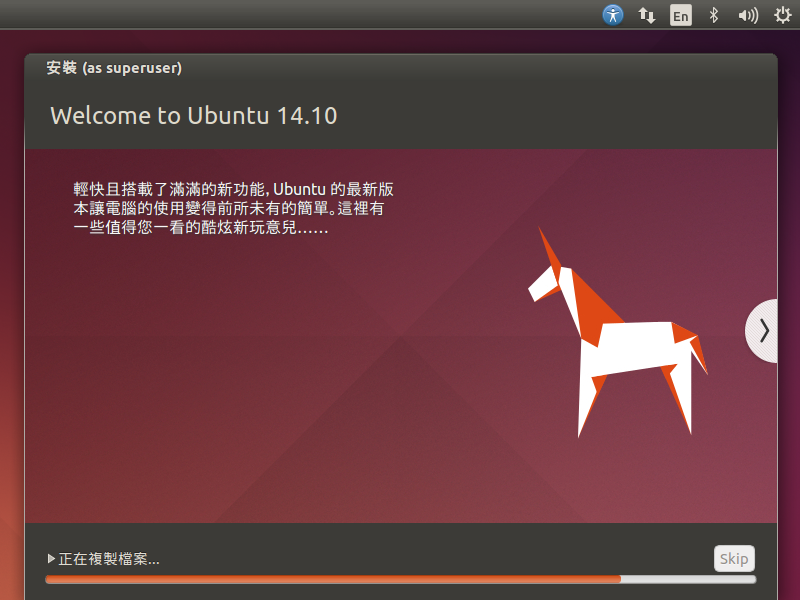
終於安裝完成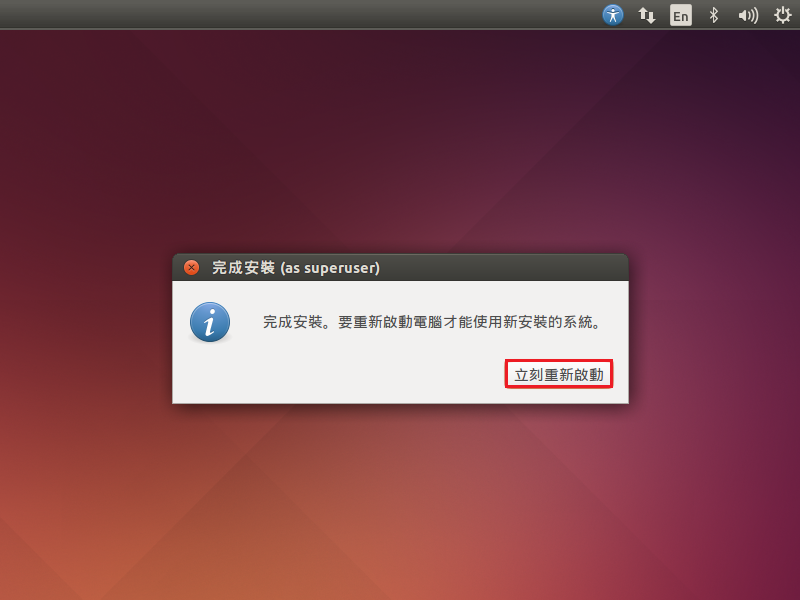
開機中
還是使用 Unity 桌面環境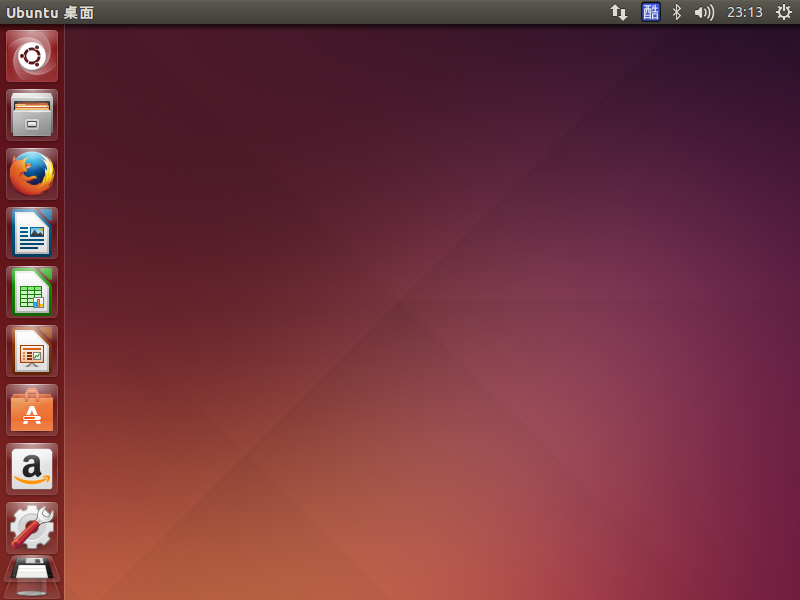

全新的繁體中文 WordPress 網站《宜蘭部落格教育平台 網站》
光碟開機畫面
可以選擇 Try Ubuntu 試用 Ubuntu 或 Install Ubuntu 安裝 Ubuntu[@more@]改成中文(繁體)語系
勾選 當安裝時下載更新 及 安裝這個第三方軟體
硬碟分割
時區選擇
鍵盤選擇
新增使用者
安裝過程
終於安裝完成
開機中
還是使用 Unity 桌面環境

經過一段長久的時間,Scientific Linux 7 終於釋出
Scientific Linux 官方網站:https://www.scientificlinux.org/
官方下載網站:http://ftp1.scientificlinux.org/linux/scientific/7x/x86_64/iso/
台灣下載網站:國家高速網路中心 x86_64 版
頭城國小 x86_64 版
Ubuntu 14.10 (Utopic Unicorn) 於 10/23 釋出,有興趣的人可以上官方網站下載:
http://releases.ubuntu.com/14.10/
amd64 Desktop
http://releases.ubuntu.com/14.10/ubuntu-14.10-desktop-amd64.iso
i386 Desktop
http://releases.ubuntu.com/14.10/ubuntu-14.10-desktop-i386.iso
amd64 Server
http://releases.ubuntu.com/14.10/ubuntu-14.10-server-amd64.iso
i386 Server
http://releases.ubuntu.com/14.10/ubuntu-14.10-server-i386.iso
因為 Cubie Truck 內建有無線網路,所以測試使用無線網路來進行連線
參考網頁:
tutorials:common:lubuntu_wifi_configuration [Cubieboard Docs]
切換身份為 root
$ su –
安裝相關設定套件
# apt-get install wireless-tools wpasupplicant
載入無線網路模組
# modprobe bcmdhd
讓開機能立即啟用
# echo bcmdhd >> /etc/modules
查看模組的使用
# lsmod | grep bcmdhd
bcmdhd 505137 0[@more@]
啟動無線網路卡 wlan0
# ifconfig wlan0 up
掃描可以使用的無線網路
# iwlist wlan0 scan
wlan0 Scan completed :
Cell 01 – Address: A0:F3:C1:34:C4:26
ESSID:”CHTN_T07AW”
Mode:Managed
Frequency:2.437 GHz (Channel 6)
Quality:1/5 Signal level:-81 dBm Noise level:-92 dBm
Encryption key:off
Bit Rates:1 Mb/s; 2 Mb/s; 5.5 Mb/s; 11 Mb/s; 18 Mb/s
24 Mb/s; 36 Mb/s; 54 Mb/s; 6 Mb/s; 9 Mb/s
12 Mb/s; 48 Mb/s
進行連線
# iwconfig wlan0 essid “CHTN_T07AW”
產生編碼後的 key
# wpa_passphrase “CHTN_T07AW” 123456789 | grep -v ‘#psk’ | grep psk | awk -F’=’ ‘{print $2}’
7b1a762a689f76c82d9403c9a4cce22bbc6d6eb9fd0c900ca78e146626b57c11
修改網路組態,加入無線網路部分設定
# vim /etc/network/interfaces
auto lo eth0
iface lo inet loopback
iface eth0 inet dhcp
auto wlan0
iface wlan0 inet dhcp
wpa-ssid “CHTN_T07AW”
wpa-psk 7b1a762a689f76c82d9403c9a4cce22bbc6d6eb9fd0c900ca78e146626b57c11
重新啟動網路
# /etc/init.d/networking restart
先關閉 eth0 方便進行測試
# ifconfig eth0 down
查看 wlan0 無線網路卡網路組態
# ifconfig wlan0
wlan0 Link encap:Ethernet HWaddr 98:3b:16:1e:67:d8
inet addr:10.0.1.5 Bcast:10.0.1.255 Mask:255.255.255.0
inet6 addr: fe80::9a3b:16ff:fe1e:67d8/64 Scope:Link
UP BROADCAST RUNNING MULTICAST MTU:1500 Metric:1
RX packets:117 errors:0 dropped:0 overruns:0 frame:0
TX packets:131 errors:0 dropped:0 overruns:0 carrier:0
collisions:0 txqueuelen:1000
RX bytes:22069 (22.0 KB) TX bytes:16739 (16.7 KB)
測試是否能正連線
# ping -c 4 140.111.66.1
PING 140.111.66.1 (140.111.66.1) 56(84) bytes of data.
64 bytes from 140.111.66.1: icmp_req=1 ttl=53 time=14.0 ms
64 bytes from 140.111.66.1: icmp_req=2 ttl=53 time=13.5 ms
64 bytes from 140.111.66.1: icmp_req=3 ttl=53 time=14.1 ms
64 bytes from 140.111.66.1: icmp_req=4 ttl=53 time=13.3 ms
— 140.111.66.1 ping statistics —
4 packets transmitted, 4 received, 0% packet loss, time 3005ms
利用 Samba Server 來當做網路上的芳鄰,可以分享資料。
# apt-get install samba
修改 Samba Server 設定檔
# vim /etc/samba/smb.conf
[global]
workgroup = HOME
security = user
[homes]
comment = Home Directories
browseable = no
read only = no
[@more@]
重新啟動 Samba Server
# /etc/init.d/samba restart
[ ok ] Stopping Samba daemons: nmbd smbd.
[ ok ] Starting Samba daemons: nmbd smbd.
建立測試使用者
# useradd -d /home/pi -m -s /bin/false pi
設定 Samba 使用者的密碼
# pdbedit -a pi
new password:
retype new password:
Unix username: pi
NT username:
Account Flags: [U ]
User SID: S-1-5-21-4012369507-4131397429-245333283-1000
Primary Group SID: S-1-5-21-4012369507-4131397429-245333283-513
Full Name:
Home Directory: lamobopi
HomeDir Drive:
Logon Script:
Profile Path: lamobopiprofile
Domain: LAMOBO
Account desc:
Workstations:
Munged dial:
Logon time: 0
Logoff time: never
Kickoff time: never
Password last set: Sun, 28 Sep 2014 15:17:57 CST
Password can change: Sun, 28 Sep 2014 15:17:57 CST
Password must change: never
Last bad password : 0
Bad password count : 0
Logon hours : FFFFFFFFFFFFFFFFFFFFFFFFFFFFFFFFFFFFFFFFFF
在 Windows 開啟檔案總管來測試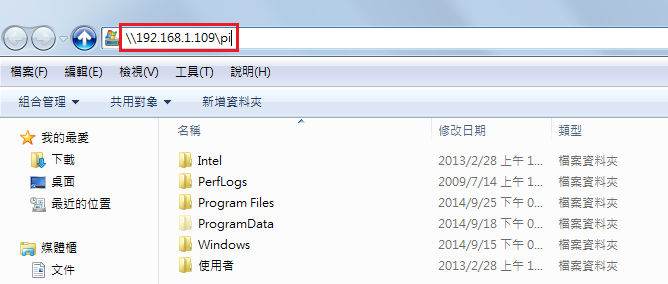
輸入使用者帳號及密碼後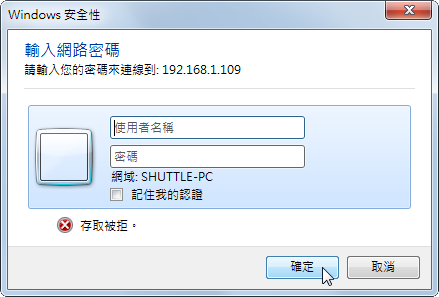
中文檔名及目錄均沒有問題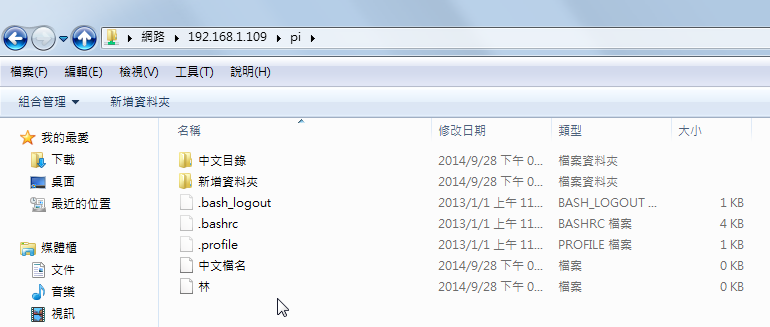
因為套件庫中沒有 MariaDB,所以採用手動編譯安裝
底下文章參考:
Raspberry Pi • View topic – How I compiled MariaDB and Phidget drivers
Installer MariaDB sur Raspbian – Raspbian France | Raspbian France
先到 MariaDB 官方網站下載 Source Code
MariaDB 官方網站:https://mariadb.org/en/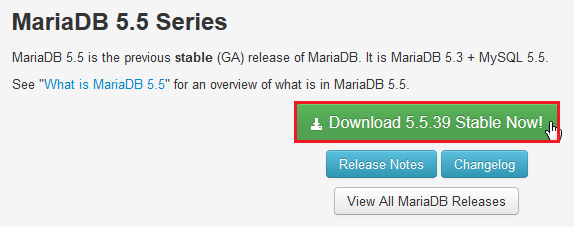
 [@more@]
下載
# wget -O mariadb-5.5.39.tar.gz “https://downloads.mariadb.org/interstitial/mariadb-5.5.39/source/mariadb-5.5.39.tar.gz/from/http%3A//mirrors.neusoft.edu.cn/mariadb”
解壓縮
# tar xvzf mariadb-5.5.39.tar.gz
切換目錄
# cd mariadb-5.5.39/BUILD
安裝編譯時所須套件
# apt-get install cmake libncurses5-dev bison
# apt-get install build-essential
開始編譯及安裝
# ./autorun.sh
# cd ..
# ./configure
# make;make install
建立 mysql 使用者
# useradd mysql
改變目錄擁有者及群組
# chown -R mysql /usr/local/mysql
切換目錄
# cd /usr/local/mysql
安裝資料庫
# scripts/mysql_install_db –user=mysql
複製啟動檔案到 /etc/init.d 目錄
# cp support-files/mysql.server /etc/init.d/mysqld
啟動 MariaDB SQL Server
# /etc/init.d/mysqld start
Starting MySQL
[ ok …..
安全性設定
# ./bin/mysql_secure_installation
檢查是否有正確啟動
# netstat -ant | grep :3306
tcp 0 0 0.0.0.0:3306 0.0.0.0:* LISTEN
設定開機後啟動
# /usr/sbin/update-rc.d -f mysqld defaults
update-rc.d: using dependency based boot sequencing
本篇文章參考:凍仁的筆記: 限制 phpMyAdmin 存取 IP on Debian 6
安裝 phpmyadmin
# apt-get install phpmyadmin
似乎預設只支援 Apache 2 / Lighttpd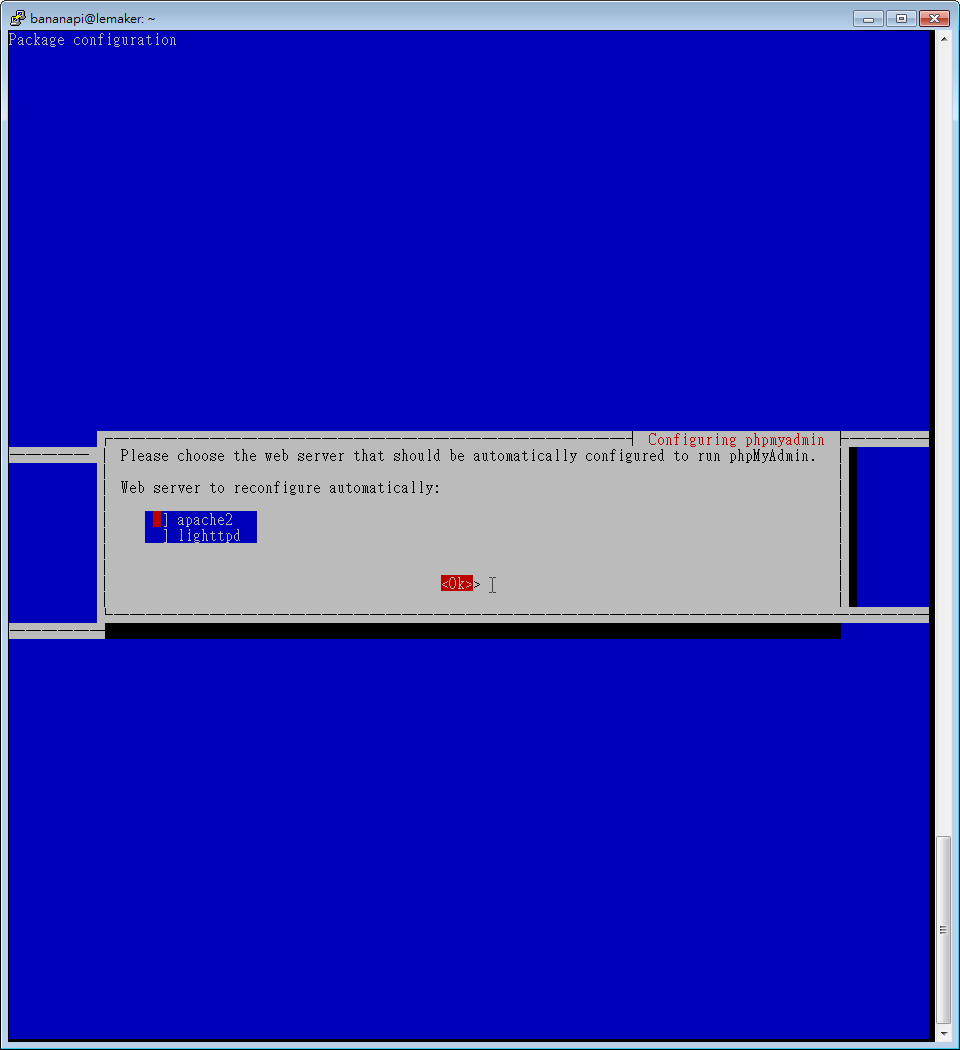 [@more@]手動設定 Nginx Web Server
# vim /etc/nginx/nginx.conf
location /phpmyadmin {
allow 192.168.1.0/24;
deny all;
root /usr/share;
index index.php index.html index.htm;
location ~ ^/phpmyadmin/(.+.php)$ {
try_files $uri =404;
root /usr/share;
#fastcgi_pass 127.0.0.1:9000;
fastcgi_pass unix:/var/run/php5-fpm.sock;
fastcgi_index index.php;
fastcgi_param SCRIPT_FILENAME /usr/share/$fastcgi_script_name;
include fastcgi_params;
}
location ~* ^/phpmyadmin/(.+.(jpg|jpeg|gif|css|png|js|ico|html|xml|txt))$ {
root /usr/share/;
}
}
location /phpMyAdmin {
rewrite ^/* /phpmyadmin last;
}
重新啟動 Nginx Web Server
# /etc/init.d/nginx restart
使用瀏覽器來觀看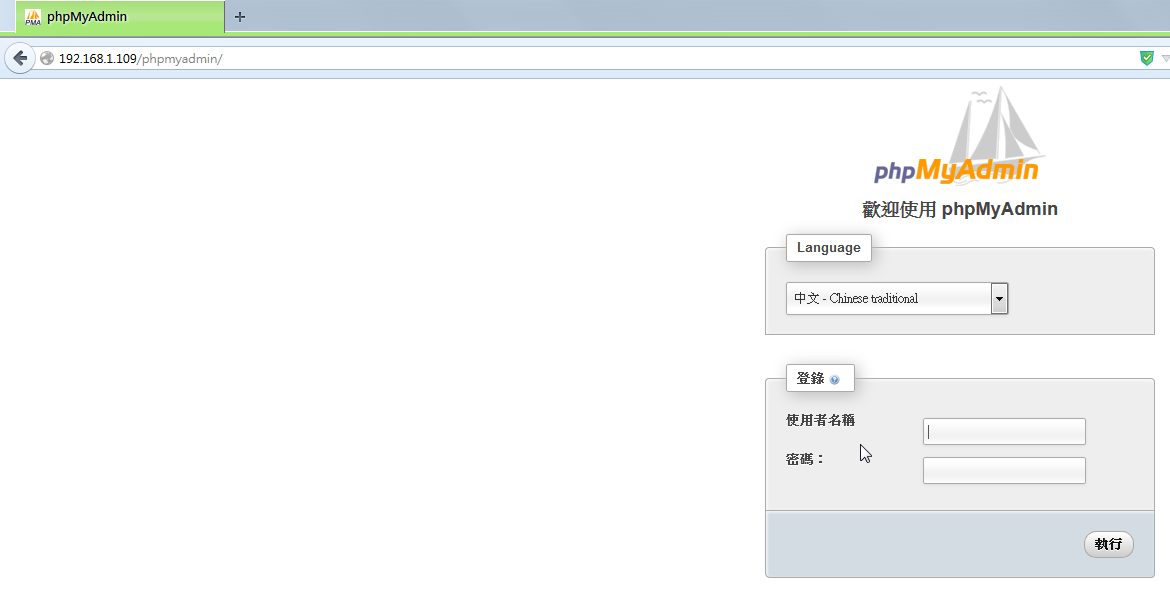
# tree -L 1 /usr/share/adminer
/usr/share/adminer
├── adminer
├── compile.php
├── coverage.php
├── designs
├── editor
├── externals
├── lang.php
├── plugins
└── tests
6 directories, 3 files
# vim /etc/nginx/nginx.conf[@more@] location /adminer {
allow 192.168.1.0/24;
deny all;
root /usr/share/adminer;
index index.php index.html index.htm;
location ~ ^/adminer/(.+.php)$ {
try_files $uri =404;
root /usr/share/adminer;
fastcgi_pass unix:/var/run/php5-fpm.sock;
fastcgi_index index.php;
fastcgi_param SCRIPT_FILENAME /usr/share/adminer/$fastcgi_script_name;
include fastcgi_params;
}
}
location /editor {
allow 192.168.1.0/24;
deny all;
root /usr/share/adminer;
index index.php index.html index.htm;
location ~ ^/editor/(.+.php)$ {
try_files $uri =404;
root /usr/share/adminer;
fastcgi_pass unix:/var/run/php5-fpm.sock;
fastcgi_index index.php;
fastcgi_param SCRIPT_FILENAME /usr/share/adminer/$fastcgi_script_name;
include fastcgi_params;
}
}
重新啟動 Nginx Web Server
# /etc/init.d/nginx restart
如果不在可以連線的 IP 範圍內,就會無法連線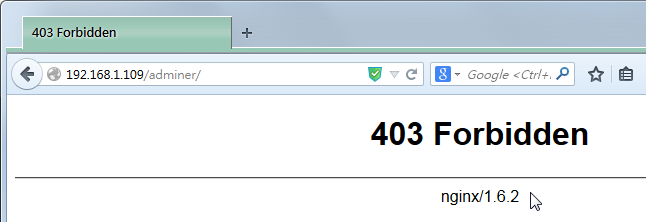
自己在設定 Linux 防火牆規則時,都是習慣使用 iptables 指令,把規則寫在 Script 檔,設定成開機時執行,比較不習慣使用第三方的套件來建立,因為後續要修改時會比較麻煩。
不過在 Cubie Truck 的 Ubuntu Server 似乎預設就有安裝 ufw(Uncomplicated Firewall),利用 ufw 來建立防火牆規則。
但在執行 ufw 時會出現一些警告訊息
# ufw status verbose
WARN: /lib is group writable!
WARN: /etc is group writable!
WARN: /etc/default is group writable!
WARN: /usr is group writable!
Status: inactive
看起來似乎是警告這些目錄的權限是群組可以寫入的[@more@]檢查一些這些目錄的權限,預設權限是 775
# ls -ld /lib /etc /etc/default /usr
drwxrwxr-x 96 root root 4096 Oct 18 10:53 /etc
drwxrwxr-x 2 root root 4096 Oct 16 23:18 /etc/default
drwxrwxr-x 21 root root 4096 Oct 16 23:18 /lib
drwxrwxr-x 10 root root 4096 Sep 6 17:54 /usr
把這些目錄的權限改成 751
# chmod 751 /lib /etc /etc/default /usr
# ls -ld /lib /etc /etc/default /usr
drwxr-x–x 96 root root 4096 Oct 18 10:53 /etc
drwxr-x–x 2 root root 4096 Oct 16 23:18 /etc/default
drwxr-x–x 21 root root 4096 Oct 16 23:18 /lib
drwxr-x–x 10 root root 4096 Sep 6 17:54 /usr
再次執行 ufw 時,就不會出現警告訊息了!
# ufw status verbose
Status: inactive
因為是採用手動編譯的方式來安裝 Nginx Web Server,所以必須要手動來執行或關閉 Nginx Web Server,有些麻煩,後來參考底下的網站,建立一個啟動的 Script 來管理 Nginx Web Server。
關閉
# kill -9 $(ps aux | grep nginx | grep -v grep | awk ‘{print $2}’)
or
# killall nginx
啟動
# /usr/sbin/nginx
參考網站:Websites with Nginx on Debian 7 (Wheezy) – Linode Guides & Tutorials
[@more@]下載 Script 檔
# wget -O init-deb.sh http://www.linode.com/docs/assets/1538-init-deb.sh
編輯 Script 檔
# vim init-deb.sh
#! /bin/sh
### BEGIN INIT INFO
# Provides: nginx
# Required-Start: $all
# Required-Stop: $all
# Default-Start: 2 3 4 5
# Default-Stop: 0 1 6
# Short-Description: starts the nginx web server
# Description: starts nginx using start-stop-daemon
### END INIT INFO
PATH=:/sbin:/bin:/usr/sbin:/usr/bin
DAEMON=/usr/sbin/nginx
NAME=nginx
DESC=nginx
test -x $DAEMON || exit 0
set -e
case “$1” in
start)
echo -n “Starting $DESC: “
start-stop-daemon –start –quiet –pidfile /var/run/$NAME.pid
–exec $DAEMON — $DAEMON_OPTS
echo “$NAME.”
;;
stop)
echo -n “Stopping $DESC: “
start-stop-daemon –stop –quiet –pidfile /var/run/$NAME.pid
–exec $DAEMON
echo “$NAME.”
;;
restart|force-reload)
echo -n “Restarting $DESC: “
start-stop-daemon –stop –quiet –pidfile
/var/run/$NAME.pid –exec $DAEMON
sleep 1
start-stop-daemon –start –quiet –pidfile
/var/run/$NAME.pid –exec $DAEMON — $DAEMON_OPTS
echo “$NAME.”
;;
reload)
echo -n “Reloading $DESC configuration: “
start-stop-daemon –stop –signal HUP –quiet –pidfile /var/run/$NAME.pid
–exec $DAEMON
echo “$NAME.”
;;
*)
N=/etc/init.d/$NAME
echo “Usage: $N {start|stop|restart|reload|force-reload}” >&2
exit 1
;;
esac
exit 0
搬移檔案到 /etc/init.d 目錄
# mv init-deb.sh /etc/init.d/nginx
更改檔案權限
# chmod +x /etc/init.d/nginx
測試是否能正常執行
# /etc/init.d/nginx start
Starting nginx: nginx.
檢查是否有執行成功
# ps aux | grep nginx | grep -v grep
root 12795 0.0 0.0 4484 768 ? Ss 23:56 0:00 nginx: master process /usr/sbin/nginx
www-data 12796 0.0 0.1 4636 1136 ? S 23:56 0:00 nginx: worker process
測試關閉
# /etc/init.d/nginx stop
Stopping nginx: nginx.
設定開機時執行
# /usr/sbin/update-rc.d -f nginx defaults
update-rc.d: using dependency based boot sequencing