在 Debian 7 上建置 DNS Server

因為目前學校用來建置 DNS Server 的系統為 CentOS 5.x,系統比較老舊一些,雖然它的支援期到 2017-03-31,但考量到 DNS Server 的負載沒那麼重,所以找了一台比較輕量級的電腦來擔任 DNS Server 的工作,替換下來的主機則可以做其它的用途。
參考網頁:Setup DNS Server On Debian 7 Wheezy | Unixmen
1. 安裝 DNS Server
# apt-get install bind9 bind9utils bind9-doc dnsutils
[@more@]2.  備份原設定檔
# cp /etc/bind/named.conf.local /etc/bind/named.conf.local.$(date +%F)

3. 修改 /etc/bind/named.conf.local 設定檔
zone “test.ilc.edu.tw” IN {
        type master;
        file “/etc/bind/db.test.ilc.edu.tw”;
};

zone “1.168.192.in-addr.arpa” IN {
        type master;
        file “/etc/bind/db.1.168.192”;
};

4. 修改 /etc/bind/db.test.ilc.edu.tw 設定檔
# cp /etc/bind/db.local /etc/bind/db.test.ilc.edu.tw
# vim /etc/bind/db.test.ilc.edu.tw
;
; BIND data file for local loopback interface
;
$TTL    604800
@       IN      SOA     dns.test.ilc.edu.tw. root.dns.test.ilc.edu.tw. (
                              2         ; Serial
                         604800         ; Refresh
                          86400         ; Retry
                        2419200         ; Expire
                         604800 )       ; Negative Cache TTL
;
@       IN      NS      dns.test.ilc.edu.tw.
@       IN      A       192.168.1.2
@       IN      AAAA    ::1
test.ilc.edu.tw.        IN      A       192.168.1.2
www            IN      A       192.168.1.1
dns            IN      A       192.168.1.2
ftp            IN      A       192.168.1.3

5. 修改 /etc/bind/db.1.168.192 設定檔
# cp /etc/bind/db.127 /etc/bind/db.1.168.192
# vim /etc/bind/db.1.168.192

;
; BIND reverse data file for local loopback interface
;
$TTL    604800
@       IN      SOA     dns.test.ilc.edu.tw. root.dns.test.ilc.edu.tw. (
                              1         ; Serial
                         604800         ; Refresh
                          86400         ; Retry
                        2419200         ; Expire
                         604800 )       ; Negative Cache TTL
;
@     IN        NS      dns.test.ilc.edu.tw.
;
1     IN        PTR     www.test.ilc.edu.tw.
2     IN        PTR     dns.test.ilc.edu.tw.
3     IN        PTR     ftp.test.ilc.edu.tw.

6. 重新啟動 DNS Server
# service bind9 restart

7. 進行測試
# host 192.168.1.3 192.168.1.2
Using domain server:
Name: 192.168.1.2
Address: 192.168.1.2#53
Aliases:

3.1.168.192.in-addr.arpa domain name pointer ftp.test.ilc.edu.tw.

# host ftp.test.ilc.edu.tw 192.168.1.2
Using domain server:
Name: 192.168.1.2
Address: 192.168.1.2#53
Aliases:

ftp.test.ilc.edu.tw has address 192.168.1.3

8. 在防火牆中設定
防火牆上的設定
# iptables -A INPUT -p udp -m state –state NEW -m udp –dport 53 -j ACCEPT

Mac OSX 上的 Scratch 2.0 中文化

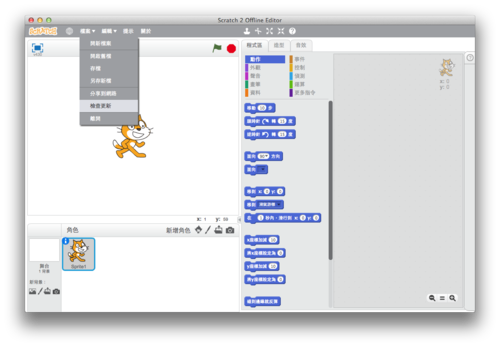
1. 首先到 Scratch 2.0 網站下載 Adobe AIR 和 Scrarch 2.0
http://scratch.mit.edu/scratch2download/[@more@]2. 安裝完畢後開啟終端機程式

3. 備份 /Applications/Scratch 2.app/Contents/Resources/locale/lang_list.txt
$ sudo cp /Applications/Scratch 2.app/Contents/Resources/locale/lang_list.txt /Applications/Scratch 2.app/Contents/Resources/locale/lang_list.txt.$(date +%F)

4. 修改 /Applications/Scratch 2.app/Contents/Resources/locale/lang_list.txt
# sudo vim /Applications/Scratch 2.app/Contents/Resources/locale/lang_list.txt
只留下 zh-tw,正體中文

5. 下載中文語系
$ curl -O https://2blog.ilc.edu.tw/wp-content/uploads/sites/985/25793/25793-2647185.zip

6. 解壓縮
$ unzip 25793-2647185.zip -d Scratch

7. 搬移中文語系檔到 Scratch 目錄
$ sudo mv Scratch/locale/zh_TW.po /Applications/Scratch 2.app/Contents/Resources/locale/zh-tw.po

Banana Pi – 讓 Debian 的終端機能色彩繽紛

用習慣 CentOS 之後,使用 Debian 有些不太習慣,Debian 預設的終端機是沒有根據不同類型的檔案,加上顏色來區分的。
[@more@]參考網頁:Change default LS colors on Debian [[[Linuxwall.info::Wiki]]]

以 root 身份為例
1. 執行 dircolors 產生相關設定
# dircolors -p > ~/.dircolorsrc

2. 將設定加入到 .bashrc 或是 .profile
# vim ~/.bashrc
加入下面這二行
eval “`dircolors -b ~/.dircolorsrc`”
export LS_OPTIONS=’–color=auto’

3. 登入再重新登入後即可生效

4. 讓新增的帳號生效
# dircolors -p > /etc/skel/.dircolorsrc
# vim /etc/skel/.bashrc
加入下面這二行
eval “`dircolors -b ~/.dircolorsrc`”
export LS_OPTIONS=’–color=auto’

5. 也可以自行修改不同的顏色
# tail .dircolorsrc
.mp3 00;36
.mpc 00;36
.ogg 00;36
.ra 00;36
.wav 00;36
# http://wiki.xiph.org/index.php/MIME_Types_and_File_Extensions
.axa 00;36
.oga 00;36
.spx 00;36
.xspf 00;36

.mp3 等就是 青色

在 Ubuntu Mac Style 上安裝 Variety 自動切換桌布

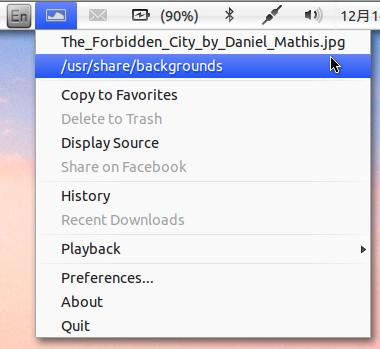
改安裝另外一套 Variety 來自動切換桌布,Variety 除了可以利用系統中的圖片來切換外,也可以下載網站上的圖片來當做桌布。
安裝 Variety
$ sudo apt-get install variety
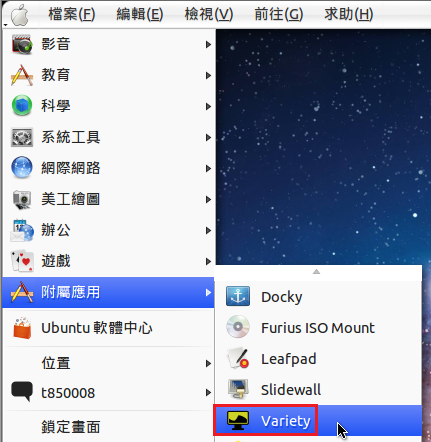
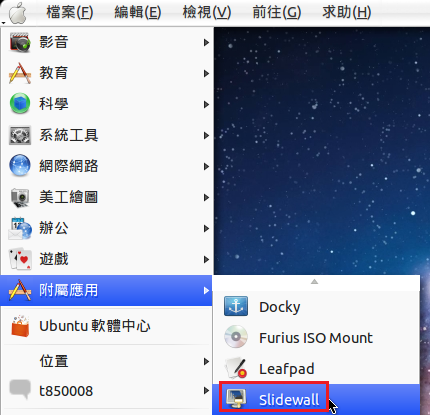
安裝完成後在功能表上的位置
[@more@]
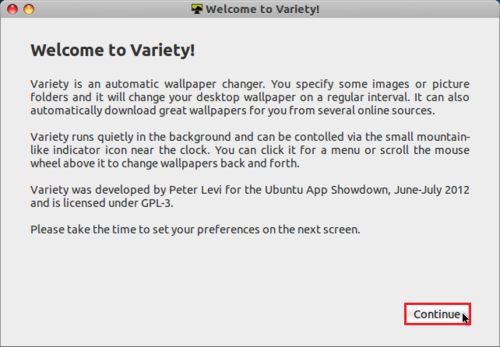
執行 Variety,選擇 Continue 繼續

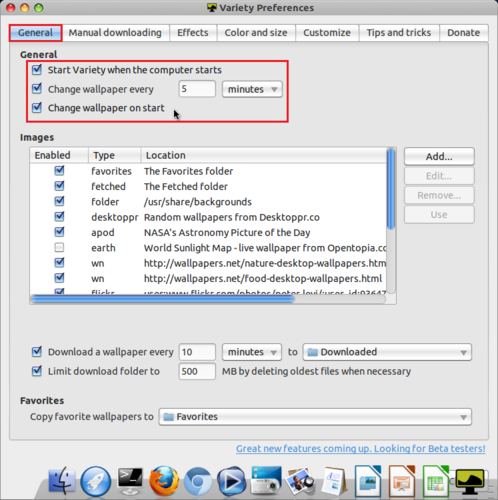
General  頁面設定,我只在在這裡做設定,其它的頁面沒有更動

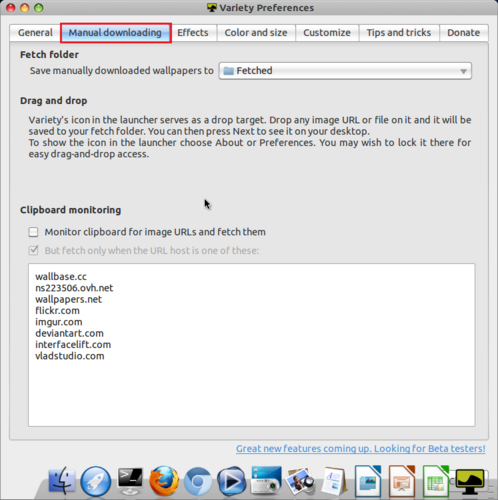
Manual downloading 頁面

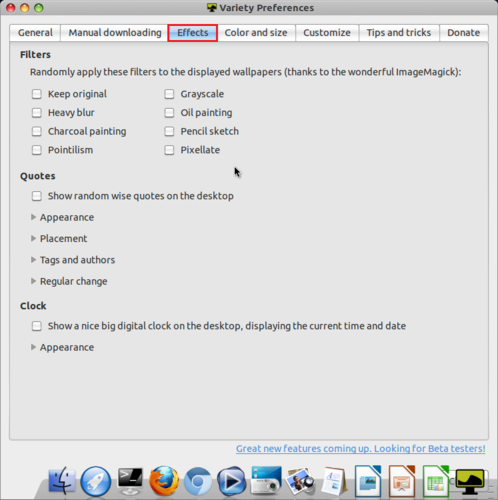
Effects 頁面

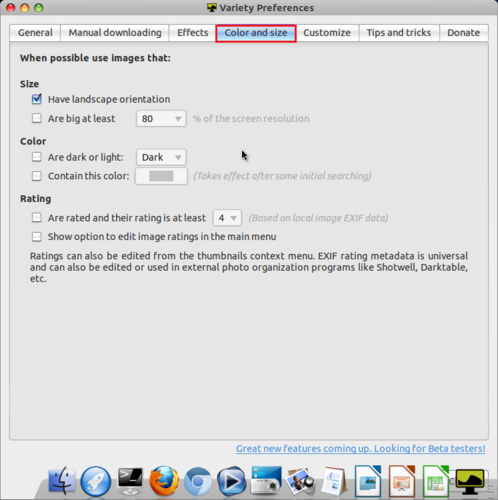
Color and size 頁面

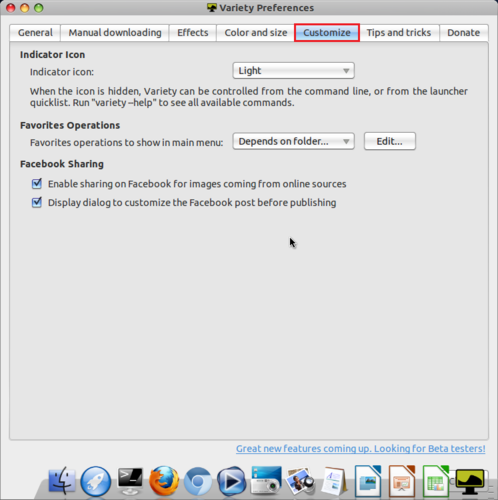
Customize 頁面

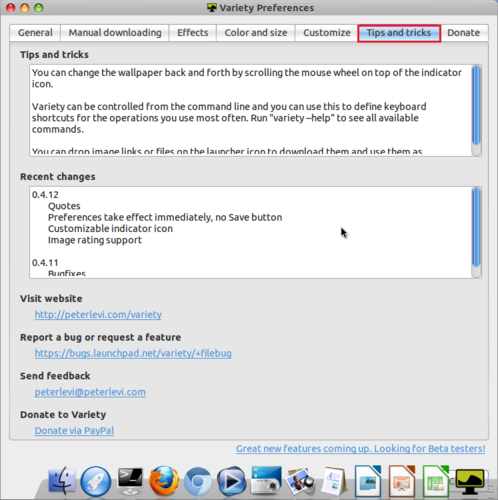
Trips and tricks 頁面

切換的桌布

手動切換

移除 Variety 方式
$ sudo apt-get remove –purge libboost-python1.46.1 python-bs4 python-configobj python-pyexiv2 python-pyexiv2-doc variety

學生繳交作業

每次平時或到學期末要收學生的作品時,總有些困擾,無法很方便收到學生的作品,用來打分數,對於這一項的要求是:
1. 每個學生有自己存放的目錄
2. 學生不能切換到其他人的目錄
3. 老師可以切換到所有的目錄,擁有管理的權限

底下利用 Linux+ACL+Samba 來完成[@more@]1. 先從校務行政系統中,取得學生的基本資料,包括:班級、座號、姓名、學號
# cat Class61.lst
六忠 01 莊☆★ s0950171
六忠 02 甘★★ s0950015
六忠 03 李☆☆ s0950027

2. 修改 /home 的掛載參數
# grep /home /etc/fstab
UUID=f1f3d674-6bdd-4132-bc9f-bf6c3f8ac3bc /home                   ext4    defaults,usrquota,acl,user_xattr        1 2

3. 重新掛載 /home
# mount -v -o remount,rw,usrquota,acl,user_xattr /home

4. 建立 Script 檔
# vim mkuserhomeworkdir.awk
# 建立目錄
{print “/bin/mkdir -m 700 -p /home/homework/”$1″/”$2″_”$3″” }
# 更改檔案目錄的所屬擁有者及群組
{print “chown -R  “$4″:s0950 /home/homework/”$1″/”$2″_”$3″” }

5. 測試一下
# awk -f mkuserhomeworkdir.awk Class61.lst | more
/bin/mkdir -m 700 -p /home/homework/六忠/01_莊☆★
chown -R  s0950171:s0950 /home/homework/六忠/01_莊☆★
/bin/mkdir -m 700 -p /home/homework/六忠/02_甘★★
chown -R  s0950015:s0950 /home/homework/六忠/02_甘★★
/bin/mkdir -m 700 -p /home/homework/六忠/03_李☆☆
chown -R  s0950507:s0950 /home/homework/六忠/03_李☆☆

6. 動工
# awk -f mkuserhomeworkdir.awk Class61.lst | sh

7. 讓老師擁有管理權限 teacher 是老師的帳號
# setfacl -R -m user:teacher:rwx /home/homework/六忠

在 Ubuntu Mac Style 上安裝 DesktopNova 自動切換桌布

在 Windows 及 Mac OSX 的作業系統中,都可以設定定時自動切換桌布,偶爾換一下桌布,感覺可以換一下心情。
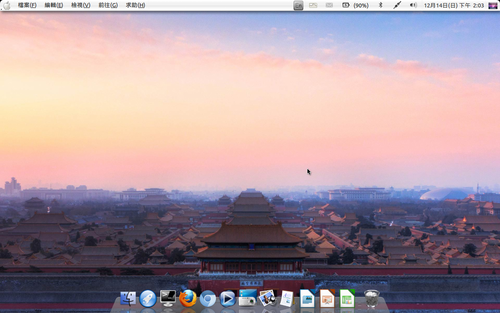
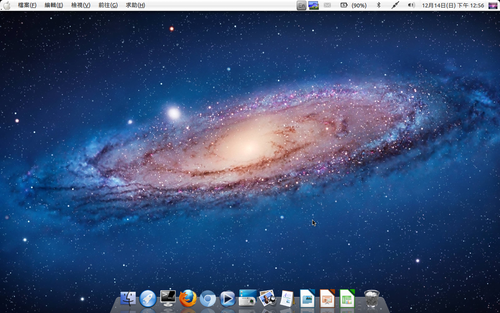
Ubuntu Mac Style 預設的桌布
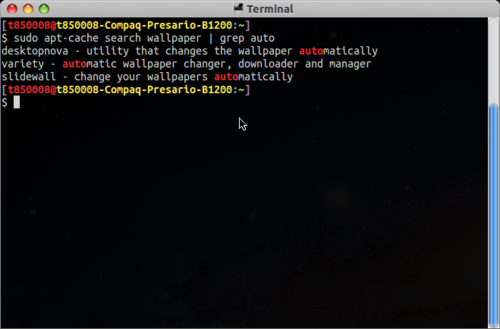
[@more@]在套件搜尋了一下,尋找可以自動切換桌布的套件
$ sudo apt-cache search wallpaper | grep auto

先試第一套 desktopnova
安裝 DesktopNova
$ sudo apt-get install desktopnova

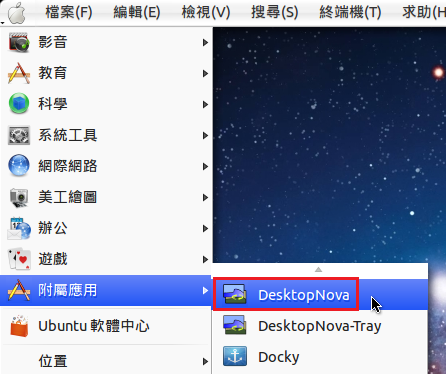
安裝完成後在功能表的位置

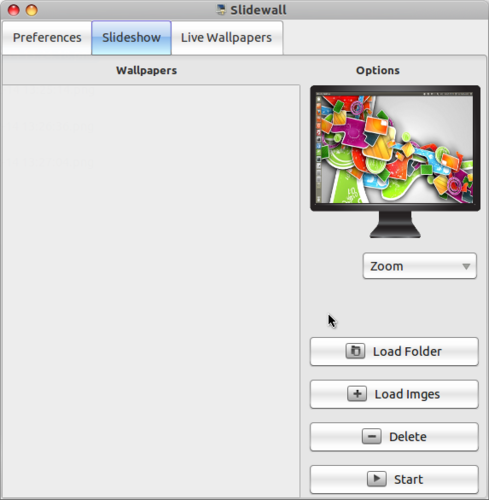
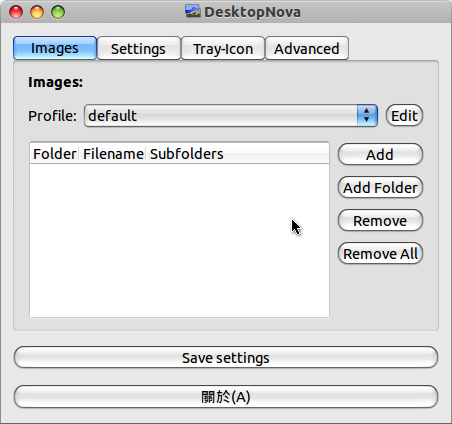
執行畫面

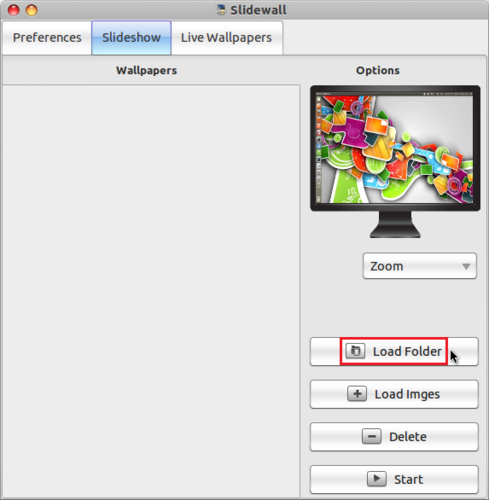
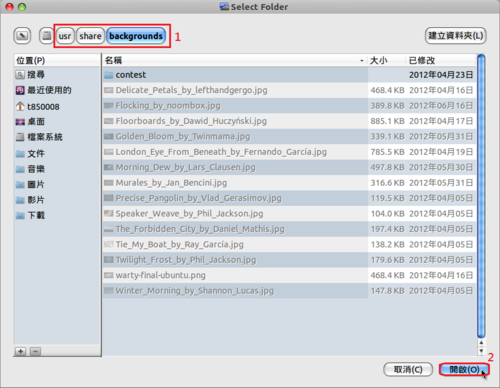
選擇 Add Folder 新增桌布放置的目錄
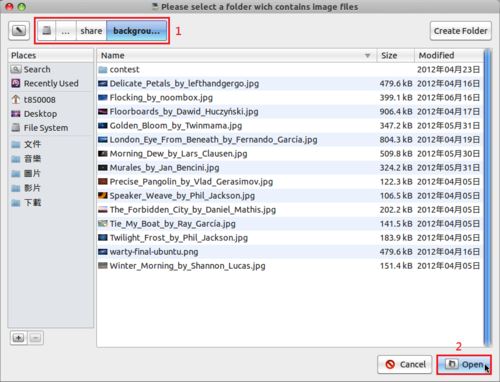
系統預設的目錄是 /usr/share/backgrounds

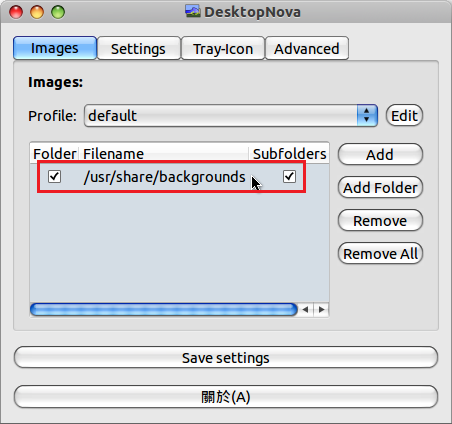
新增完成的目錄

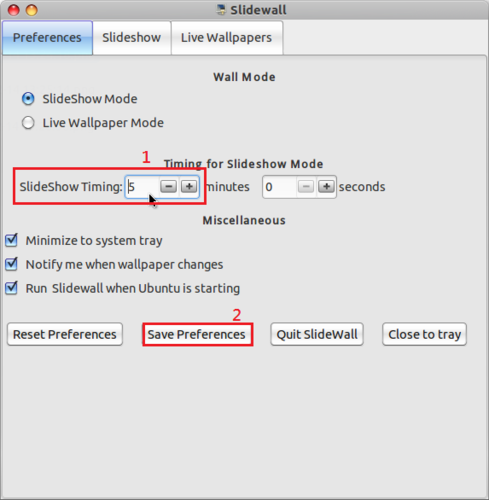
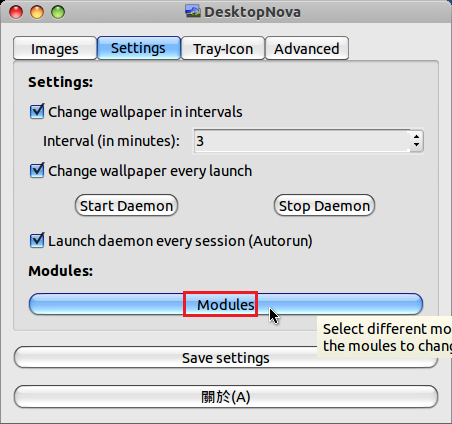
選擇 Settings,選擇 Modules

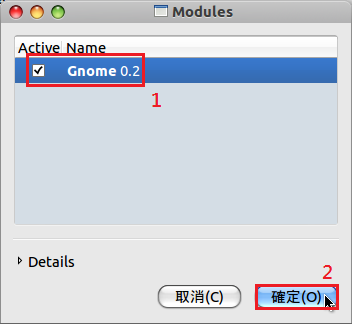
Modules 設定

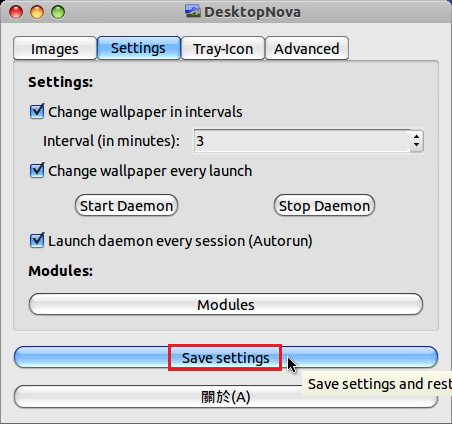
選擇 Save settings

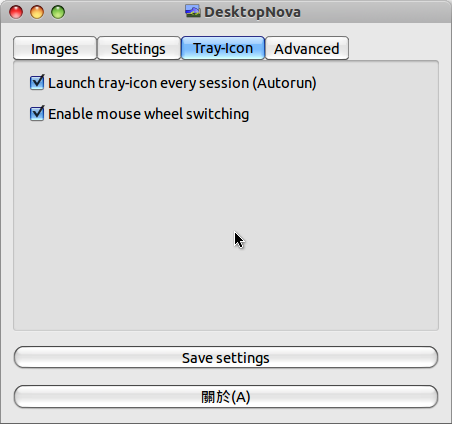
選擇 Tray-Icon 做設定,選擇 Save settings

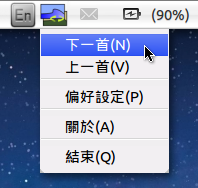
登出或重新啟動電腦後,可以在上方功能表找到 DesktopNova 的圖示

可是等了很久,桌布依然沒有更換,採用手動方式來切換,依然是不行,所以就把它給移除了!

移除 DesktopNova
$ sudo apt-get remove –purge desktopnova desktopnova-module-gnome desktopnova-tray

在 Ubuntu Mac Style 中改使用 LibreOffice

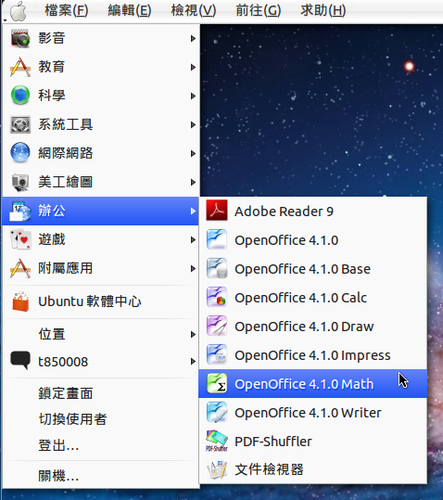
在 Ubuntu Mac Style 中預設是安裝 Apache OpenOffice,不過用起來有些不太習慣,所以改安裝 LibreOffice。
[@more@]首先先移除 Apache OpenOffice
$ sudo apt-get remove –purge openoffice-calc openoffice-core01 openoffice-debian-menus openoffice-ure openoffice.org-hyphenation

 安裝 LibreOffice
$ sudo apt-get install libreoffice libreoffice-l10n-zh-tw

移除 Apache OpenOffice 功能表
$ rm -rf ~/.local/share/applications/openoffice4-*

如果功能表上找不到 LibreOffice
$ rm -rf ~/.local/share/applications/libreoffice*
$ cd /usr/share/applications
$ cp libreoffice-base.desktop libreoffice-calc.desktop libreoffice-draw.desktop libreoffice-impress.desktop libreoffice-math.desktop libreoffice-writer.desktop ~/.local/share/applications/

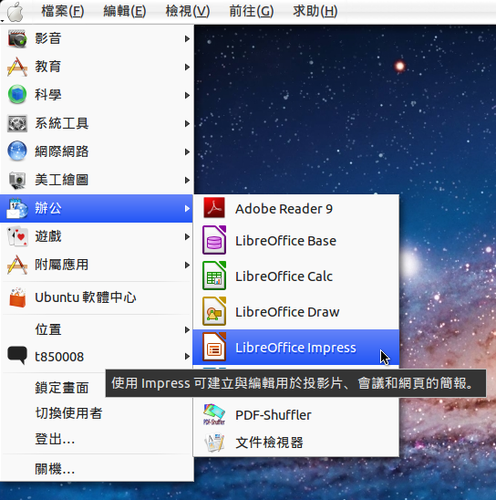
在功能表上的 LibreOffice

在 Ubuntu 上安裝 arduino

使用 apt-get 安裝 arduino
$ sudo apt-get install -y arduino arduino-core
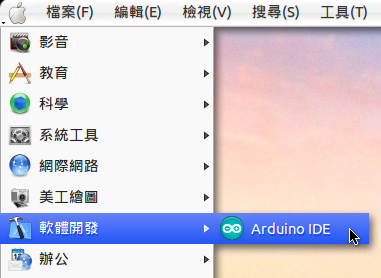
在功能表上的位置
[@more@]執行時,使用者必須要加入 dailout 群組才能正常使用 arduino

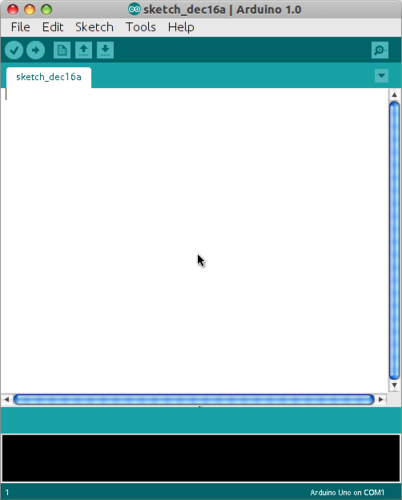
程式執行畫面 版本是 1.0.x 版

因為版本比較舊,所以直接到網站上下載的版本
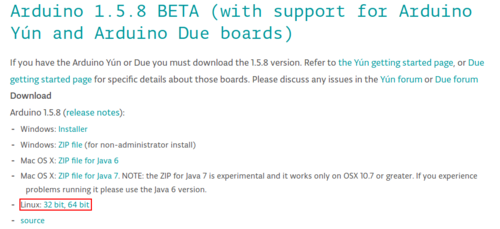
Arduino 下載網站:Arduino – Software

依系統所需版本下載

建立目錄
$ sudo mkdir /opt/arduino
解壓縮
$ sudo tar xvzf arduino-1.5.8-linux32.tgz -C /opt/arduino
讓所有人都可以執行
$ sudo chmod a+rX /opt/arduino

建立在功能表上執行的圖示
$ sudo cp /usr/share/applications/arduino.desktop /usr/share/applications/arduino158.desktop
修改
$ sudo vim /usr/share/applications/arduino158.desktop
[Desktop Entry]
Type=Application
Name=Arduino IDE 1.5.8
GenericName=Create physical computing projects
Exec=/opt/arduino/arduino-1.5.8/arduino
Icon=arduino
Terminal=false
Categories=Development;Engineering;Electronics;
MimeType=text/x-arduino

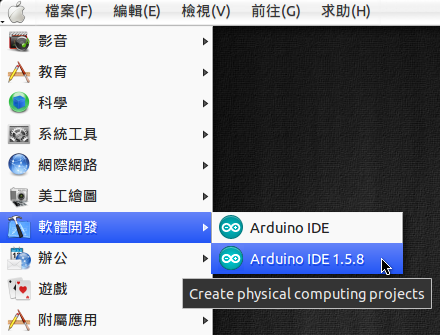
在功能表上位置

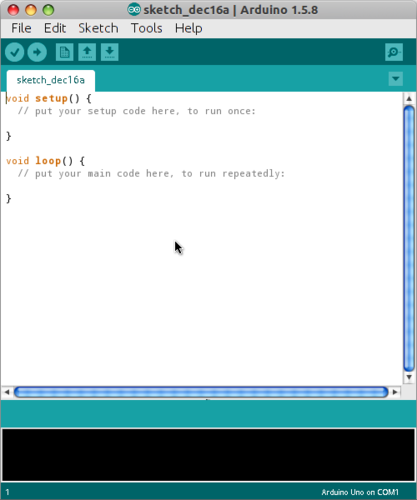
執行畫面