Scratch 2.0 Offline Editor v431a 新版本
[@more@]Scratch Offline Editor 下載網頁:
http://scratch.mit.edu/scratch2download/
操作介面已經可以自動切換成正體中文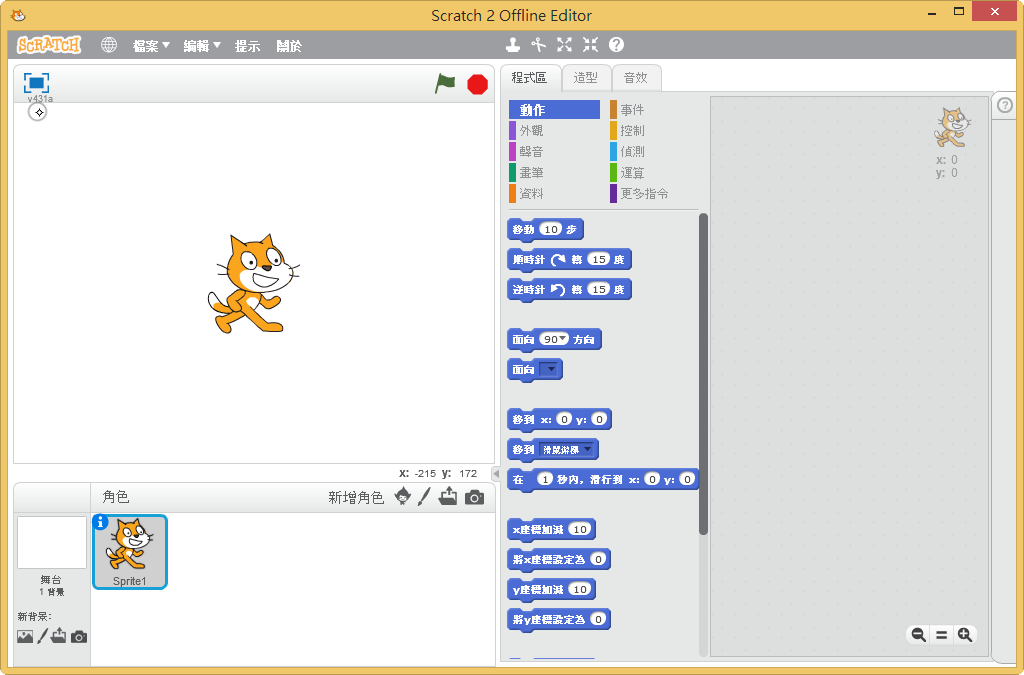
編輯器中的 文字工具,無法輸入中文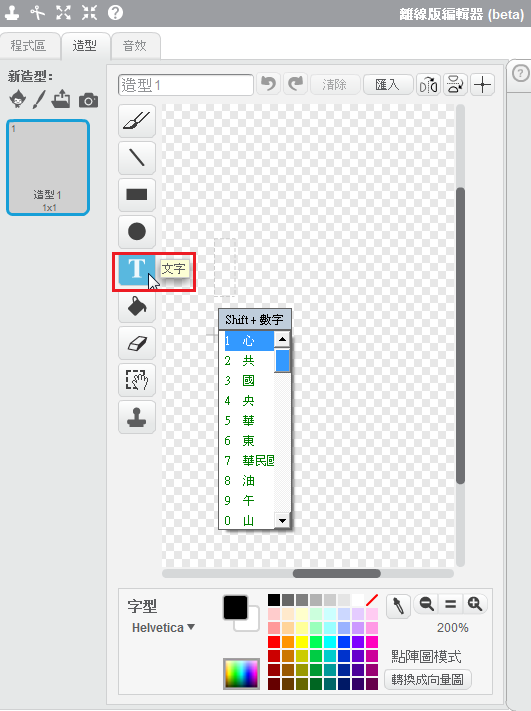

全新的繁體中文 WordPress 網站《宜蘭部落格教育平台 網站》
Scratch 2.0 Offline Editor v431a 新版本
[@more@]Scratch Offline Editor 下載網頁:
http://scratch.mit.edu/scratch2download/
操作介面已經可以自動切換成正體中文
編輯器中的 文字工具,無法輸入中文
會議場所:台北市立教育大學
早上的會議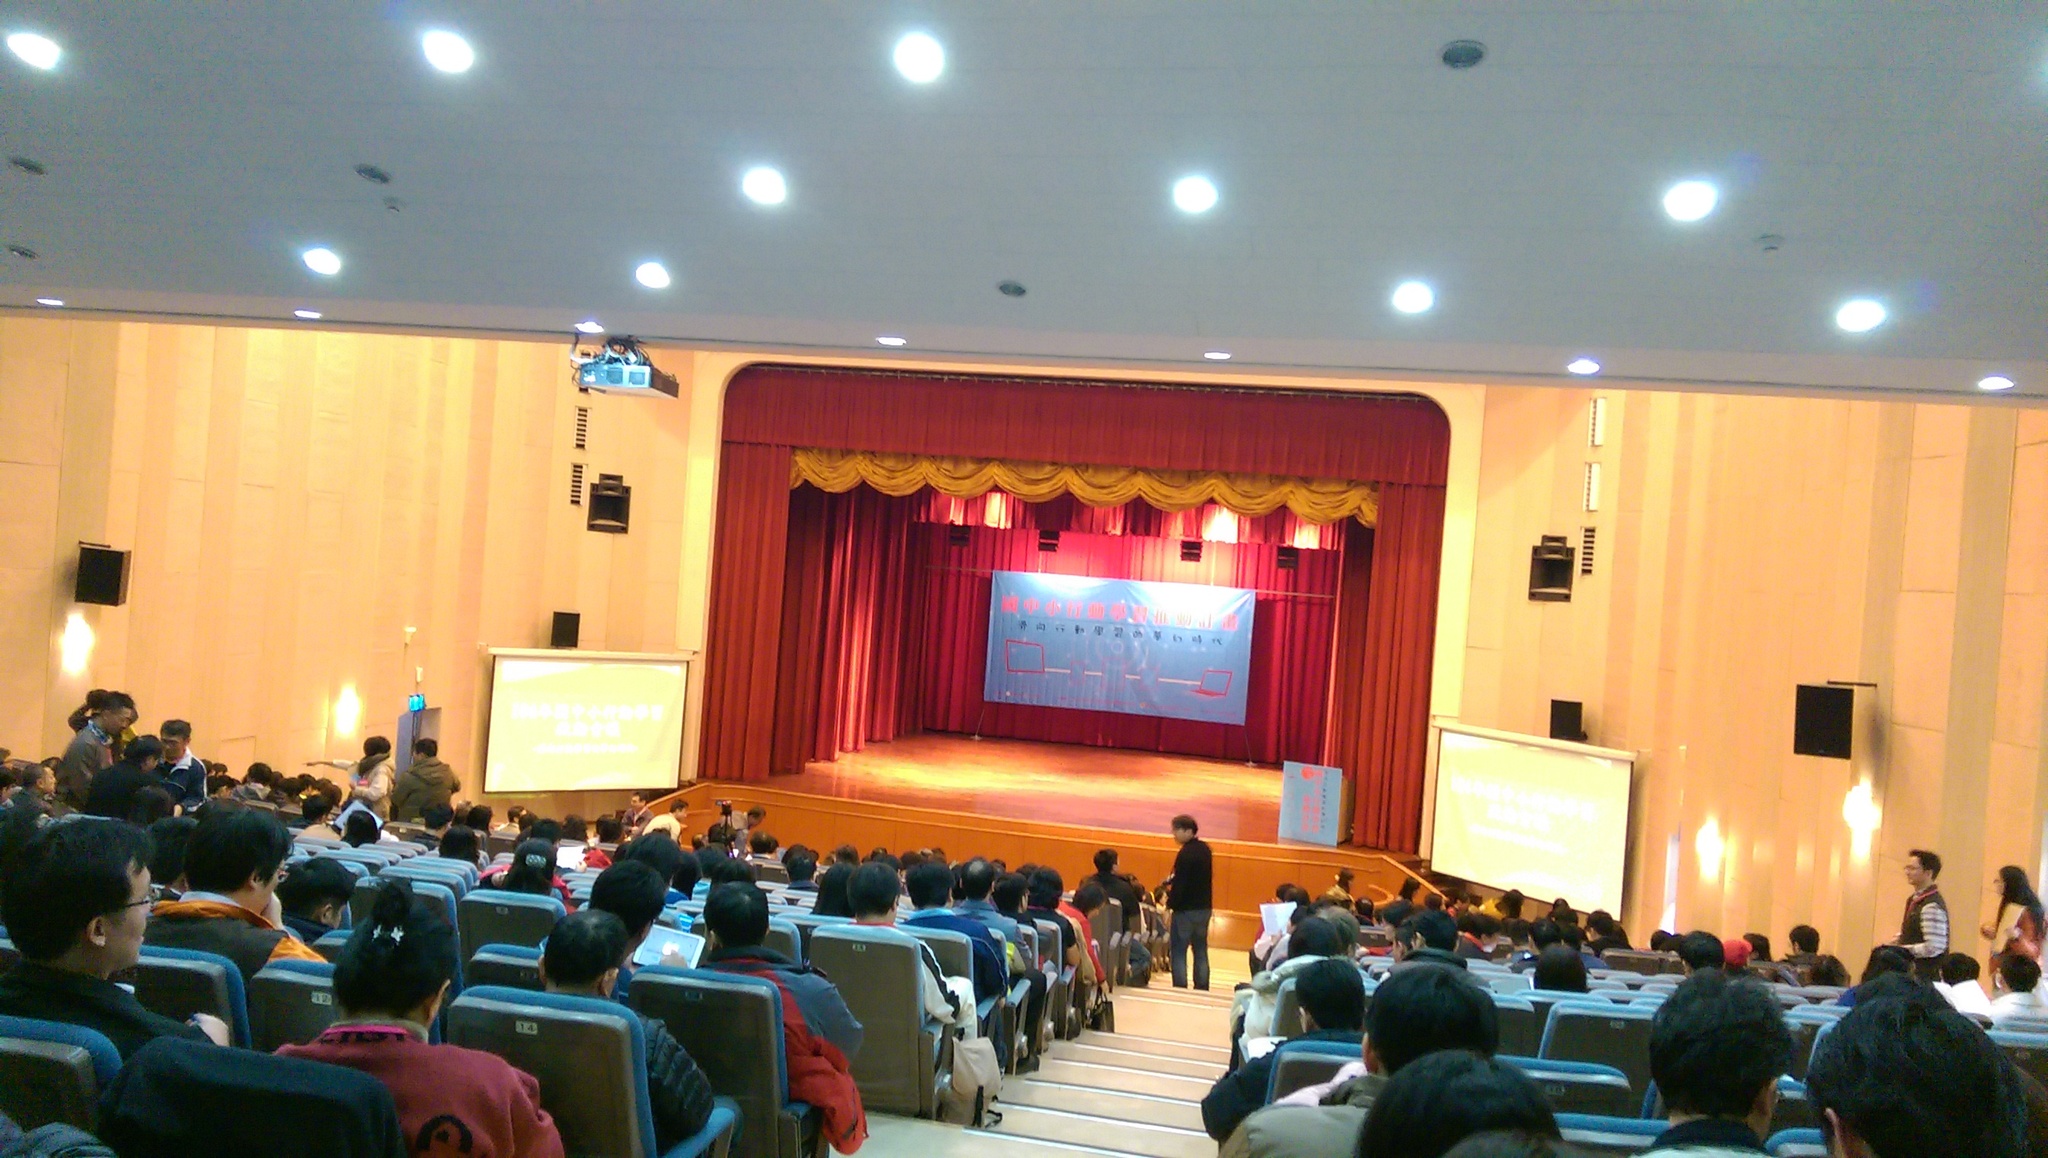
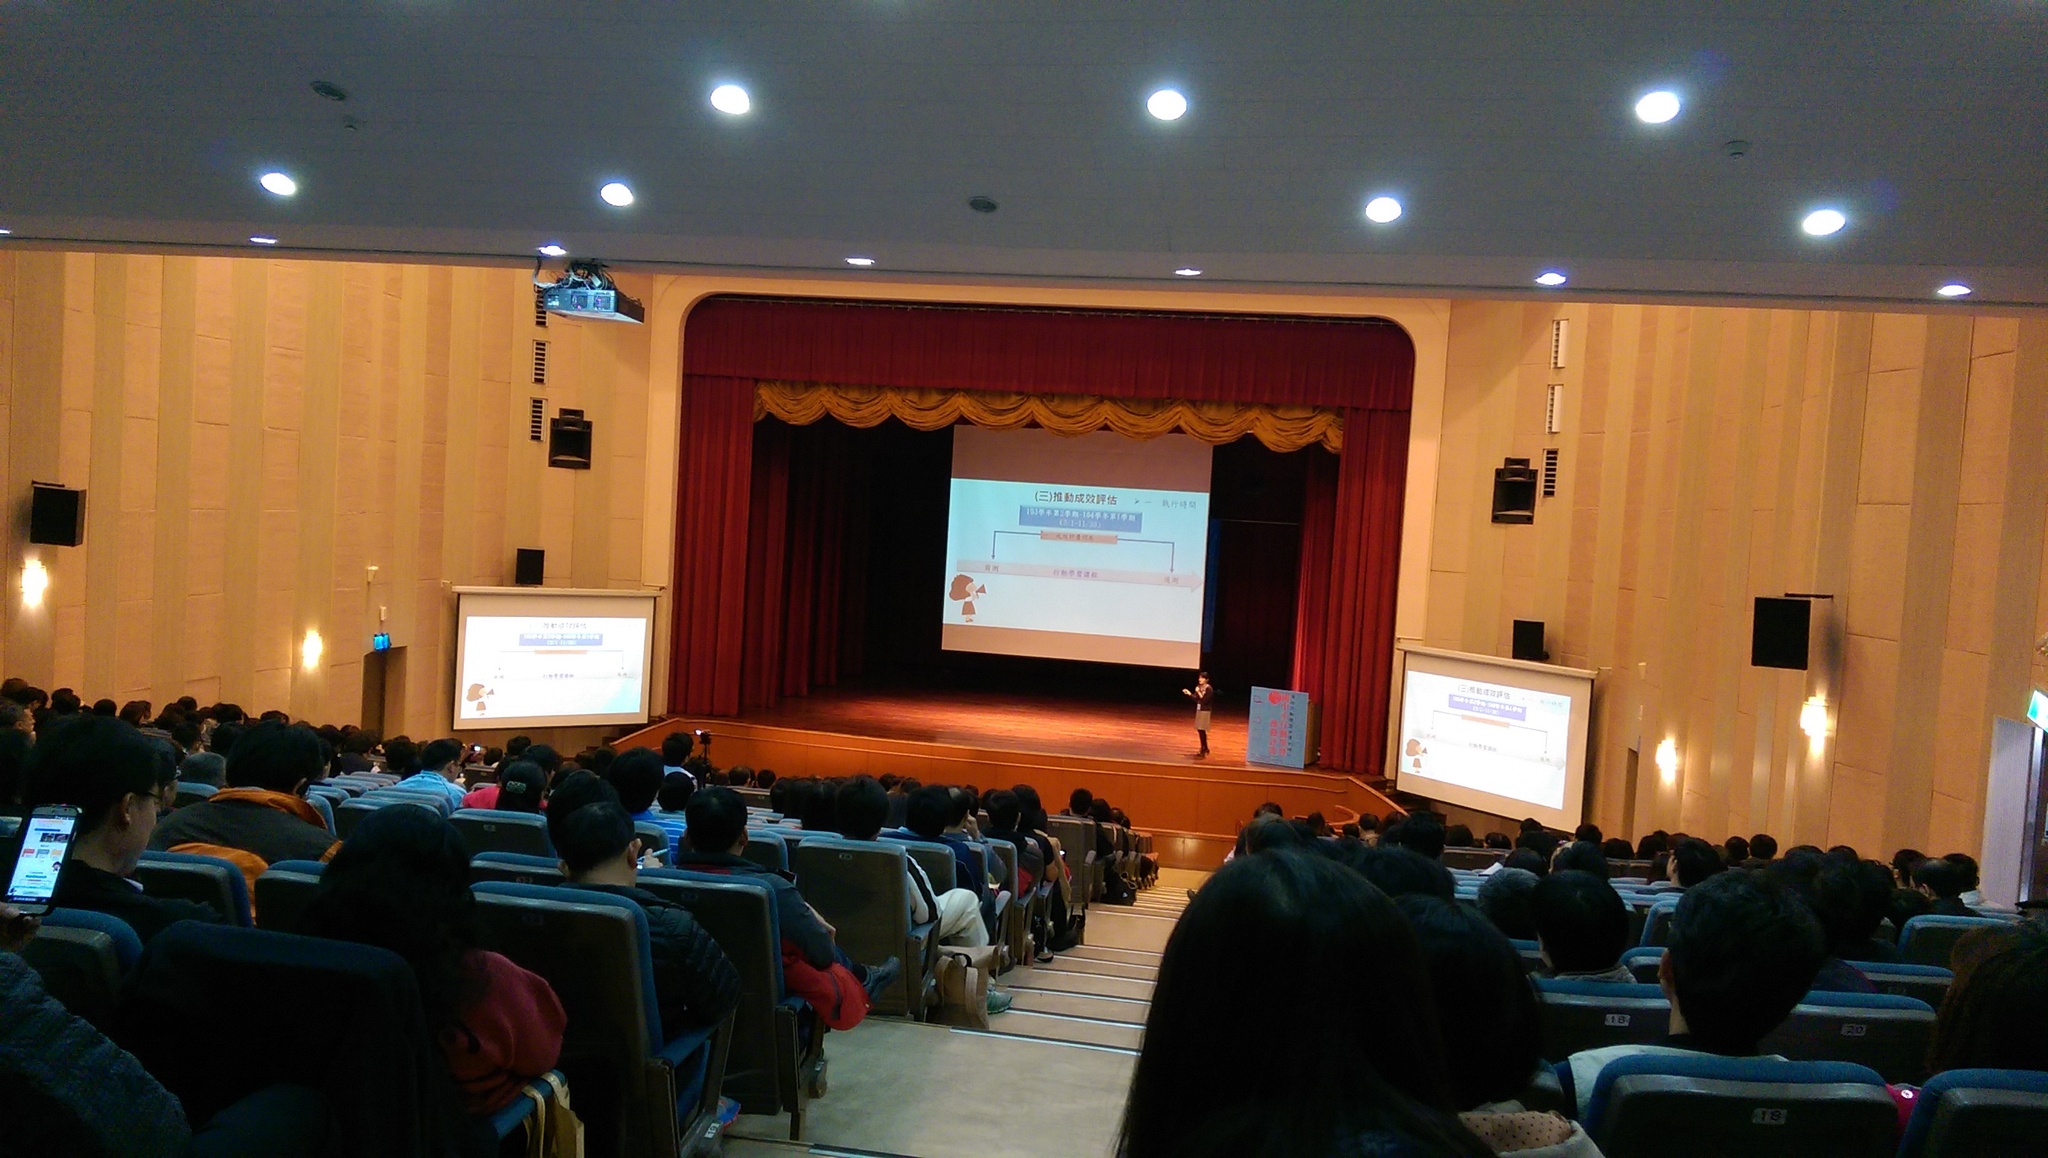 [@more@]下午的場次(資訊組長)
1. 行動學習教室軟硬體建置 雲林縣成功國小
2. 教室、校園AP建置與應用 宜蘭縣中山國小
3. 無線投影在行動學習的應用 臺東縣大王國小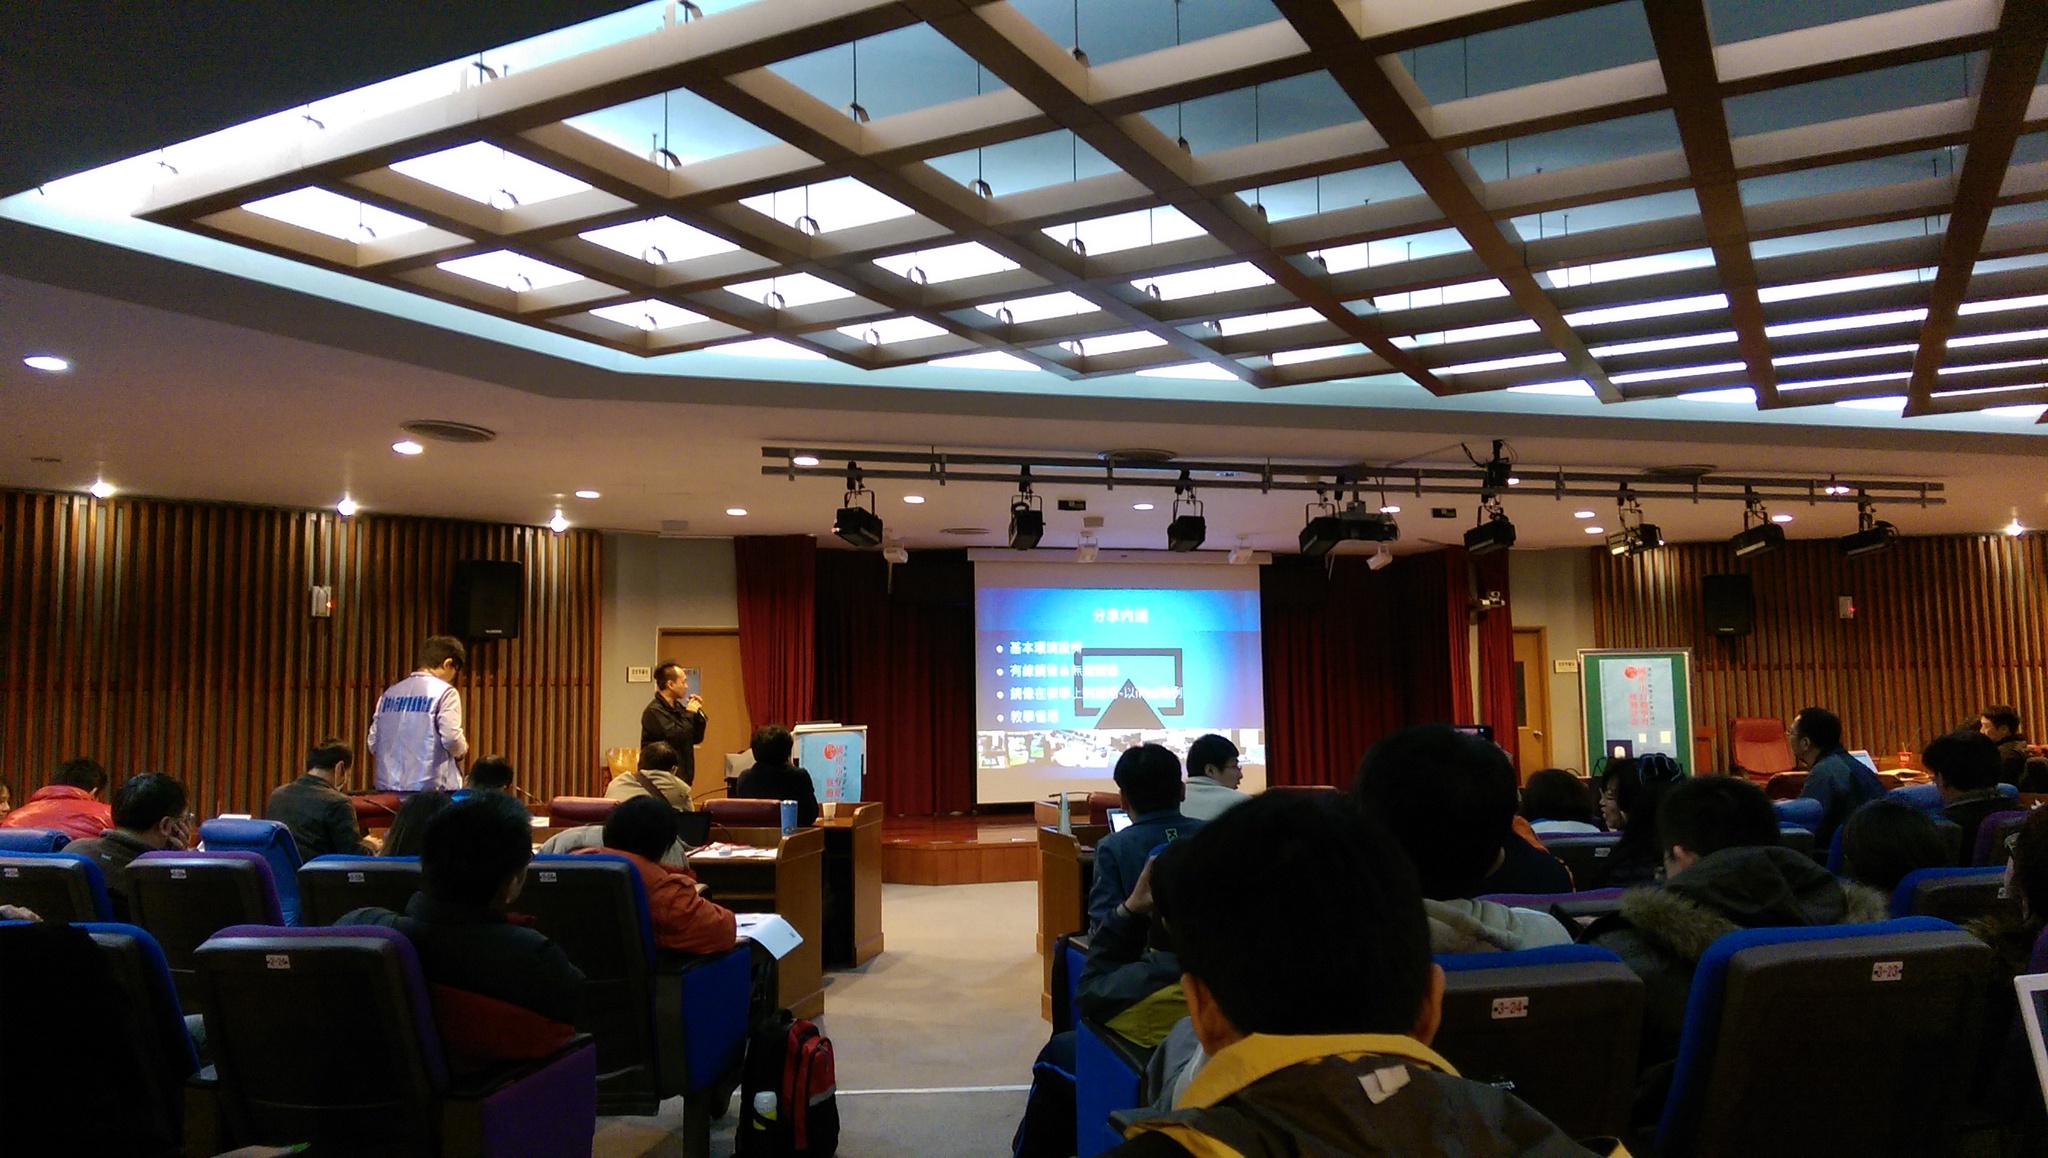
4. 3D列印結合行動學習 臺南市大成國中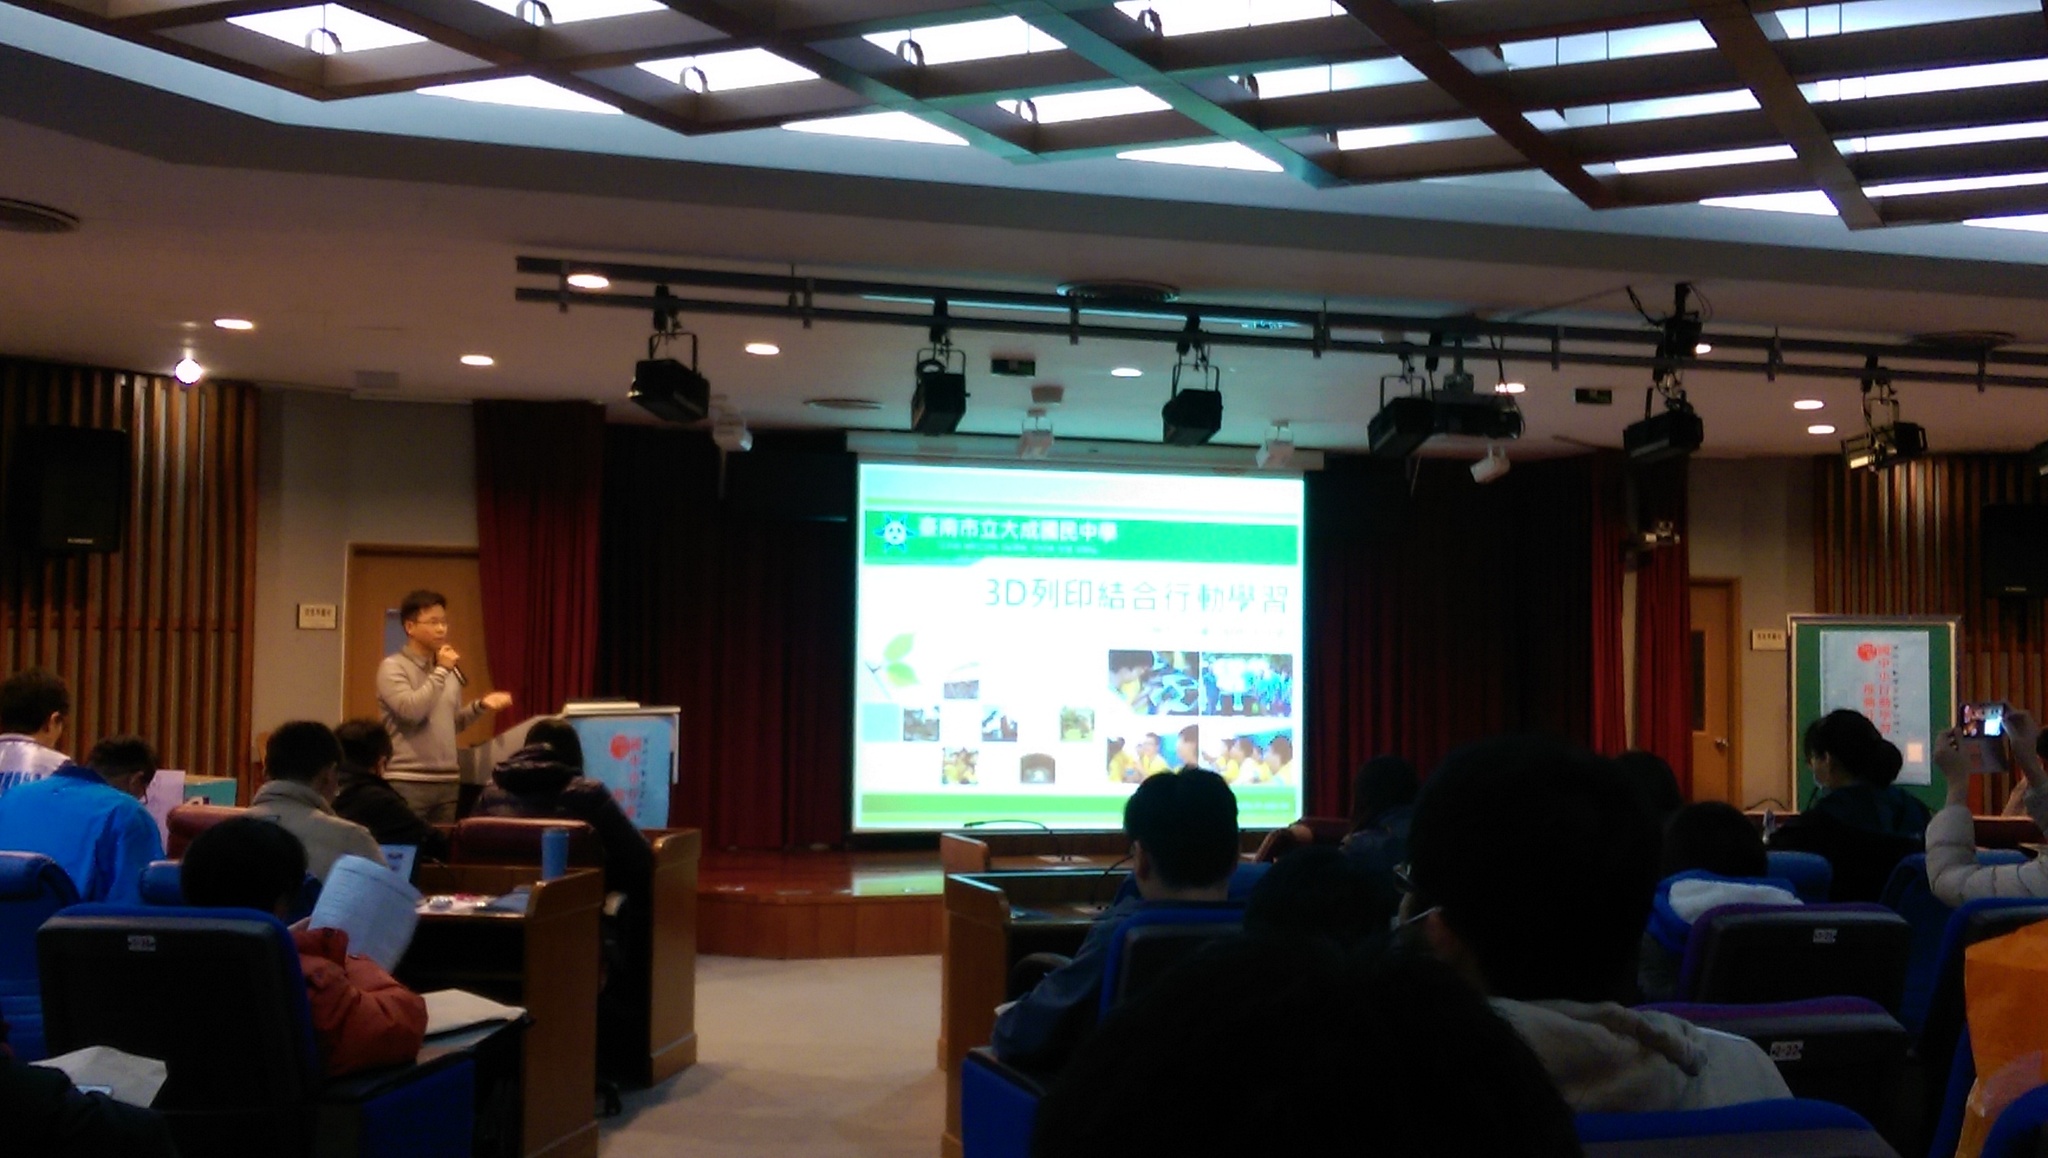
5. 擴增實境於行動學習上的運用 宜蘭縣羅東國小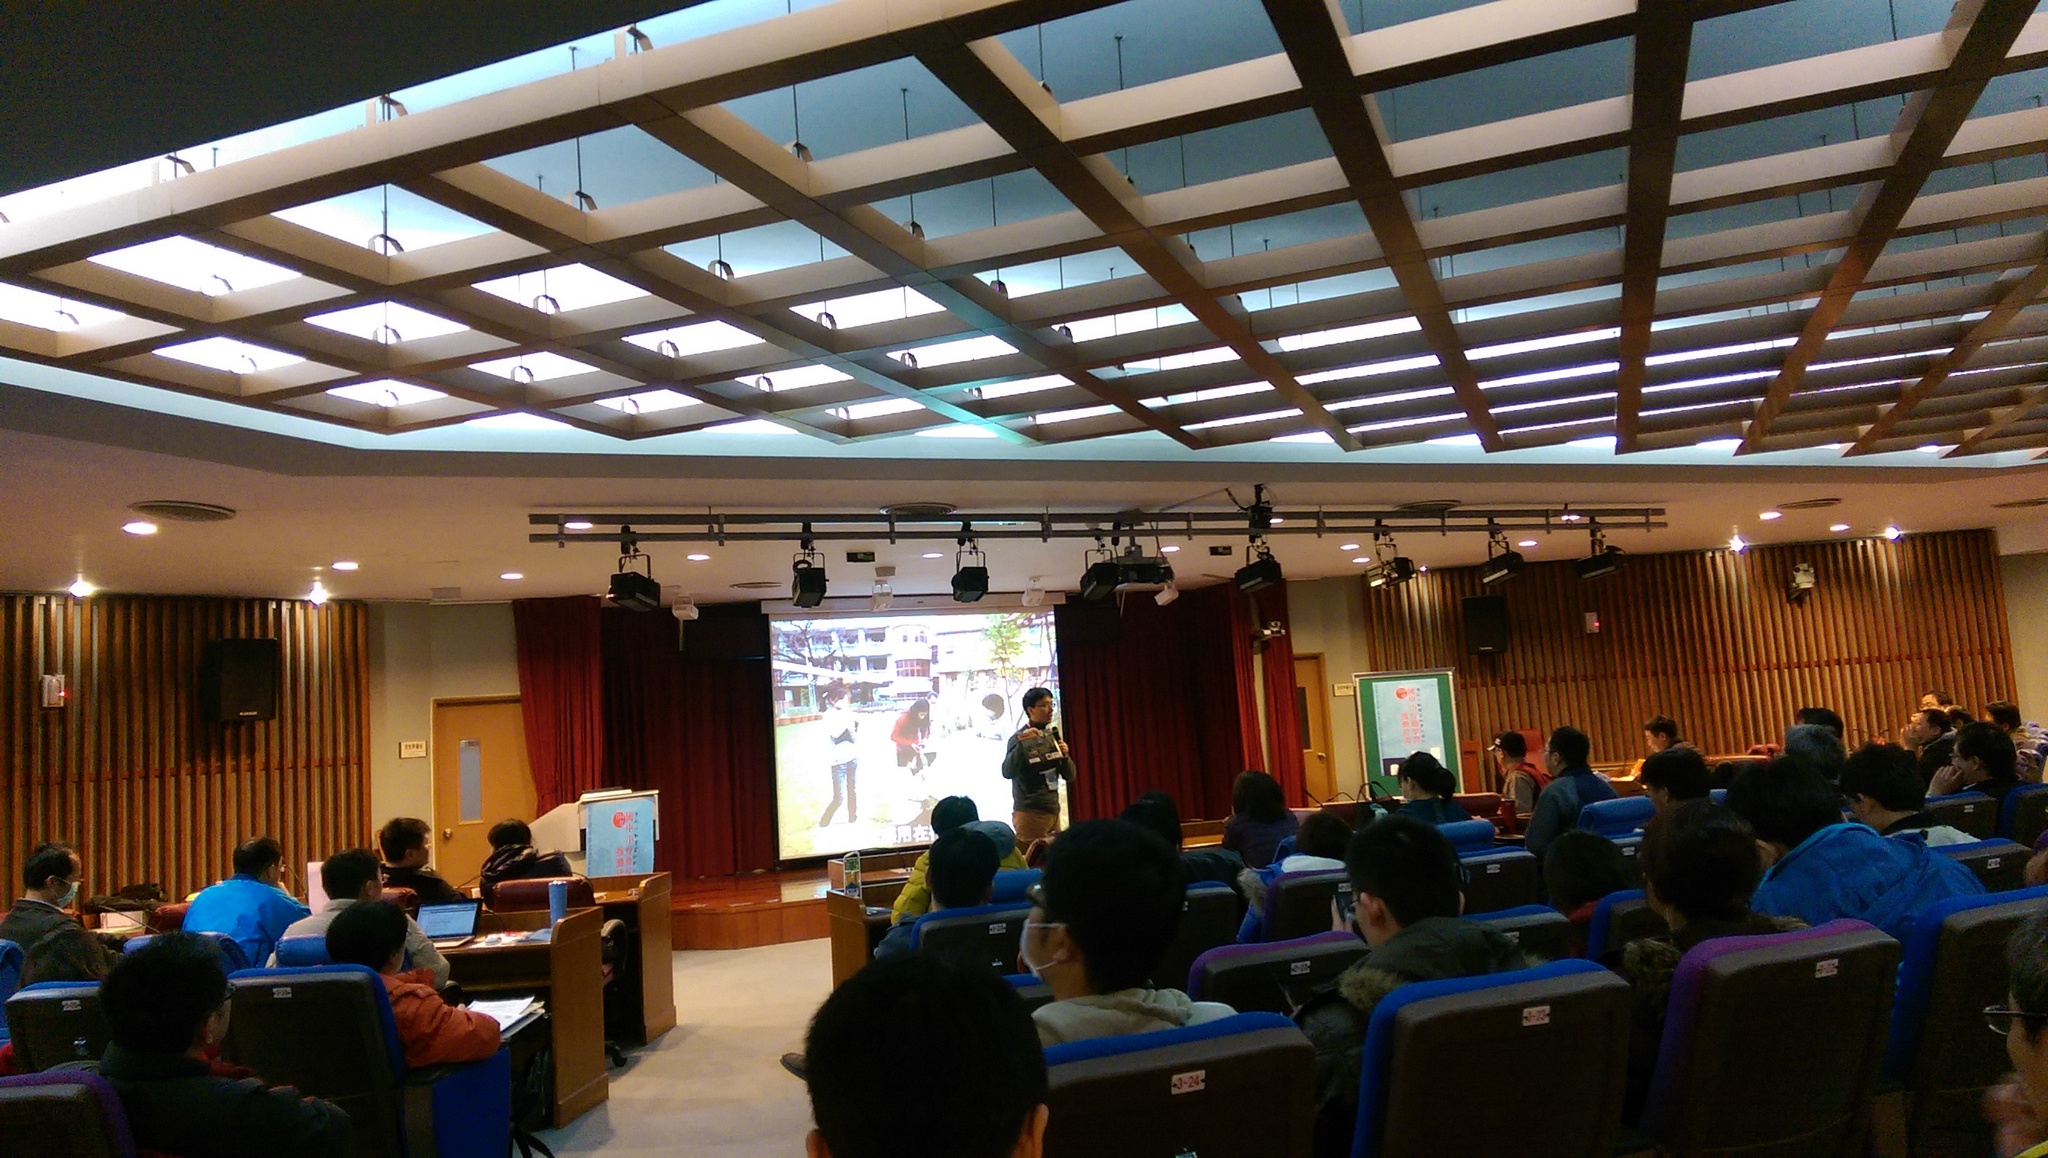
5. 教學平臺分享與與建置機制 臺北市南湖國小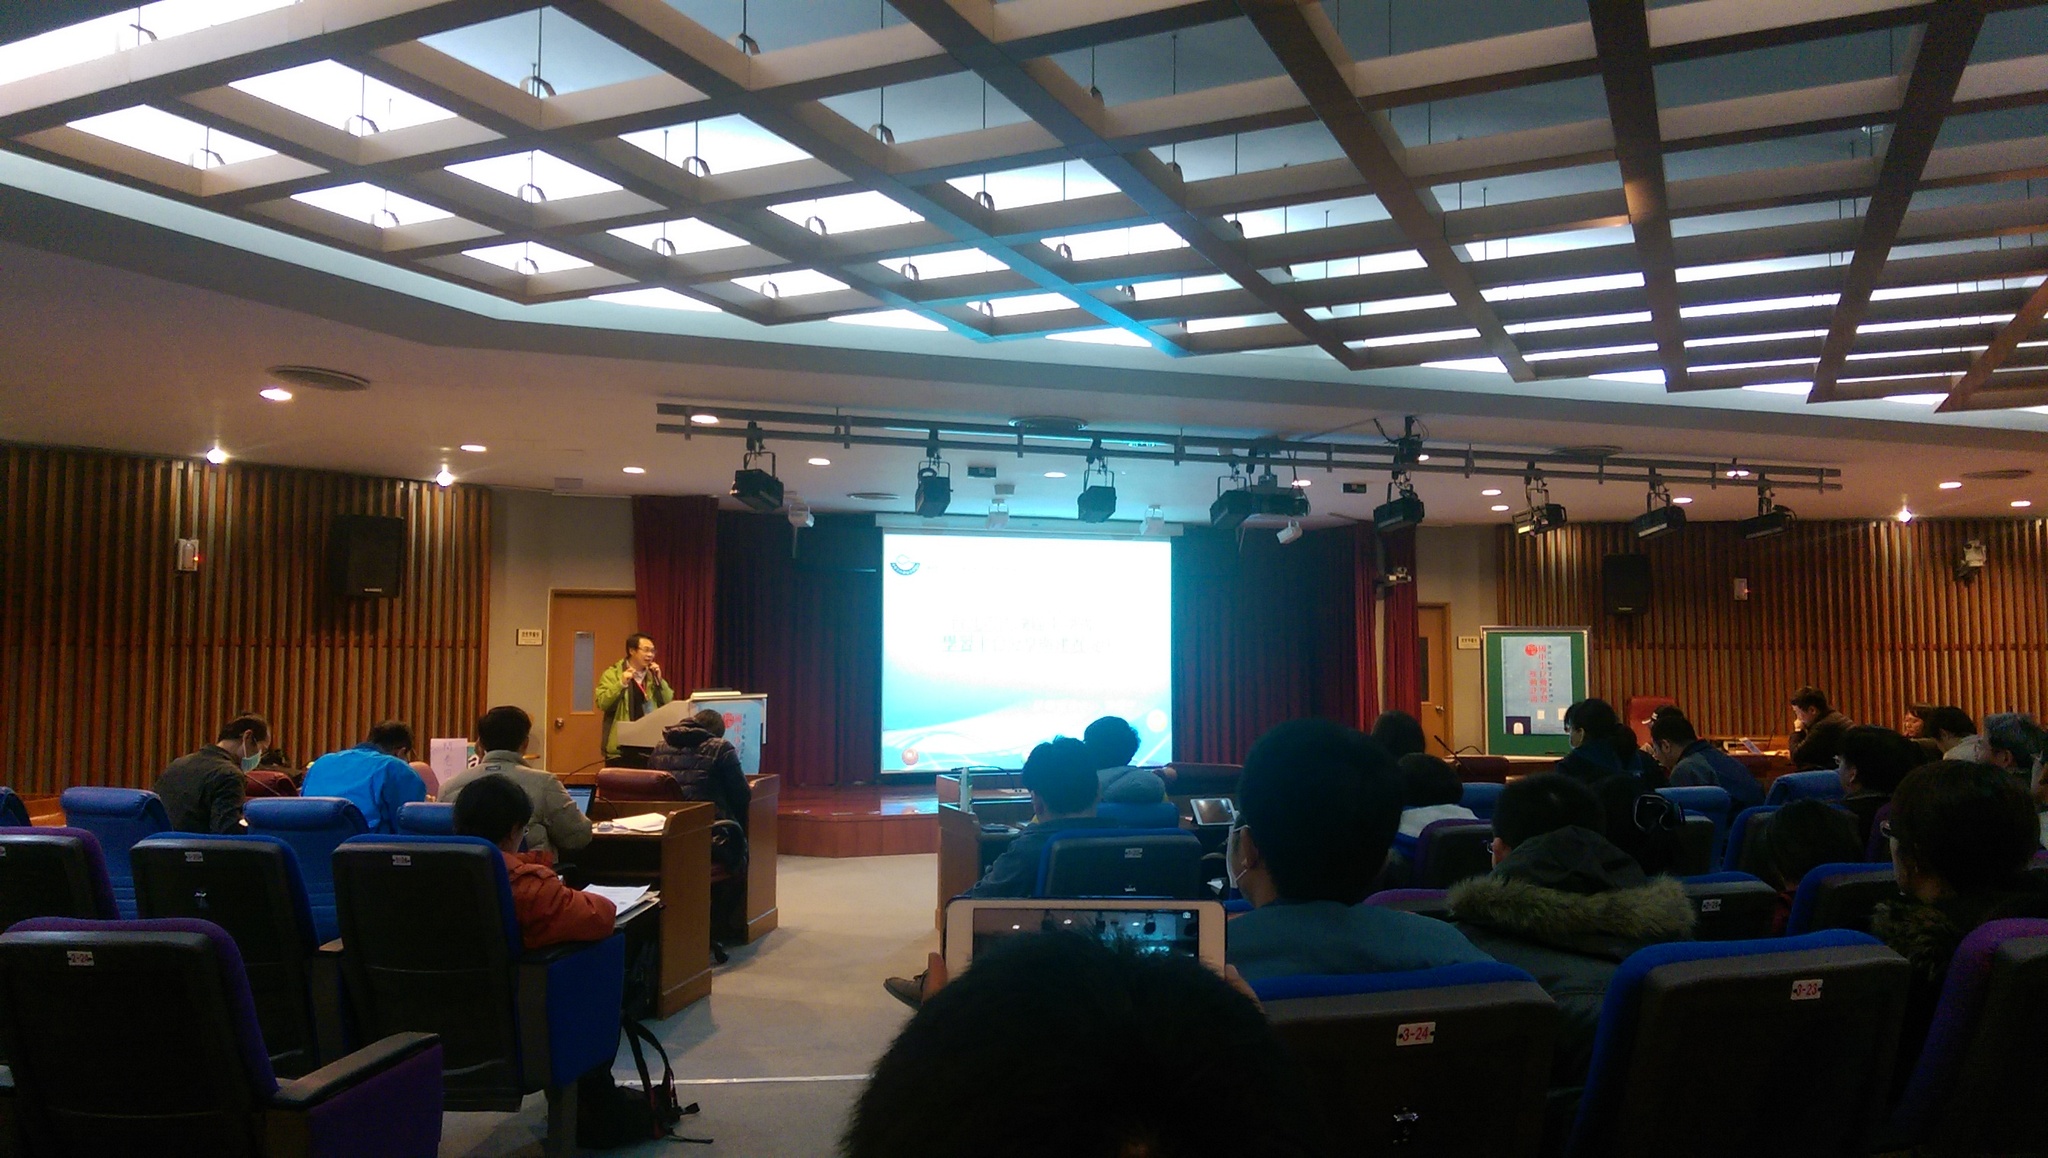
參考網頁:在 ASUS Chromebook C300 使用 Ubuntu Unity 桌面 « Jamyy’s Weblog
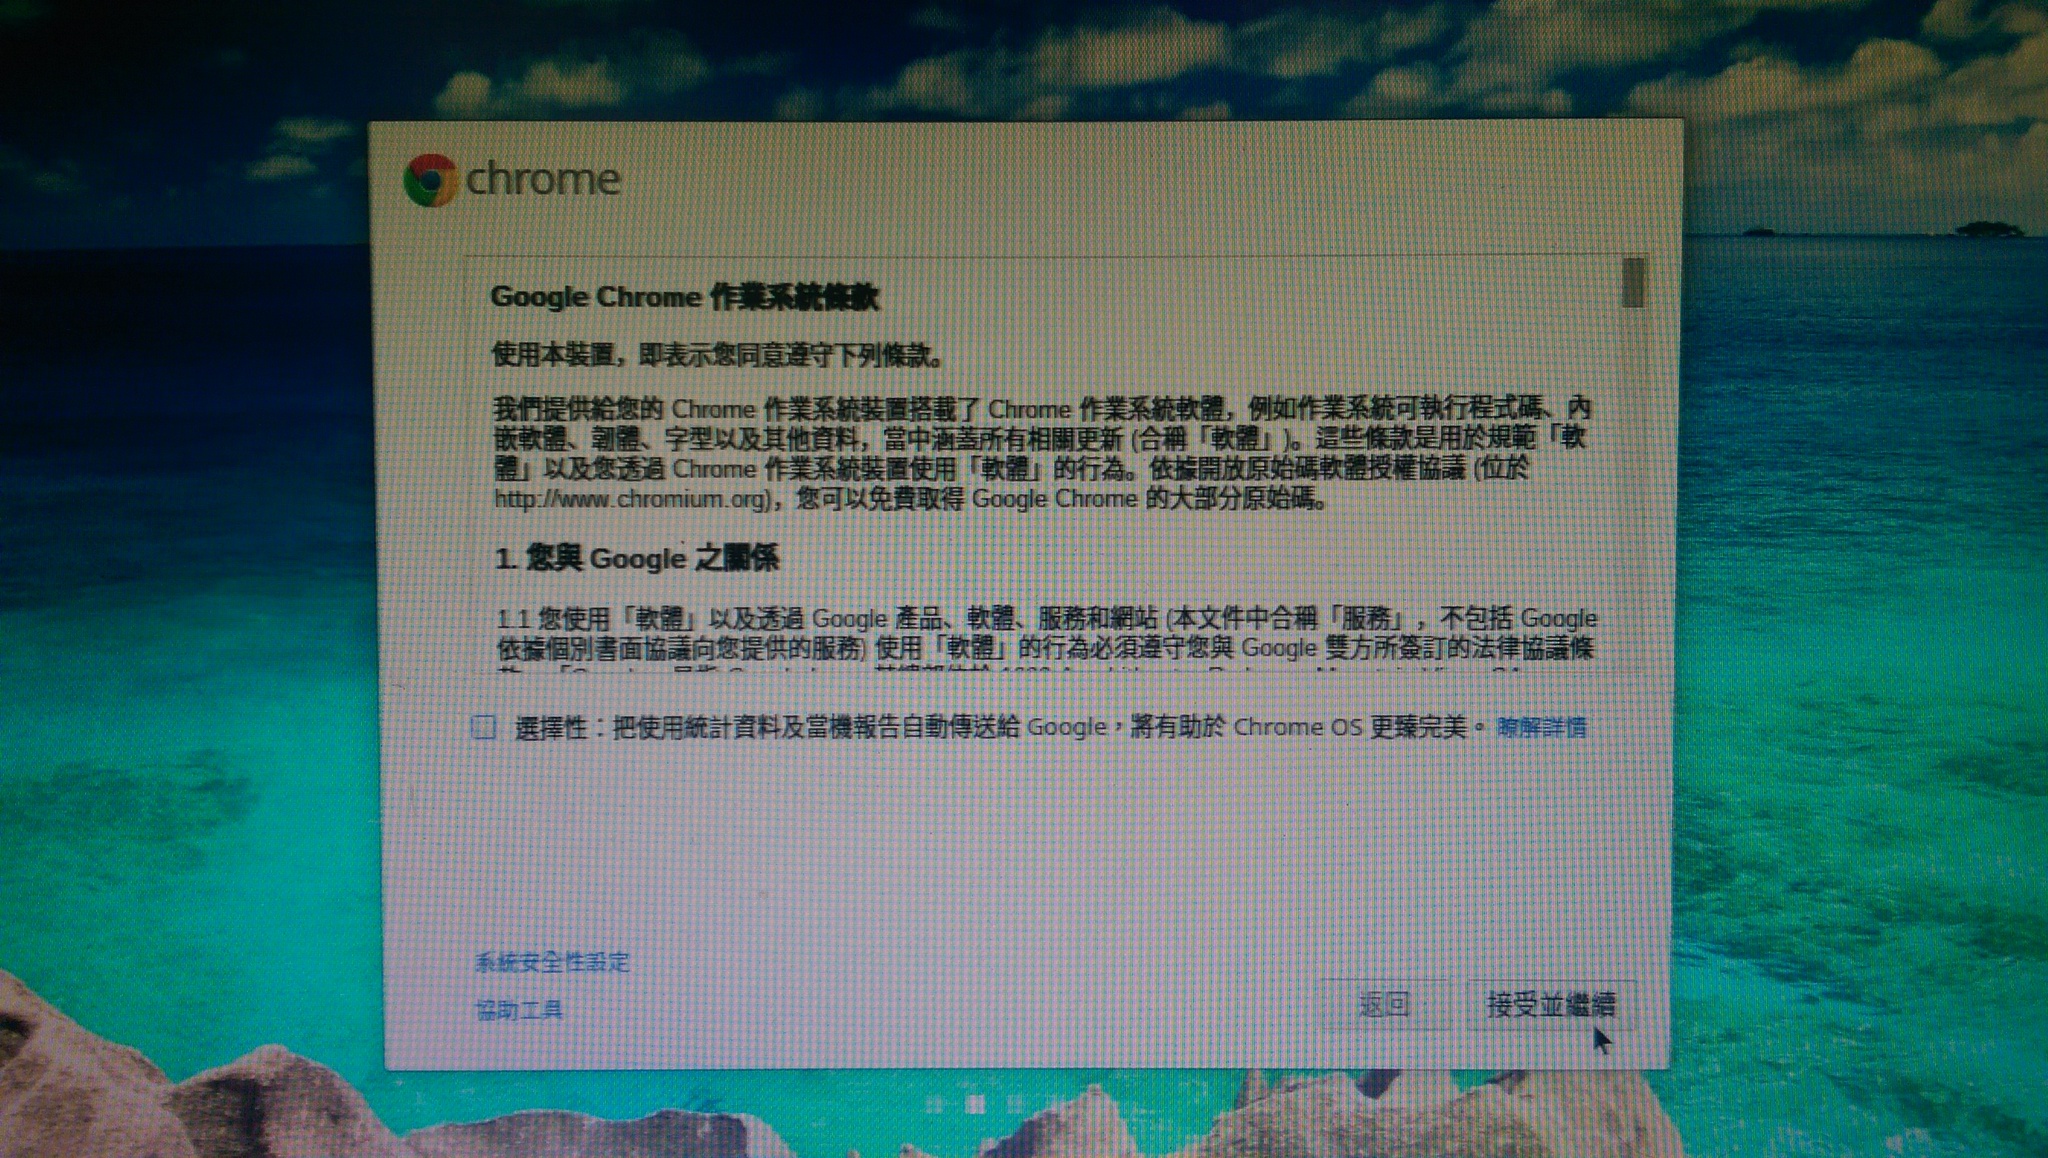
1. 進入開發人員模式
注意:進入開發人員模式,會把 ChromeOS 上的所有設定清除,就像是重新使用新機一樣,所以請先備份好自己的檔案
先將 Chromebox 關機
同時按 修復按鈕 和 電源鍵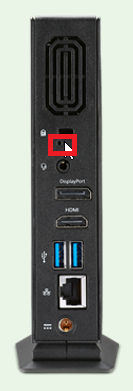

[@more@]出現 Chrome 作業系統已毀損或遺失,請按 Ctlr+D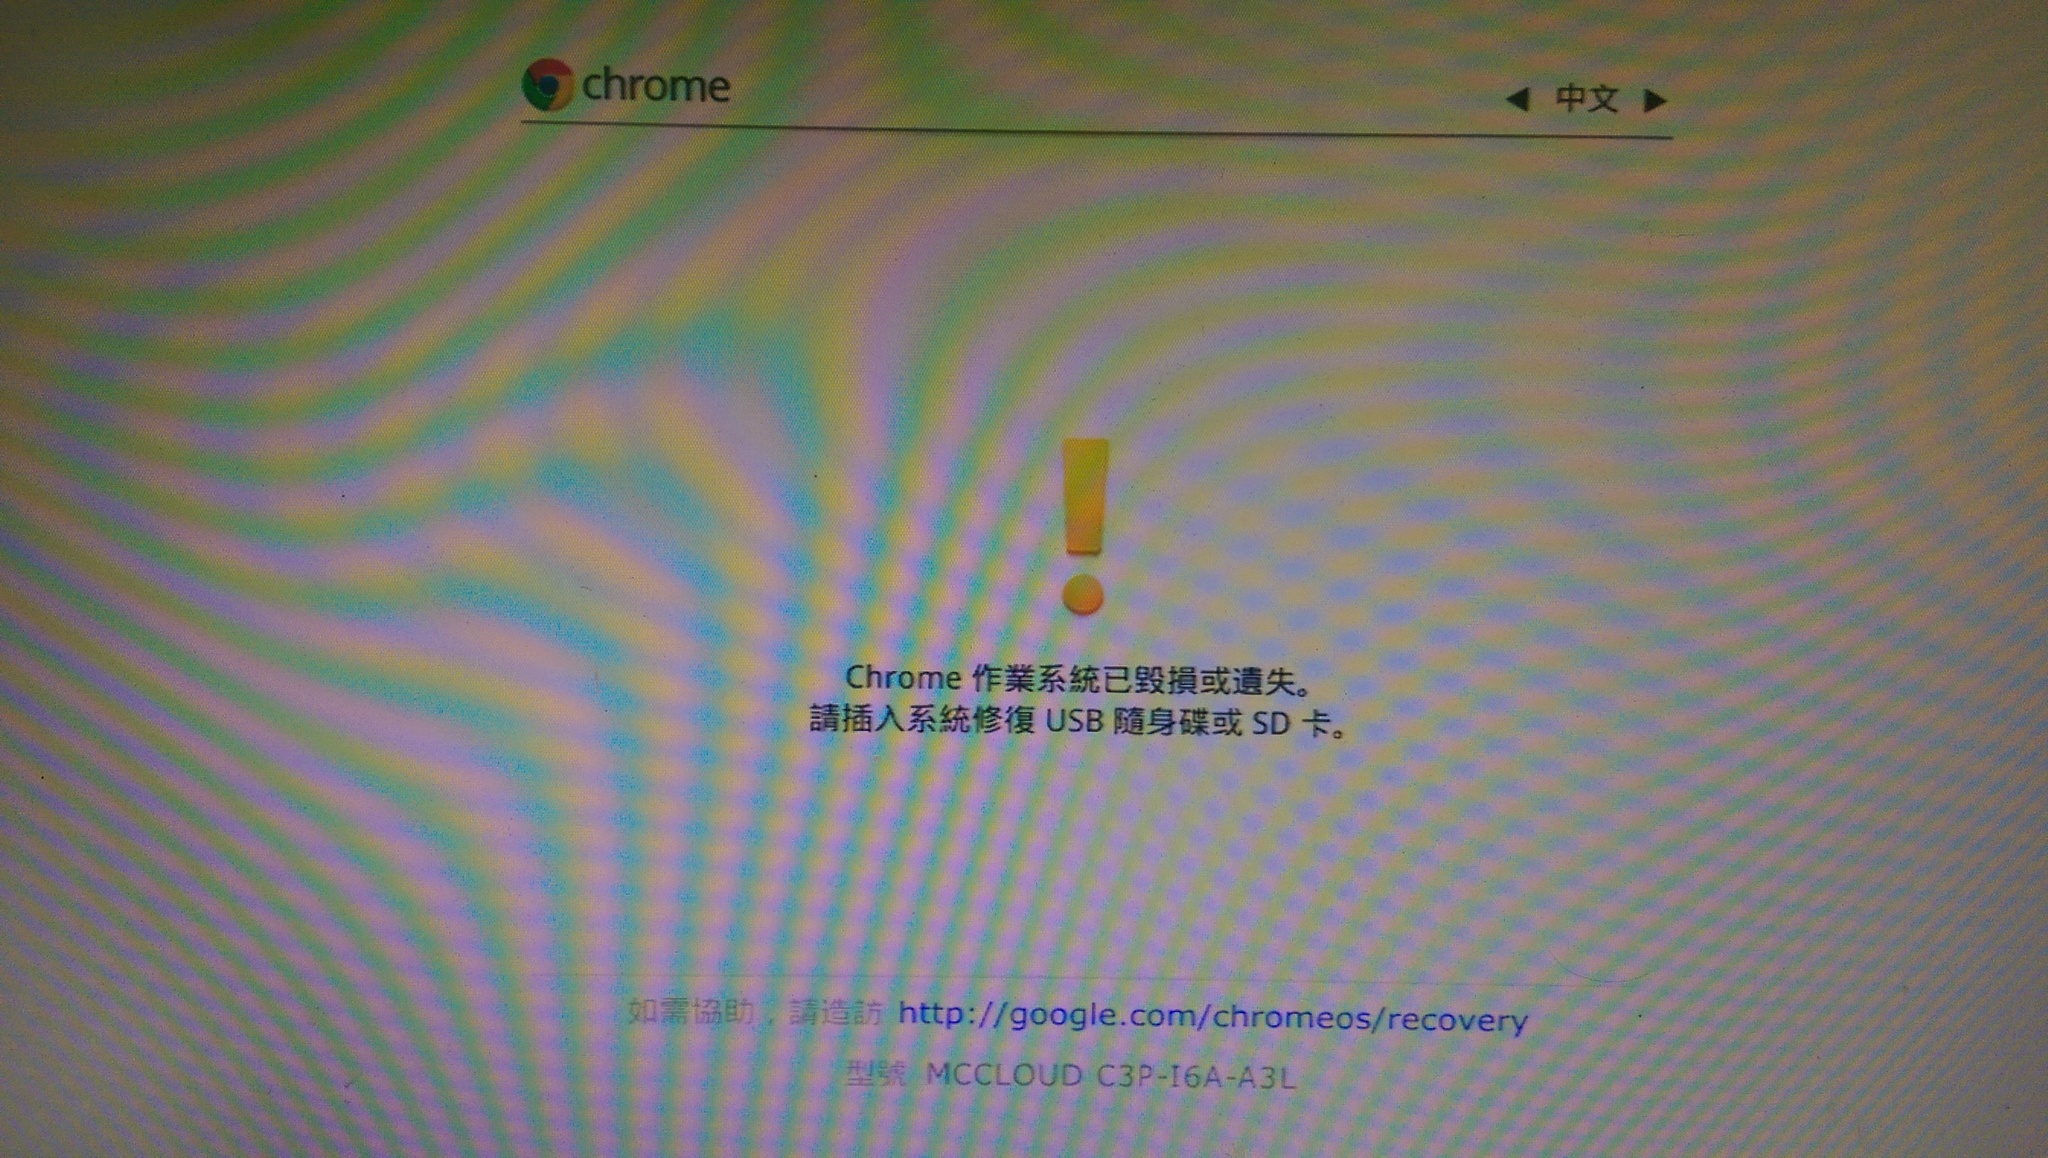
按一下 修復按鈕,關閉 Chrome 作業系統驗證程序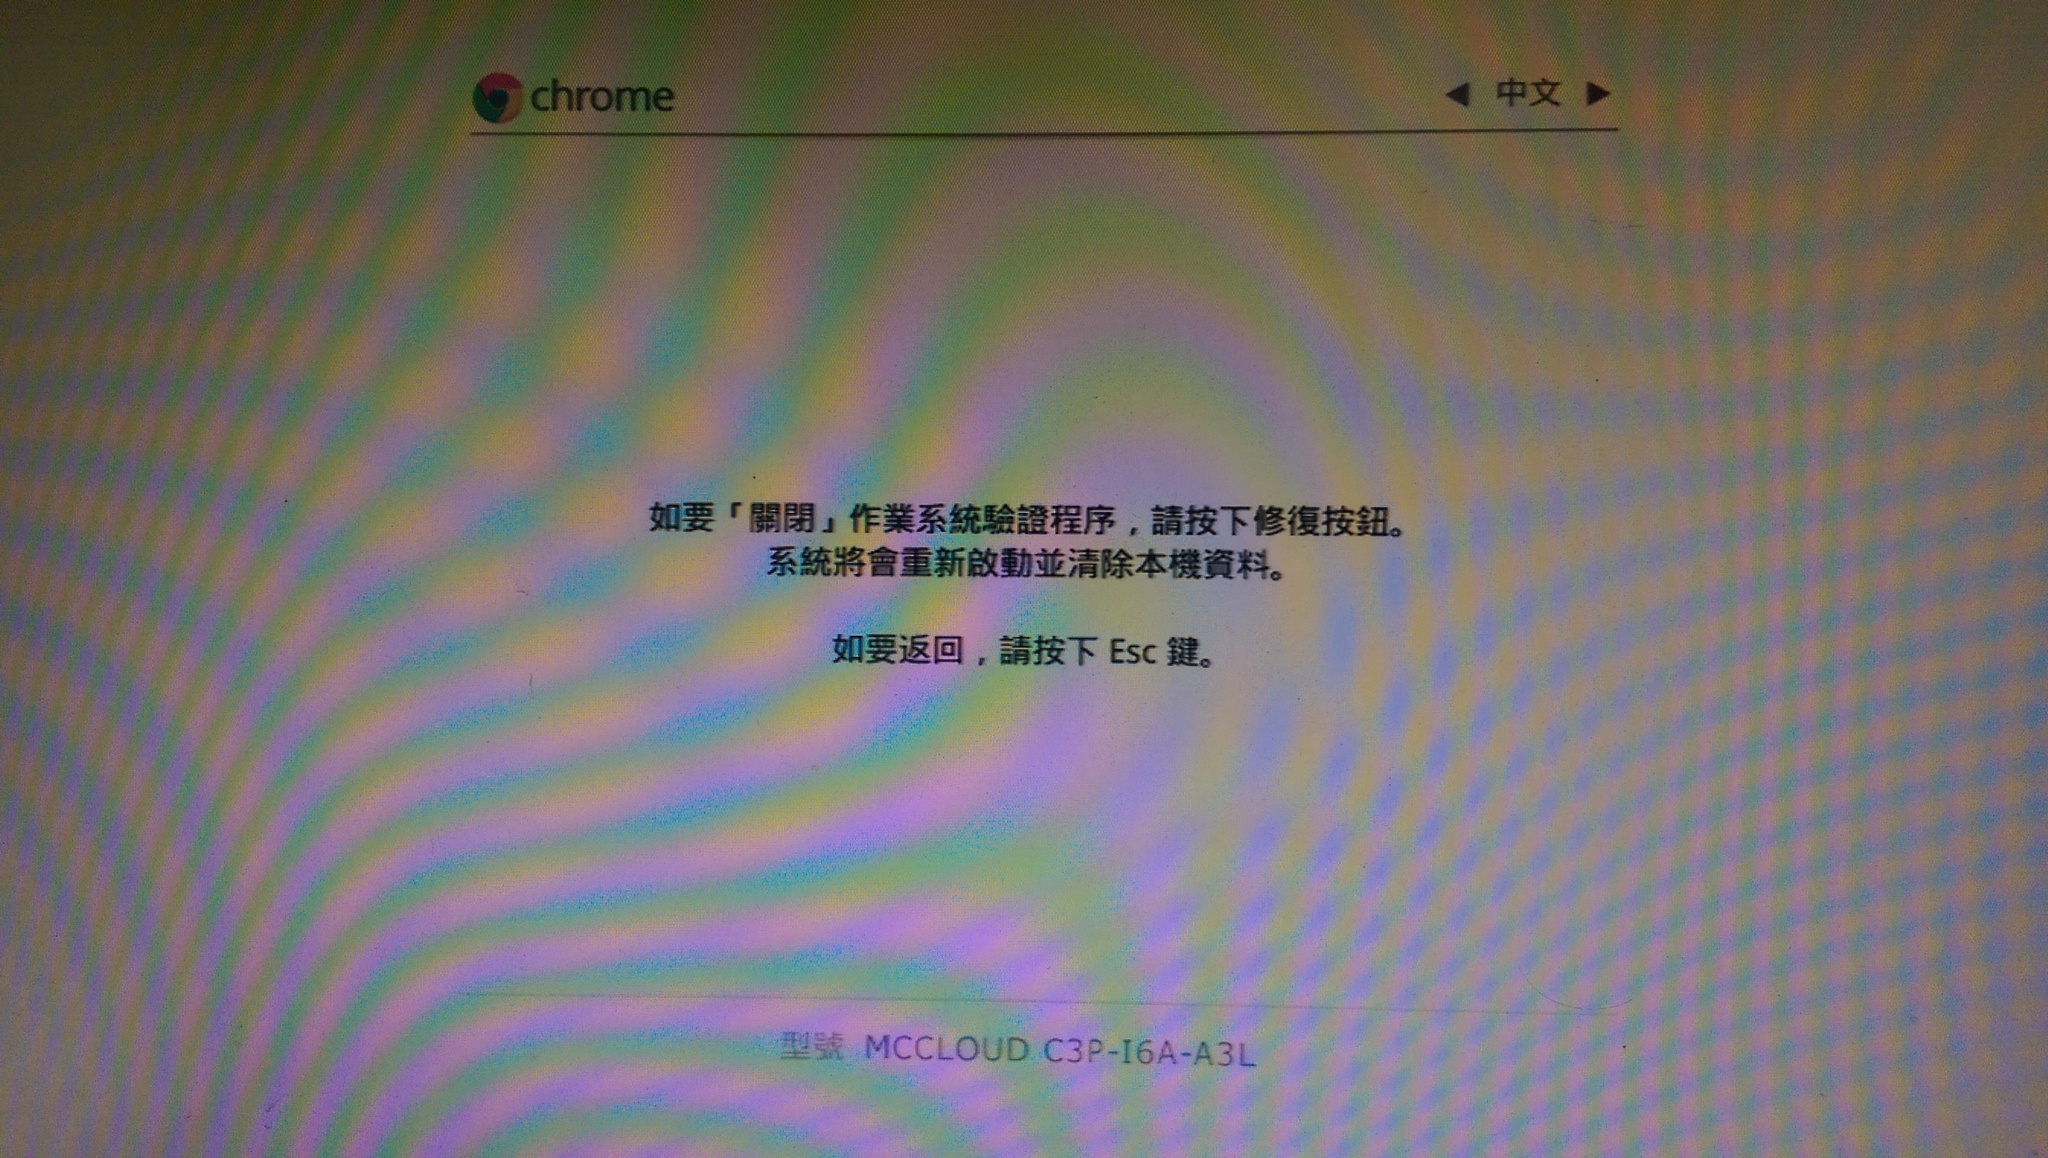
Chrome 作業系統驗證程序已關閉,按 Ctrl+D 繼續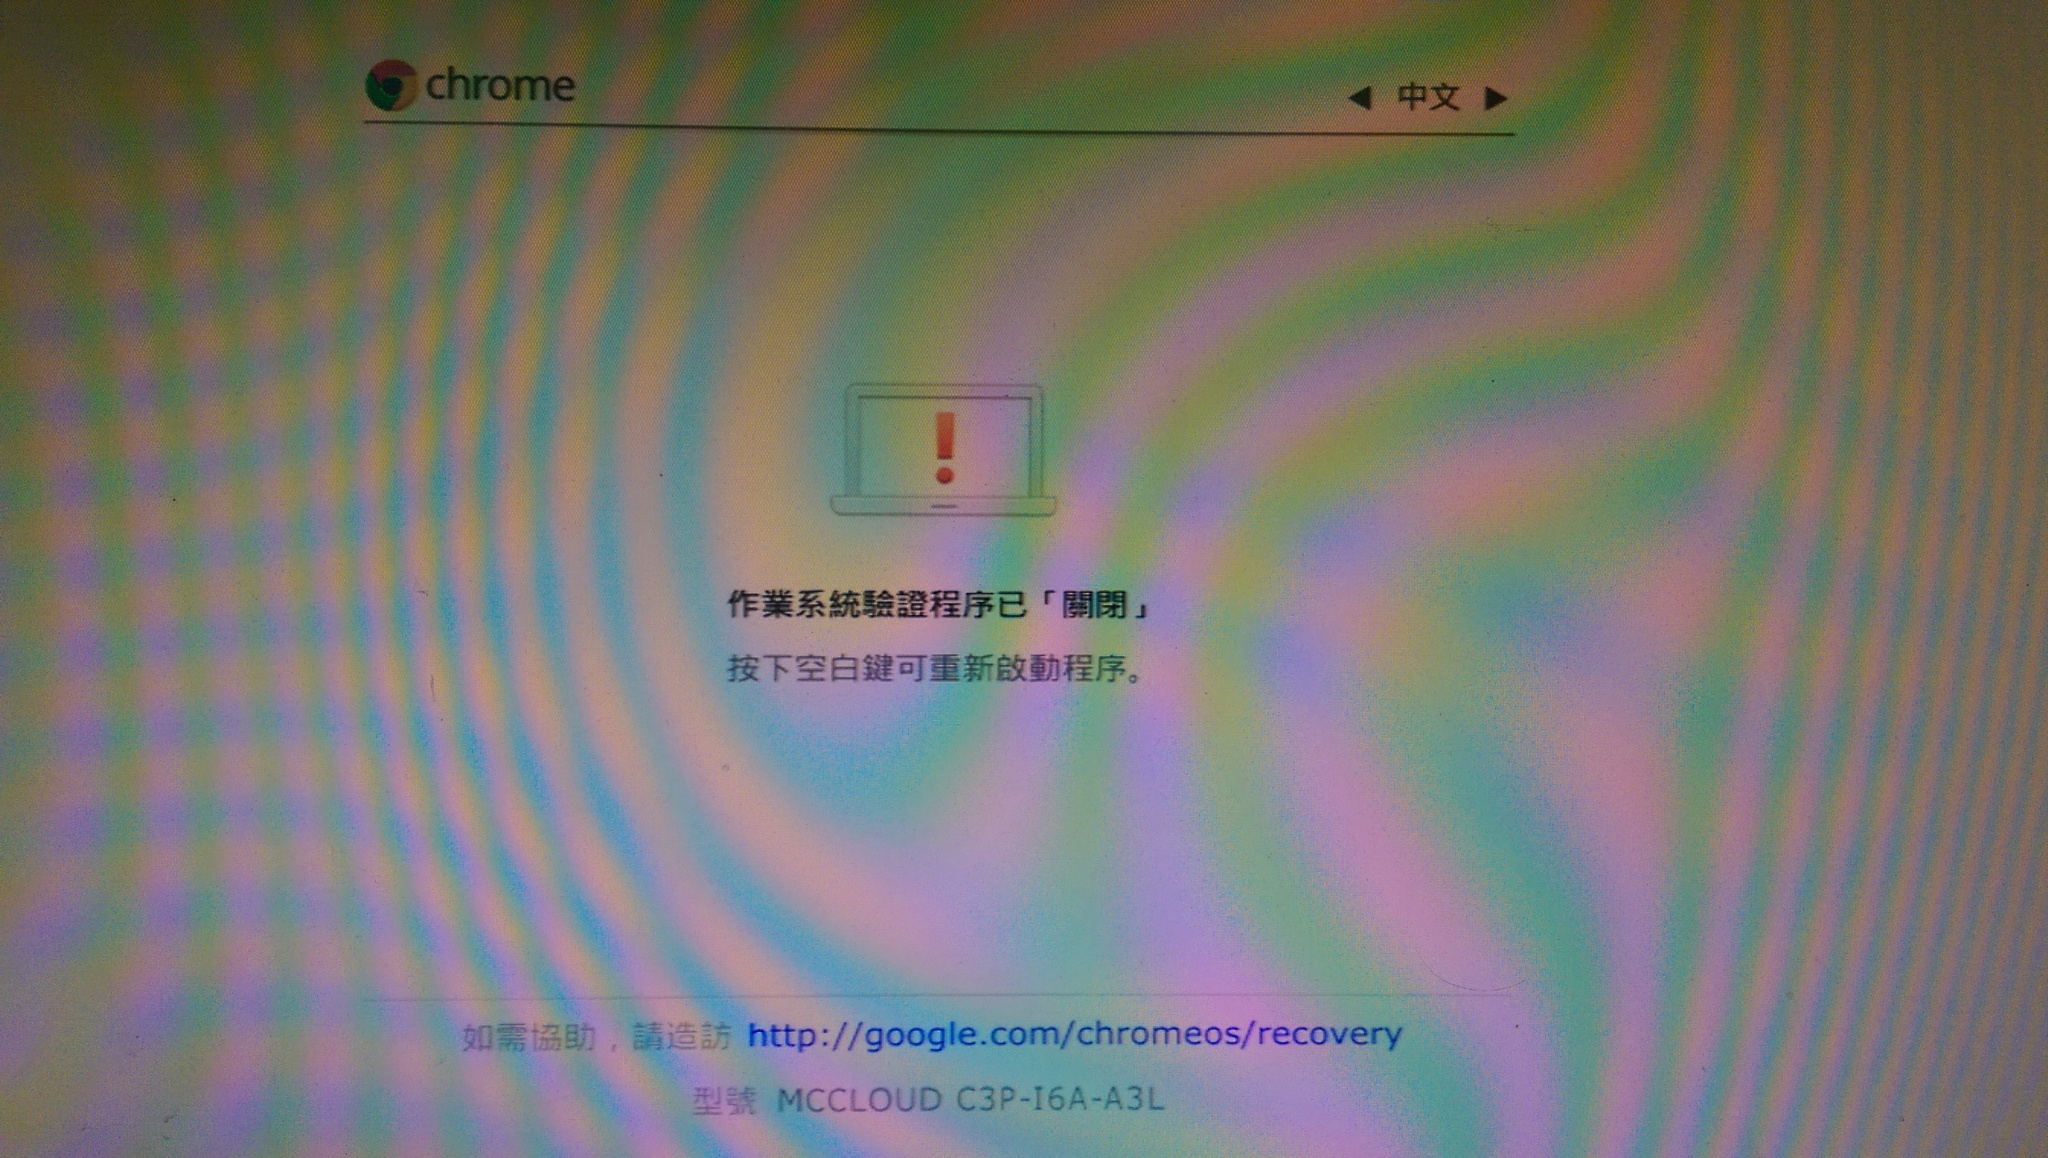
系統正在進入 開發人員模式,本機的資料已遭到清除
轉換完成之後,系統會重新開機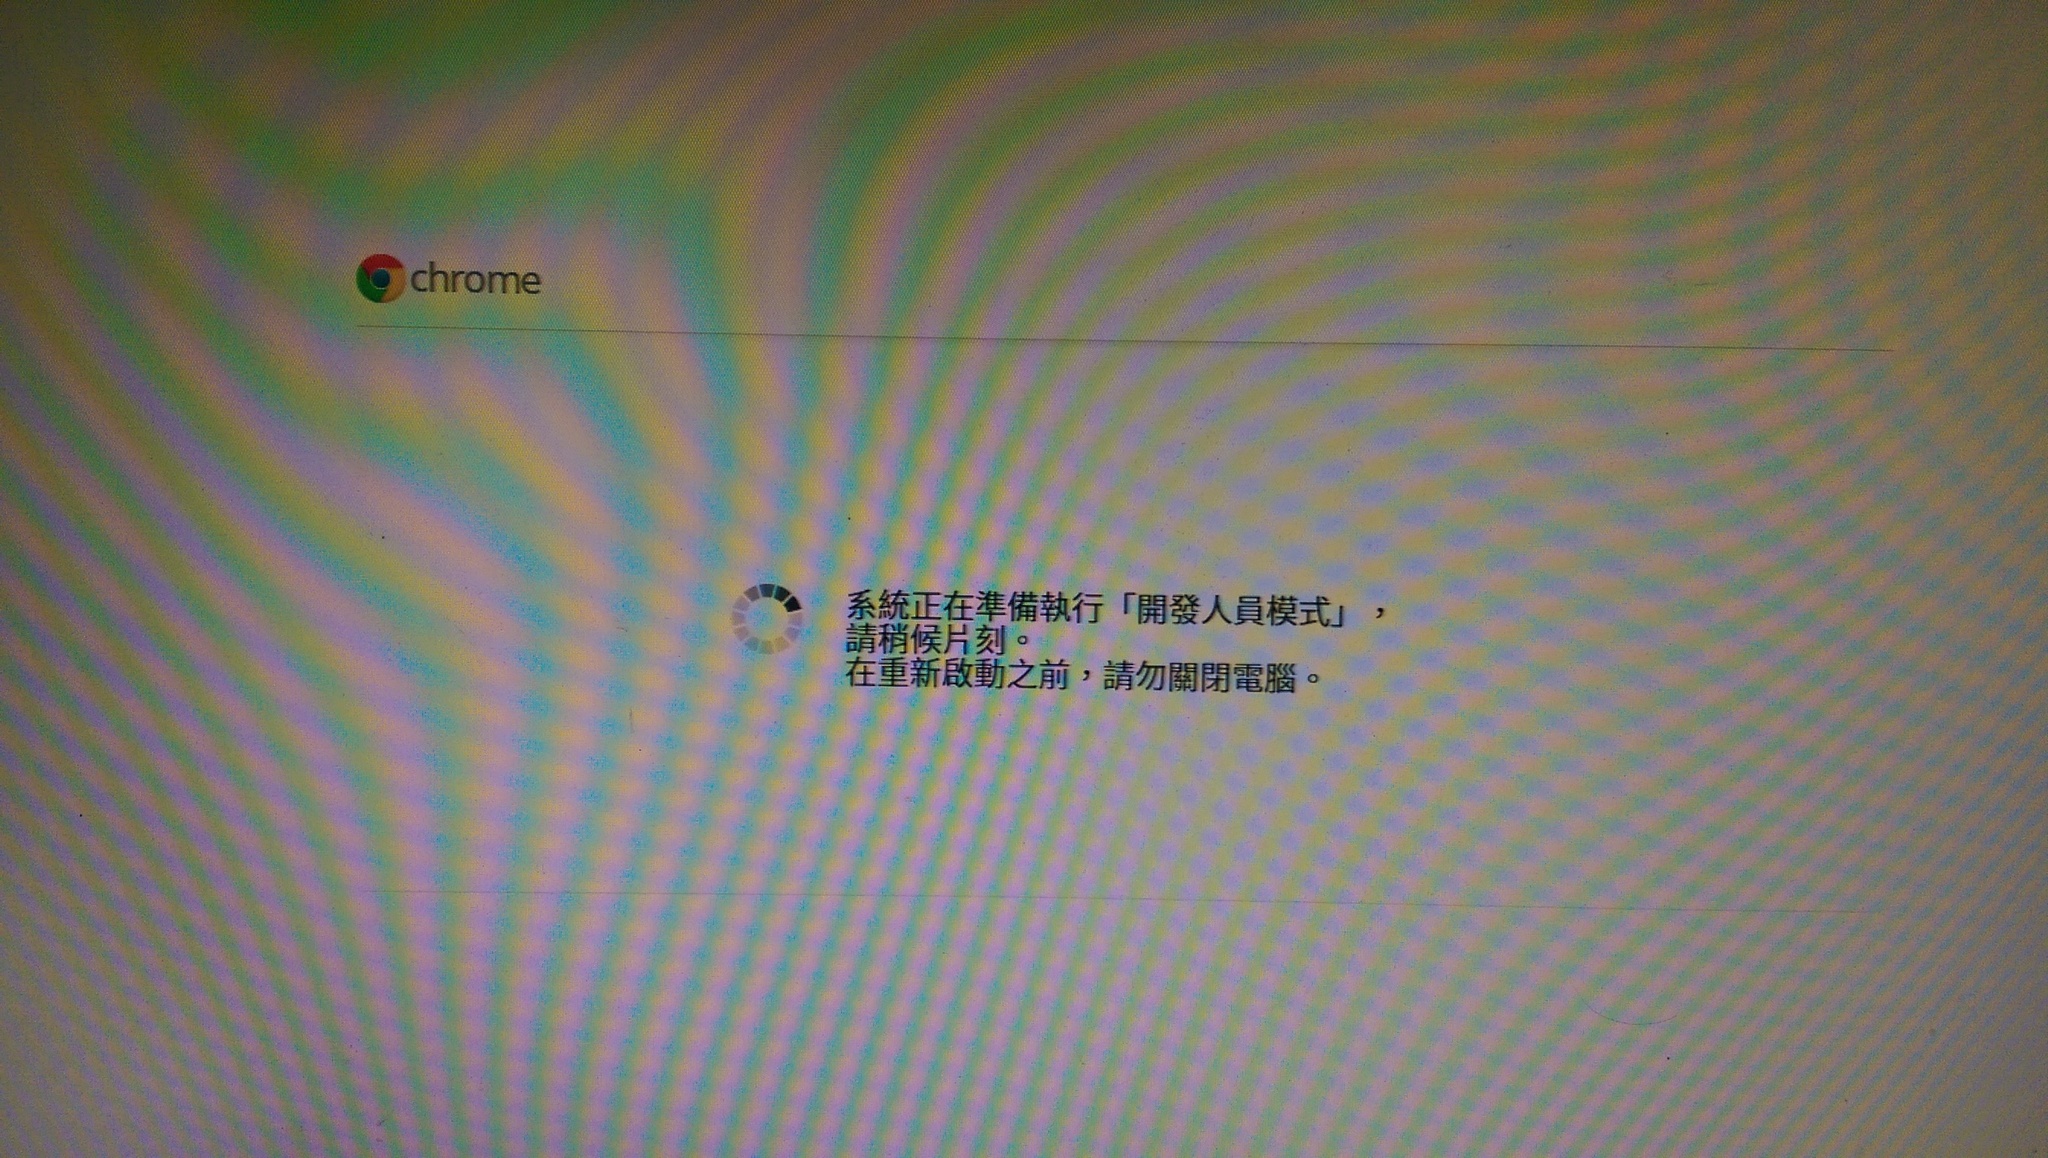
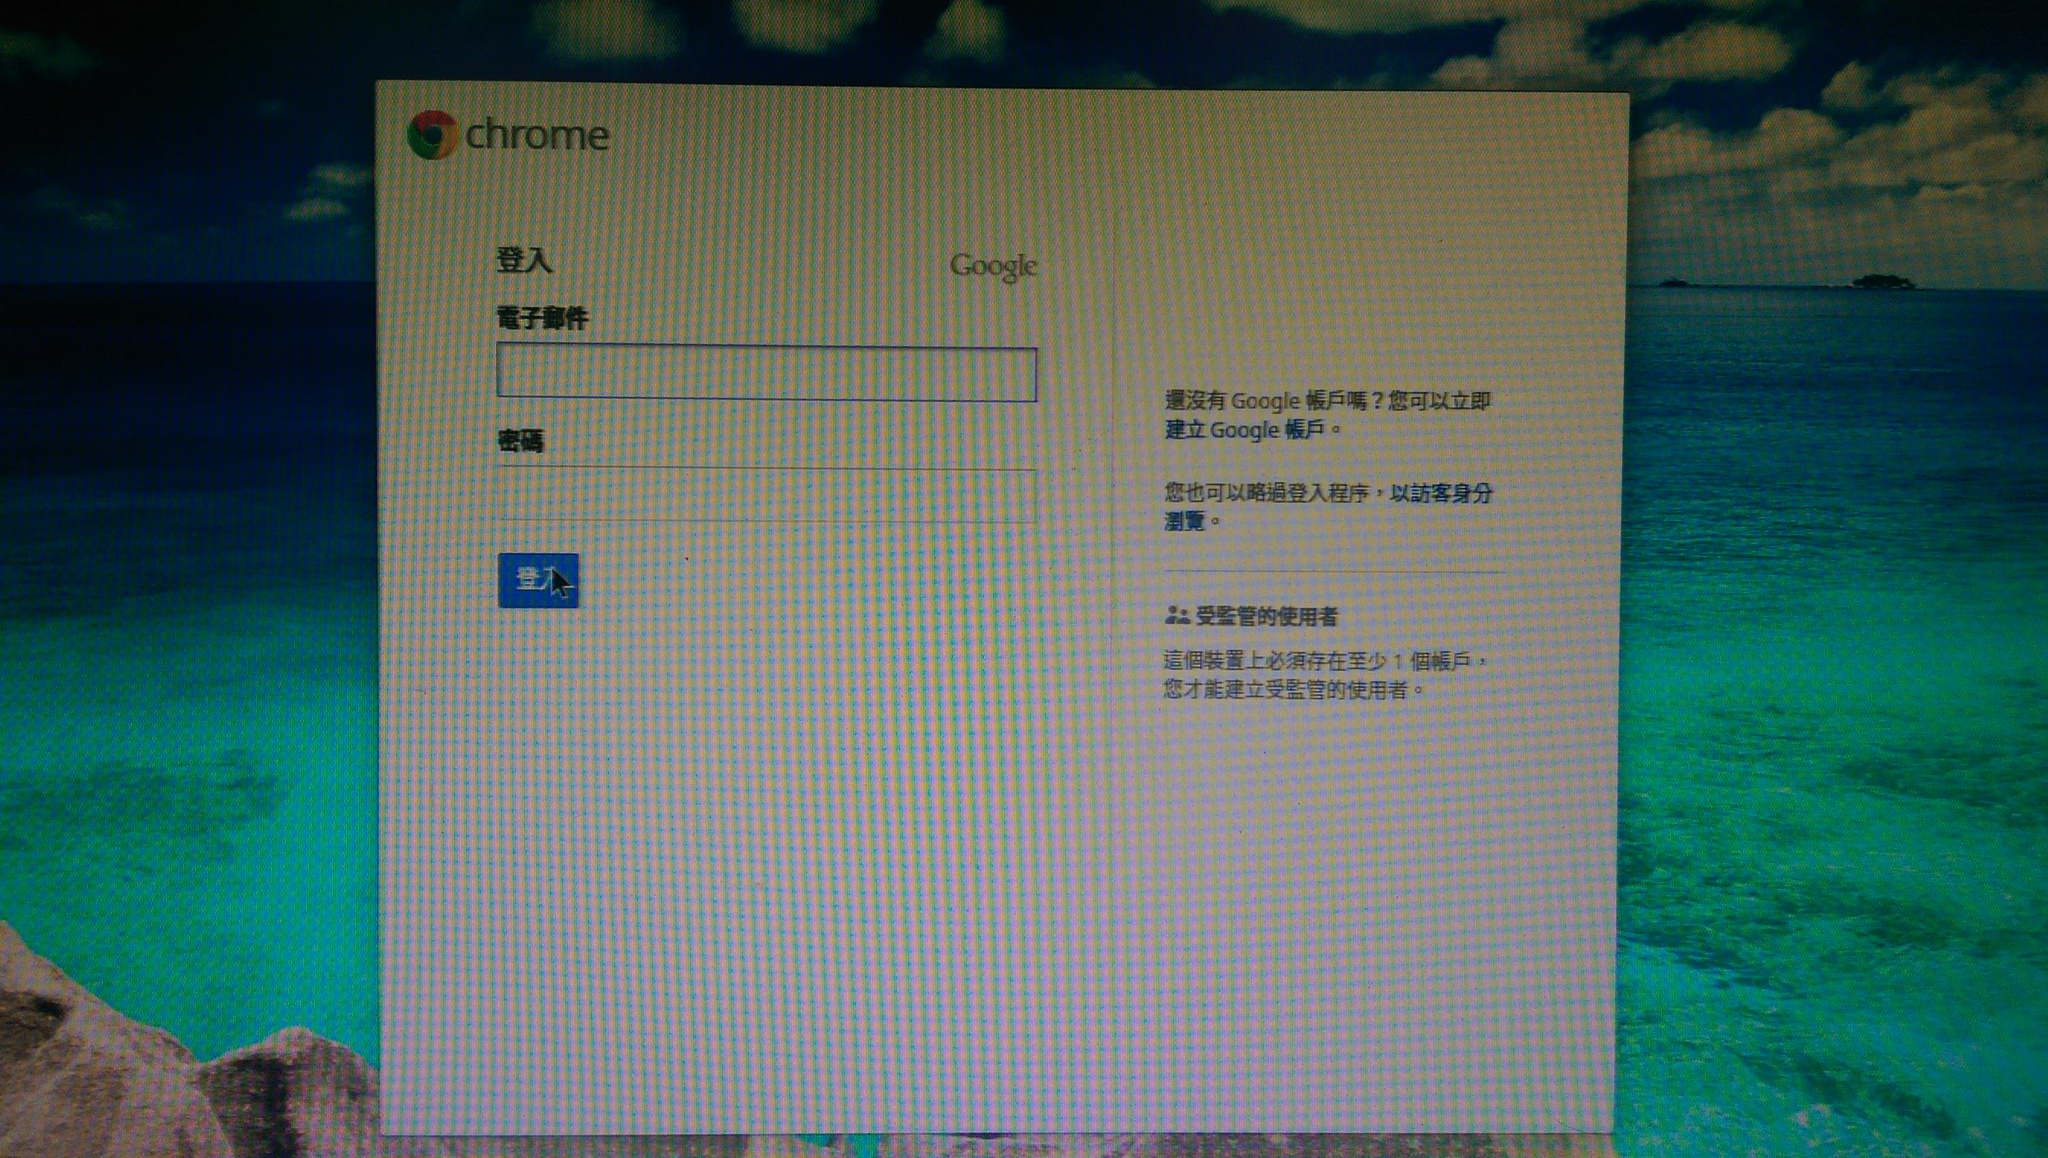
重新初始化設定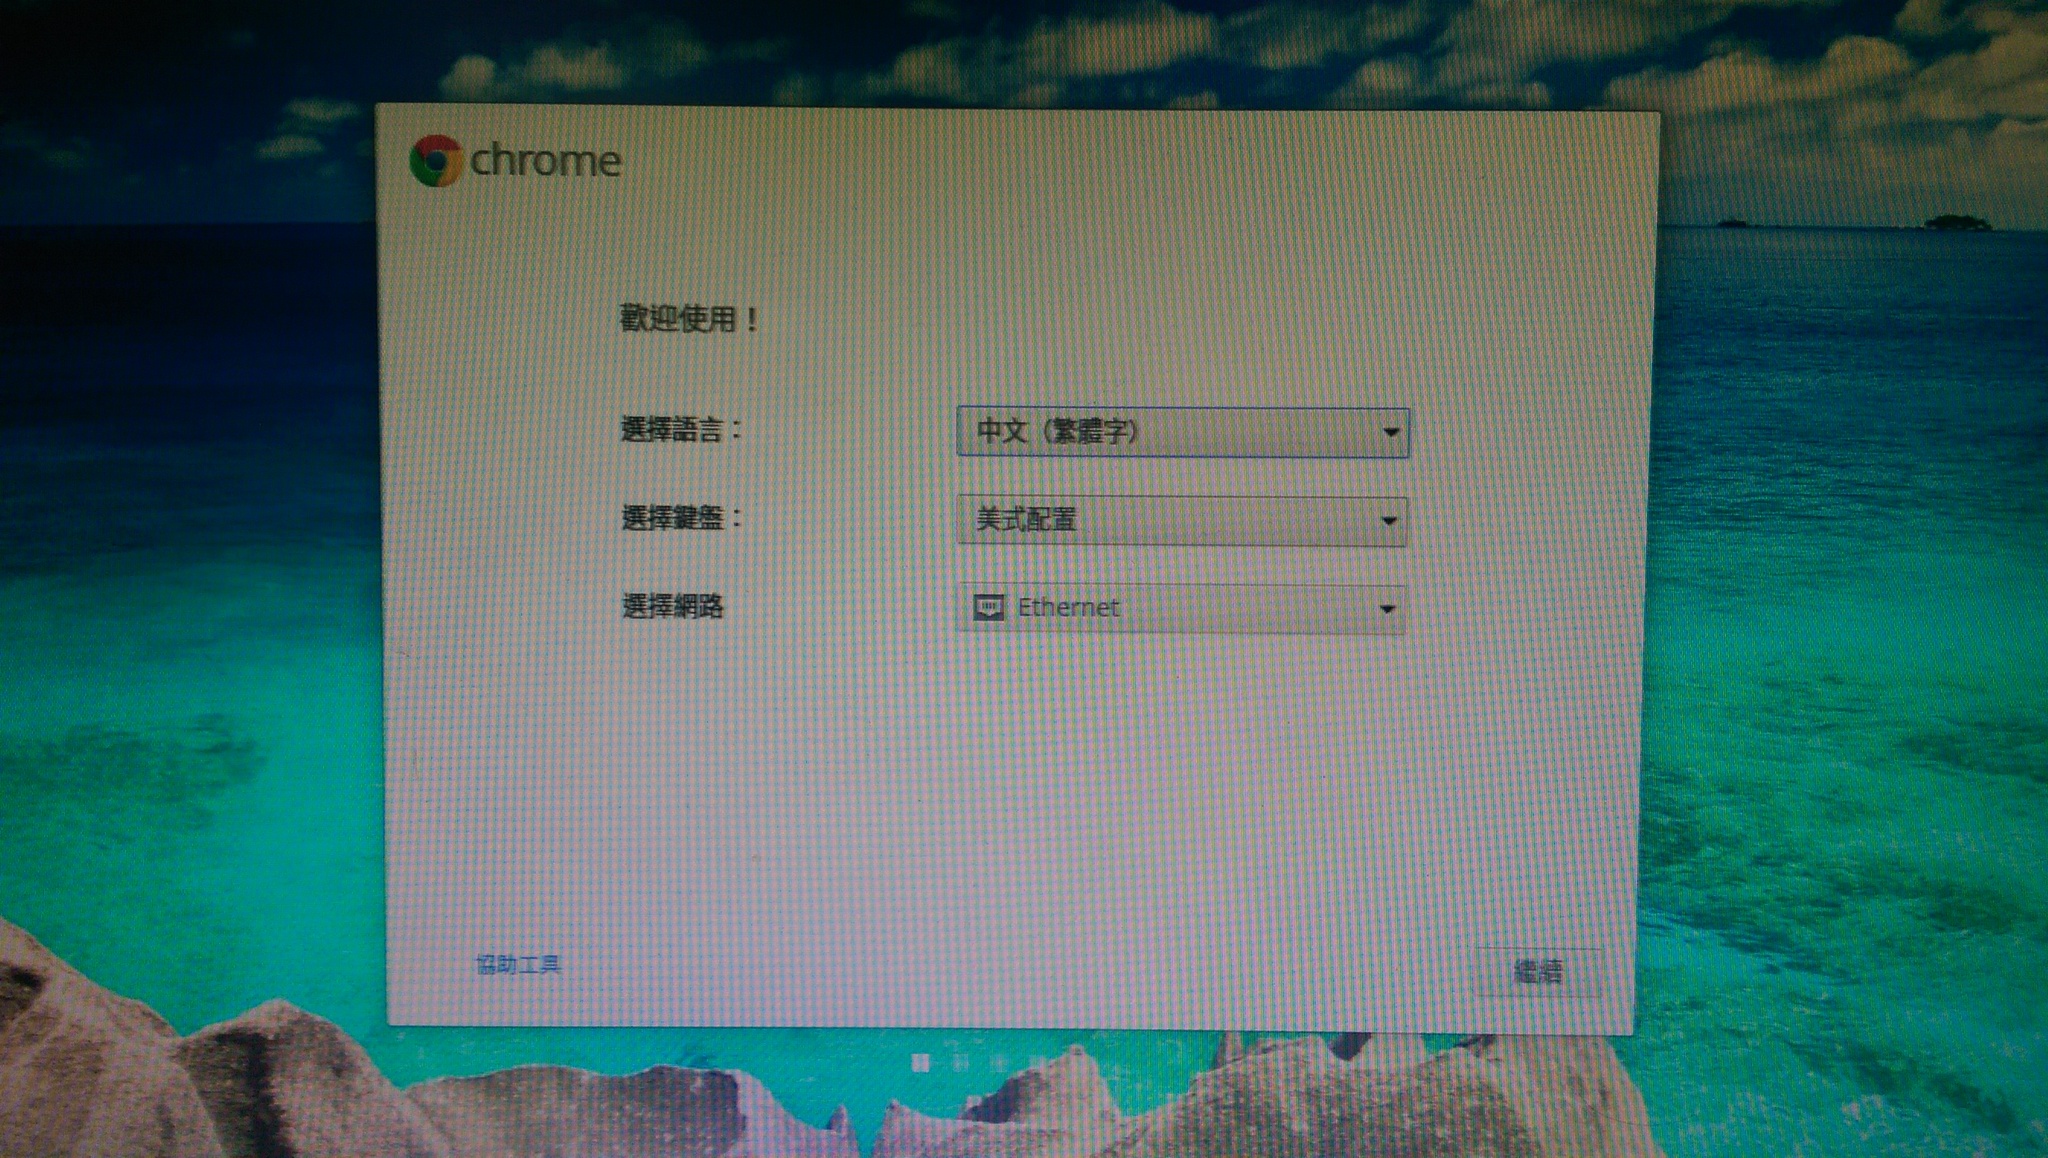

2. 下載 crouton,將檔案存放在 Downloads 目錄
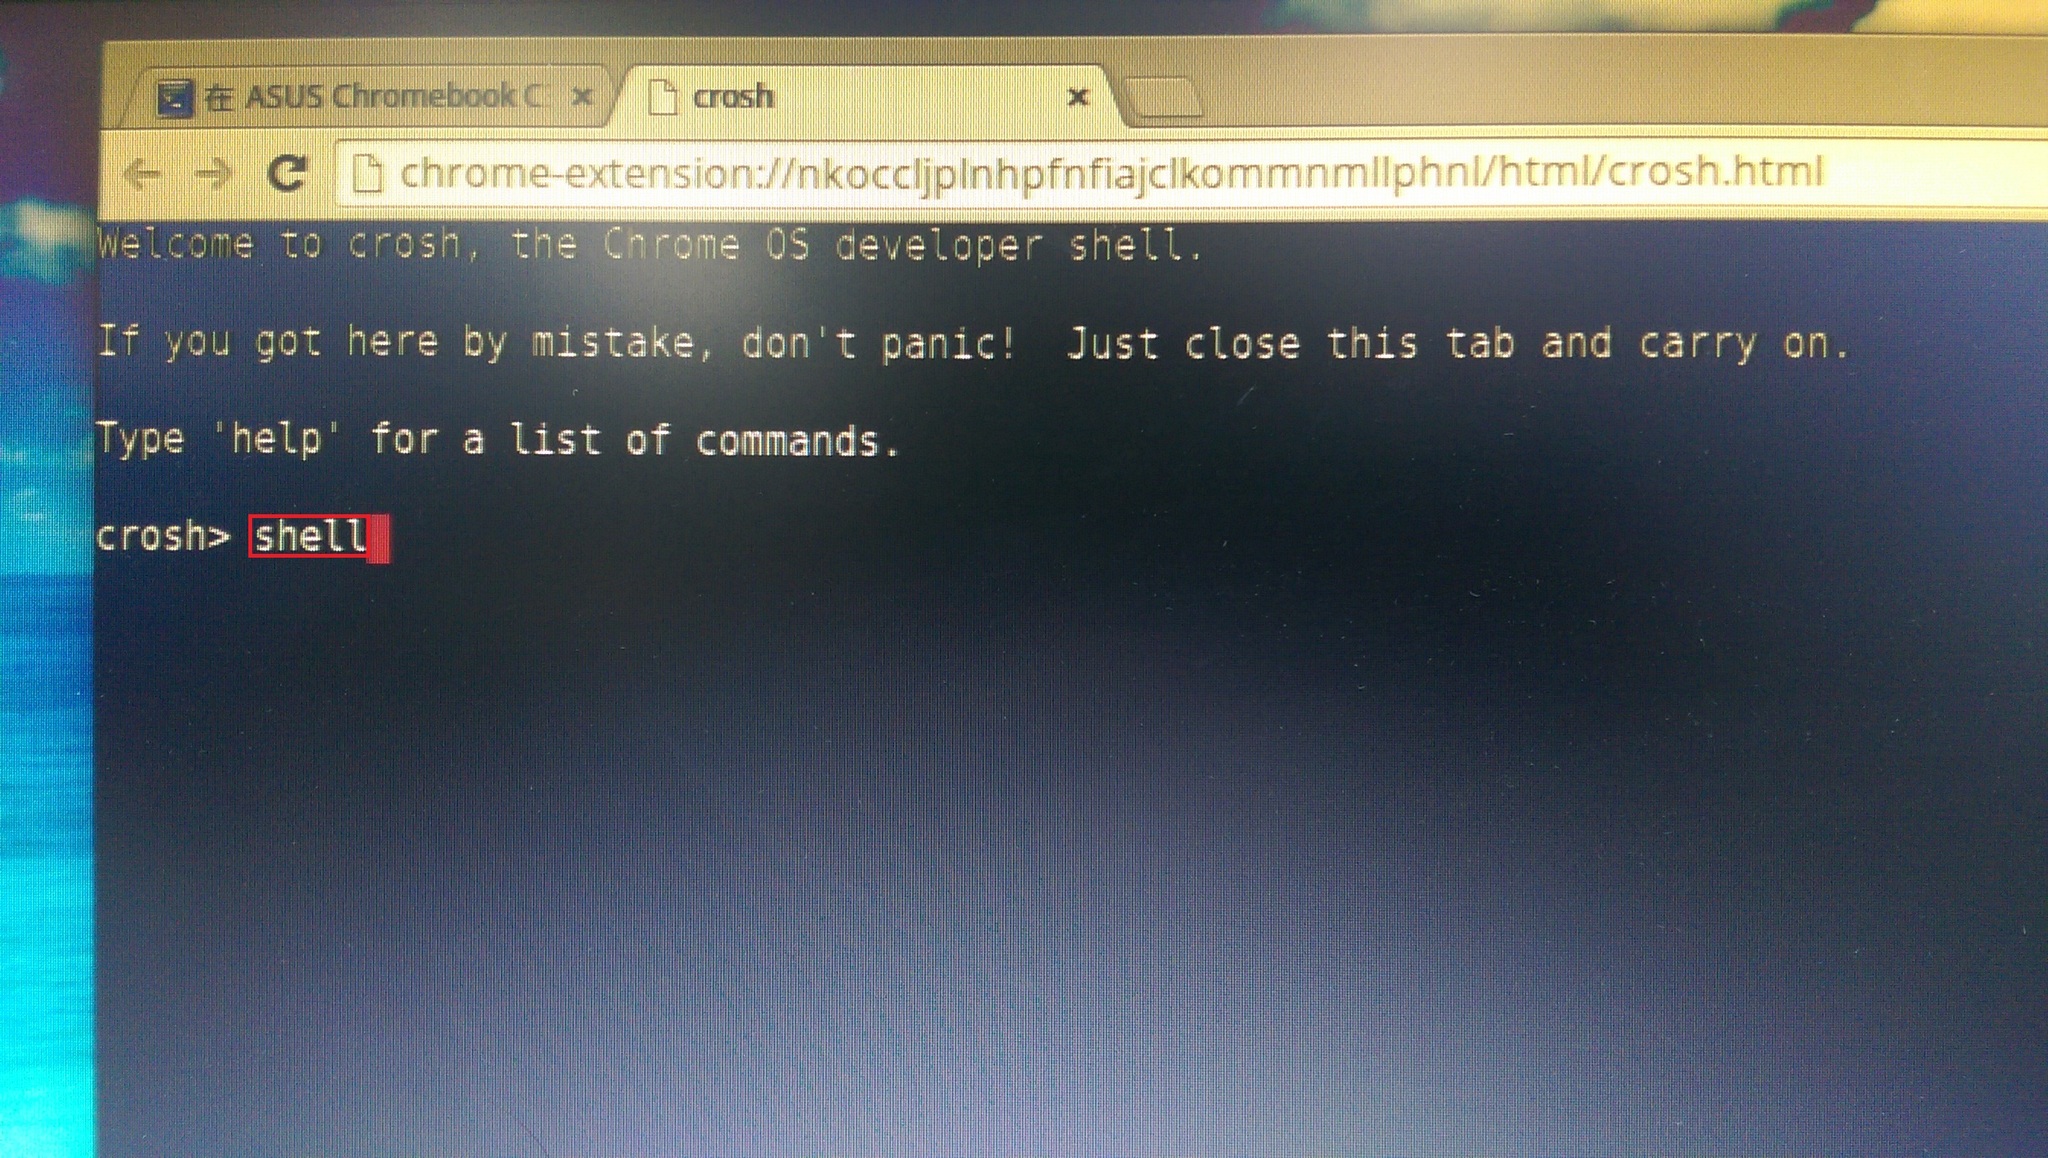
3. 按 Ctrl+Alt+T 開啟 Shell 終端機
輸入 shell 並按 Enter 鍵,進入完整的 Shell 模式
4. 查看分割區的資訊
$ sudo fdisk -l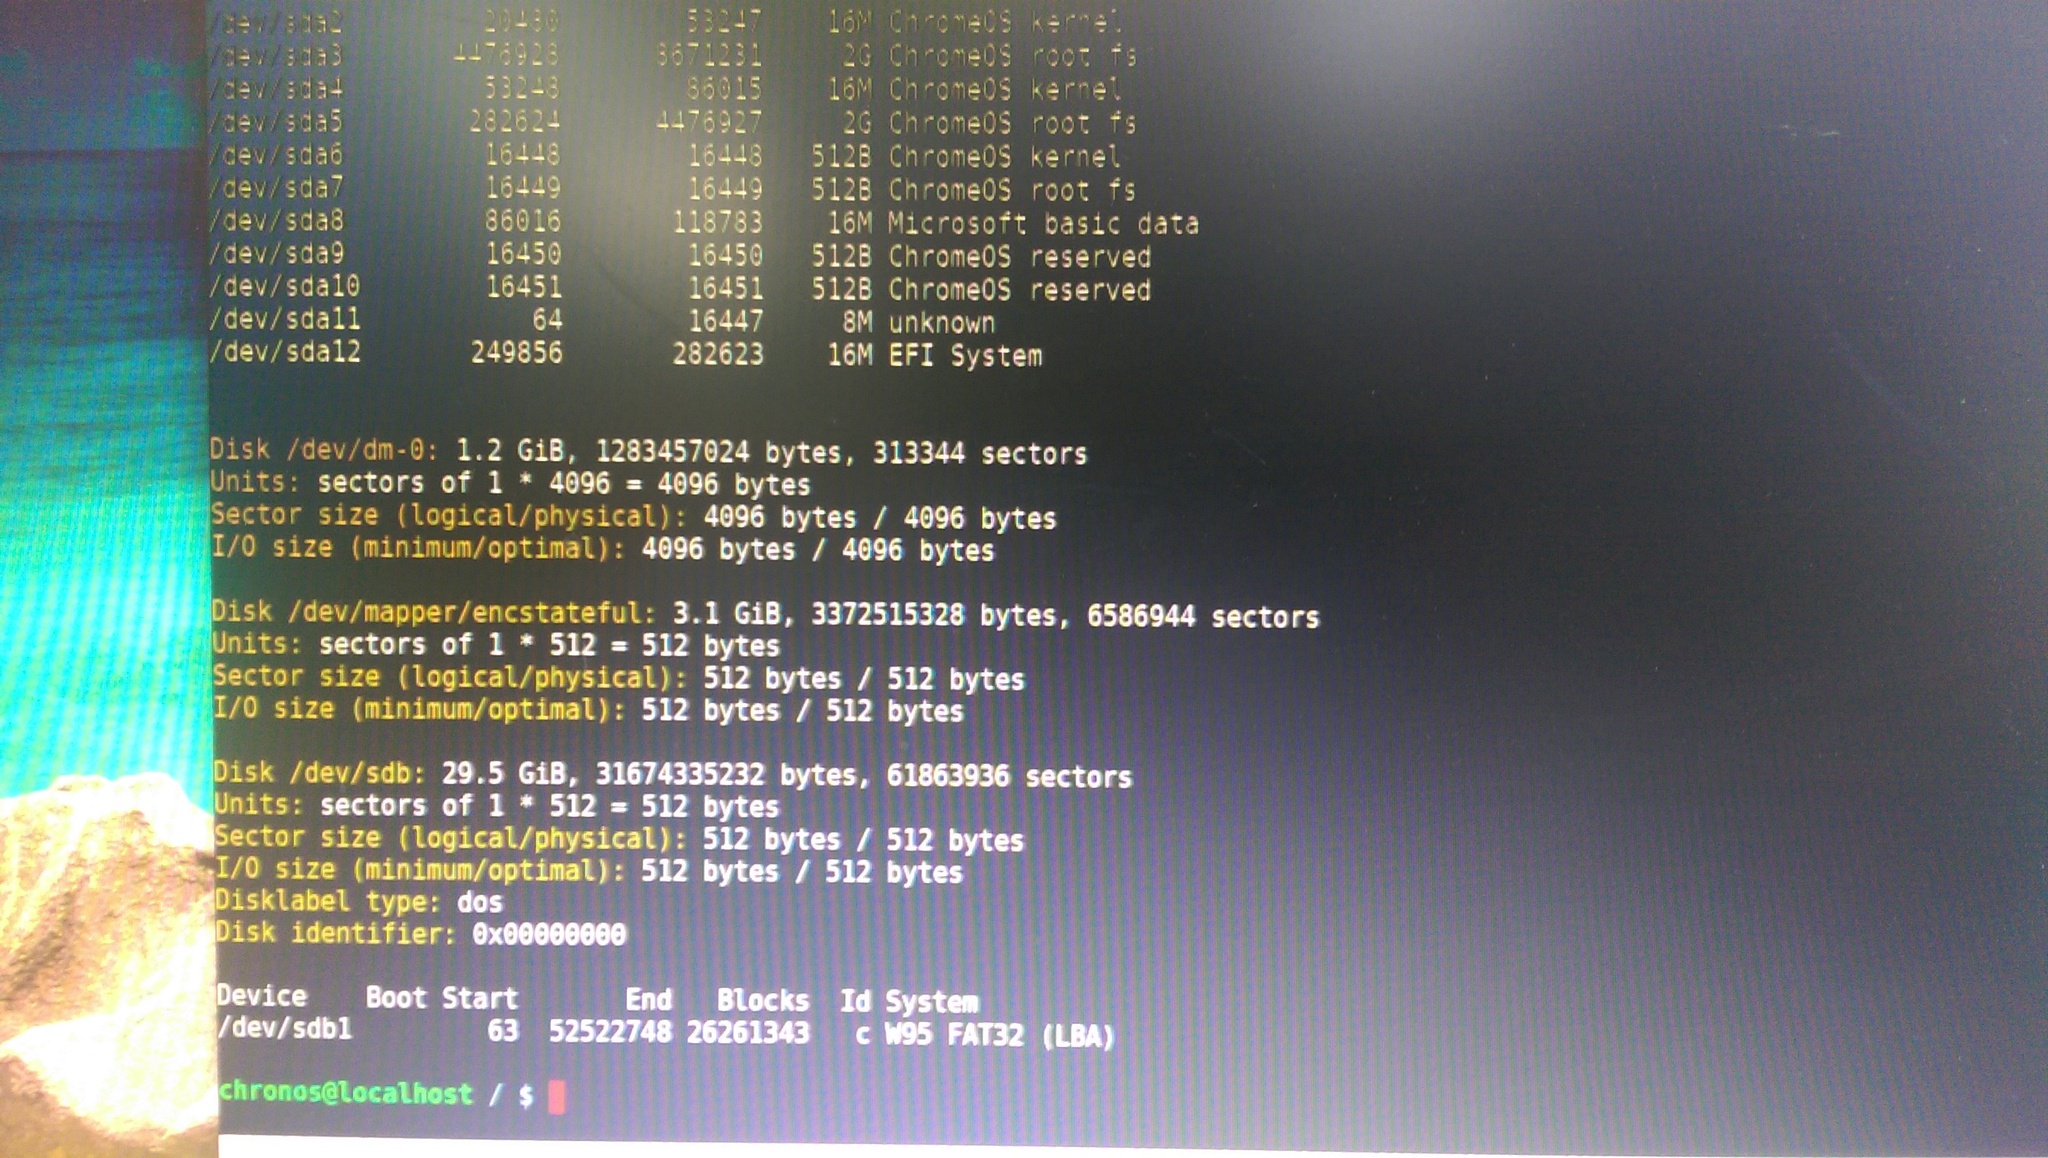
5. 取消掛載記憶卡,這裡要視掛載的目錄而定
$ sudo umount /media/removable/SD Card
6. 分割記憶卡
$ sudo fdisk /dev/sdb
Welcome to fdisk (util-linux 2.24).
Changes will remain in memory only, until you decide to write them.
Be careful before using the write command.
Command (m for help): d
Selected partition 1
Partition 1 has been deleted.
Command (m for help): n
Partition type:
p primary (0 primary, 0 extended, 4 free)
e extended
Select (default p): p
Partition number (1-4, default 1):
First sector (2048-61863935, default 2048):
Last sector, +sectors or +size{K,M,G,T,P} (2048-61863935, default 61863935):
Created a new partition 1 of type ‘Linux’ and of size 29.5 GiB.
Command (m for help): wq
The partition table has been altered.
Calling ioctl() to re-read partition table.
Syncing disks.
7. 格式化記憶卡
$ sudo mkfs.ext4 -m 1 /dev/sdb1
mke2fs 1.42 (29-Nov-2011)
Filesystem label=
OS type: Linux
Block size=4096 (log=2)
Fragment size=4096 (log=2)
Stride=0 blocks, Stripe width=0 blocks
1933312 inodes, 7732736 blocks
77327 blocks (1.00%) reserved for the super user
First data block=0
Maximum filesystem blocks=4294967296
236 block groups
32768 blocks per group, 32768 fragments per group
8192 inodes per group
Superblock backups stored on blocks:
32768, 98304, 163840, 229376, 294912, 819200, 884736, 1605632, 2654208,
4096000
Allocating group tables: done
Writing inode tables: done
Creating journal (32768 blocks): done
Writing superblocks and filesystem accounting information: done
8. 建立掛載目錄
$ sudo mkdir /media/removable/sdcard
9. 進行掛載
$ sudo mount -o rw,noatime /dev/sdb1 /media/removable/sdcard
10. 建立 Chroot 環境(Ubuntu 14.04 Unity 桌面)
這一個部分須要很久的時間,因為要到網路上下載套件
-a 採用架構 i386/amd64/armhf
-r 安裝 Ubuntu 版本 trusty-14.04 precise-12.04 saucy-13.10
-t 採用 XWindow gnome/lxde/xfce/kde/cinnamon/unity
$ sudo sh ~/Downloads/crouton -r trusty -t unity -p /media/removable/sdcard 
11. 設定帳號及密碼
Please specify a username for the primary user:
Enter new UNIX password:
Retype new UNIX password:
看到下面這一段時,代表終於完成了
Here’s some tips:
Audio from the chroot will now be forwarded to CRAS (Chromium OS audio server),
through an ALSA plugin.
Future Chromium OS upgrades may break compatibility with the installed version
of CRAS. Should this happen, simply update your chroot.
You can flip through your running chroot desktops and Chromium OS by hitting
Ctrl+Alt+Shift+Back and Ctrl+Alt+Shift+Forward.
You can start Unity via the startunity host command: sudo startunity
Unmounting /media/removable/sdcard/chroots/trusty…
Done! You can enter the chroot using enter-chroot.
12. 讓 Ubuntu 桌面按揵配置與 Chrome OS 相同
$ sudo sh ~/Downloads/crouton -u -r trusty -t keyboard -p /media/removable/sdcard
或將 10 和 12 合而為一
$ sudo sh -e ~/Downloads/crouton -a i386 -r trusty -t audio,core,gtk-extra,keyboard,x11,chrome,cli-extra,extension,unity -p /media/removable/sdcard
13. 建立啟動 Ubuntu 的 Script 檔
$ vim ~/startunity
#!/bin/bash
if [ -z “$(mount | grep sdb1 | grep sdcard)” ]; then
umount /dev/sdb1
if [ ! -d /media/removable/sdcard ]; then
mkdir /media/removable/sdcard
fi
mount -o rw,noatime /dev/sdb1 /media/removable/sdcard
fi
/media/removable/sdcard/bin/startunity
14. 進入 Ubuntu Unity 桌面
Chrome 作業系統驗證程序已關閉,按 Ctrl+D 繼續
進入 Chrome OS
按 Ctrl+Alt+T,輸入 shell 進入完整 shell 模式
執行
$ sudo sh ~/startunity
進入 Ubuntu 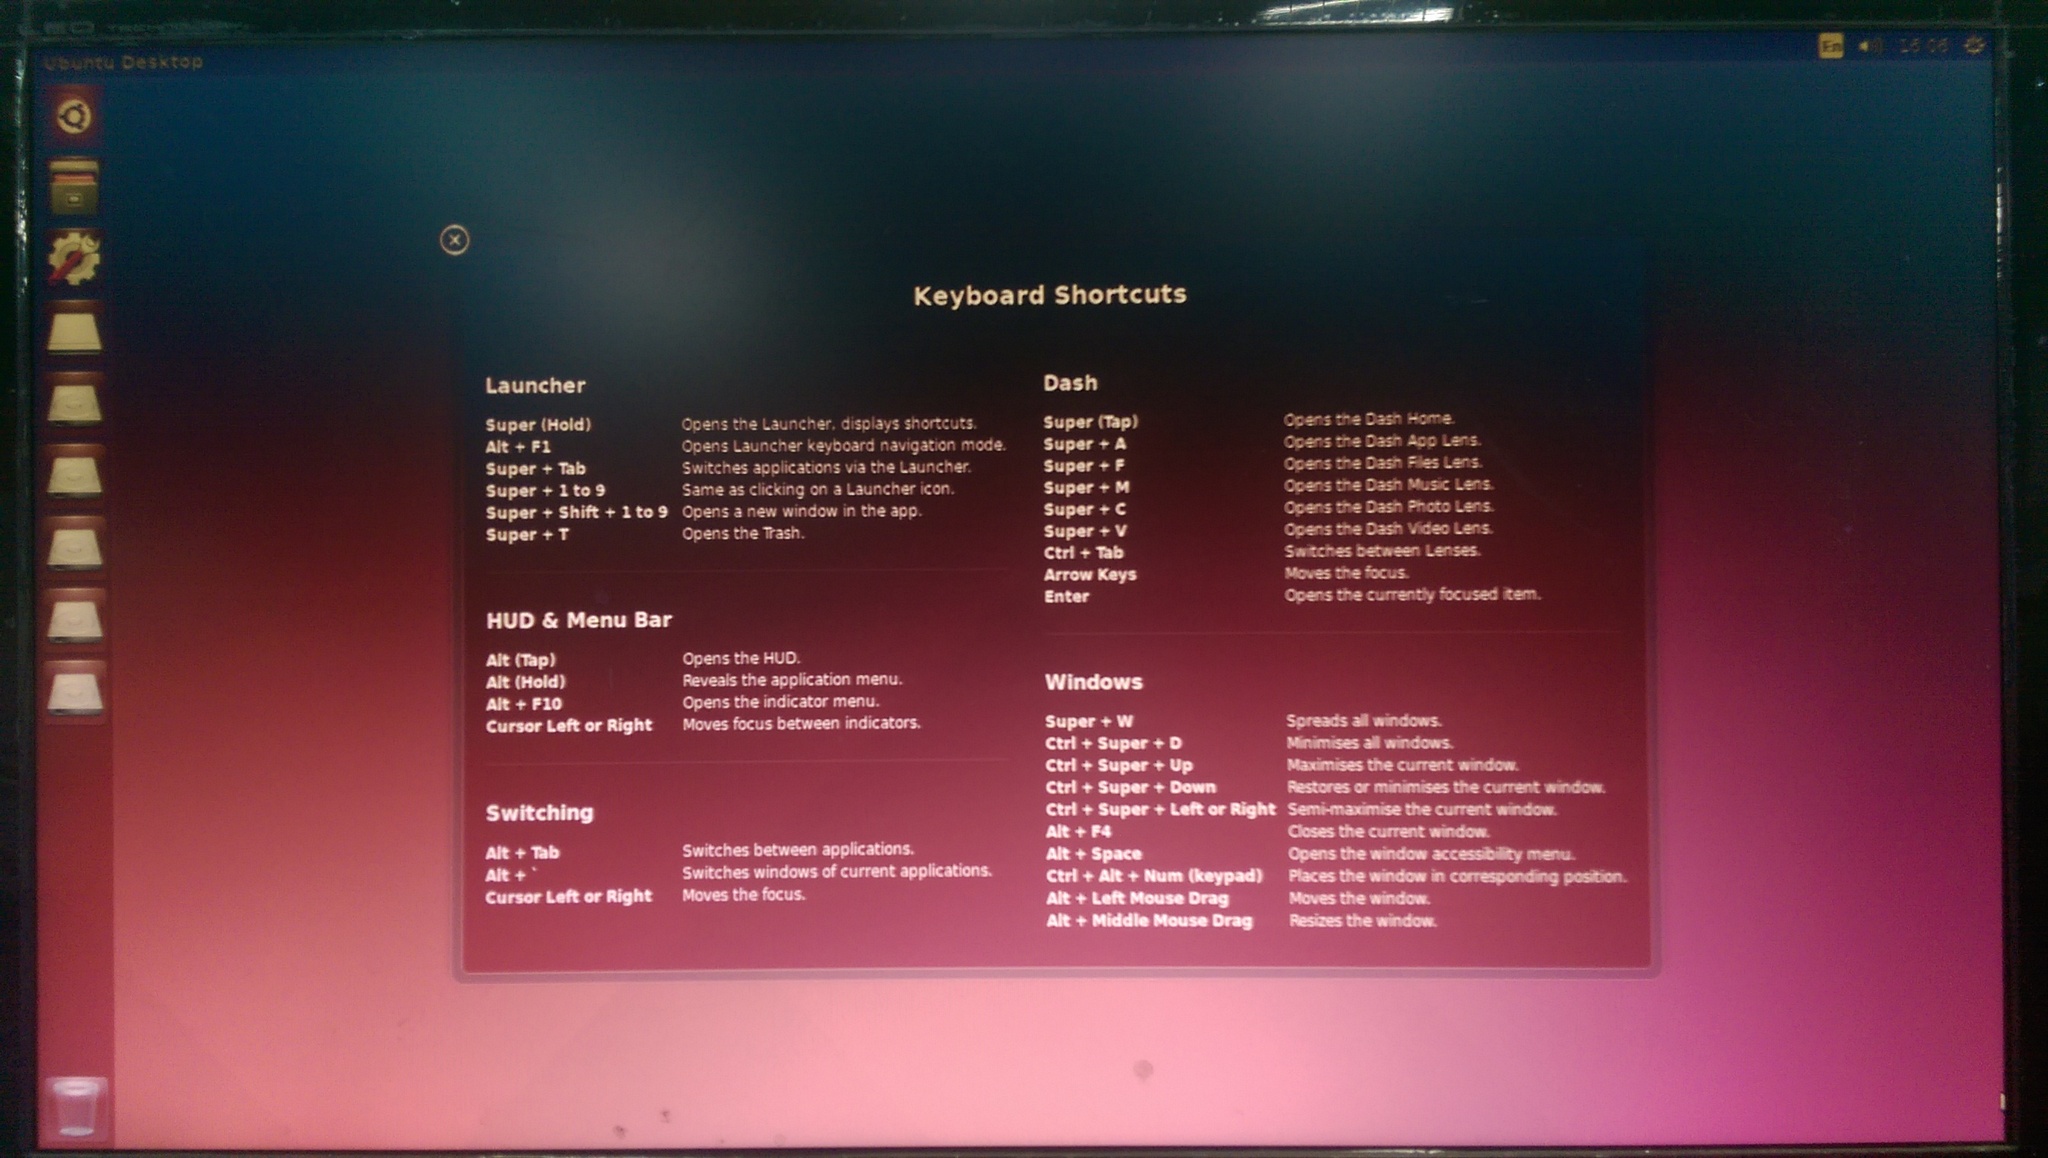
使用 crouton 的方式來安裝 Ubuntu 的好處是可以保留原有的 ChromeOS,在進入 ChromeOS 系統後,再以 Chroot 的方式來執行 Ubuntu。
詳情請參照:
Linux出現重大「鬼」漏洞! | iThome
[Linux]Linux多個發行版GHOST(幽靈)重大漏洞曝光 ← 軟體教學與介紹 ← FLASH論壇-神魂顛倒Flash
TWCERT台灣學術網路危機處理中心
修補方式:
1. 安裝更新程式
CentOS Linux 5.x/6.x/7.x
# yum -y update
Loaded plugins: fastestmirror, langpacks
Loading mirror speeds from cached hostfile
Resolving Dependencies
–> Running transaction check
—> Package glibc.x86_64 0:2.17-55.el7_0.3 will be updated
—> Package glibc.x86_64 0:2.17-55.el7_0.5 will be an update
—> Package glibc-common.x86_64 0:2.17-55.el7_0.3 will be updated
—> Package glibc-common.x86_64 0:2.17-55.el7_0.5 will be an update
—> Package glibc-devel.x86_64 0:2.17-55.el7_0.3 will be updated
—> Package glibc-devel.x86_64 0:2.17-55.el7_0.5 will be an update
—> Package glibc-headers.x86_64 0:2.17-55.el7_0.3 will be updated
—> Package glibc-headers.x86_64 0:2.17-55.el7_0.5 will be an update
–> Finished Dependency Resolution
Dependencies Resolved
===================================================================================================================
Package Arch Version Repository Size
===================================================================================================================
Updating:
glibc x86_64 2.17-55.el7_0.5 updates 3.6 M
glibc-common x86_64 2.17-55.el7_0.5 updates 11 M
glibc-devel x86_64 2.17-55.el7_0.5 updates 1.0 M
glibc-headers x86_64 2.17-55.el7_0.5 updates 651 k
Transaction Summary
===================================================================================================================
Upgrade 4 Packages
重新啟動電腦
2. sync;sync;sync;reboot[@more@]Debian / Ubuntu Linux
更新套件庫並更新套件
# apt-get update;apt-get upgrade
正在讀取套件清單… 完成
正在重建相依關係
正在讀取狀態資料… 完成
下列套件將會被升級:
libc-bin libc-dev-bin libc6 libc6-dev multiarch-support
升級 5 個,新安裝 0 個,移除 0 個,有 4 個未被升級。
需要下載 10.3 MB 的套件檔。
此操作完成之後,會多佔用 0 B 的磁碟空間。
是否繼續進行 [Y/n]?y
重新啟動電腦
2. sync;sync;sync;reboot
crouton 參數說明
$ sudo sh ~/Downloads/crouton -h
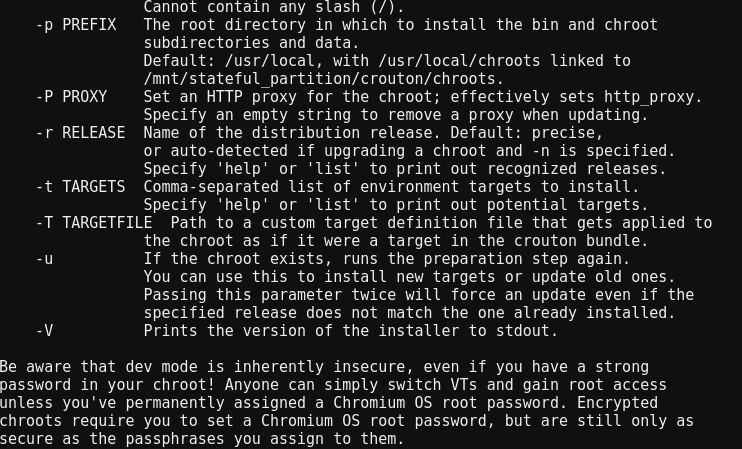 [@more@]支援的安裝版本,後面沒有加 * 號的支援性比較好
$ sudo sh ~/Downloads/crouton -r list
可以安裝的套件
$ sudo sh ~/Downloads/crouton -t list


Mac OSX 升級到 10.10.2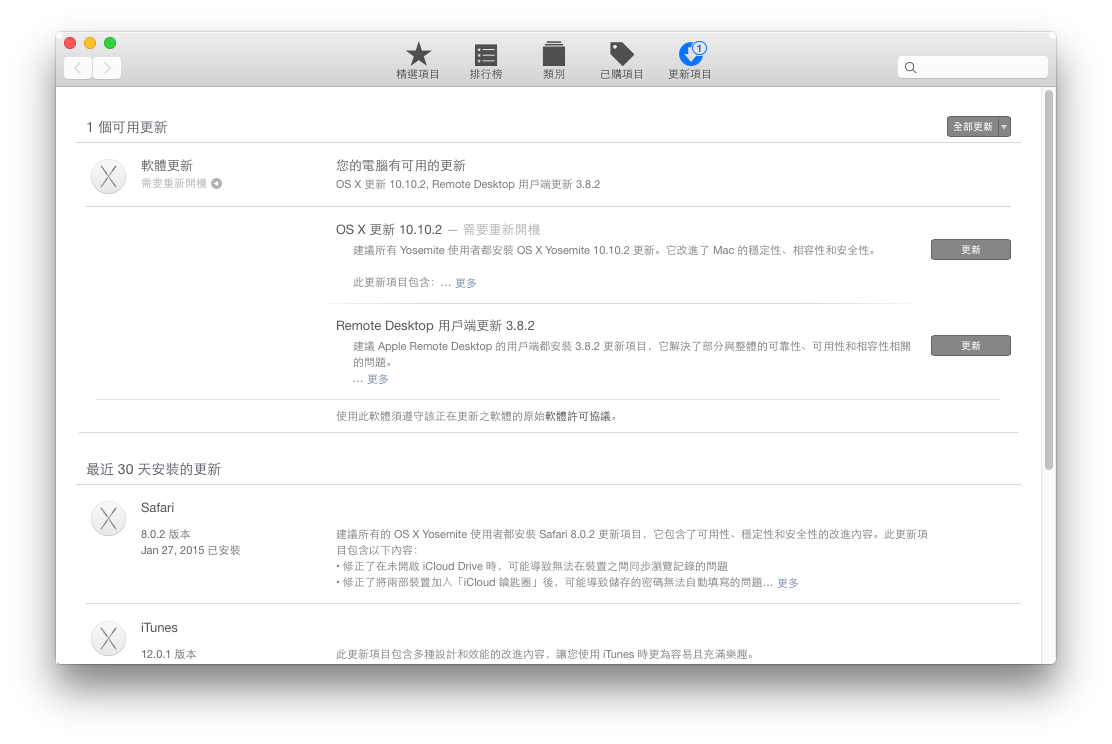
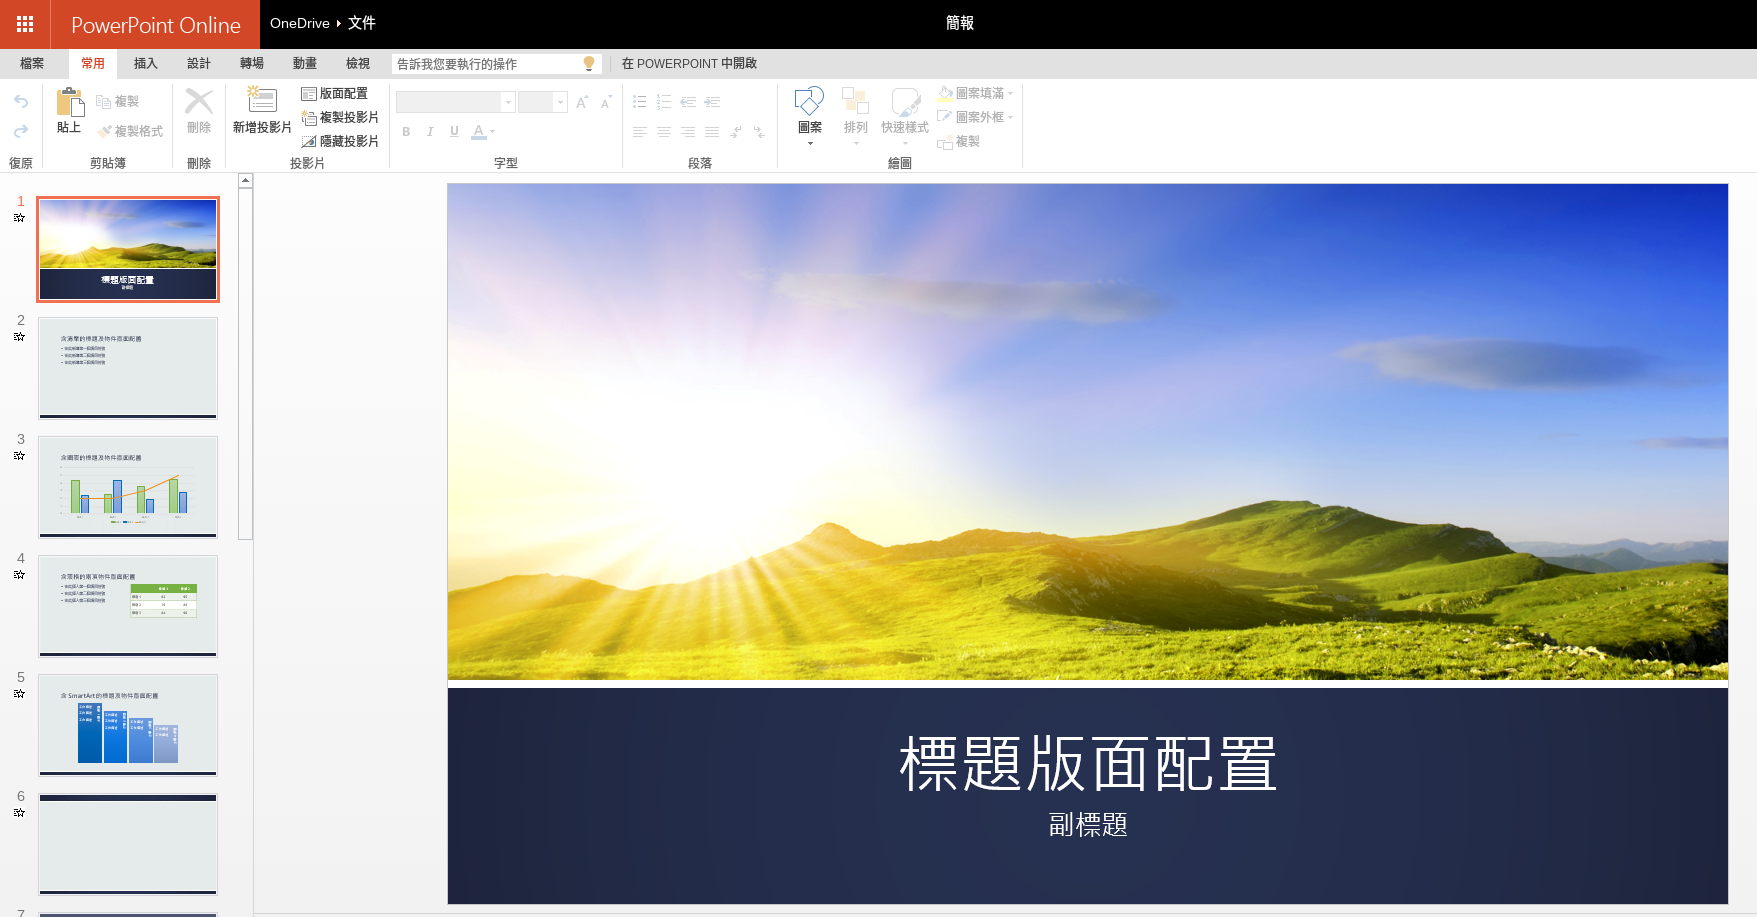
如果不習慣使用 Google 文件/簡報/試算表,也可以考慮使用 Microsoft Word/PowerPoint/Excel Online。
1. 可以在 Chrome 線上應用程式商店的應用程式中找到


2. 安裝完成之後可以在應用程式中找到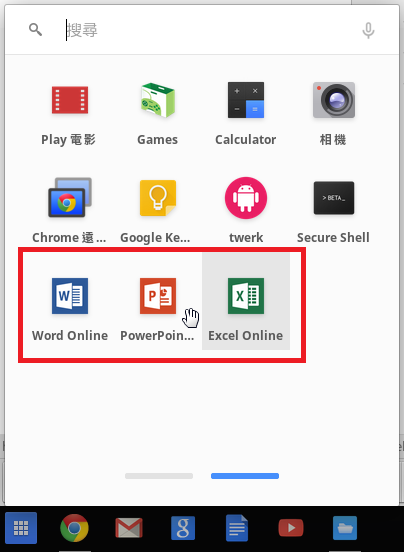
[@more@]3. 程式開啟後要選擇使用 Microsoft 帳戶登入或是另外有 Office 365 帳戶登入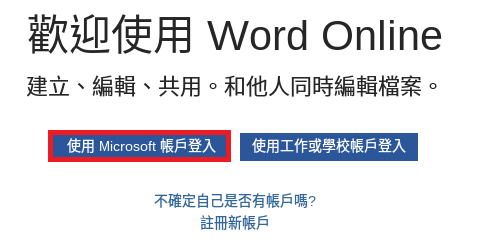
以 Microsoft 帳戶登入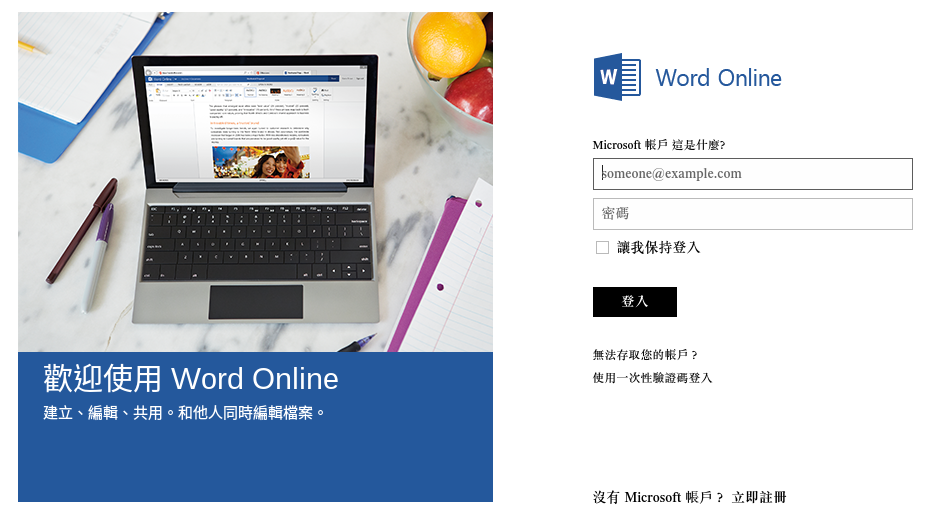
以 Office 365 帳戶登入
4. 可以開始使用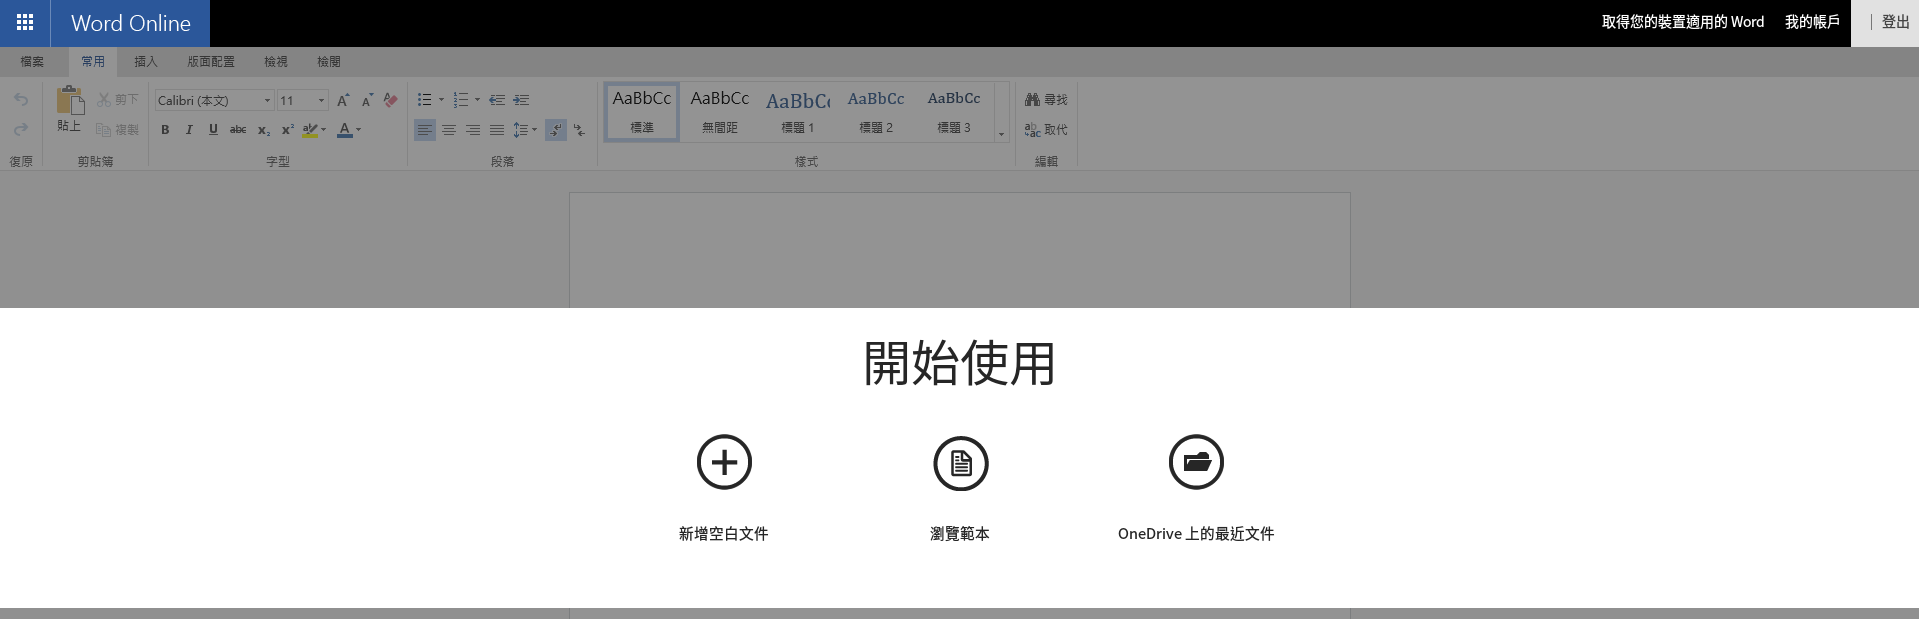
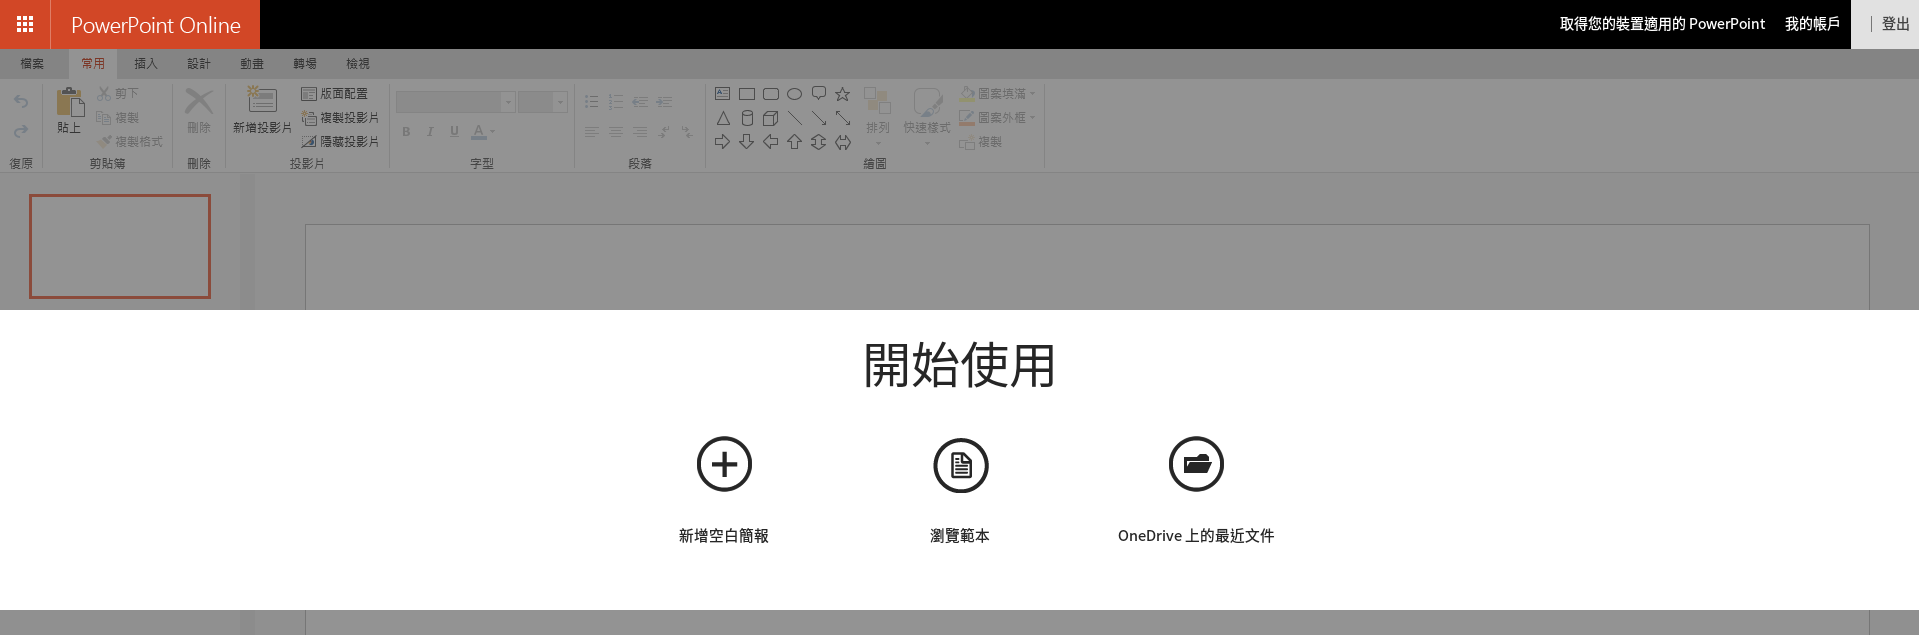
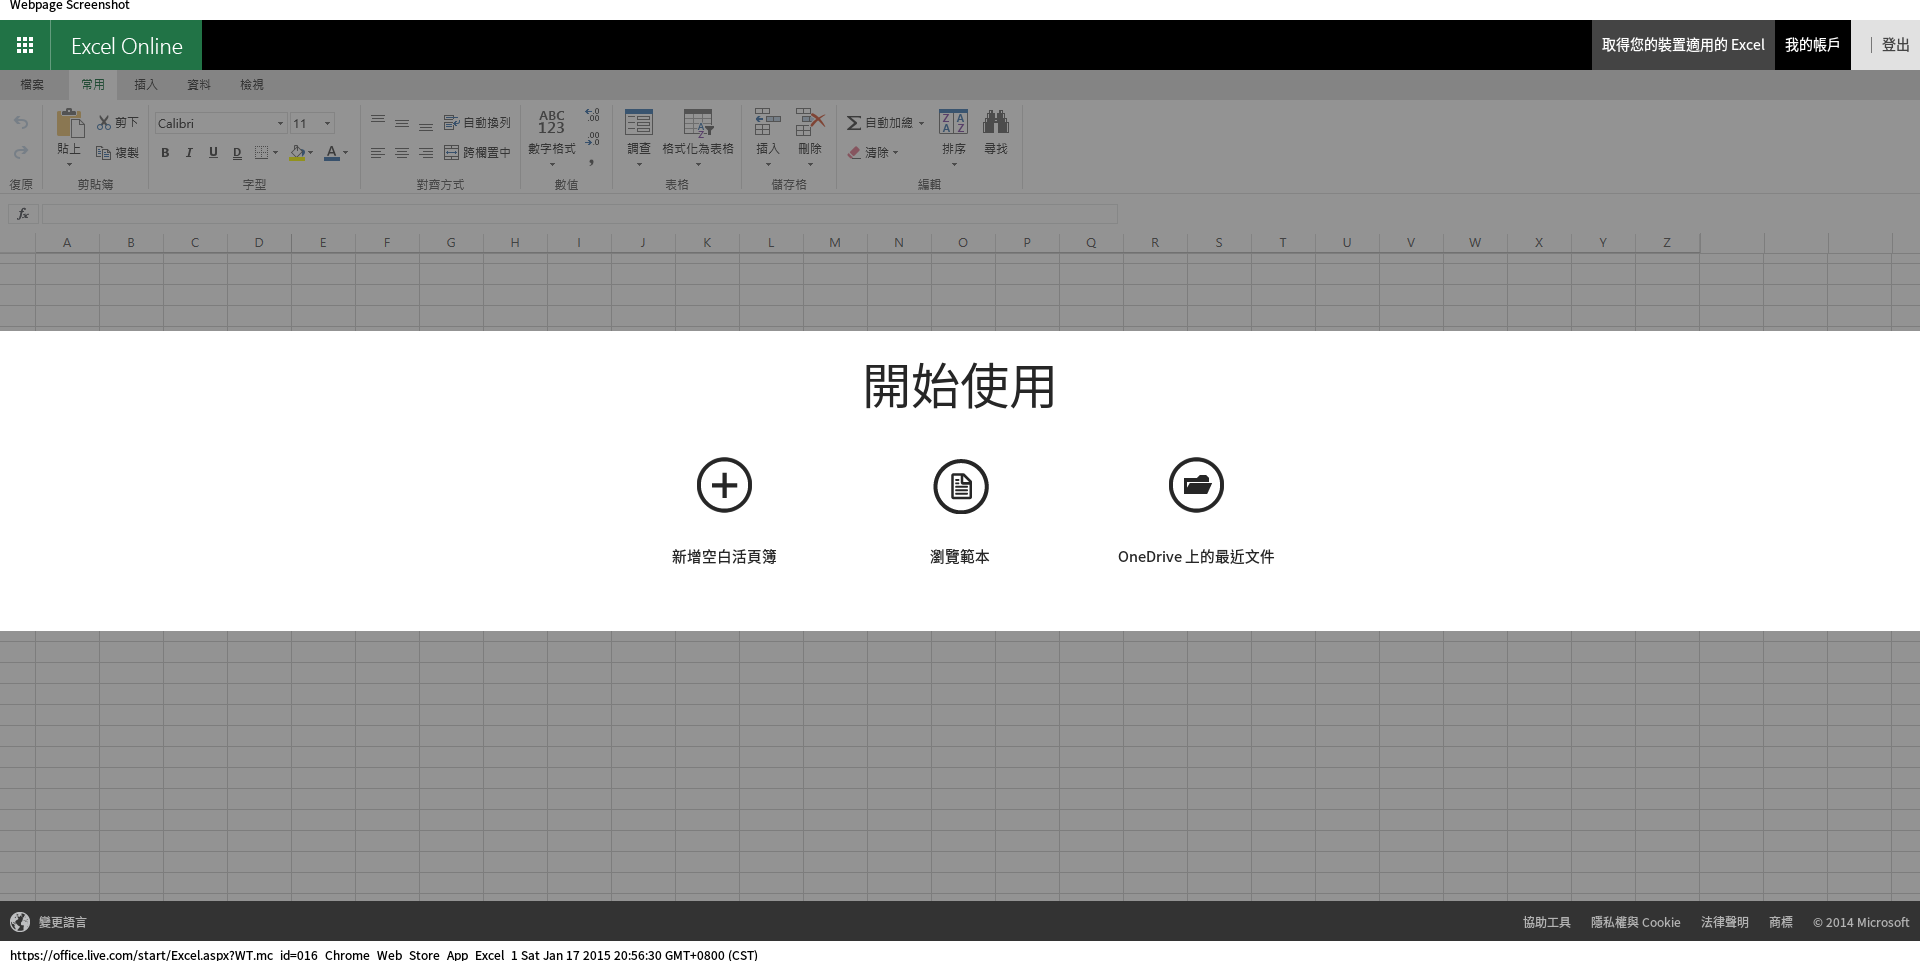
使用起來,整體來說還算可以,就是中文字形可選擇性比較少,範本也比較少一些,其它的部分還算堪用。
也可以將文件或是簡報崁入到部落格中!
https://onedrive.live.com/embed?cid=3716B09CCCF54B09&resid=3716B09CCCF54B09%21350&authkey=AAyP5clE8-ufSCs&em=2&wdAr=1.7771260997067448
Chrome OS 上的 SSH Client
目前在應用程式部分,有三套 Client 端可以使用,分別是:
Secure Shell – 可以正常連線,但無法輸入中文,可以正常顯示中文
Serverauditor – SSH Client – 似乎有些站台無法正常連線
sFTP Client(FTP,SFTP,SSH Support) – 商業版軟體,有試用版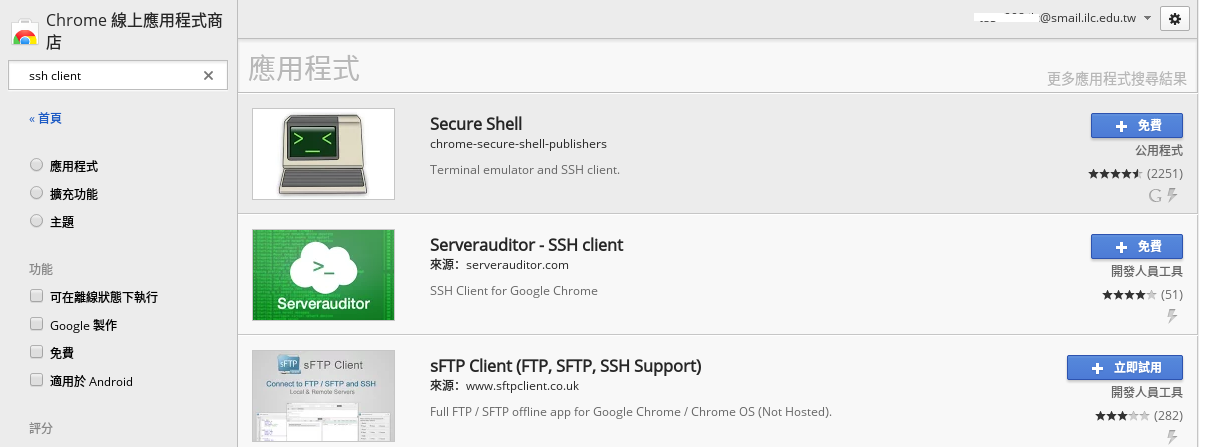
底下以 Secure Shell 為例
1. 選擇 + 免費 [@more@]2. 選擇 新增
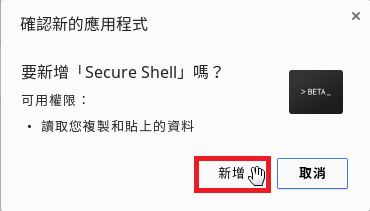
3. 在功能表中可以找到已經安裝好的應用程式,如果要移除的話,只要按滑鼠右鍵,選擇 從 Chrome 中移除… 即可
4. 輸入連線資訊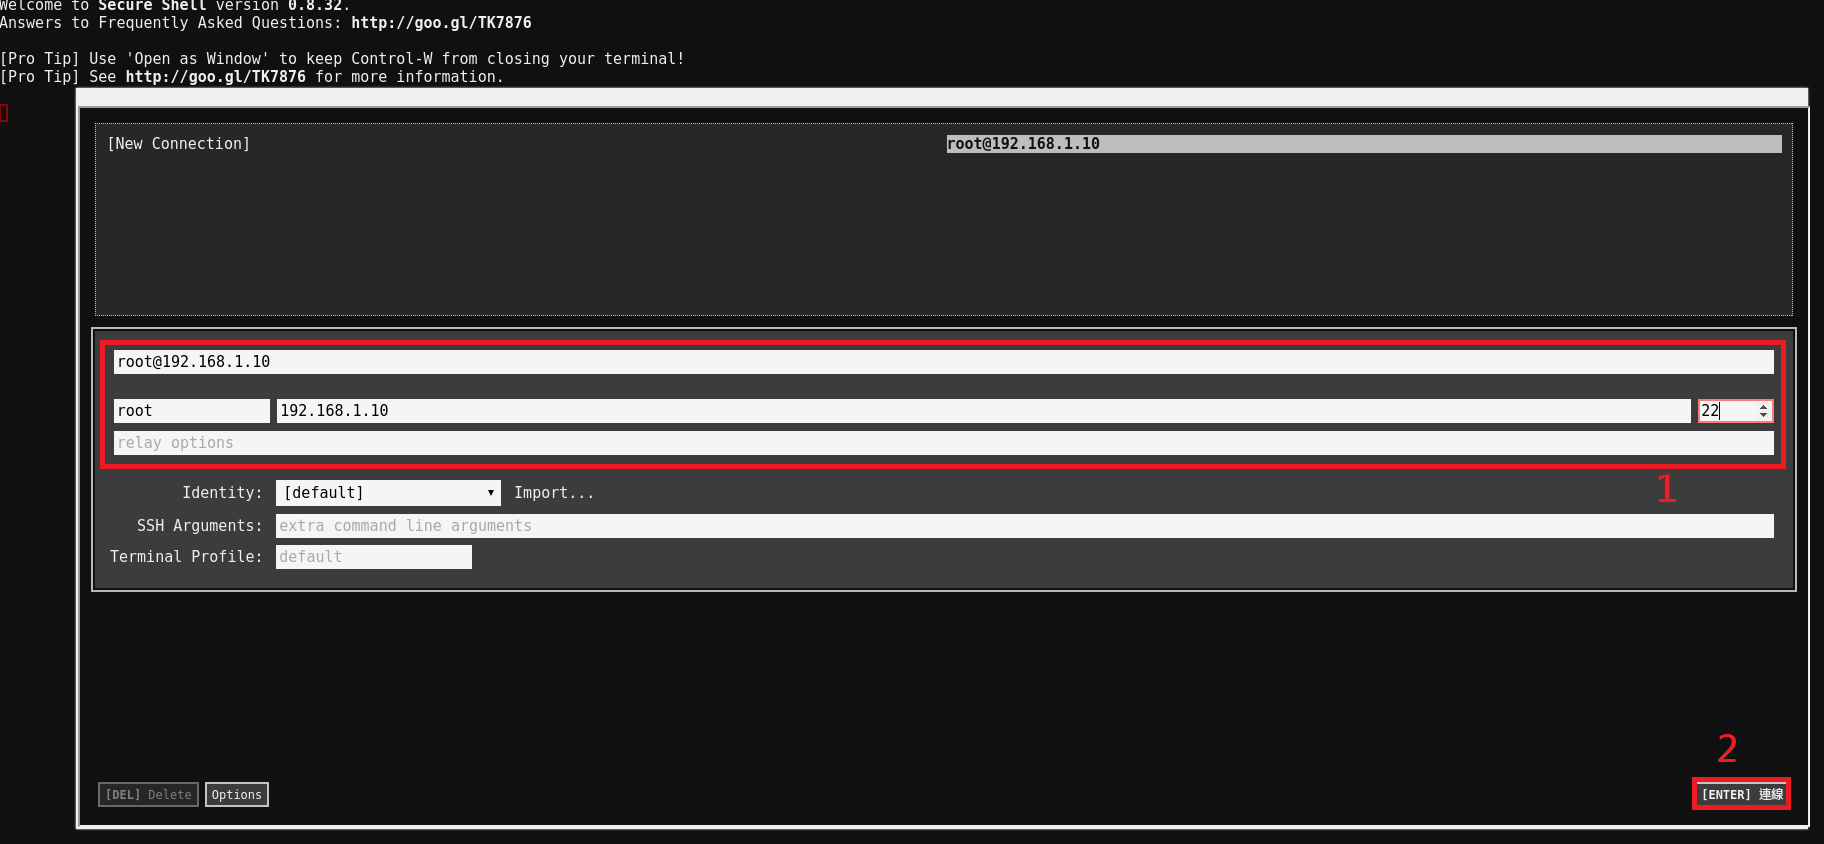
5. 連線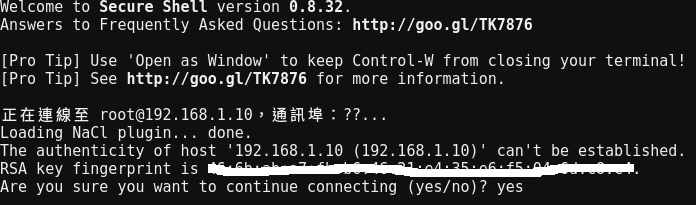
6. 已正常連登入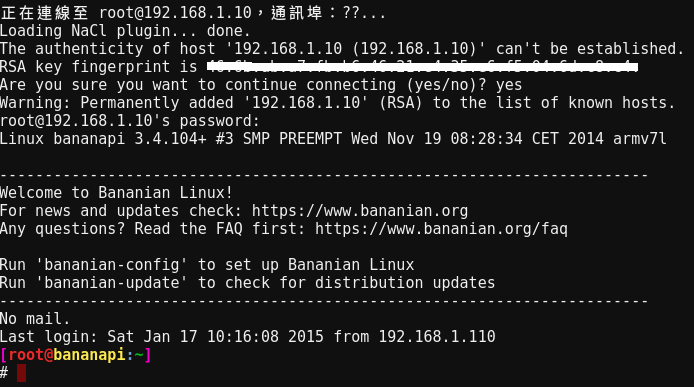
7. 可以顯示中文,但無法輸入中文
ChromeOS 內建有行列輸入法,但用起來有些奇怪,尤其是在標點符號的選擇順序和沒有的部分一級簡碼,如「的」這個字,原本在行列輸入法只要輸入「t」,但在 ChromeOS 中要輸入「lplh」。
在宜蘭縣自由軟體團隊聚會時,詢問啟宏老師這個問題,得知可以改用 JsCIN 中文輸入法來解決,而且用 JsCIN 輸入法也可以解決 ChromeOS 內建沒有嘸蝦米輸入法的問題,但要自備嘸蝦米輸入法輸入法的表格檔。
1. 在 Chrome 線上應用程式商店搜尋 jscin,並選擇 + 免費 來進行安裝 [@more@]2. 選擇 新增
3. 進行設定,選擇 美式配置
4. 選擇 自定語言與輸入法…
5. 勾選 JsCIN 中文輸入法
6. 請按 確定 繼續
7. 選擇 設定…
8. 已啟用的輸入法 – 就是要使用的輸入法
其它已安裝的輸入法 – 可以選用的輸入法
如果是其它的輸入法使用者,請看下方的新增更多輸入法
9. 如果是 新酷音輸入法的使用者,要加裝下列的模組
10. 可以使用 Alt+Shift 來切換不同的輸入法(ChromeOS/JsCIN)
Ctrl+Space 可以選用前一個輸入法
ZH 是 ChromeOS 內建的輸入法
ZH* 是 JsCIN 中文輸入法
11. 行列輸入法 ChromeOS
12. 行列輸入法 JsCIN