底下在 CentOS 7.x 操作
ESXi Server IP:192.168.131.234
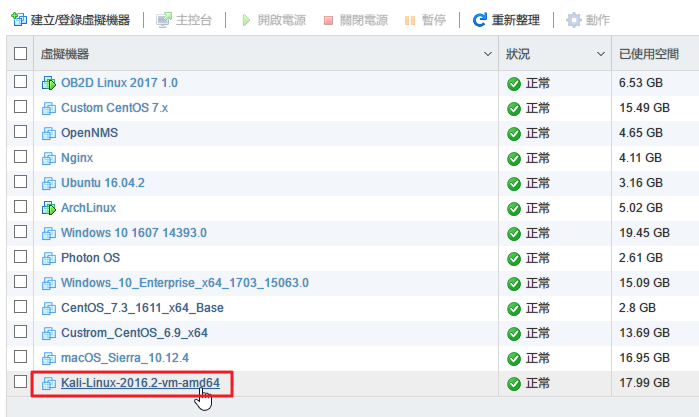
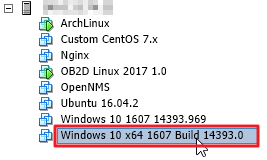
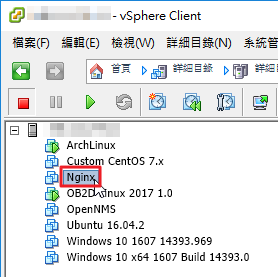
列出 ESXi Server 上的虛擬機器
[root@localhost ~]# /opt/vmwarecli/bin/vmware-cmd -H 192.168.131.234 -l
Enter username: root
Enter password:
/vmfs/volumes/58cf7810-bde83e8a-457c-ac220b89c4ca/ob2d/ob2d.vmx
/vmfs/volumes/58cf7810-bde83e8a-457c-ac220b89c4ca/Custom CentOS 7.x/Custom CentOS 7.x.vmx
/vmfs/volumes/58cf7810-bde83e8a-457c-ac220b89c4ca/OpenNMS/OpenNMS.vmx
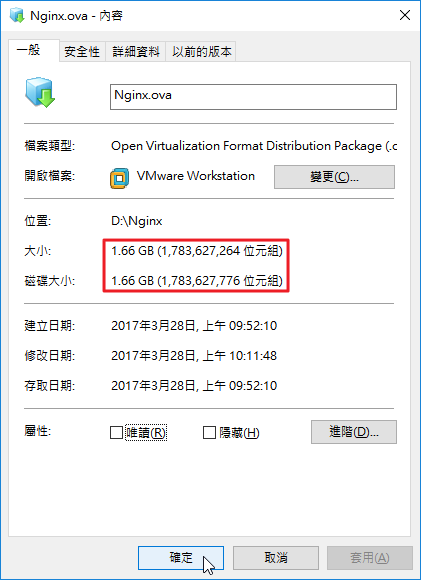
/vmfs/volumes/58cf7810-bde83e8a-457c-ac220b89c4ca/Nginx/Nginx.vmx
/vmfs/volumes/58cf7810-bde83e8a-457c-ac220b89c4ca/Ubuntu 16.04.2/Ubuntu 16.04.2.vmx
/vmfs/volumes/58cf7810-bde83e8a-457c-ac220b89c4ca/ArchLinux/ArchLinux.vmx
/vmfs/volumes/58cf7810-bde83e8a-457c-ac220b89c4ca/Windows 10 1607 14393.969/Windows 10 1607 14393.969.vmx
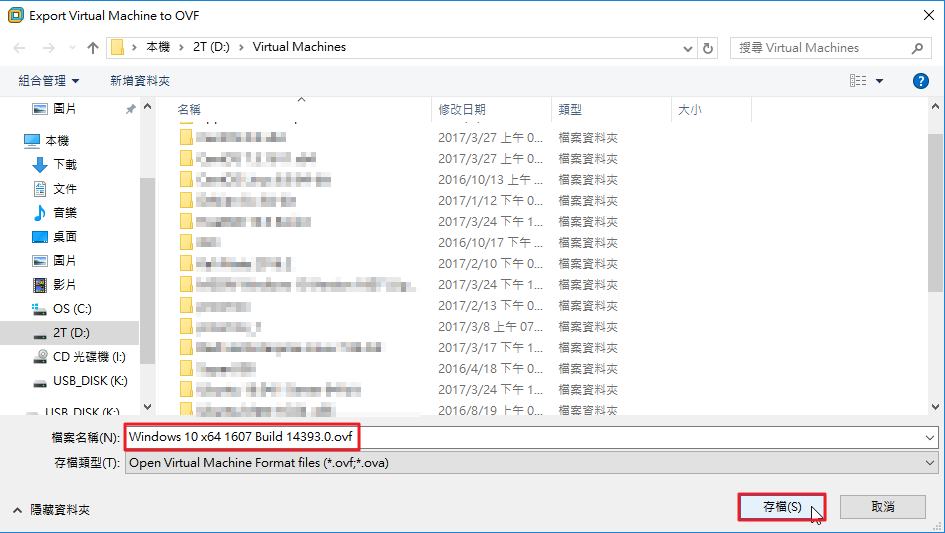
/vmfs/volumes/58cf7810-bde83e8a-457c-ac220b89c4ca/Windows 10 x64 1607 Build 14393.0/Windows 10 x64 1607 Build 14393.0.vmx
[@more@]列出 ESXi Server 上的 VM 資訊
[root@esxi:~] vim-cmd vmsvc/getallvms
Vmid Name File Guest OS Version Annotation
1 OB2D Linux 2017 1.0 [ST500G] ob2d/ob2d.vmx other26xLinux64Guest vmx-13
2 Custom CentOS 7.x [ST500G] Custom CentOS 7.x/Custom CentOS 7.x.vmx centos7_64Guest vmx-13
21 OpenNMS [ST500G] OpenNMS/OpenNMS.vmx centos7_64Guest vmx-13
22 Nginx [ST500G] Nginx/Nginx.vmx centos7_64Guest vmx-13
24 Ubuntu 16.04.2 [ST500G] Ubuntu 16.04.2/Ubuntu 16.04.2.vmx ubuntu64Guest vmx-13
25 ArchLinux [ST500G] ArchLinux/ArchLinux.vmx other26xLinux64Guest vmx-13
26 Windows 10 1607 14393.969 [ST500G] Windows 10 1607 14393.969/Windows 10 1607 14393.969.vmx windows9_64Guest vmx-13
28 Windows 10 x64 1607 Build 14393.0 [ST500G] Windows 10 x64 1607 Build 14393.0/Windows 10 x64 1607 Build 14393.0.vmx windows9_64Guest vmx-12
列出某一部虛擬機器有無做過 snapshot,1 代表有做過 snapshot
[root@localhost ~]# /opt/vmwarecli/bin/vmware-cmd -H 192.168.131.234 /vmfs/volumes/58cf7810-bde83e8a-457c-ac220b89c4ca/ob2d/ob2d.vmx hassnapshot
Enter username: root
Enter password:
hassnapshot () = 1
顯示虛擬機器是否有開機 off 代表沒有開機
[root@localhost ~]# /opt/vmwarecli/bin/vmware-cmd -H 192.168.131.234 /vmfs/volumes/58cf7810-bde83e8a-457c-ac220b89c4ca/Nginx/Nginx.vmx getstate
Enter username: root
Enter password:
getstate() = off
顯示虛擬機器是否有開機 off 代表有開機
[root@localhost ~]# /opt/vmwarecli/bin/vmware-cmd -H 192.168.131.234 /vmfs/volumes/58cf7810-bde83e8a-457c-ac220b89c4ca/ArchLinux/ArchLinux.vmx getstate
Enter username: root
Enter password:
getstate() = on
傳回值:on, off, suspended, or unknown.
顯示虛擬機器開機的時間
[root@localhost ~]# /opt/vmwarecli/bin/vmware-cmd -H 192.168.131.234 /vmfs/volumes/58cf7810-bde83e8a-457c-ac220b89c4ca/ArchLinux/ArchLinux.vmx getuptime
Enter username: root
Enter password:
getuptime() = 82404
查詢 ESXi Server 版本資訊
[root@localhost ~]# /opt/vmwarecli/bin/vmware-cmd -H 192.168.131.234 /vmfs/volumes/58cf7810-bde83e8a-457c-ac220b89c4ca/ArchLinux/ArchLinux.vmx getproductinfo product
Enter username: root
Enter password:
getproductinfo(product) = embeddedEsx
傳回值 esx for VMware ESX, embeddedESX for VMware ESXi, or unknown.
查詢安裝的 VM 安裝平台
[root@localhost ~]# /opt/vmwarecli/bin/vmware-cmd -H 192.168.131.234 /vmfs/volumes/58cf7810-bde83e8a-457c-ac220b89c4ca/ArchLinux/ArchLinux.vmx getproductinfo platform
Enter username: root
Enter password:
getproductinfo(platform) = vmnix-x86
傳回值 win32-x86 for an x86-based Windows system, linux-x86 for an x86-based Linux system, or vmnix-x86 for an x86-based ESXi microkernel.
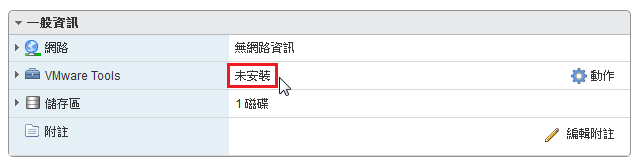
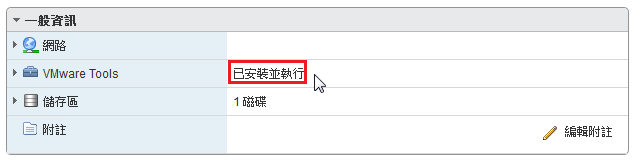
檢查 VM 是否有安裝 VMware Tools
[root@localhost ~]# /opt/vmwarecli/bin/vmware-cmd -H 192.168.131.234 /vmfs/volumes/58cf7810-bde83e8a-457c-ac220b89c4ca/ArchLinux/ArchLinux.vmx gettoolslastactive
Enter username: root
Enter password:
gettoolslastactive() = 1
傳回值
0 – VMware Tools is not installed or not running.
1 – Guest operating system is responding normally.
5 – Intermittent heartbeat. There might be a problem with the guest operating system.
100 – No heartbeat. Guest operating system might have stopped responding.
將 VM 關機
[root@localhost ~]# vmware-cmd -H 192.168.131.234 /vmfs/volumes/58cf7810-bde83e8a-457c-ac220b89c4ca/ArchLinux stop soft
[root@localhost ~]# vmware-cmd -H 192.168.131.234 /vmfs/volumes/58cf7810-bde83e8a-457c-ac220b89c4ca/ArchLinux start soft
[root@localhost ~]# vmware-cmd -H 192.168.131.234 /vmfs/volumes/58cf7810-bde83e8a-457c-ac220b89c4ca/ArchLinux reset soft
[root@localhost ~]# vmware-cmd -H 192.168.131.234 /vmfs/volumes/58cf7810-bde83e8a-457c-ac220b89c4ca/ArchLinux suspend hard
[root@localhost ~]# vmware-cmd -H 192.168.131.234 /vmfs/volumes/58cf7810-bde83e8a-457c-ac220b89c4ca/ArchLinux suspend soft
建立 Snapshot 快照
quiesce flag (0 or 1) and memory flag (0 or 1).
[root@localhost ~]# vmware-cmd -H 192.168.131.234 /vmfs/volumes/58cf7810-bde83e8a-457c-ac220b89c4ca/ArchLinux createsnapshot ArchLinuxOK ‘ArchLinux OK 2017.04.01’ 0 0
還原快照
[root@localhost ~]# vmware-cmd -H 192.168.131.234 /vmfs/volumes/58cf7810-bde83e8a-457c-ac220b89c4ca/ArchLinux revertsnapshot
刪除快照
[root@localhost ~]# vmware-cmd -H 192.168.131.234 /vmfs/volumes/58cf7810-bde83e8a-457c-ac220b89c4ca/ArchLinux removesnapshots
查詢 DNS Server 設定
[root@localhost ~]# vicfg-dns –server 192.168.131.234
Enter username: root
Enter password:
DNS Configuration
Host Name esxi
Domain Name test.ilc.edu.tw
DHCP false
DNS Servers
140.111.66.10
168.95.1.1
將 VMware ESXi Server 關機
[root@localhost ~]# vicfg-hostops –server 192.168.131.234 –operation shutdown –force
[root@localhost ~]# vicfg-hostops –server 192.168.131.234 –operation shutdown
Enter username: root
Enter password:
Host esxi.localdomain shutdown successfully.
將 VMware ESXi Server 重新啟動
[root@localhost ~]# vicfg-hostops –server 192.168.131.234 –operation reboot –force
[root@localhost ~]# vicfg-hostops –server 192.168.131.234 –operation reboot
Enter username: root
Enter password:
Host esxi.localdomain rebooted successfully.
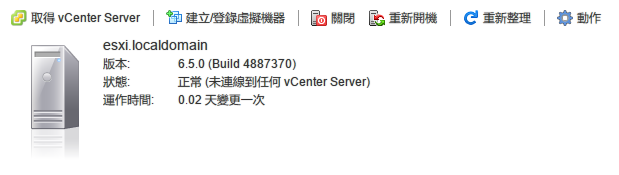
顯示 VMware ESXi Server 資訊
[root@localhost ~]# vicfg-hostops –server 192.168.131.234 –operation info
Enter username: root
Enter password:
Host Name : esxi.localdomain
Manufacturer : VMware, Inc.
Model : VMware Virtual Platform
Processor Type : Intel(R) Core(TM) i3-3225 CPU @ 3.30GHz
CPU Cores : 2 CPUs x 3300 GHz
Memory Capacity : 4095.48828125 MB
VMotion Enabled : no
In Maintenance Mode : no
Last Boot Time : 2017-03-29T07:05:37.890796Z
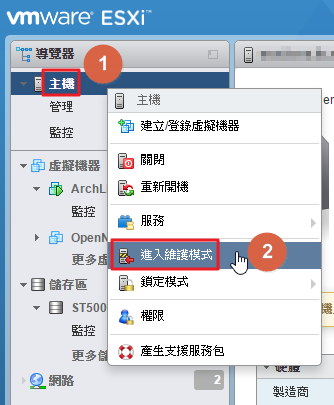
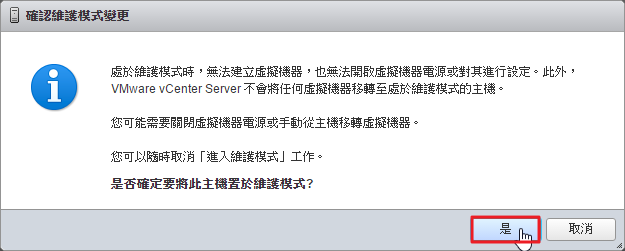
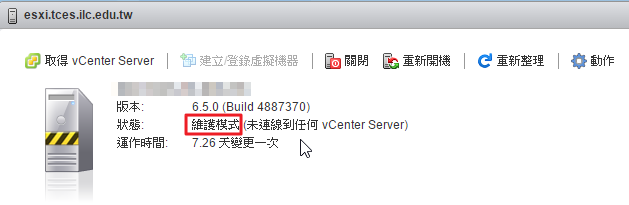
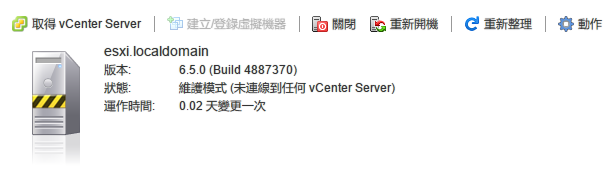
進入維護模式
[root@localhost ~]# vicfg-hostops –server 192.168.131.234 –operation enter
Enter username: root
Enter password:
Host esxi.localdomain entered into maintenance mode successfully.
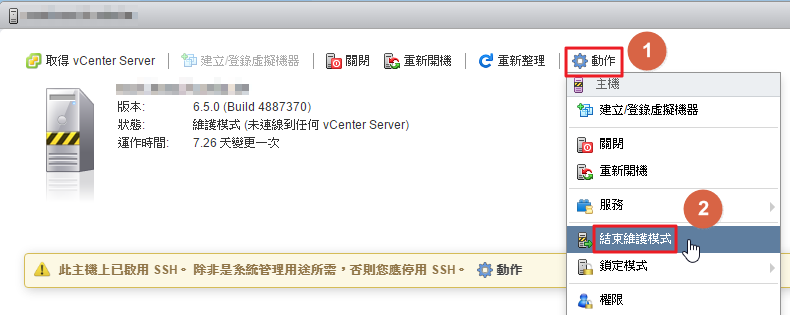
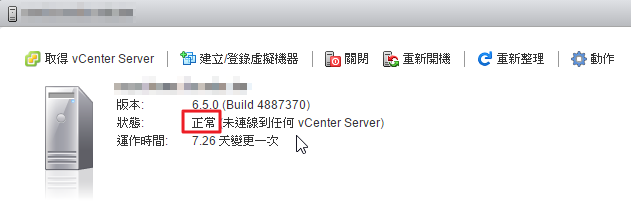
退出維護模式
[root@localhost ~]# vicfg-hostops –server 192.168.131.234 –operation exit
Enter username: root
Enter password:
Host esxi.localdomain exited from maintenance mode successfully.
顯示和設置一台主機從所有路徑到達它的儲存設備
[root@localhost ~]# vicfg-mpath –server 192.168.131.234 –list
Enter username: root
Enter password:
vmhba0:C0:T5:L0
Runtime Name: vmhba0:C0:T5:L0
Device: vmhba0:C0:T5:L0
Device Display Name:
Adapter: vmhba0 Channel: 0 Target: 5 LUN: 0
Adapter Identifier: sata.vmhba0
Target Identifier: sata.0:5
Plugin: NMP
State: active
Transport: sata
vmhba1:C0:T0:L0
Runtime Name: vmhba1:C0:T0:L0
Device: vmhba1:C0:T0:L0
Device Display Name:
Adapter: vmhba1 Channel: 0 Target: 0 LUN: 0
Adapter Identifier: sata.vmhba1
Target Identifier: sata.0:0
Plugin: NMP
State: active
Transport: sata
[root@localhost ~]# vicfg-nas –server 192.168.131.234 -l
Enter username: root
Enter password:
SynologyNAS is /volume1/homes/test/Server/esxi from 192.168.231.4 mounted
[root@esxi:~] esxcli storage nfs list
Volume Name Host Share Accessible Mounted Read-Only isPE Hardware Acceleration
———– ———— ———————————- ———- ——- ——— —– ———————
SynologyNAS 192.168.131.4 /volume1/homes/test/Server/esxi true true false false Not Supported
列出使用者
[root@localhost ~]# vicfg-user –server 192.168.131.234 -e user -o list
Enter username: root
Enter password:
USERS
—————–
Principal -: root
Full Name -: Administrator
UID -: 0
Shell Access -:1
—————–
Principal -: dcui
Full Name -: DCUI User
UID -: 100
Shell Access -:0
—————–
Principal -: vpxuser
Full Name -: VMware VirtualCenter administration account
UID -: 500
Shell Access -:0
—————–
增加一個新的使用者
[root@localhost ~]# vicfg-user –server 192.168.131.234 -e user -o add -l user27 -p 27_password
Enter username: root
Enter password:
Created user user27 successfully.
修改使用者密碼
[root@localhost ~]# vicfg-user –server 192.168.131.234 -e user -o modify -l user27 -p 27_password2
Enter username: root
Enter password:
Updated user user27 successfully.
將使用者改成唯讀
[root@localhost ~]# vicfg-user –server 192.168.131.234 -e user -o modify -l user27 –role read-only
Enter username: root
Enter password:
Do you want to change the password (y/n): n
Updated user user27 successfully.
刪除使用者
[root@localhost ~]# vicfg-user –server 192.168.131.234 -e user -o delete -l user27
Enter username: root
Enter password:
Removed the user user27 successfully.