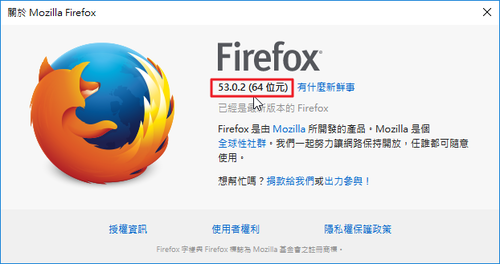
Firefox 53.0.2 & ESR 52.1.1 版


直接下載最新版本安裝
Windows
x86
http://ftp.mozilla.org/pub/firefox/releases/53.0.2/win32/zh-TW/Firefox%20Setup%2053.0.2.exe
ESR 52.1.1 版本
http://ftp.mozilla.org/pub/firefox/releases/52.1.1esr/win32/zh-TW/Firefox%20Setup%2052.1.1esr.exe

x64
http://ftp.mozilla.org/pub/firefox/releases/53.0.2/win64/zh-TW/Firefox%20Setup%2053.0.2.exe
ESR 52.1.1 版本
http://ftp.mozilla.org/pub/firefox/releases/52.1.1esr/win64/zh-TW/Firefox%20Setup%2052.1.1esr.exe

Mac
http://ftp.mozilla.org/pub/firefox/releases/53.0.2/mac/zh-TW/Firefox%2053.0.2.dmg
ESR 52.1.1 版本
http://ftp.mozilla.org/pub/firefox/releases/52.1.1esr/mac/zh-TW/Firefox%2052.1.1esr.dmg

在 CentOS 7.x 上安裝 Nessus 弱點掃描工具

參考網站:
How to Install and Use Nessus Vulnerability Scanner | LinuxPitStop

到 Nessus 官方下載網站:
http://www.tenable.com/products/nessus/select-your-operating-system
1. 選擇要安裝的系統
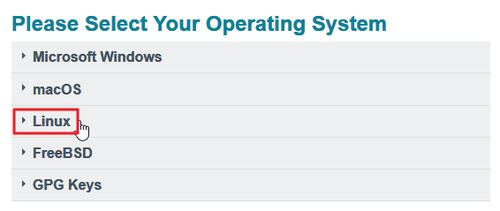
2. 選擇作業系統版本來下載

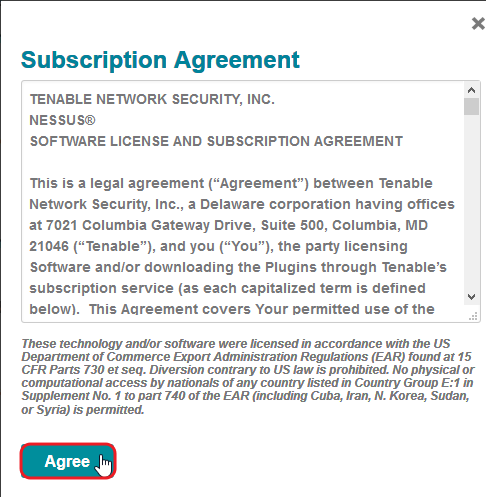
[@more@]3. 軟體授權
4. 將下載下來的檔案到 Server,並進行安裝
# rpm -ivh Nessus-6.10.2-es7.x86_64.rpm
nessusd (Nessus) 6.10.2 [build M20085] for Linux
Copyright (C) 1998 – 2016 Tenable Network Security, Inc

Processing the Nessus plugins…
[##################################################]

All plugins loaded (1sec)
 – You can start Nessus by typing /bin/systemctl start nessusd.service
 – Then go to https://test:8834/ to configure your scanner

# systemctl start nessusd.service
# systemctl status nessusd.service
● nessusd.service – The Nessus Vulnerability Scanner
   Loaded: loaded (/usr/lib/systemd/system/nessusd.service; enabled; vendor preset: disabled)
   Active: active (running) since Mon 2017-03-06 10:42:24 CST; 14s ago
 Main PID: 462 (nessus-service)
   CGroup: /system.slice/nessusd.service
           tq462 /opt/nessus/sbin/nessus-service -q
           mq463 nessusd -q

Mar 06 10:42:24 test systemd[1]: Started The Nessus Vulnerability Scanner.
Mar 06 10:42:24 test systemd[1]: Starting The Nessus Vulnerability Scanner…

# netstat -antulp | grep nessusd
tcp        0      0 0.0.0.0:8834            0.0.0.0:*               LISTEN      463/nessusd
tcp6       0      0 :::8834                 :::*                    LISTEN      463/nessusd

5. 申請  activation code,只能用一次
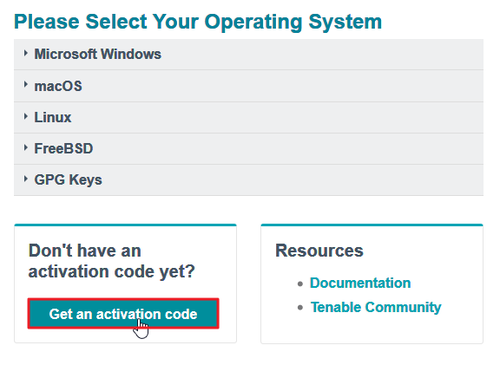
6. 選擇 Nessus Home Free,並註冊

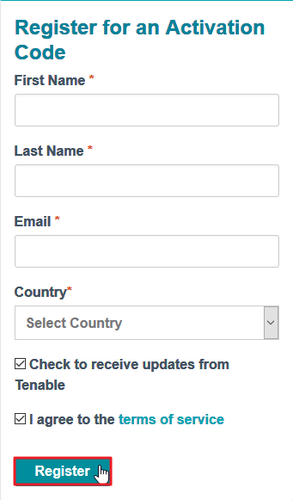
7. 輸入註冊資料
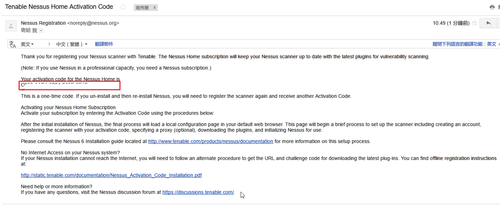
8. 電子郵件會收到 activation code
9. 防火牆設定
# firewall-cmd –zone=public –add-port=8834/tcp –permanent
# firewall-cmd –reload

# iptables -A INPUT -p tcp –syn -m state –state NEW –dport 8834 -j ACCEPT

10. 開啟瀏覽器,這裡以 Opera 為例,輸入 https://Server’IP:8834

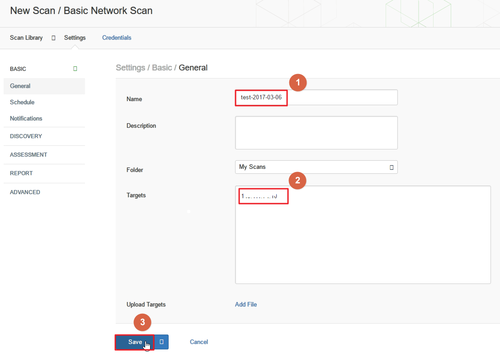
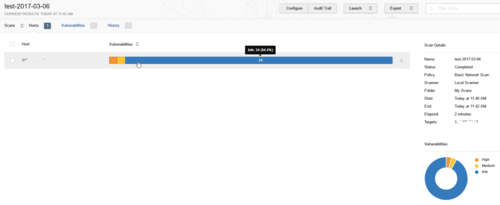
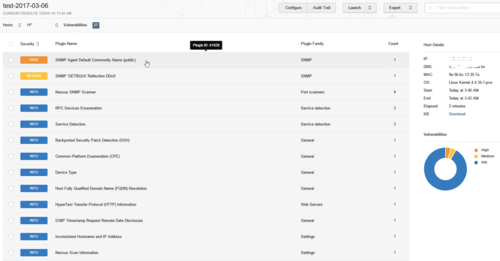
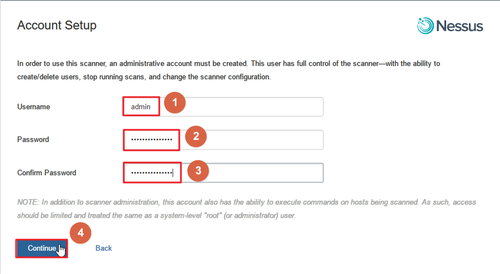
11. 進行設定
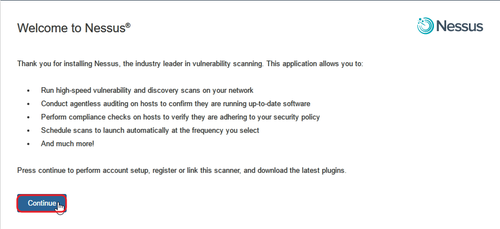
輸入管理者要設定的帳號及密碼
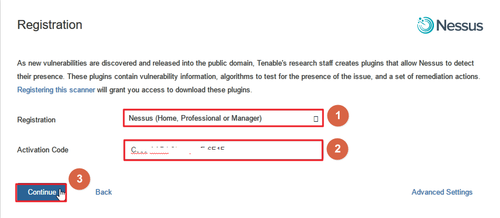
輸入 Activation Code
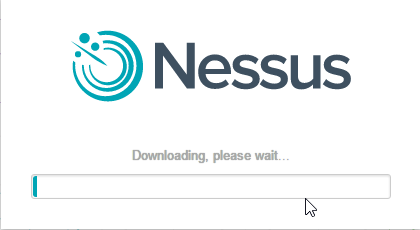
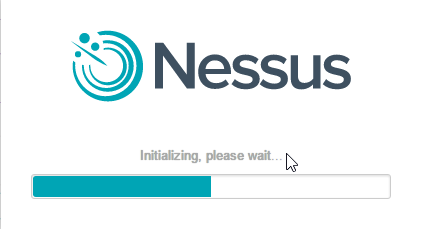
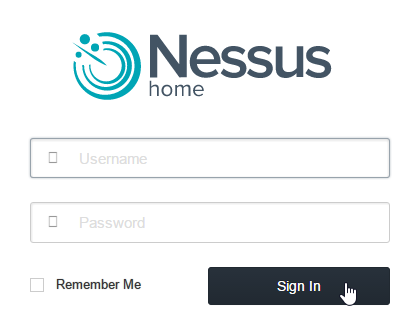
12. 經過漫長的等待,終於來到登入畫面
登入後畫面

手動更新
# /opt/nessus/sbin/nessuscli update

—– Fetching the newest updates from nessus.org —–

Nessus Plugins: Complete

Nessus Core Components: Downloading (0%)
Nessus Core Components: Complete

 * Nessus Plugins are now up-to-date and the changes will be automatically processed by Nessus.
 * Nessus Core Components are now up-to-date and the changes will be automatically processed by Nessus.
[warn] An attempt was made to close an invalid database object.
解決執行 locale 出現的錯誤訊息

原本的 OB2D-XFCE-Server-2017 訊息是顯示中文的,但因個人使用習慣,所以移除了 X-Window,使用 SSH Client 遠端登入後,顯示訊息是中文的,就有些不太習慣。
# cp /etc/default/locale /etc/default/locale.$(date +%F)
# sed -i ‘s/zh_TW/en_US/’ /etc/default/locale
# sed -i ‘s/zh/en/’ /etc/default/locale

# locale-gen en_US.UTF-8
Generating locales (this might take a while)…
  zh_TW.UTF-8… done
Generation complete.
但執行 locale 會出現警告提示的訊息
# locale
locale: Cannot set LC_CTYPE to default locale: No such file or directory
locale: Cannot set LC_MESSAGES to default locale: No such file or directory
locale: Cannot set LC_ALL to default locale: No such file or directory
LANG=en_US.UTF-8
LANGUAGE=
LC_CTYPE=”en_US.UTF-8″
LC_NUMERIC=”en_US.UTF-8″
LC_TIME=”en_US.UTF-8″
LC_COLLATE=”en_US.UTF-8″
LC_MONETARY=”en_US.UTF-8″
LC_MESSAGES=”en_US.UTF-8″
LC_PAPER=”en_US.UTF-8″
LC_NAME=”en_US.UTF-8″
LC_ADDRESS=”en_US.UTF-8″
LC_TELEPHONE=”en_US.UTF-8″
LC_MEASUREMENT=”en_US.UTF-8″
LC_IDENTIFICATION=”en_US.UTF-8″
LC_ALL=[@more@]解決方式:
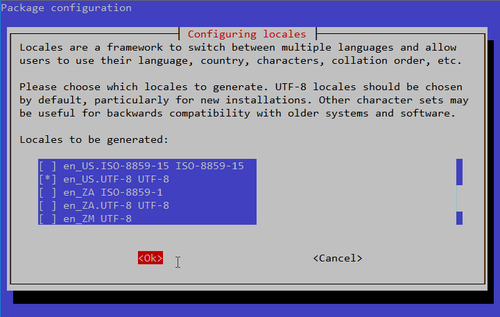
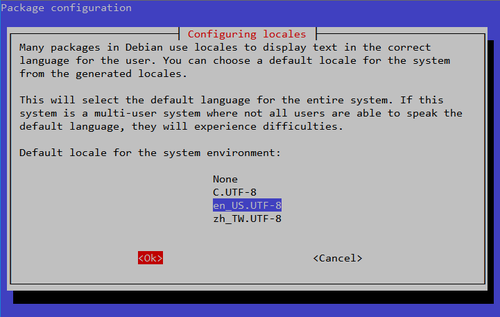
# dpkg-reconfigure locale

這樣就正常了!
# locale
LANG=en_US.UTF-8
LANGUAGE=en_US:en
LC_CTYPE=”en_US.UTF-8″
LC_NUMERIC=”en_US.UTF-8″
LC_TIME=”en_US.UTF-8″
LC_COLLATE=”en_US.UTF-8″
LC_MONETARY=”en_US.UTF-8″
LC_MESSAGES=”en_US.UTF-8″
LC_PAPER=”en_US.UTF-8″
LC_NAME=”en_US.UTF-8″
LC_ADDRESS=”en_US.UTF-8″
LC_TELEPHONE=”en_US.UTF-8″
LC_MEASUREMENT=”en_US.UTF-8″
LC_IDENTIFICATION=”en_US.UTF-8″
LC_ALL=

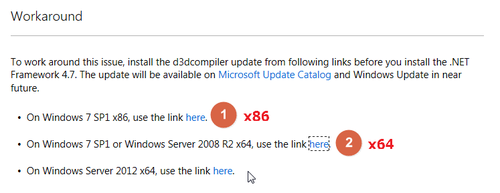
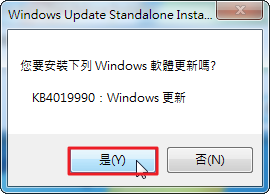
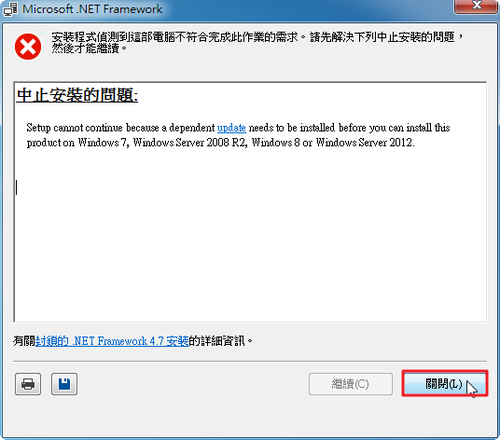
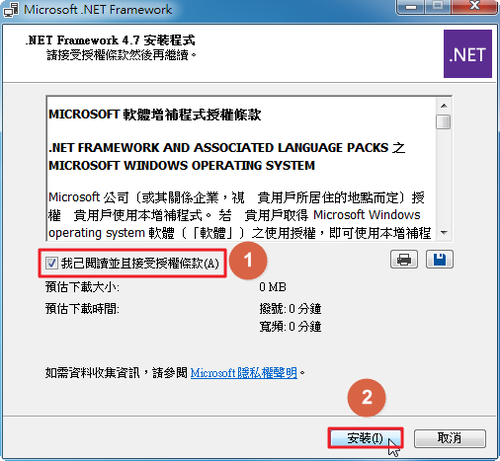
Windows 7 SP1 整合 Microsoft .NET Framework 4.7

整合一些常用軟體
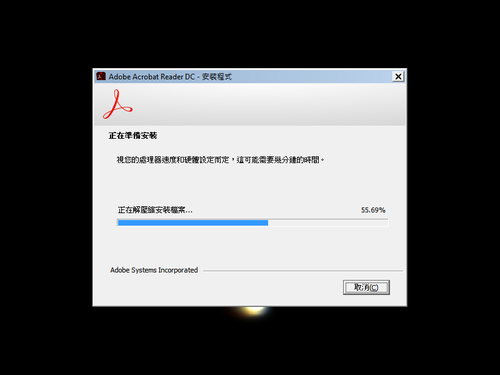
Adobe Acrobat Reader DC

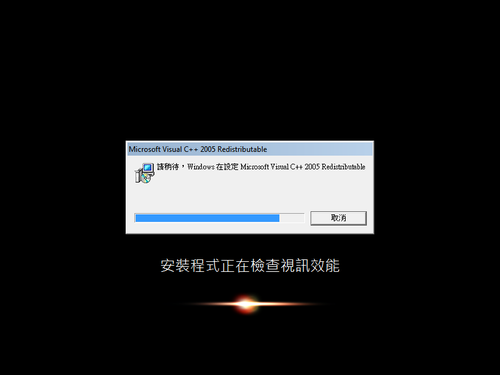
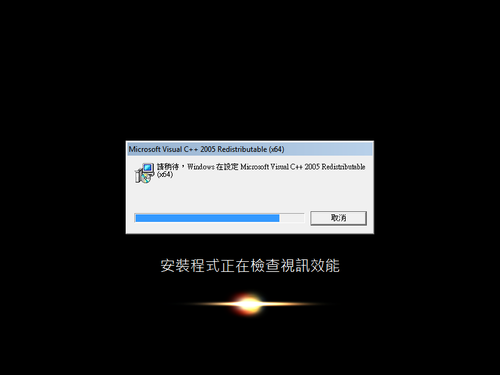
Microsoft Visual C++ 2005/2008/2010/2012/2013/2015 Redistributable

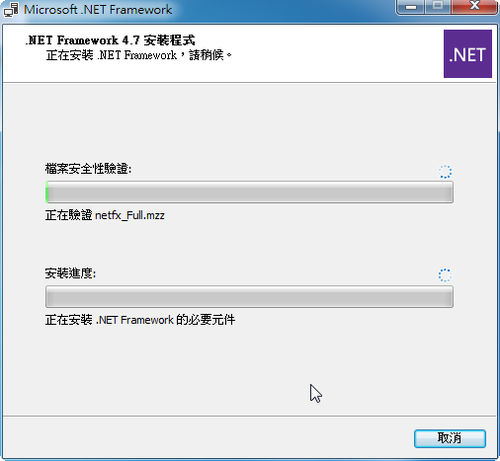
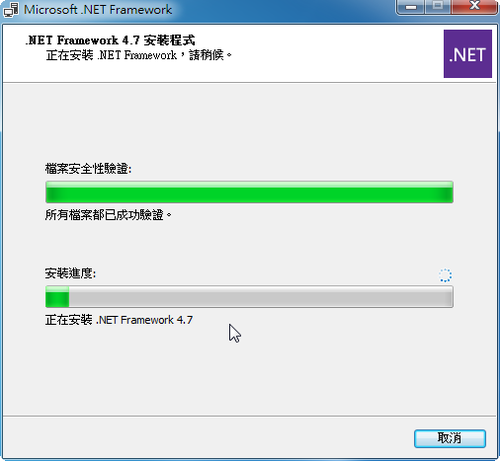
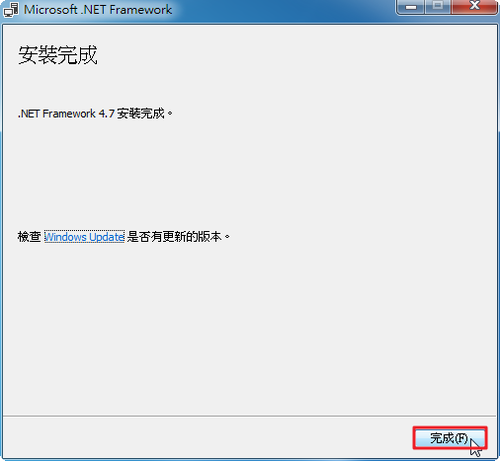
[@more@]Microsoft .NET Framework 4.7

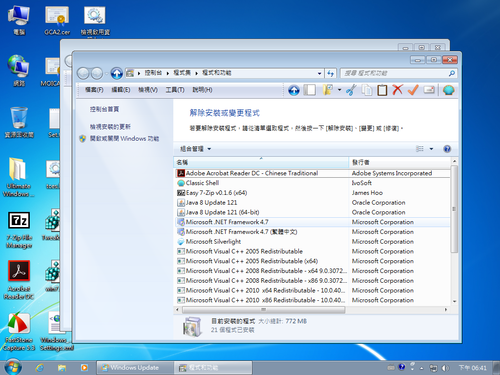
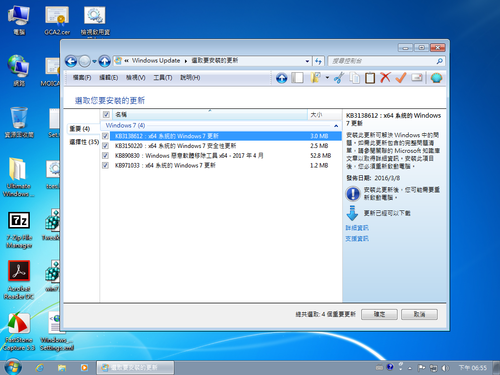
安裝的軟體及更新

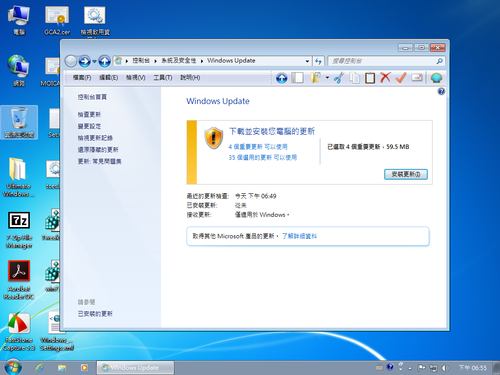
整合後剩下的更新

SetupComplete.cmd 中加入
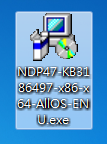
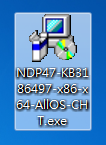
start “” /wait “NDP47NDP47-KB3186497-x86-x64-AllOS-ENU.exe” /passive /norestart
start “” /wait “NDP47NDP47-KB3186497-x86-x64-AllOS-CHT.exe” /q /norestart

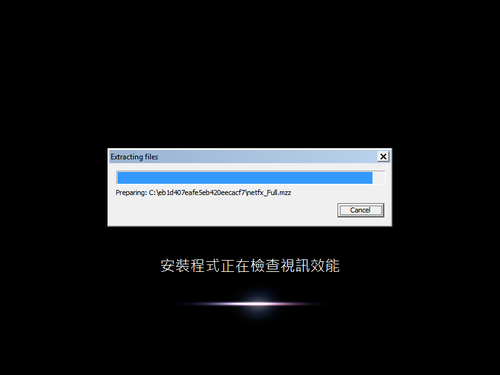
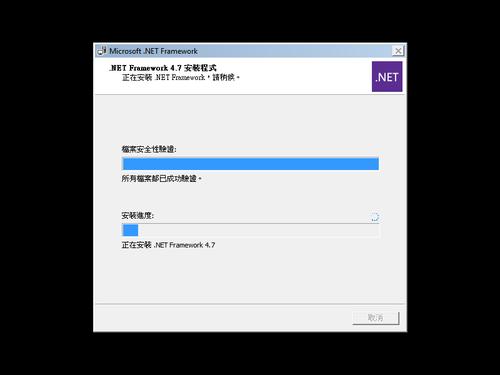
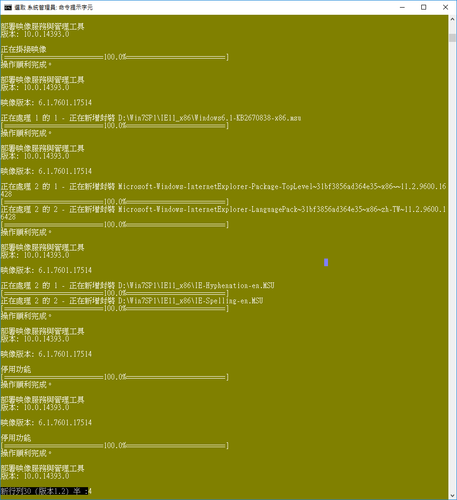
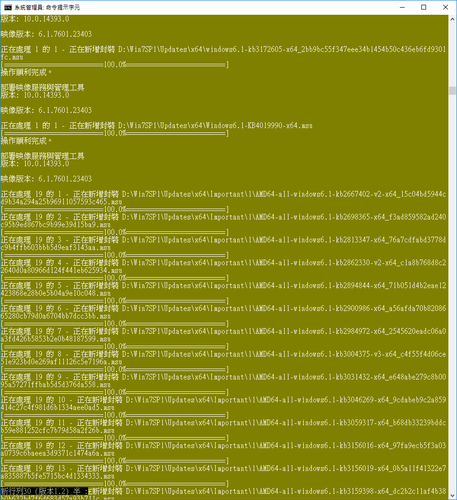
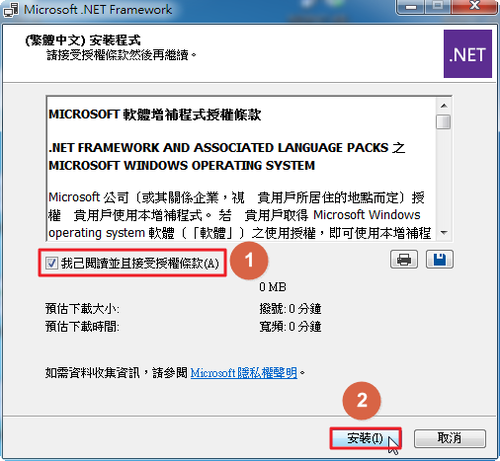
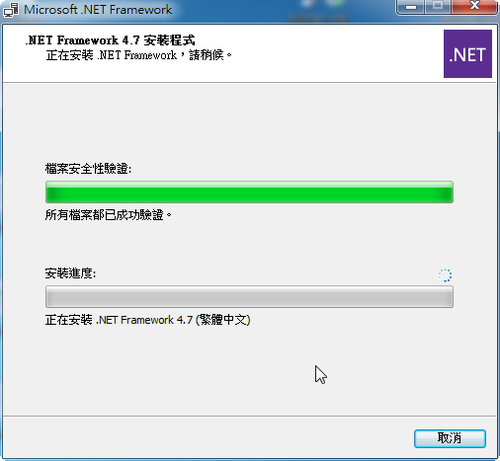
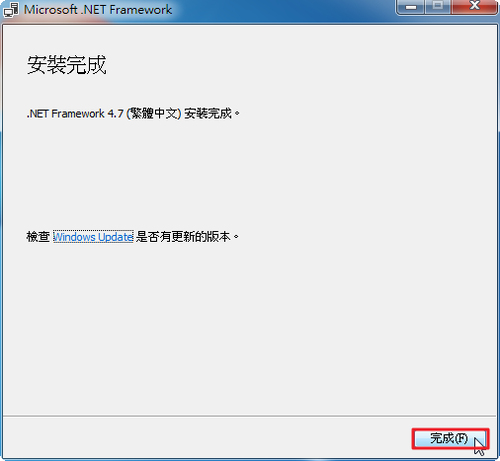
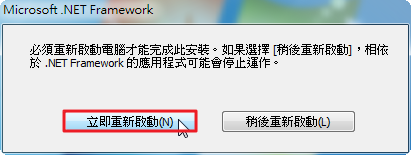
整合過程

讓 AWstats 可以透過 GeoIP 反解出國家和 Domiain Name

參考網頁:
awstats + GeoIP | Peter Luk’s Blog
使用者:Minwei/資訊筆記/日誌分析進階設定 – 台灣棒球維基館
讓AWstats可以透過IP反解出國家和Domiain Name
AWStats LOG 檔分析系統安裝設定 @ 工作雜記 :: 隨意窩 Xuite日誌

1. 下載 GeoIP 檔 http://dev.maxmind.com/geoip/legacy/geolite/
# wget -P /etc/awstats -N http://geolite.maxmind.com/download/geoip/database/GeoLiteCountry/GeoIP.dat.gz
# wget -P /etc/awstats -N http://geolite.maxmind.com/download/geoip/database/GeoLiteCity.dat.gz
# wget -P /etc/awstats -N http://download.maxmind.com/download/geoip/database/asnum/GeoIPASNum.dat.gz

2 解壓縮
# gunzip /etc/awstats/GeoIP.dat.gz
# gunzip /etc/awstats/GeoLiteCity.dat.gz
# gunzip /etc/awstats/GeoIPASNum.dat.gz[@more@]
3. 修改 /etc/awstats 目錄下設定檔
# sed -i ‘s/DNSLookup=2/DNSLookup=1/’ /etc/awstats/awstats.abc.*
並在 DNSLookup=1 後面加入
LoadPlugin=”geoip GEOIP_STANDARD /etc/awstats/GeoIP.dat”
LoadPlugin=”geoip_city_maxmind GEOIP_STANDARD /etc/awstats/GeoLiteCity.dat”
LoadPlugin=”geoip_org_maxmind GEOIP_STANDARD /etc/awstats/GeoIPASNum.dat”

4. 測試設定檔
# /usr/share/awstats/wwwroot/cgi-bin/awstats.pl –update –config=abc.tces.ilc.edu.tw
Create/Update database for config “/etc/awstats/awstats.abc.tces.ilc.edu.tw.conf” by AWStats version 7.4 (build 20150714)
From data in log file “/var/log/httpd/access_log”…
Phase 1 : First bypass old records, searching new record…
Direct access after last parsed record (after line 4670)
Jumped lines in file: 4670
 Found 4670 already parsed records.
Parsed lines in file: 1
 Found 1 dropped records,
 Found 0 comments,
 Found 0 blank records,
 Found 0 corrupted records,
 Found 0 old records,
 Found 0 new qualified records.

5. 更新 GeoIP 檔
# cat /usr/local/bin/UpdateGeoIP.sh
#!/bin/bash
/bin/wget -P /etc/awstats -N http://geolite.maxmind.com/download/geoip/database/GeoLiteCountry/GeoIP.dat.gz
/bin/wget -P /etc/awstats -N http://geolite.maxmind.com/download/geoip/database/GeoLiteCity.dat.gz
/bin/wget -P /etc/awstats -N http://download.maxmind.com/download/geoip/database/asnum/GeoIPASNum.dat.gz
/bin/gunzip /etc/awstats/GeoIP.dat.gz
/bin/gunzip /etc/awstats/GeoLiteCity.dat.gz
/bin/gunzip /etc/awstats/GeoIPASNum.dat.gz

6. 更改檔案權限
# chmod 700 /usr/local/bin/UpdateGeoIP.sh

7. 加入工作排程,每月凌晨更新
# crontab -e
0 0 1 * * /usr/local/bin/UpdateGeoIP.sh > /dev/null 2>&1

讓 AWStats 顯示 UTF-8 繁體中文

參考網站:
讓 AWStats 顯示 UTF-8 繁體中文 « Jamyy’s Weblog

1. 將 big 5 繁體中文語系檔轉成  utf-8
# cd /usr/share/awstats/lang
# cat awstats-tw.txt | sed -e ‘s/big5/utf-8/’ | iconv -f big5 -t utf8 > awstats-tw-utf8.txt[@more@]
2. 修改 /usr/share/awstats/wwwroot/cgi-bin/awstats.pl
# cp /usr/share/awstats/wwwroot/cgi-bin/awstats.pl /usr/share/awstats/wwwroot/cgi-bin/awstats.pl.$(date +%F)
# sed -i ‘s/’tw’/’tw-utf8’/2’ /usr/share/awstats/wwwroot/cgi-bin/awstats.pl

3. 修改 /etc/awstats 目錄下設定檔
# sed -i ‘/Lang/s/auto/tw-utf8/’ /etc/awstats/*.conf

4. 重新產生畫面
# /usr/share/awstats/wwwroot/cgi-bin/awstats.pl –update –config=abc.tces.ilc.edu.tw
# /usr/share/awstats/tools/awstats_updateall.pl now