1. 安裝 epel 套件庫
# yum install epel-release
# yum update
2. 安裝 LAMP
# yum install httpd mariadb-server php php-mysql php-pear php-gd php-mbstring net-snmp net-snmp-utils rrdtool
3. 安裝 cacti
# yum install cacti[@more@]
4. 啟動相關服務並開機時啟動
# systemctl enable httpd.service
# systemctl enable mariadb.service
# systemctl start httpd.service
# systemctl start mariadb.service
5. 設定 MariaDB SQL Server
# /usr/bin/mysql_secure_installation
6. 建立資料庫並設定管理帳號及密碼
# /usr/bin/mysql -u root -p
MariaDB [(none)]> create database cacti;
Query OK, 1 row affected (0.00 sec)
MariaDB [(none)]> grant all privileges on cacti.* to cacti@localhost identified by ‘password’;
Query OK, 0 rows affected (0.00 sec)
# For 1.0.x
MariaDB [(none)]> grant select on mysql.time_zone_name to cacti@localhost;
Query OK, 0 rows affected (0.00 sec)
MariaDB [(none)]> flush privileges;
Query OK, 0 rows affected (0.00 sec)
MariaDB [(none)]> exit
7. 匯入資料 版本會變動
# /usr/bin/mysql -u cacti -p cacti < /usr/share/doc/cacti-0.8.8h/cacti.sql
# /usr/bin/mysql -u cacti -p cacti < /usr/share/doc/cacti-1.0.4/cacti.sql
8. 修改 /etc/httpd/conf.d/cacti.conf 限制瀏覽的 IP 來源
# sed -i “/# httpd 2.4/attRequire ip 192.168.1.0/24” /etc/httpd/conf.d/cacti.conf
# cat /etc/httpd/conf.d/cacti.conf
Alias /cacti /usr/share/cacti
<Directory /usr/share/cacti/>
<IfModule mod_authz_core.c>
# httpd 2.4
Require ip 192.168.1.0/24
Require host localhost
</IfModule>
<IfModule !mod_authz_core.c>
# httpd 2.2
Order deny,allow
Deny from all
Allow from localhost
</IfModule>
</Directory>
9. 重新啟動 Web Server
# systemctl restart httpd.service
10. 修改 cacti 資料庫設定 /etc/cacti/db.php
# sed -i -e ‘s/database_username = “cactiuser”/database_username = “cacti”/’ -e ‘s/database_password = “cactiuser”/database_password = “password”/’ /etc/cacti/db.php
For 1.0.x
# sed -i -e “s/database_username = ‘cactiuser’/database_username = ‘cacti’/” -e “s/database_password = ‘cactiuser’/database_password = ‘password’/” /etc/cacti/db.php
11. 修改 cacti 工作排程設定 /etc/cron.d/cacti
# sed -i -e ‘s/^#//’ /etc/cron.d/cacti
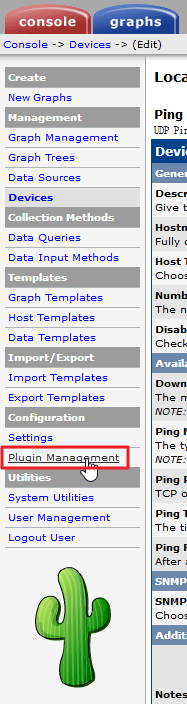
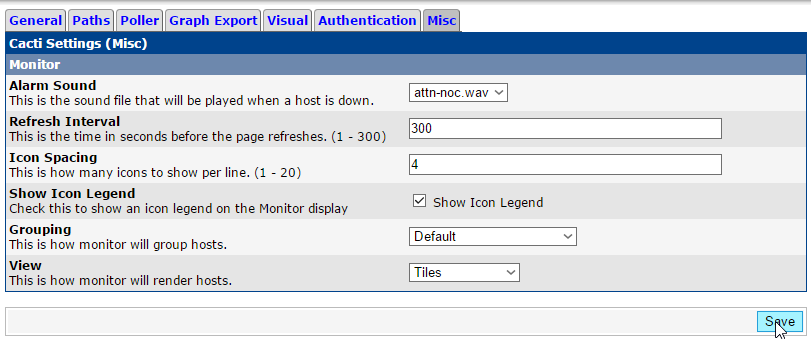
12. 進行安裝設定 http://Server’IP/cacti
13.安裝過程 0.8.8 版本


預設帳號密碼:admin / admin


安裝完成!

1.0.x 版

解決 ERROR: Your Cacti database login account does not have access to the MySQL TimeZone database. Please provide the Cacti database account “select” access to the “time_zone_name” table in the “mysql” database, and populate MySQL’s TimeZone information before proceeding.
# /usr/bin/mysql_tzinfo_to_sql /usr/share/zoneinfo | /usr/bin/mysql -u root -p mysql
Enter password:
更改目錄擁有者及權限
# chown -R apache:apache /usr/share/cacti
# chmod -R 777 /usr/share/cacti/resource
進行安裝 http://Server’IP/cacti

有一些 Warn,先跳過

Next

程式路徑

目錄權限

安裝完成

預設帳號及密碼:admin / admin

重設密碼,密碼強度要求很高


按 Save 更改密碼

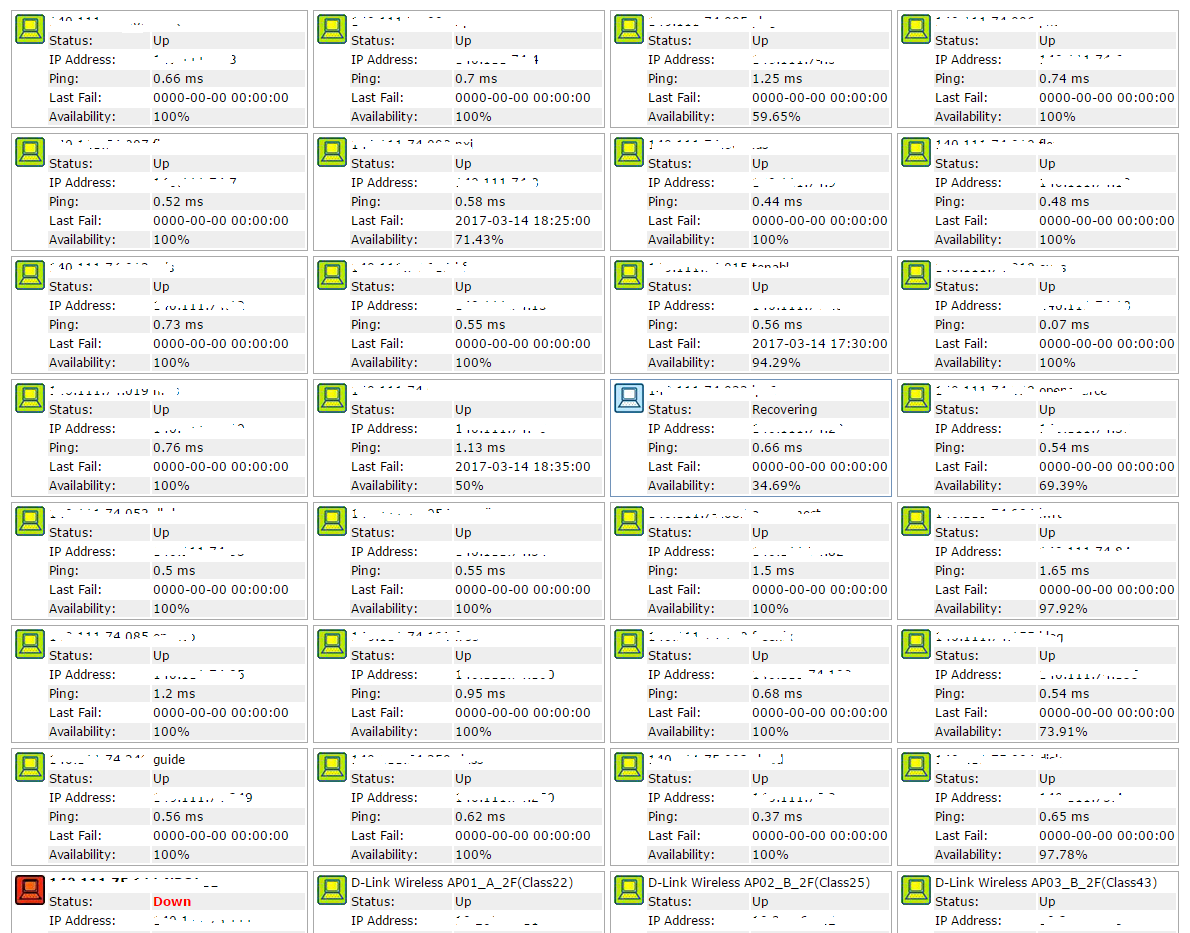
登入完成畫面