OSSII OxOffice Community Edition 釋出 R6C1 版本


OSSII OxOffice Community Edition R6C1 版本是基於 LibreOffice 5.1.4.2 版本,加入相關業地化修正後,比較適合中文環境的使用習慣,目前個人都是使用這一個版本。
OSSII OxOffice Community Edition R6C1 下載網站:https://sourceforge.net/projects/ossii-oxoffice/
[@more@]Windows x86 版本:
https://sourceforge.net/projects/ossii-oxoffice/files/Windows/x86/
Windows 免安裝版:
https://sourceforge.net/projects/ossii-oxoffice/files/Windows/portableapps/
Linux x86_64 版本:
https://sourceforge.net/projects/ossii-oxoffice/files/Linux/x86_64/

可惜可以使用的平台有些不足,以 Windows 平台而言,少了 x86_64 平台,Linux 平台少了 x86 平台,而且似乎是針對 Debian/Ubuntu… 等平台,還有一直期待的 Mac OSX 平台。

底下以在 Windows 10 x86_64 平台安裝為例
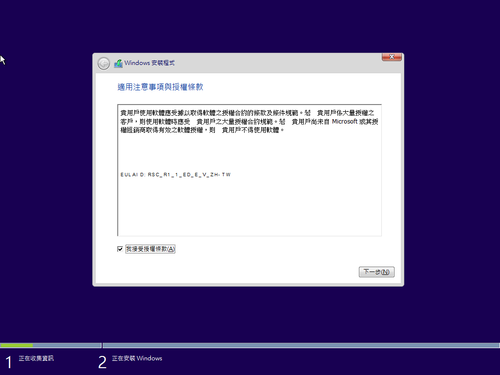
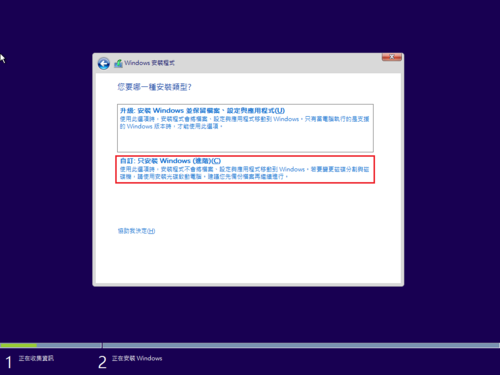
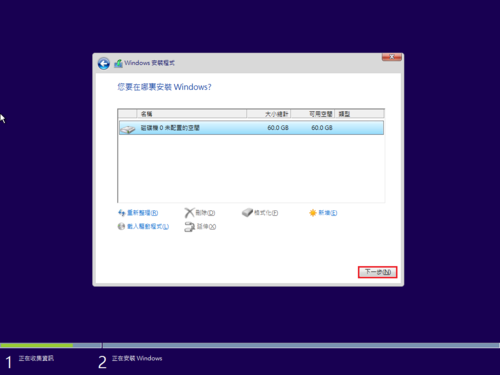
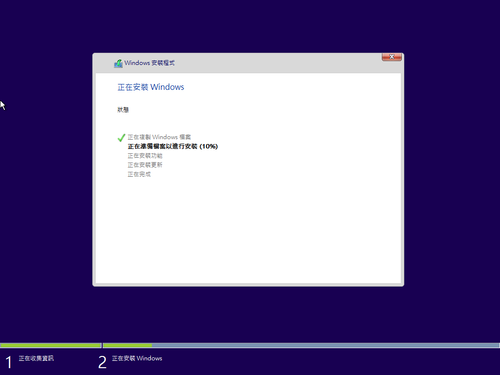
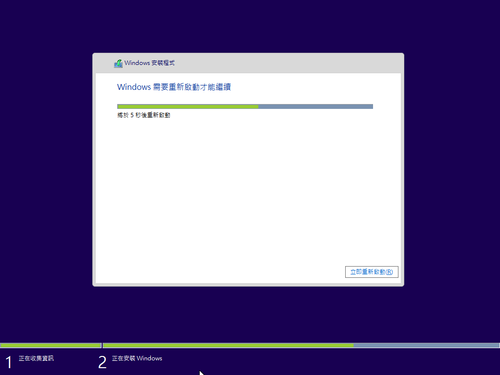
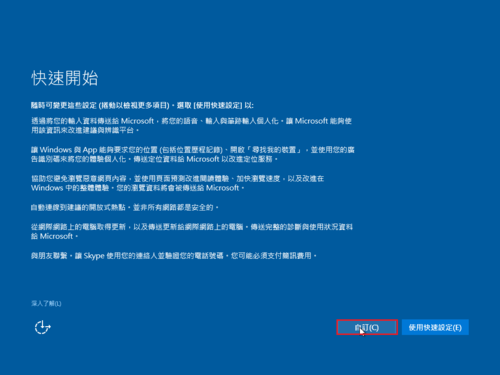
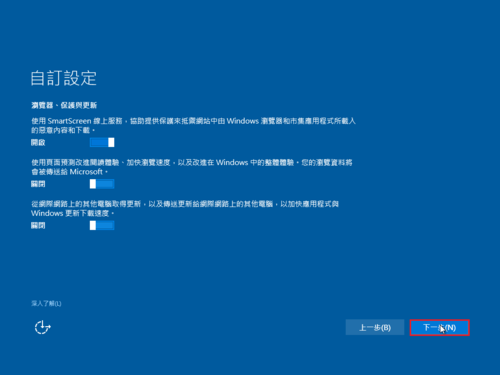
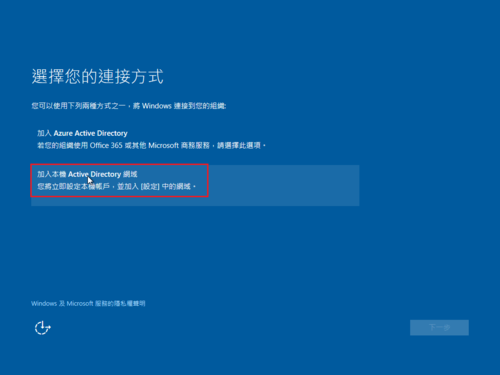
安裝擷圖

Writer 文書

Calc 試算表

Impress 簡報

解決測試 Samba Server 設定檔時出現的提示訊息

在使用 testparm 測試 Samba Server 設定檔時會出現如下的提示訊息
# testparm
Load smb config files from /etc/samba/smb.conf
rlimit_max: increasing rlimit_max (1024) to minimum Windows limit (16384)
Processing section “[homes]”
Loaded services file OK.
Server role: ROLE_STANDALONE

Press enter to see a dump of your service definitions[@more@]解決方式:
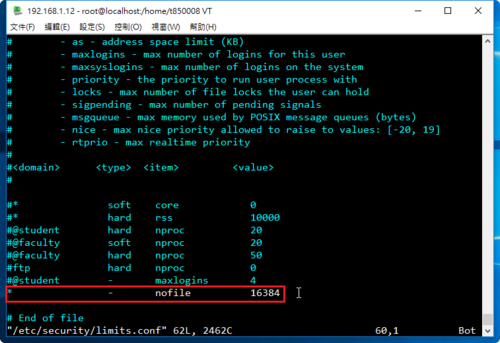
修改 /etc/security/limits.conf 設定檔
# vim /etc/security/limits.conf
加入下面一行
*                –       nofile          16384

重新啟動電腦後,就不會再出現了!
# testparm
Load smb config files from /etc/samba/smb.conf
Processing section “[homes]”
Loaded services file OK.
Server role: ROLE_STANDALONE

Press enter to see a dump of your service definitions

Microsoft .NET Framework 4.6.2


主程式:下載
語言套件:下載
[@more@]整合方式:
加入到 SetupComplete.cmd
set SetupDir=%~dp0NDP462
start “” /wait “%SetupDir%NDP462-KB3151800-x86-x64-AllOS-ENU.exe” /passive /norestart
start “” /wait “%SetupDir%NDP462-KB3151800-x86-x64-AllOS-CHT.exe” /q /norestart

有空的話,再整合到 Windows 的安裝光碟!

在 CentOS 7.x 上使用 Samba Server

1. 安裝 Samba Server
# yum install samba

2. 修改設定檔 /etc/samba/smb.conf
# cat /etc/samba/smb.conf | grep -E -v ‘^#|^;’
[global]
        workgroup = HOME
        server string = Samba Server Version %v

        # log files split per-machine:
        log file = /var/log/samba/log.%m
        # maximum size of 50KB per log file, then rotate:
        max log size = 50

        security = user
        passdb backend = tdbsam

[homes]
        comment = Home Directories
        browseable = no
        writable = yes
        valid users = %S
        veto files=/.*

[@more@]3. 測試設定檔
# testparm
Load smb config files from /etc/samba/smb.conf
rlimit_max: increasing rlimit_max (1024) to minimum Windows limit (16384)
Processing section “[homes]”
Loaded services file OK.
Server role: ROLE_STANDALONE

Press enter to see a dump of your service definitions

# Global parameters
[global]
        workgroup = HOME
        server string = Samba Server Version %v
        security = USER
        log file = /var/log/samba/log.%m
        max log size = 50
        idmap config * : backend = tdb

[homes]
        comment = Home Directories
        valid users = %S
        read only = No
        veto files = /.*
        browseable = No

4. 建立使用者 Samba 密碼
# /usr/bin/pdbedit -a t850008
new password:
retype new password:
Unix username:        t850008
NT username:
Account Flags:        [U          ]
User SID:             S-1-5-21-1562595748-815096285-1647261660-1000
Primary Group SID:    S-1-5-21-1562595748-815096285-1647261660-513
Full Name:
Home Directory:       \localhostt850008
HomeDir Drive:
Logon Script:
Profile Path:         \localhostt850008profile
Domain:               LOCALHOST
Account desc:
Workstations:
Munged dial:
Logon time:           0
Logoff time:          Wed, 06 Feb 2036 23:06:39 CST
Kickoff time:         Wed, 06 Feb 2036 23:06:39 CST
Password last set:    Wed, 29 Jun 2016 09:06:19 CST
Password can change:  Wed, 29 Jun 2016 09:06:19 CST
Password must change: never
Last bad password   : 0
Bad password count  : 0
Logon hours         : FFFFFFFFFFFFFFFFFFFFFFFFFFFFFFFFFFFFFFFFFF

5. SELinux 在 Samba Server 上設定
# setsebool -P samba_enable_home_dirs on
如果有另外分享的目錄
# semanage fcontext -a -t samba_share_t ‘/sharedpath(/.*)?’
# restorecon -RFvv /sharedpath

6. 設定開機時啟動 Samba Server
# systemctl enable smb
Created symlink from /etc/systemd/system/multi-user.target.wants/smb.service to /usr/lib/systemd/system/smb.service.
# systemctl enable nmb
Created symlink from /etc/systemd/system/multi-user.target.wants/nmb.service to /usr/lib/systemd/system/nmb.service.

7. 啟動 Samba Server
# systemctl start smb
# systemctl start nmb

8. 檢查是否有正常啟動
# netstat -an | grep -E ‘:137|:138|:139|:445’
tcp        0      0 0.0.0.0:139             0.0.0.0:*               LISTEN
tcp        0      0 0.0.0.0:445             0.0.0.0:*               LISTEN
tcp6       0      0 :::139                  :::*                    LISTEN
tcp6       0      0 :::445                  :::*                    LISTEN
udp        0      0 0.0.0.0:137             0.0.0.0:*
udp        0      0 0.0.0.0:138             0.0.0.0:*

解決在 CentOS 7.x vsftpd FTP Server 出現 500 OOPS 的錯誤訊息

一般使用者連線時出現 500 OOPS 的錯誤訊息
# lftp -u t850008 127.0.0.1
Password:
lftp t850008@127.0.0.1:~> ls
ls: Login failed: 500 OOPS: vsftpd: refusing to run with writable root inside chroot()[@more@]解決方式:
1. 修改 /etc/vsftpd/vsftpd.conf 設定檔
# vim /etc/vsftpd/vsftpd.conf
加入下面一行
allow_writeable_chroot=YES

2. 重新啟動 vsftpd FTP Server
# systemctl stop vsftpd
# systemctl start vsftpd

3. 測試一下
# lftp -u t850008 127.0.0.1
Password:
lftp t850008@127.0.0.1:~> ls
-rw——-    1 1000     1000     73121952 Jun 26 00:51 VMware-player-12.1.0-3272444.exe
-rw——-    1 1000     1000     153807839 Jun 26 00:52 Windows 7 Games for Windows 10 and 8.exe
-rw——-    1 1000     1000       324096 Jun 26 00:51 pietty0327.exe

在 CentOS 7.x 上使用 vsftpd FTP Server

1. 安裝 vsftpd FTP Server
# yum install -y vsftpd

2. 修改設定檔 /etc/vsftpd/vsftpd.conf
# grep -v ^# /etc/vsftpd/vsftpd.conf
anonymous_enable=No
local_enable=YES
write_enable=YES
local_umask=022
dirmessage_enable=YES
xferlog_enable=YES
connect_from_port_20=YES
xferlog_file=/var/log/xferlog
idle_session_timeout=600
data_connection_timeout=120
chroot_local_user=YES
chroot_list_enable=YES
chroot_list_file=/etc/vsftpd/chroot_list
allow_writeable_chroot=YES
listen=YES

pam_service_name=vsftpd
userlist_enable=YES
tcp_wrappers=YES

pasv_enable=YES
pasv_min_port=5000
pasv_max_port=6000
use_localtime=YES[@more@]3. 讓 root 可以登入
# sed -i ‘s/root/#root/’ /etc/vsftpd/ftpusers
# sed -i ‘s/root/#root/’ /etc/vsftpd/user_list

4. 限制使用者不能切換到其它目錄,root 可以
# echo root > /etc/vsftpd/chroot_list

5. SELinux 在 vsftpd FTP Server 上的設定
# setsebool -P ftp_home_dir  on
# setsebool -P allow_ftpd_full_access  on

6. 設定開機時啟動
# # systemctl enable vsftpd
Created symlink from /etc/systemd/system/multi-user.target.wants/vsftpd.service to /usr/lib/systemd/system/vsftpd.service.

7. 啟動 vsftpd FTP Server
# systemctl start vsftpd

8. 檢查 FTP Server 是否有正常啟動
# netstat -ant | grep :21
tcp        0      0 0.0.0.0:21                  0.0.0.0:*                   LISTEN
關於 chroot 使用者的另一種做法
1. 修改 /etc/vsftpd/vsftpd.conf 設定檔
# grep ‘chroot’ /etc/vsftpd/vsftpd.conf | grep -v ‘^#’
chroot_local_user=NO
chroot_list_enable=YES
chroot_list_file=/etc/vsftpd/chroot_list
allow_writeable_chroot=YES

2. 建立要 chroot 的使用者
# awk -F: ‘{if ($3>999) print $1}’ /etc/passwd | grep -v nfsnobody > /etc/vsftpd/chroot_list

# awk -F: ‘{if ($3>999&&$3<60000) print $1}’ /etc/passwd > /etc/vsftpd/chroot_list