在 CentOS 7.x 安裝 PPPoE 撥接功能

參考網站:
在CentOS 7設定PPPoE撥接功能 | Kevin Linul 網路日記本

1. 安裝 rp-pppoe 套件
# yum install rp-pppoe

2. 停用及取消使用 NetworkManager 服務
# systemctl stop NetworkManager.service
# systemctl disable NetworkManager.service
Removed symlink /etc/systemd/system/multi-user.target.wants/NetworkManager.service.
Removed symlink /etc/systemd/system/dbus-org.freedesktop.NetworkManager.service.
Removed symlink /etc/systemd/system/dbus-org.freedesktop.nm-dispatcher.service.[@more@]3. 進行設定
# /usr/sbin/pppoe-setup
Welcome to the PPPoE client setup.  First, I will run some checks on
your system to make sure the PPPoE client is installed properly…

LOGIN NAME

Enter your Login Name (default root): xxxxx@hinet.net

INTERFACE

Enter the Ethernet interface connected to the PPPoE modem
For Solaris, this is likely to be something like /dev/hme0.
For Linux, it will be ethX, where ‘X’ is a number.
(default eth0): eno16777736

Do you want the link to come up on demand, or stay up continuously?
If you want it to come up on demand, enter the idle time in seconds
after which the link should be dropped.  If you want the link to
stay up permanently, enter ‘no’ (two letters, lower-case.)
NOTE: Demand-activated links do not interact well with dynamic IP
addresses.  You may have some problems with demand-activated links.
Enter the demand value (default no):

DNS

Please enter the IP address of your ISP’s primary DNS server.
If your ISP claims that ‘the server will provide dynamic DNS addresses’,
enter ‘server’ (all lower-case) here.
If you just press enter, I will assume you know what you are
doing and not modify your DNS setup.
Enter the DNS information here: 168.95.1.1
Please enter the IP address of your ISP’s secondary DNS server.
If you just press enter, I will assume there is only one DNS server.
Enter the secondary DNS server address here: 8.8.8.8

PASSWORD

Please enter your Password:
Please re-enter your Password:

USERCTRL

Please enter ‘yes’ (three letters, lower-case.) if you want to allow
normal user to start or stop DSL connection (default yes):

FIREWALLING

Please choose the firewall rules to use.  Note that these rules are
very basic.  You are strongly encouraged to use a more sophisticated
firewall setup; however, these will provide basic security.  If you
are running any servers on your machine, you must choose ‘NONE’ and
set up firewalling yourself.  Otherwise, the firewall rules will deny
access to all standard servers like Web, e-mail, ftp, etc.  If you
are using SSH, the rules will block outgoing SSH connections which
allocate a privileged source port.

The firewall choices are:
0 – NONE: This script will not set any firewall rules.  You are responsible
          for ensuring the security of your machine.  You are STRONGLY
          recommended to use some kind of firewall rules.
1 – STANDALONE: Appropriate for a basic stand-alone web-surfing workstation
2 – MASQUERADE: Appropriate for a machine acting as an Internet gateway
                for a LAN
Choose a type of firewall (0-2): 0

Start this connection at boot time

Do you want to start this connection at boot time?
Please enter no or yes (default no):yes

** Summary of what you entered **

Ethernet Interface: eno16777736
User name:          xxxxx@hinet.net
Activate-on-demand: No
Primary DNS:        168.95.1.1
Secondary DNS:      8.8.8.8
Firewalling:        NONE
User Control:       yes
Accept these settings and adjust configuration files (y/n)? y
Adjusting /etc/sysconfig/network-scripts/ifcfg-ppp0
Adjusting /etc/resolv.conf
  (But first backing it up to /etc/resolv.conf.bak)
Adjusting /etc/ppp/chap-secrets and /etc/ppp/pap-secrets
  (But first backing it up to /etc/ppp/chap-secrets.bak)
  (But first backing it up to /etc/ppp/pap-secrets.bak)

Congratulations, it should be all set up!

Type ‘/sbin/ifup ppp0’ to bring up your xDSL link and ‘/sbin/ifdown ppp0’
to bring it down.
Type ‘/sbin/pppoe-status /etc/sysconfig/network-scripts/ifcfg-ppp0’
to see the link status.

原本的網路設定
# ifconfig
eno16777736: flags=4163<UP,BROADCAST,RUNNING,MULTICAST>  mtu 1500
        inet 192.168.1.15  netmask 255.255.255.0  broadcast 192.168.1.255
        inet6 fe80::20c:29ff:feaf:d7df  prefixlen 64  scopeid 0x20<link>
        ether 00:0c:2x:ax:dx:dx  txqueuelen 1000  (Ethernet)
        RX packets 2343  bytes 313808 (306.4 KiB)
        RX errors 0  dropped 2  overruns 0  frame 0
        TX packets 816  bytes 195933 (191.3 KiB)
        TX errors 0  dropped 0 overruns 0  carrier 0  collisions 0

lo: flags=73<UP,LOOPBACK,RUNNING>  mtu 65536
        inet 127.0.0.1  netmask 255.0.0.0
        inet6 ::1  prefixlen 128  scopeid 0x10<host>
        loop  txqueuelen 0  (Local Loopback)
        RX packets 0  bytes 0 (0.0 B)
        RX errors 0  dropped 0  overruns 0  frame 0
        TX packets 0  bytes 0 (0.0 B)
        TX errors 0  dropped 0 overruns 0  carrier 0  collisions 0

新增 ppp0
# ifconfig
eno16777736: flags=4163<UP,BROADCAST,RUNNING,MULTICAST>  mtu 1500
        inet 192.168.1.15  netmask 255.255.255.0  broadcast 192.168.1.255
        inet6 fe80::20c:29ff:feaf:d7df  prefixlen 64  scopeid 0x20<link>
        ether 00:0c:2x:ax:dx:dx  txqueuelen 1000  (Ethernet)
        RX packets 2343  bytes 313808 (306.4 KiB)
        RX errors 0  dropped 2  overruns 0  frame 0
        TX packets 816  bytes 195933 (191.3 KiB)
        TX errors 0  dropped 0 overruns 0  carrier 0  collisions 0

lo: flags=73<UP,LOOPBACK,RUNNING>  mtu 65536
        inet 127.0.0.1  netmask 255.0.0.0
        inet6 ::1  prefixlen 128  scopeid 0x10<host>
        loop  txqueuelen 0  (Local Loopback)
        RX packets 0  bytes 0 (0.0 B)
        RX errors 0  dropped 0  overruns 0  frame 0
        TX packets 0  bytes 0 (0.0 B)
        TX errors 0  dropped 0 overruns 0  carrier 0  collisions 0

ppp0: flags=4305<UP,POINTOPOINT,RUNNING,NOARP,MULTICAST>  mtu 1492
        inet 1.162.11.63  netmask 255.255.255.255  destination 168.95.98.254
        ppp  txqueuelen 3  (Point-to-Point Protocol)
        RX packets 6  bytes 178 (178.0 B)
        RX errors 0  dropped 0  overruns 0  frame 0
        TX packets 7  bytes 269 (269.0 B)
        TX errors 0  dropped 0 overruns 0  carrier 0  collisions 0

在 CentOS 7.x 中使用 SSD

參考網頁:
RHEL7: Extend the life of a SSD. – CertDepot

1. 備份原檔
# cp /etc/fstab /etc/fstab.$(date +%F)
2. 停止每次存取檔案時寫入 timestamp
# vim  /etc/fstab

UUID=ba1f3566-d4af-4abc-93f7-2dde272f8006 /                       xfs     defaults        0 0
修改成
UUID=ba1f3566-d4af-4abc-93f7-2dde272f8006 /                       xfs     defaults,noatime        0 0[@more@]3. 在開機時執行 trim
# cp /etc/rc.d/rc.local /etc/rc.d/rc.local.$(date +%F)
# vim /etc/rc.d/rc.local
加入
# Trim the SSD at boot
/usr/sbin/fstrim /
/usr/sbin/fstrim /home
/usr/sbin/fstrim /boot

4. 修改 /etc/rc.d/rc.local 權限
# chmod 744 /etc/rc.d/rc.local

5. 設定開機時執行
# sed -i ‘$an[Install]nWantedBy=multi-user.target’ /usr/lib/systemd/system/rc-local.service
# systemctl enable rc-local
Created symlink from /etc/systemd/system/multi-user.target.wants/rc-local.service to /usr/lib/systemd/system/rc-local.service.

6. Limit swap use
修改 /etc/sysctl.conf 加入下面二行
vm.swappiness=1
vm.vfs_cache_pressure=50
# sed -i ‘$avm.swappiness=1nvm.vfs_cache_pressure=50’ /etc/sysctl.conf

7. 讓設定生效
# sysctl -p
vm.swappiness = 1
vm.vfs_cache_pressure = 50

8. Use a SSD-friendly I/O scheduler
修改 /etc/default/grub 在 GRUB_CMDLINE_LINUX 那一行的最後面加上 elevator=deadline
# vim /etc/default/grub
GRUB_CMDLINE_LINUX=”rhgb quiet ipv6.disable=1 net.ifnames=0 biosdevname=0 elevator=deadline

9. 產生新的 grub 設定檔
# grub2-mkconfig -o /boot/grub2/grub.cfg
Generating grub configuration file …
Found linux image: /boot/vmlinuz-3.10.0-327.28.2.el7.x86_64
Found initrd image: /boot/initramfs-3.10.0-327.28.2.el7.x86_64.img
Found linux image: /boot/vmlinuz-3.10.0-327.22.2.el7.x86_64
Found initrd image: /boot/initramfs-3.10.0-327.22.2.el7.x86_64.img
Found linux image: /boot/vmlinuz-0-rescue-d1ae217032434f8a908229e3c9aae7ae
Found initrd image: /boot/initramfs-0-rescue-d1ae217032434f8a908229e3c9aae7ae.img
done

整合 Windows 8.1 Enterprise x86/x64 20160819 安裝光碟

連 Windows 8.1 也一併順便完成。

安裝完桌面

主要整合:
1. .NET Framework 3.5
2. .NET Framework 4.6.2
3. 7-Zip
4. Acrobat Reader DC 及更新到最新版
5. Classic Shell
6. Oracle Java 8 Update 101
7. Microsoft Silverlight
8. Microsoft Visual C++ 2005/2008/2010/2012/2013/2015 Redistributable
9. 整合 x86 重要更新 117 個,選用更新 126 個
10. 整合 x64 重要更新 119 個,選用更新 127 個
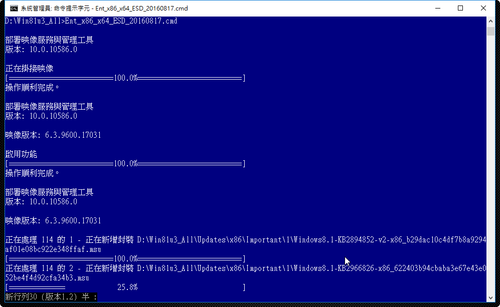
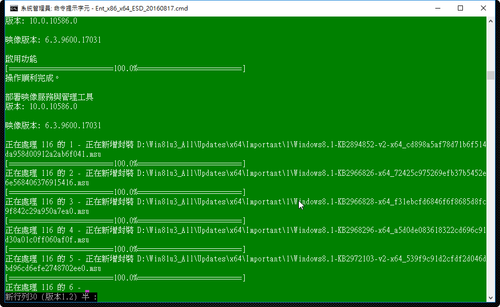
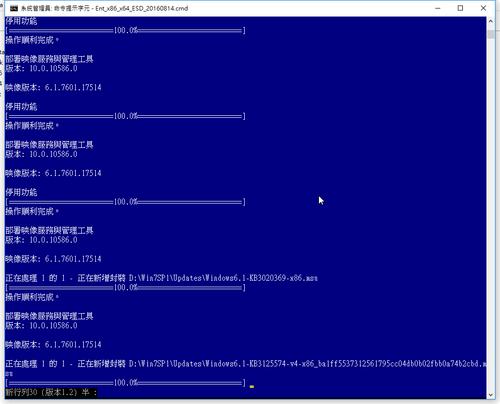
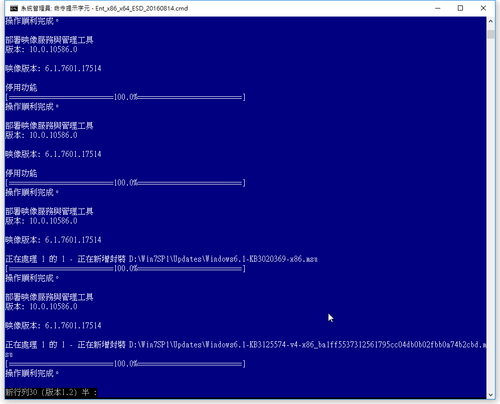
11. 還有一些個人的習慣性設定(公文系統 ……)[@more@]x86 整合過程

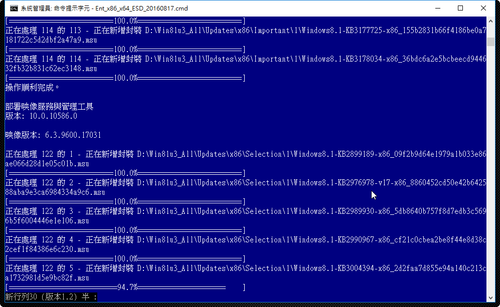
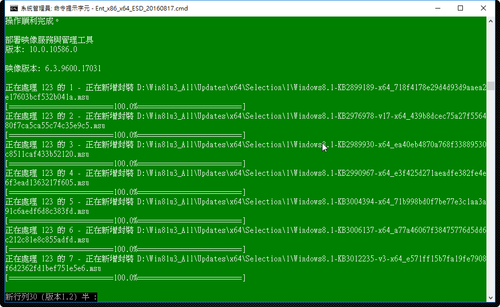
x64 整合過程

底下是安裝擷圖,以 x64 為例
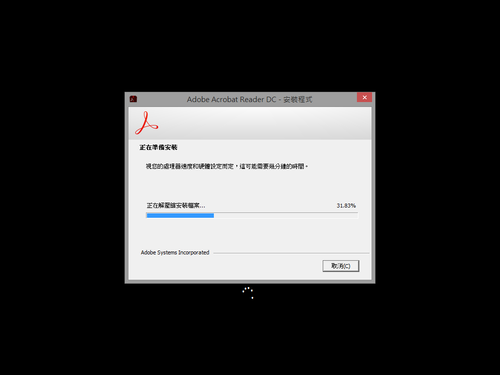
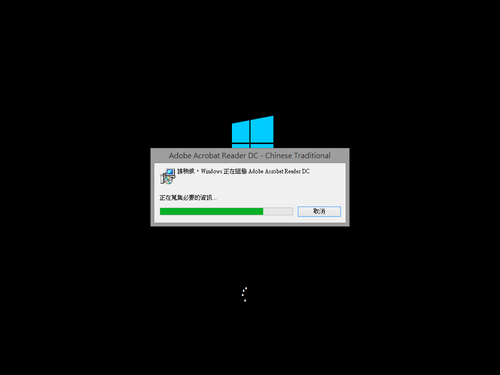
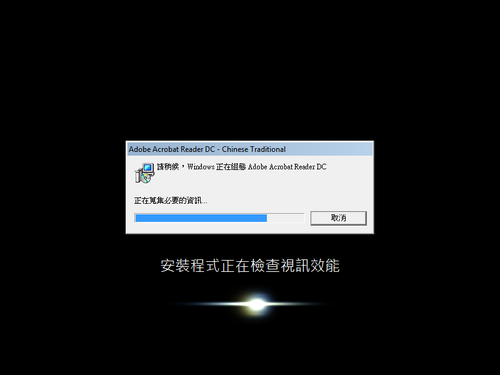
安裝 Acrobat Reader DC

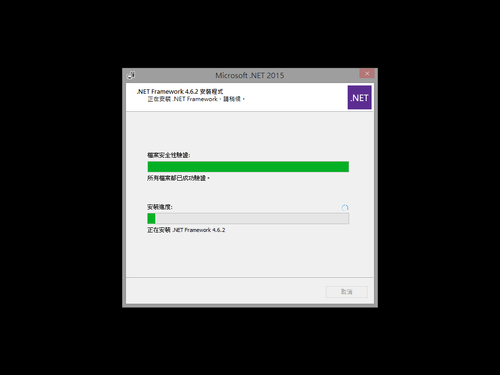
安裝 .NET Framework 4.6.2


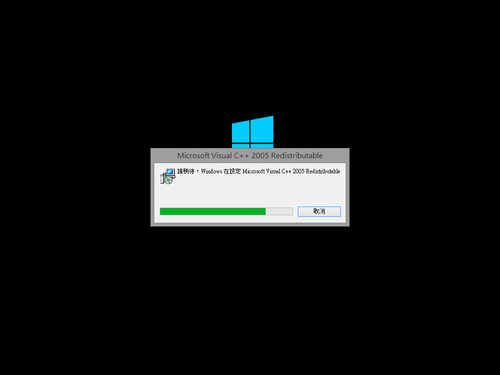
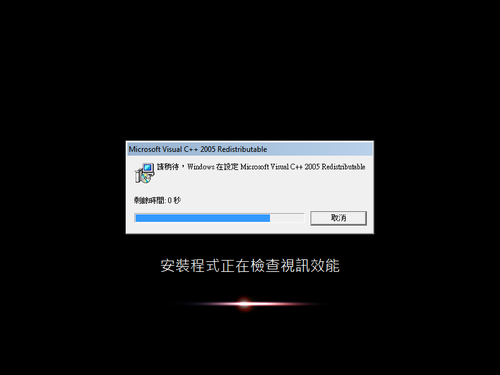
安裝 Microsoft Visual C++ Redistributable

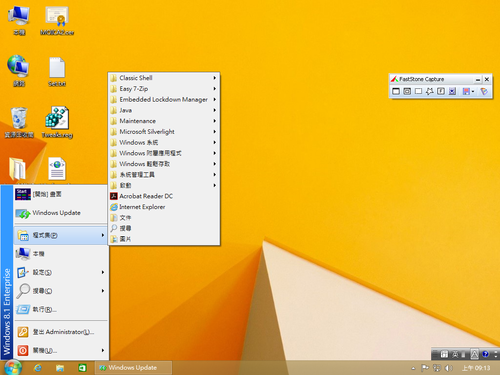
使用 ClassicShell 傳統功能表

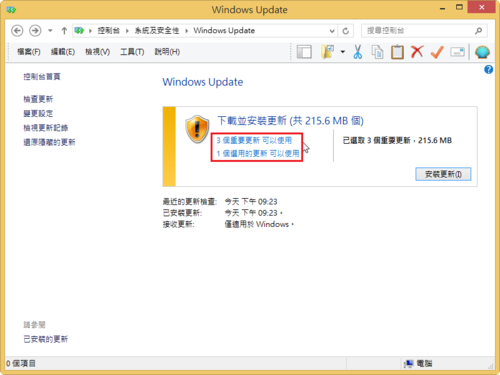
Windows Update

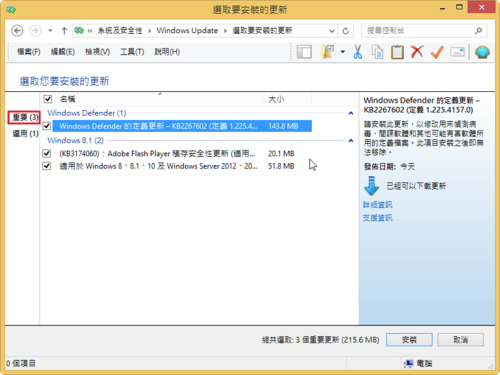
重要的更新

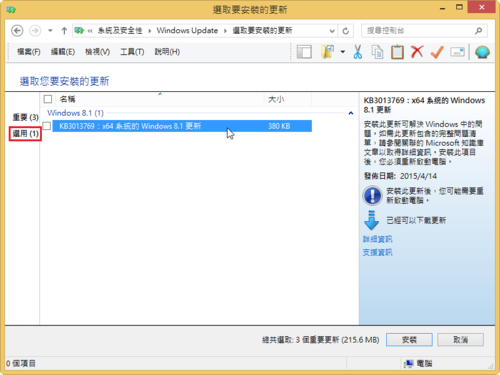
選用的更新

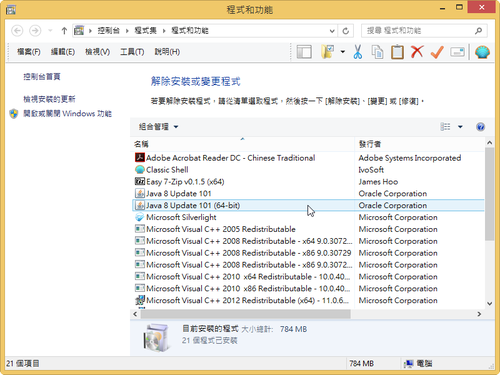
整合的軟體

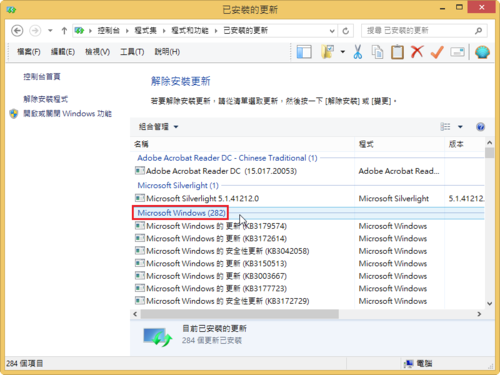
共整合282 個更新檔

在 CentOS 7.x 上刪除 RAID

參考網站:
6.3.5. Removing a RAID Device
mdadm软RAID的删除方法和注意事项 – 猴叔的博客 – 51CTO技术博客

1. 顯示目前 RAID 狀態
# mdadm –detail /dev/md0 | tail -n 4
    Number   Major   Minor   RaidDevice State
       0       8        1        0      active sync   /dev/sdb1
       1       8       17        1      active sync   /dev/sdc1
       2       8       33        2      active sync   /dev/sdd1

2. 停用 RAID
# mdadm –stop /dev/md0
mdadm: stopped /dev/md0[@more@]3. 移除 RAID
# mdadm –remove /dev/md0

4. 移除 superblocks
# mdadm –zero-superblock /dev/sdb1 /dev/sdc1 /dev/sdd1 /dev/sde1

整合 Windows 7 Enterprise SP1 x86/x64 20160817 安裝光碟

因為快要開學了,可能有些電腦要重新安裝,為了安裝方便,所以特別花了一下時做整合。
主要整合:
1. Internet Explorer 11
2. .NET Framework 4.6.2
3. 7-Zip
4. Acrobat Reader DC 及更新到最新版
5. Classic Shell
6. Oracle Java 8 Update 101
7. Microsoft Silverlight
8. Microsoft Visual C++ 2005/2008/2010/2012/2013/2015 Redistributable
9. 整合 x86 重要更新 41 個,選擇性更新 22 個
10. 整合 x64 重要更新 41 個,選擇性更新 23 個
11. 還有一些個人的習慣性設定(公文系統 ……)

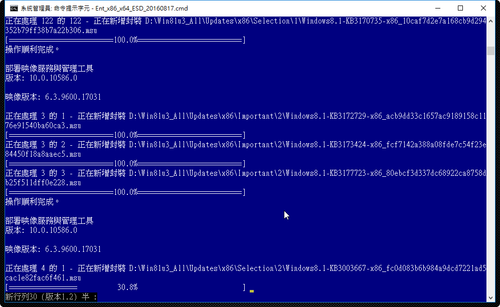
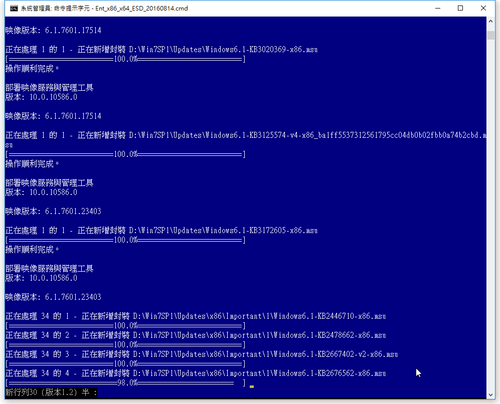
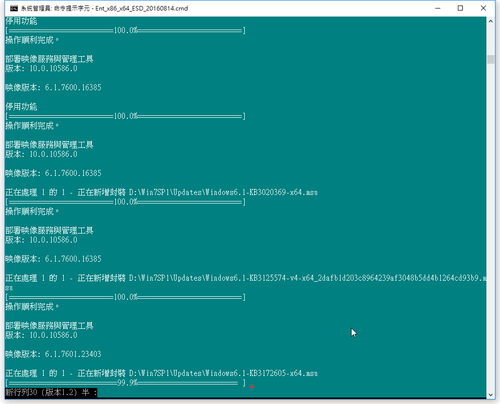
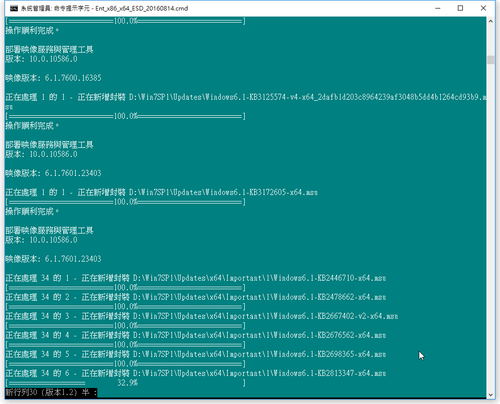
[@more@]底下是整合過程:
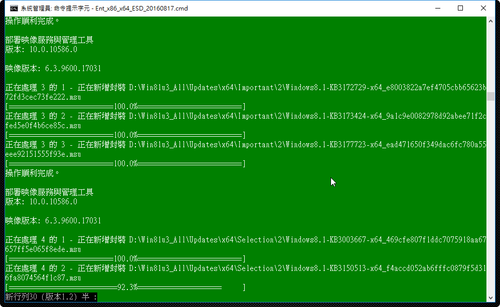
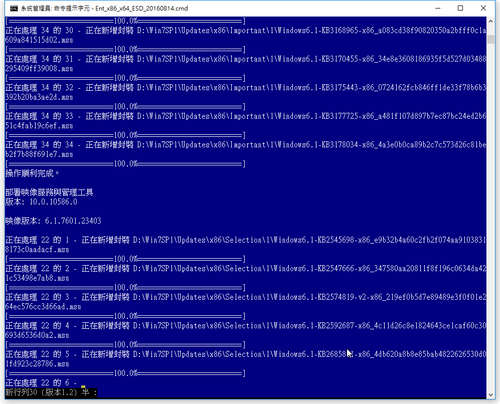
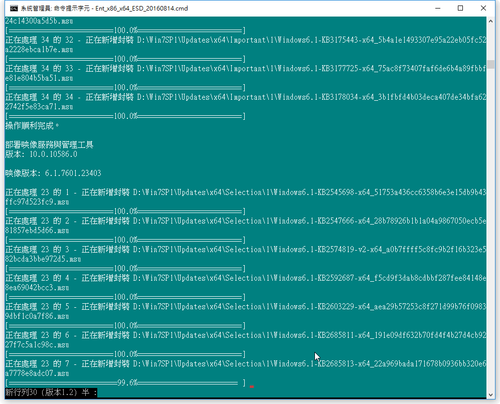
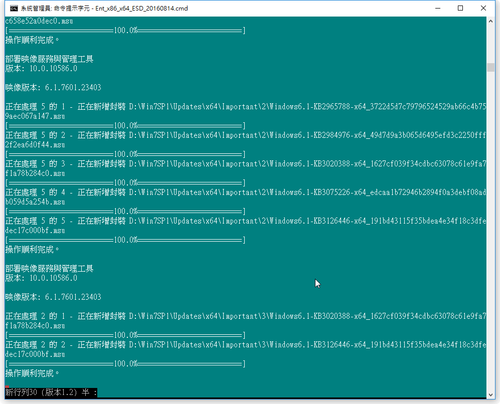
x86 整合過程

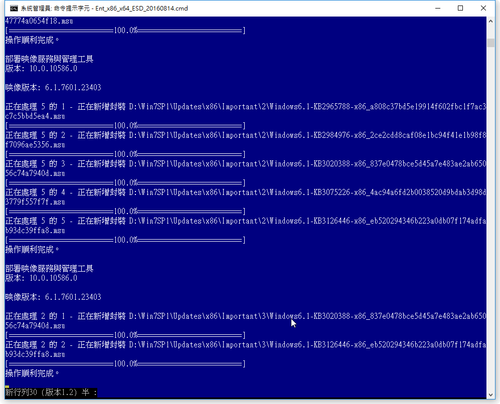
x64 整合過程

底下是安裝擷圖
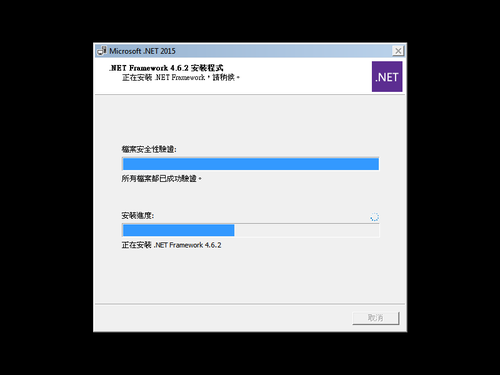
安裝 .NET Framework 4.6.2

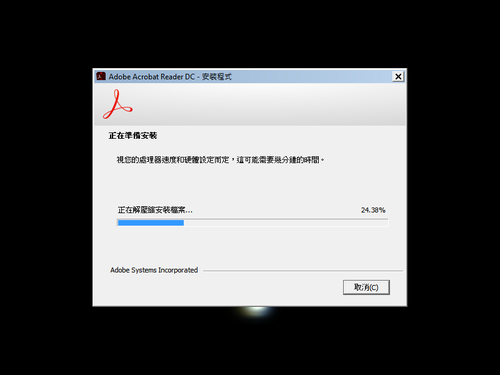
安裝 Acrobat Reader DC

安裝 Microsoft Visual C++ Redistributable

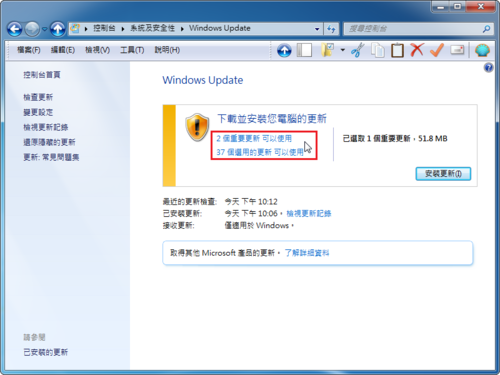
安裝完成之後更新

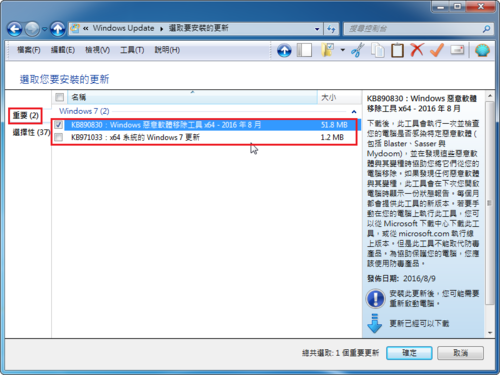
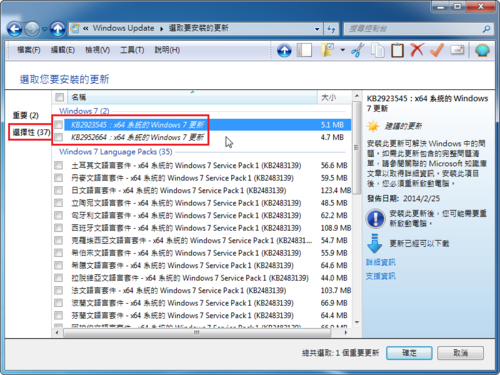
重要更新

選擇性更新

解決 Windows 7 SP1 整合 KB3125574 之後一直卡在「正在檢查更新」

Windows 7 SP1 整合 KB3125574 之後,在做 Windows Update 時,一直卡在「正在檢查更新」,過了好幾個小時,還是等在那裡!

[@more@]解決方式:
請加裝 KB3172605

重新開機後,再做一次檢查,不到 5 分鐘,就檢查完成了!

x64 下載
https://download.microsoft.com/download/5/6/0/560504D4-F91A-4DEB-867F-C713F7821374/Windows6.1-KB3172605-x64.msu

x86 下載
https://download.microsoft.com/download/C/D/5/CD5DE7B2-E857-4BD4-AA9C-6B30C3E1735A/Windows6.1-KB3172605-x86.msu

硬碟保固查詢

WD 硬碟保固查詢:
http://support.wdc.com/Warranty/warrantyStatus.aspx?lang=ch

Seagate 硬碟保固查詢:
http://support.seagate.com/customer/zh-TW/warranty_validation.jsp

Toshiba 硬碟保固查詢:
https://myapps.taec.toshiba.com/myapps/admin/jsp/webrma/addRequest1NoLogin.jsp?Action=NEW
富基電通 | 商品保固查詢
https://www.afastor.com.tw/warrantyQuery.aspx?cat=4

HGST 硬碟保固查詢:
https://www.hgst.com/portal/site/en/support/warranty/

sed 備忘

參考網頁:
[轉貼] SED單行腳本快速參考 @ 胖虎的祕密基地 :: 痞客邦 PIXNET ::
sed 工具
阿旺的 Linux 開竅手冊
sed, a stream editor Examples
Sed – An Introduction and Tutorial

1. 刪除空白行
# sed -i ‘/^$/d’ testfile
# sed -i ‘/./!d’ testfile

2. 刪除第一行空行後的所有內容
# sed -i ‘/^$/q’ testfile

3. 刪除第一行空行之前的所有內容
# sed -i ‘1,/^$/d’ testfile[@more@]4. 刪除含 pattern 的行
# sed -i ‘/pattern/d’ testfile

# cat /tmp/testfile
1
2
3
4
5
# sed -i ‘/2/’,’/4/d’ /tmp/testfile
# cat /tmp/testfile
1
5

5. 刪除文件中開頭的10行
# sed -i ‘1,10d’ testfile

6. 刪除文件中的最後一行
# sed -i ‘$d’ testfile

7. 顯示 8~12 行
# sed -n ‘8,12p’ testfile

8. 只顯示符合 pattern 的行
# sed -n ‘/pattern/p’ testfile
# sed ‘/pattern/!d’ testfile
# grep pattern testfile

9. 不顯示符合 pattern 的行
# sed -n ‘/pattern/!p’ testfile
# sed ‘/pattern/d’ testfile
# grep -v pattern testfile

10. 一次全部更換多個符合的 pattern
# sed -i ‘s/mysql/red/g;s/php/black/g’ testfile

11. 在每一行前面插入 5 個空白
# sed -i ‘s/^/ /’ testfile

12. 更換指定行(n)符合的字串
# sed -i ‘ns/php/red/’ testfile

13. 在指定行之前插入
# sed -i ‘2i 1234567890’ testfile

14. 在指定行之後插入
# sed -i ‘2a 1234567890’ testfile

15. 在最後一行插入
# sed -i ‘$a 1234567890’ testfile

16. 字串取代
# sed -i ‘s/^(anonymous_enable=).*$/1”NO/’ /etc/vsftpd/vsftpd.conf
# sed -i ‘s/^(SELINUX=).*$/1”disabled/’ /etc/selinux/config

17. 字串取代
# sed -i ‘/foo/ s//bar/g’ testfile

18. 字串取代 指定行範圍
# sed -i ‘34,38 s/ACCEPT/DROP/’ /etc/ufw/before.rules

19. 取出 IP
# ifconfig eth0
inet addr:192.168.1.12 Bcast:192.168.1.255 Mask:255.255.255.0
# ifconfig eth0 | grep ‘inet ‘ | sed ‘s/^.*inet addr://g’ | sed ‘s/ *Bcast.*$//g’
192.168.1.12

20. 多個指令
# sed -i ‘s/123/234/; s/四忠/四義/’ list

21. 將編輯命令放在檔案之中
# cat sedscr
s/123/234/
s/四忠/四義/
# sed -i -f sedscr list

22. 刪除找到 %post 後的所有行數
# sed -i ‘/%post/ ,$d’ /tmp/anaconda-ks.cfg

23. 找到字串的後面插入一行
#PIDFILE 後面插入一行
# sed -i ‘/#PIDFILE/ a PIDFILE=/var/chroot/bind9/var/run/named/named.pid’ /etc/init.d/bind9

24. 多重取代
# sed -i -e ‘s/123/234/’ -e ‘s/四忠/四義/’ list

25. 刪除最後幾個字元
# sed -i ‘s/…$//’ testfile

26. 在每一行後面插入一行空白行
# sed -i G testfile

27. 在最後一個欄位插入字串
# sed -i ‘s/$/@smail.ilc.edu.tw/’ class3