參考網頁:
Creating RAID 5 (Striping with Distributed Parity) in Linux – Part 4
Debian RAID-5 (效能與備份) | JR 的網路日誌
[筆記]Linux 軟體 RAID 5 實作 @ Paul’s Blog :: 痞客邦 PIXNET ::
OS:Debian Linux 5.8.0
HDD:
10G*1 Debian Linux System
20G *4 (/dev/sdb,sdc,sdd,sde)
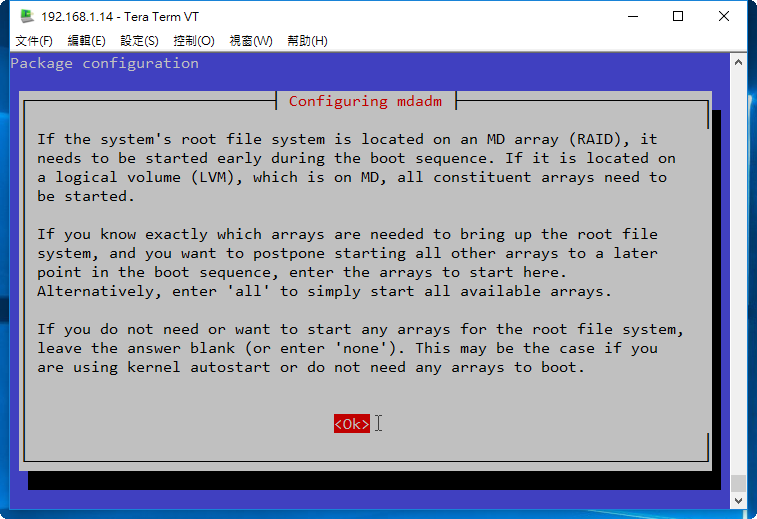
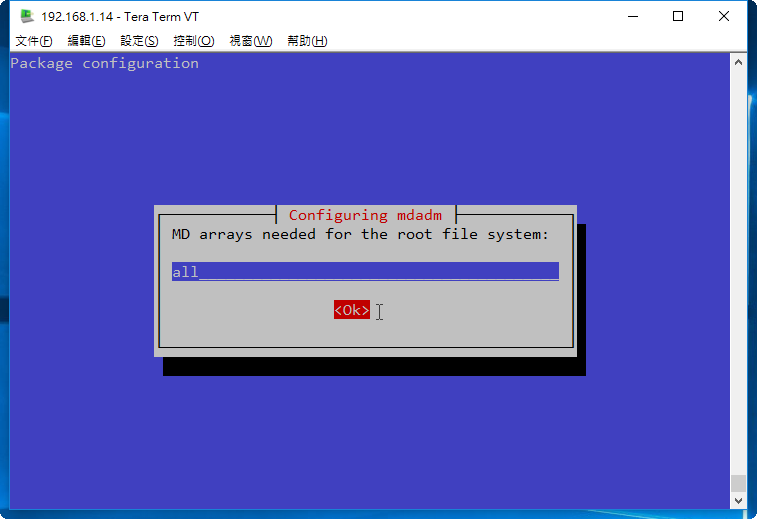
1. 安裝 mdadm 套件
# apt-get install mdadm
[@more@]2. 查看目前磁碟狀態
# fdisk -l | grep ‘^Disk /dev’
Disk /dev/sdb: 20 GiB, 21474836480 bytes, 41943040 sectors
Disk /dev/sdc: 20 GiB, 21474836480 bytes, 41943040 sectors
Disk /dev/sdd: 20 GiB, 21474836480 bytes, 41943040 sectors
Disk /dev/sda: 10 GiB, 10737418240 bytes, 20971520 sectors
Disk /dev/sde: 20 GiB, 21474836480 bytes, 41943040 sectors
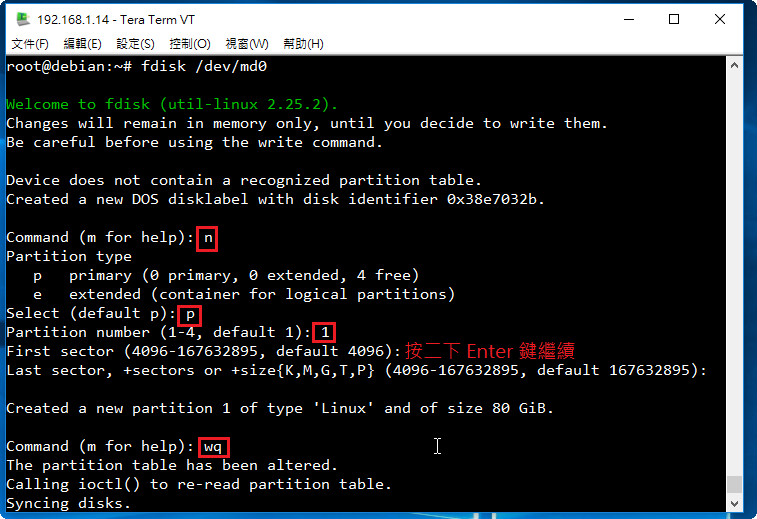
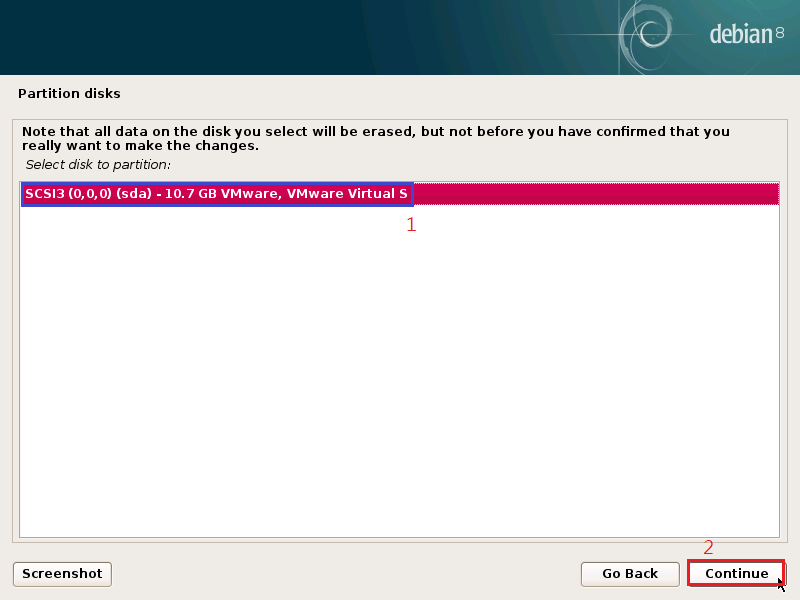
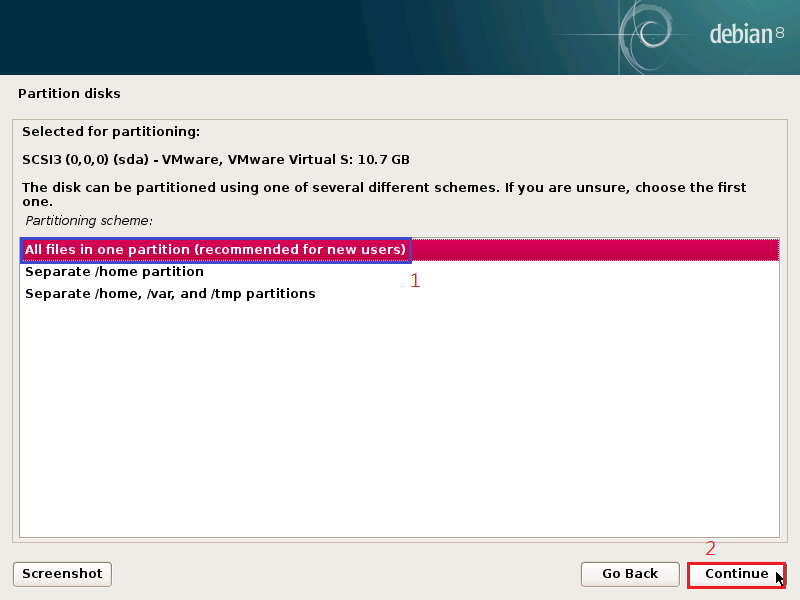
3. 建立磁碟分割區
# fdisk /dev/sdb
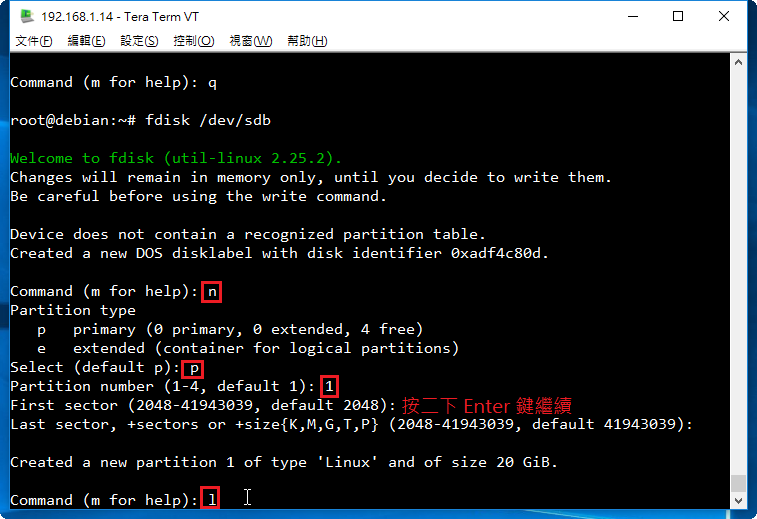
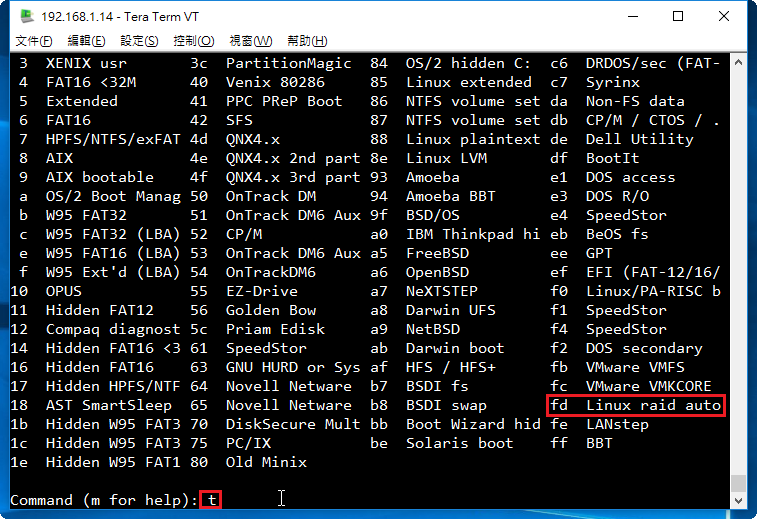
不一定要更改成 fd

重複上面的動作,完成所有的磁碟
# fdisk /dev/sdc
# fdisk /dev/sdd
# fdisk /dev/sde
4. 建立 /dev/md0 磁碟陣列分割區
# mdadm –create /dev/md0 –level=5 –raid-devices=4 /dev/sdb1 /dev/sdc1 /dev/sdd1 /dev/sde1
或
# mdadm -C /dev/md0 -l=5 -n=4 /dev/sd[b-e]1
mdadm: Defaulting to version 1.2 metadata
mdadm: array /dev/md0 started.
5. 查看建置結果
# fdisk -l | grep /dev/md0
Disk /dev/md0: 60 GiB, 64371032064 bytes, 125724672 sectors
# mdadm –detail /dev/md0
/dev/md0:
Version : 1.2
Creation Time : Mon Jun 27 19:12:21 2016
Raid Level : raid5
Array Size : 62862336 (59.95 GiB 64.37 GB)
Used Dev Size : 20954112 (19.98 GiB 21.46 GB)
Raid Devices : 4
Total Devices : 4
Persistence : Superblock is persistent
Update Time : Mon Jun 27 19:14:47 2016
State : clean, degraded, recovering
Active Devices : 3
Working Devices : 4
Failed Devices : 0
Spare Devices : 1
Layout : left-symmetric
Chunk Size : 512K
Rebuild Status : 40% complete
Name : debian:0 (local to host debian)
UUID : 432ac899:b8c0fceb:26f9df48:bba894aa
Events : 7
Number Major Minor RaidDevice State
0 8 17 0 active sync /dev/sdb1
1 8 33 1 active sync /dev/sdc1
2 8 49 2 active sync /dev/sdd1
4 8 65 3 spare rebuilding /dev/sde1
6. 格式化分割區
# mkfs -t ext4 /dev/md0
Creating filesystem with 15715584 4k blocks and 3932160 inodes
Filesystem UUID: c416cc70-98ea-4eb5-b997-b93fd2410d35
Superblock backups stored on blocks:
32768, 98304, 163840, 229376, 294912, 819200, 884736, 1605632, 2654208,
4096000, 7962624, 11239424
Allocating group tables: done
Writing inode tables: done
Creating journal (32768 blocks): done
Writing superblocks and filesystem accounting information: done
7. 建立掛載目錄並掛載
# mkdir /mnt/raid5
# mount /dev/md0 /mnt/raid5
# df -h
Filesystem Size Used Avail Use% Mounted on
/dev/sda1 9.3G 1.1G 7.8G 12% /
udev 10M 0 10M 0% /dev
tmpfs 400M 5.9M 394M 2% /run
tmpfs 999M 0 999M 0% /dev/shm
tmpfs 5.0M 0 5.0M 0% /run/lock
tmpfs 999M 0 999M 0% /sys/fs/cgroup
/dev/md0 59G 52M 56G 1% /mnt/raid5
8. 查看硬碟的 UUID
# blkid | grep /dev/md0
/dev/md0: UUID=”c416cc70-98ea-4eb5-b997-b93fd2410d35″ TYPE=”ext4″
9. 修改 /etc/fstab
# vim /etc/fstab
加入下面一行
UUID=c416cc70-98ea-4eb5-b997-b93fd2410d35 /mnt/raid5 ext4 errors=remount-ro 0 0
10.編輯 /etc/mdadm/mdadm.conf 設定檔
# mdadm –detail –scan –verbose >> /etc/mdadm/mdadm.conf
ARRAY /dev/md0 level=raid5 num-devices=4 metadata=1.2 name=debian:0 UUID=432ac899:b8c0fceb:26f9df48:bba894aa
devices=/dev/sdb1,/dev/sdc1,/dev/sdd1,/dev/sde1
11. 磁碟分割資訊
# fdisk -l | grep /dev/sd
Disk /dev/sdb: 20 GiB, 21474836480 bytes, 41943040 sectors
/dev/sdb1 2048 41943039 41940992 20G fd Linux raid autodetect
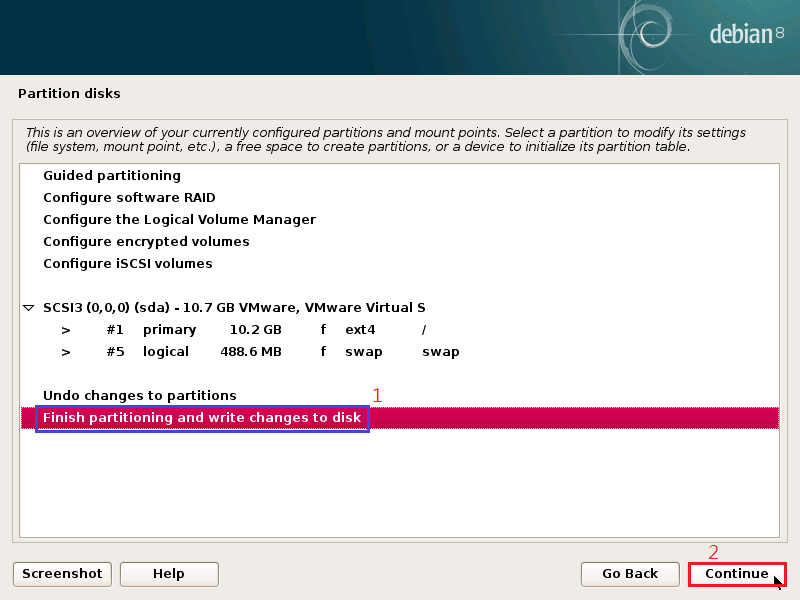
Disk /dev/sda: 10 GiB, 10737418240 bytes, 20971520 sectors
/dev/sda1 * 2048 20013055 20011008 9.6G 83 Linux
/dev/sda2 20015102 20969471 954370 466M 5 Extended
/dev/sda5 20015104 20969471 954368 466M 82 Linux swap / Solaris
Disk /dev/sdc: 20 GiB, 21474836480 bytes, 41943040 sectors
/dev/sdc1 2048 41943039 41940992 20G fd Linux raid autodetect
Disk /dev/sdd: 20 GiB, 21474836480 bytes, 41943040 sectors
/dev/sdd1 2048 41943039 41940992 20G fd Linux raid autodetect
Disk /dev/sde: 20 GiB, 21474836480 bytes, 41943040 sectors
/dev/sde1 2048 41943039 41940992 20G fd Linux raid autodetect
12. 檢查是否有正確掛載
# df -h
Filesystem Size Used Avail Use% Mounted on
/dev/sda1 9.3G 1.1G 7.8G 12% /
udev 10M 0 10M 0% /dev
tmpfs 400M 5.9M 394M 2% /run
tmpfs 999M 0 999M 0% /dev/shm
tmpfs 5.0M 0 5.0M 0% /run/lock
tmpfs 999M 0 999M 0% /sys/fs/cgroup
/dev/md0 59G 52M 56G 1% /mnt/raid5