
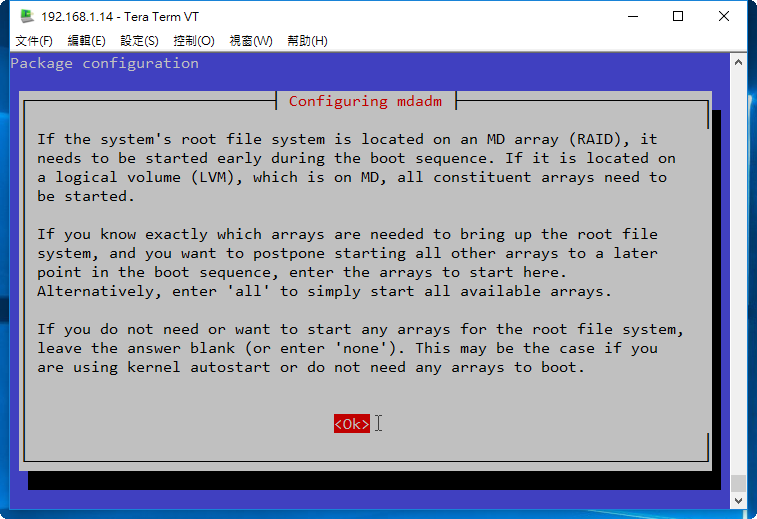
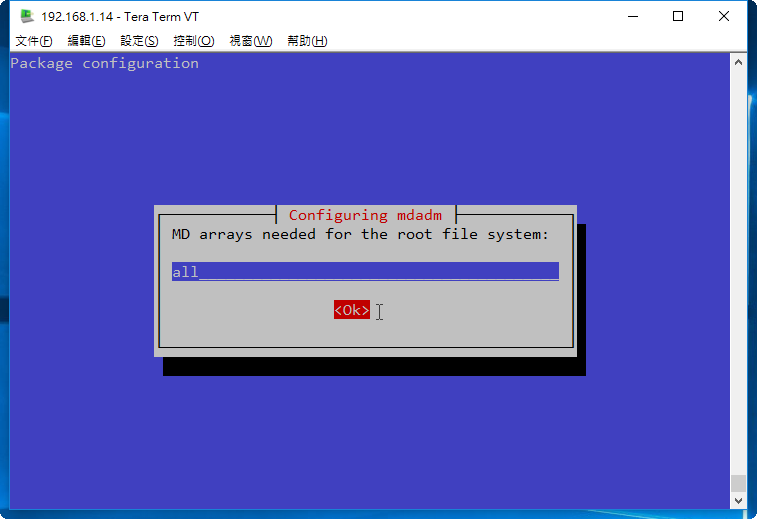
1. 安裝 mdadm 套件
# yum install mdadm
2. 查看目前磁碟狀態
# fdisk -l | grep ‘^Disk /dev/sd’
Disk /dev/sda: 10.7 GB, 10737418240 bytes
Disk /dev/sdb: 21.5 GB, 21474836480 bytes
Disk /dev/sdc: 21.5 GB, 21474836480 bytes
Disk /dev/sdd: 21.5 GB, 21474836480 bytes
Disk /dev/sde: 21.5 GB, 21474836480 bytes
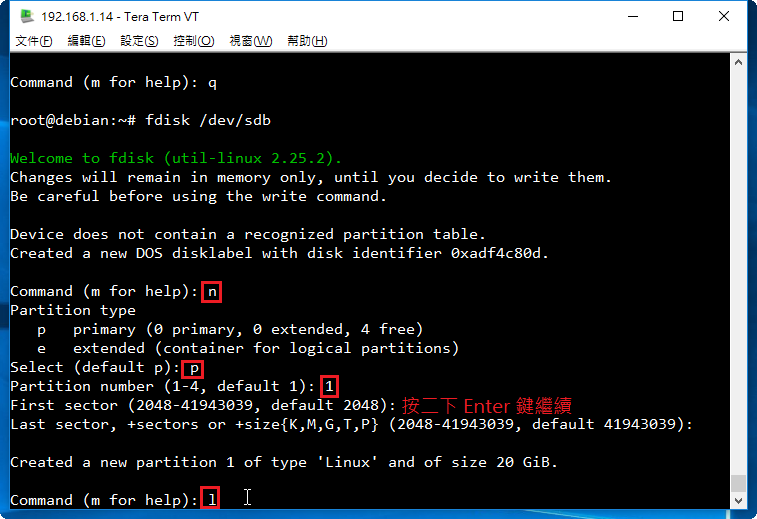
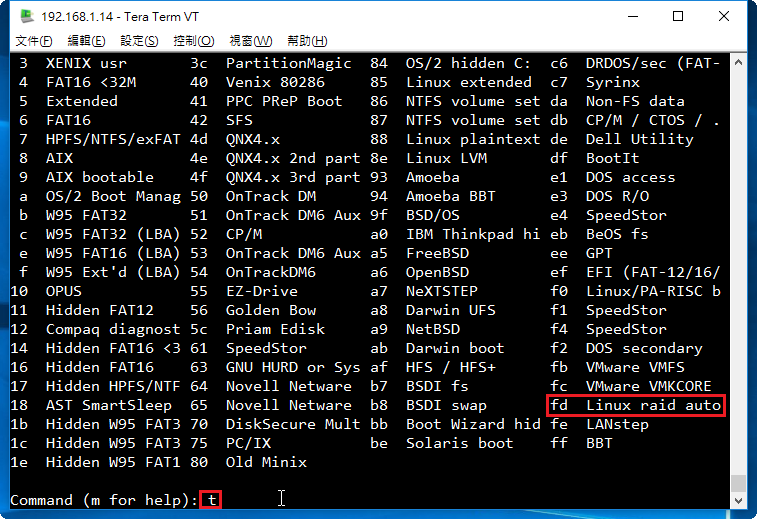
[@more@]3. 建立磁碟分割區
# fdisk /dev/sdb

重複上面的動作,完成所有的磁碟
# fdisk /dev/sdc
# fdisk /dev/sdd
# fdisk /dev/sde
4. 建立 /dev/md0 磁碟陣列分割區
# mdadm –create –verbose –auto=yes /dev/md0 –level=5 –raid-devices=4 /dev/sd[b-e]
mdadm: layout defaults to left-symmetric
mdadm: layout defaults to left-symmetric
mdadm: chunk size defaults to 512K
mdadm: /dev/sdb appears to be part of a raid array:
level=raid0 devices=0 ctime=Thu Jan 1 08:00:00 1970
mdadm: partition table exists on /dev/sdb but will be lost or
meaningless after creating array
mdadm: /dev/sdc appears to be part of a raid array:
level=raid0 devices=0 ctime=Thu Jan 1 08:00:00 1970
mdadm: partition table exists on /dev/sdc but will be lost or
meaningless after creating array
mdadm: /dev/sdd appears to be part of a raid array:
level=raid0 devices=0 ctime=Thu Jan 1 08:00:00 1970
mdadm: partition table exists on /dev/sdd but will be lost or
meaningless after creating array
mdadm: size set to 20955136K
Continue creating array? yes
mdadm: Defaulting to version 1.2 metadata
mdadm: array /dev/md0 started.
5. 查看建置結果
# fdisk -l | grep /dev/md0
Disk /dev/md0: 42.9 GB, 42916118528 bytes, 83820544 sectors
# mdadm -D /dev/md0
/dev/md0:
Version : 1.2
Creation Time : Thu Jun 30 03:31:44 2016
Raid Level : raid5
Array Size : 41910272 (39.97 GiB 42.92 GB)
Used Dev Size : 20955136 (19.98 GiB 21.46 GB)
Raid Devices : 3
Total Devices : 3
Persistence : Superblock is persistent
Update Time : Thu Jun 30 03:36:27 2016
State : clean, degraded, recovering
Active Devices : 2
Working Devices : 3
Failed Devices : 0
Spare Devices : 1
Layout : left-symmetric
Chunk Size : 512K
Rebuild Status : 47% complete
Name : localhost.localdomain:0 (local to host localhost.localdomain)
UUID : 40801919:fa833719:77db4a5b:bd3e0c50
Events : 10
Number Major Minor RaidDevice State
0 8 16 0 active sync /dev/sdb
1 8 32 1 active sync /dev/sdc
3 8 48 2 spare rebuilding /dev/sdd
6. 格式化分割區 CentOS 7 改用 xfs
# mkfs.xfs /dev/md0
meta-data=/dev/md0 isize=256 agcount=16, agsize=654720 blks
= sectsz=512 attr=2, projid32bit=1
= crc=0 finobt=0
data = bsize=4096 blocks=10475520, imaxpct=25
= sunit=128 swidth=256 blks
naming =version 2 bsize=4096 ascii-ci=0 ftype=0
log =internal log bsize=4096 blocks=5120, version=2
= sectsz=512 sunit=8 blks, lazy-count=1
realtime =none extsz=4096 blocks=0, rtextents=0
7. 查看硬碟的 UUID
# blkid | grep /dev/md0
/dev/md0: UUID=”fe9ac611-bb4a-4d85-87af-2998f6213cb8″ TYPE=”xfs”
8. 建立掛載目錄並掛載
# mkdir /mnt/raid5
# mount /dev/md0 /mnt/raid5
# df -h
Filesystem Size Used Avail Use% Mounted on
/dev/mapper/centos-root 8.5G 1.3G 7.2G 16% /
devtmpfs 983M 0 983M 0% /dev
tmpfs 993M 0 993M 0% /dev/shm
tmpfs 993M 8.7M 985M 1% /run
tmpfs 993M 0 993M 0% /sys/fs/cgroup
/dev/sda1 497M 153M 345M 31% /boot
tmpfs 199M 0 199M 0% /run/user/0
/dev/md0 40G 33M 40G 1% /mnt/raid5
9. 修改 /etc/fstab
# vim /etc/fstab
加入下面一行
UUID=fe9ac611-bb4a-4d85-87af-2998f6213cb8 /mnt/raid5 xfs defaults 0 0
10. 編輯 /etc/mdadm.conf 設定檔
# mdadm –detail –scan –verbose > /etc/mdadm.conf
# cat /etc/mdadm.conf
ARRAY /dev/md0 level=raid5 num-devices=3 metadata=1.2 spares=1 name=localhost.localdomain:0 UUID=40801919:fa833719:77db4a5b:bd3e0c50
devices=/dev/sdb,/dev/sdc,/dev/sdd
 [@more@]