
因為之前在 Ubuntu Linux 安裝 Adobe Air / Scratch 2 時,都是在 x86 平台上安裝,特地在 Ubuntu MATE 14.04-2 x64 平台試試!
加入 i386 平台
$ sudo dpkg –add-architecture i386
$ dpkg –print-architecture
amd64
$ dpkg –print-foreign-architectures
i386
進行套件庫更新及安裝套件
$ sudo apt-get update
$ sudo apt-get install lib32bz2-1.0 lib32ncurses5 lib32tinfo5 lib32z1 libc6-i386
$ sudo dpkg -i adobeair_2.6.0.19170-franklin_amd64.deb[@more@]開始安裝 Scratch 2.x 及解決錯誤訊息
$ sudo /etc/alternatives/airappinstaller ./Scratch-435.air
/etc/alternatives/airappinstaller: error while loading shared libraries: libstdc++.so.6: cannot open shared object file: No such file or directory
$ sudo apt-get install libstdc++6:i386
$ sudo /etc/alternatives/airappinstaller ./Scratch-435.air
Error loading the runtime (libgtk-x11-2.0.so.0: cannot open shared object file: No such file or directory)
$ sudo apt-get install libgtk2.0-0:i386
$ sudo /etc/alternatives/airappinstaller ./Scratch-435.air
Error loading the runtime (libxml2.so.2: cannot open shared object file: No such file or directory)
$ sudo apt-get install libxml2:i386
$ sudo /etc/alternatives/airappinstaller ./Scratch-435.air
Error loading the runtime (libnss3.so: cannot open shared object file: No such file or directory)
$ sudo apt-get install libnss3:i386
$ /usr/bin/Adobe AIR Application Installer ./Scratch-435.air
Gtk-Message: Failed to load module “gail”
Gtk-Message: Failed to load module “atk-bridge”
Gtk-Message: Failed to load module “canberra-gtk-module”
unexpected error: ArgumentError: Absolute path of the air file needs to be specified.
$ sudo apt-get install libatk-adaptor:i386 libgail-common:i386
$ /usr/bin/Adobe AIR Application Installer ./Scratch-435.air
Gtk-Message: Failed to load module “canberra-gtk-module”
unexpected error: ArgumentError: Absolute path of the air file needs to be specified.
$ sudo apt-get install libcanberra-gtk-module:i386
出現
(Adobe AIR Application Installer:9911): Gtk-WARNING **: 無法在 module_path 中找出佈景主題引擎:‘murrine’
$ sudo apt-get install gtk2-engines-murrine:i386
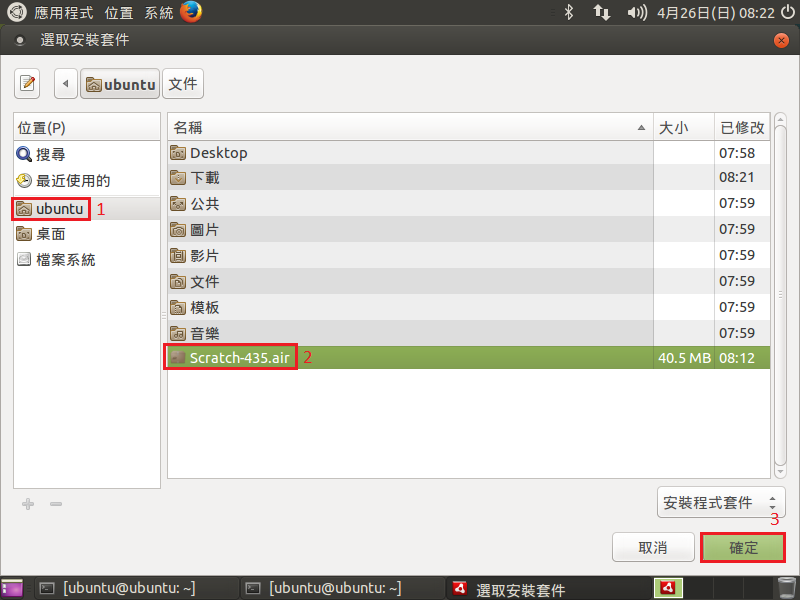
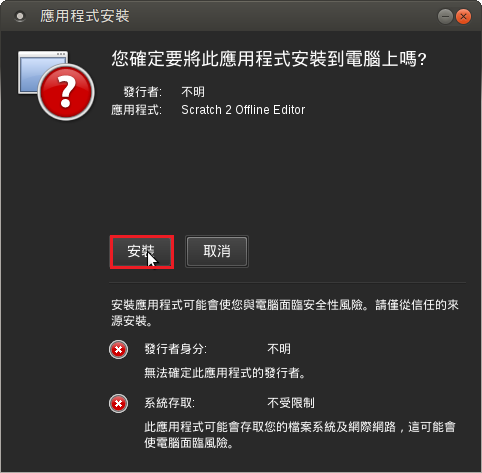
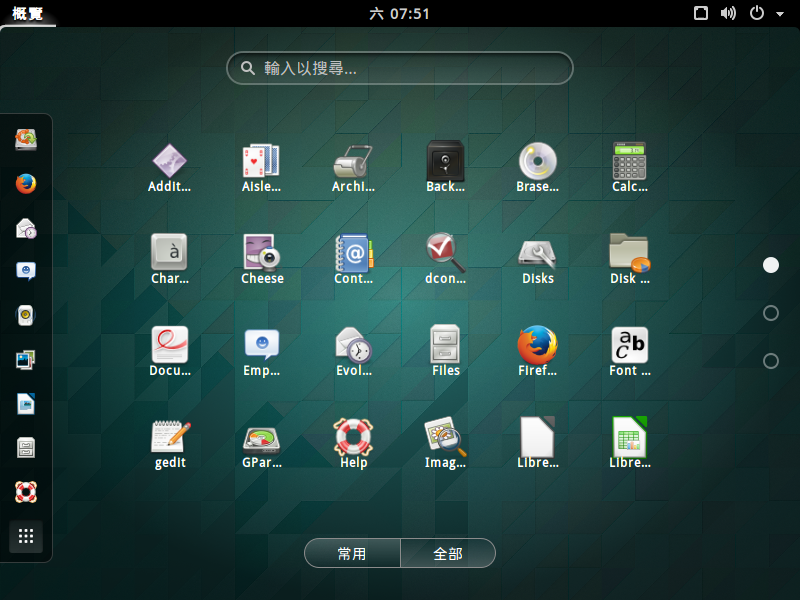
以圖形模式安裝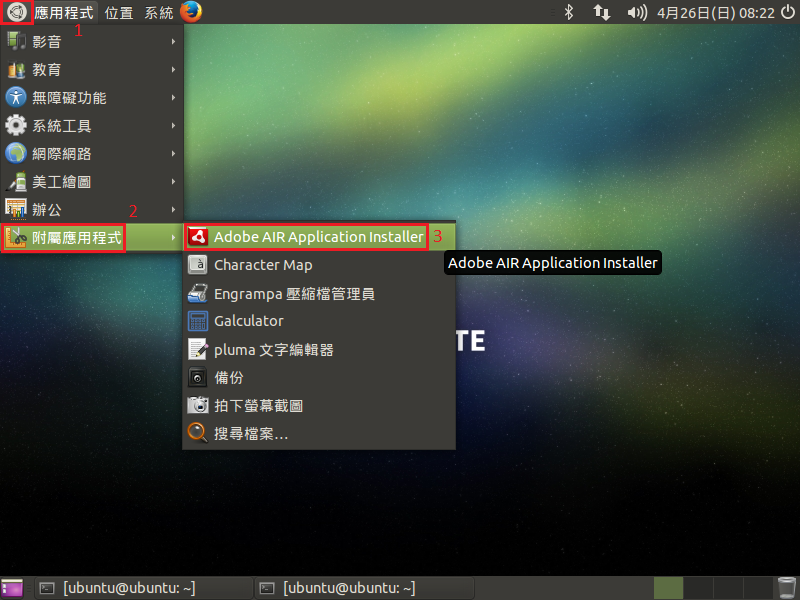
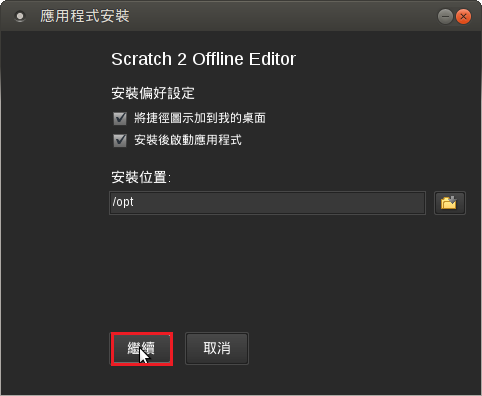
就卡在這裡!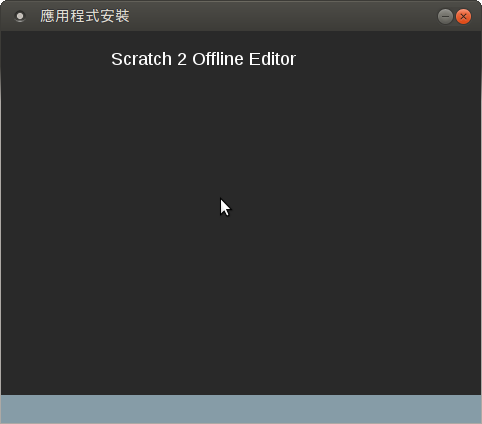


