Windows 7 / 8.1 在 系統中,可以根據系統的狀態,來讓使用者調整最適合的效能選項。
選擇 進階 / 設定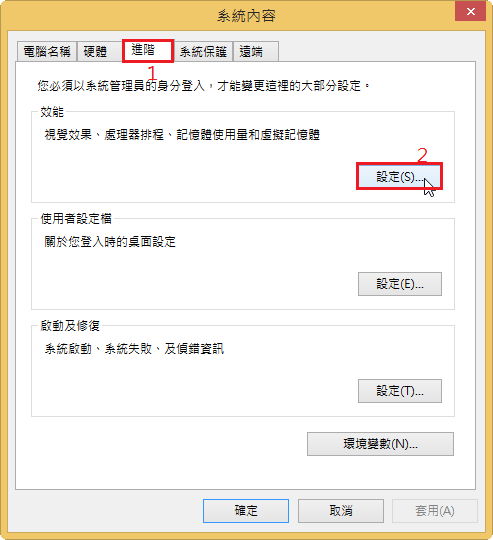
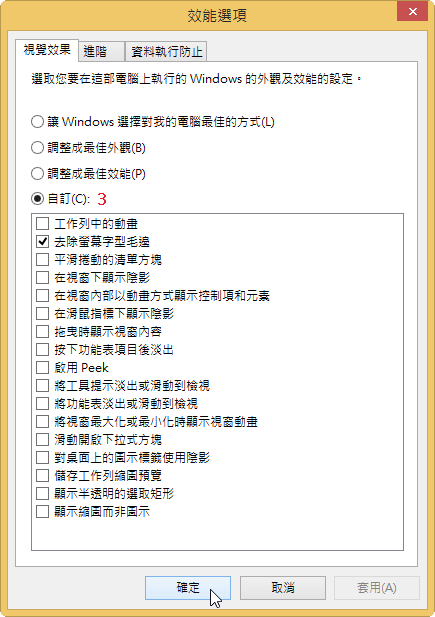
選擇 視覺效果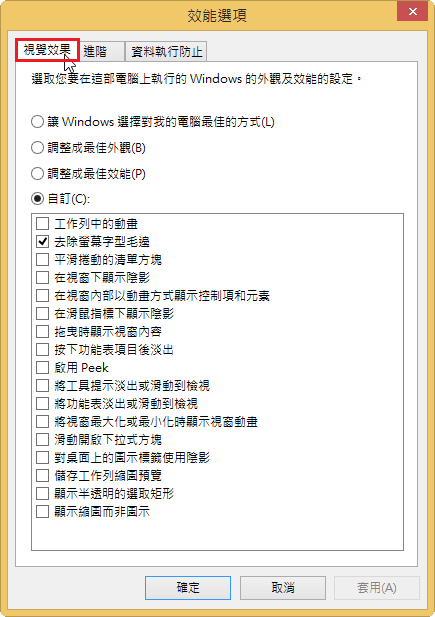
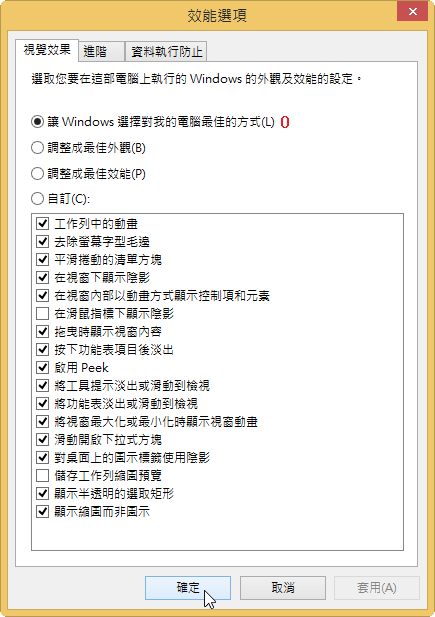
共有 4 個選項可以調整,分別是: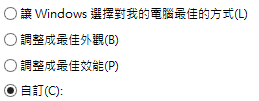
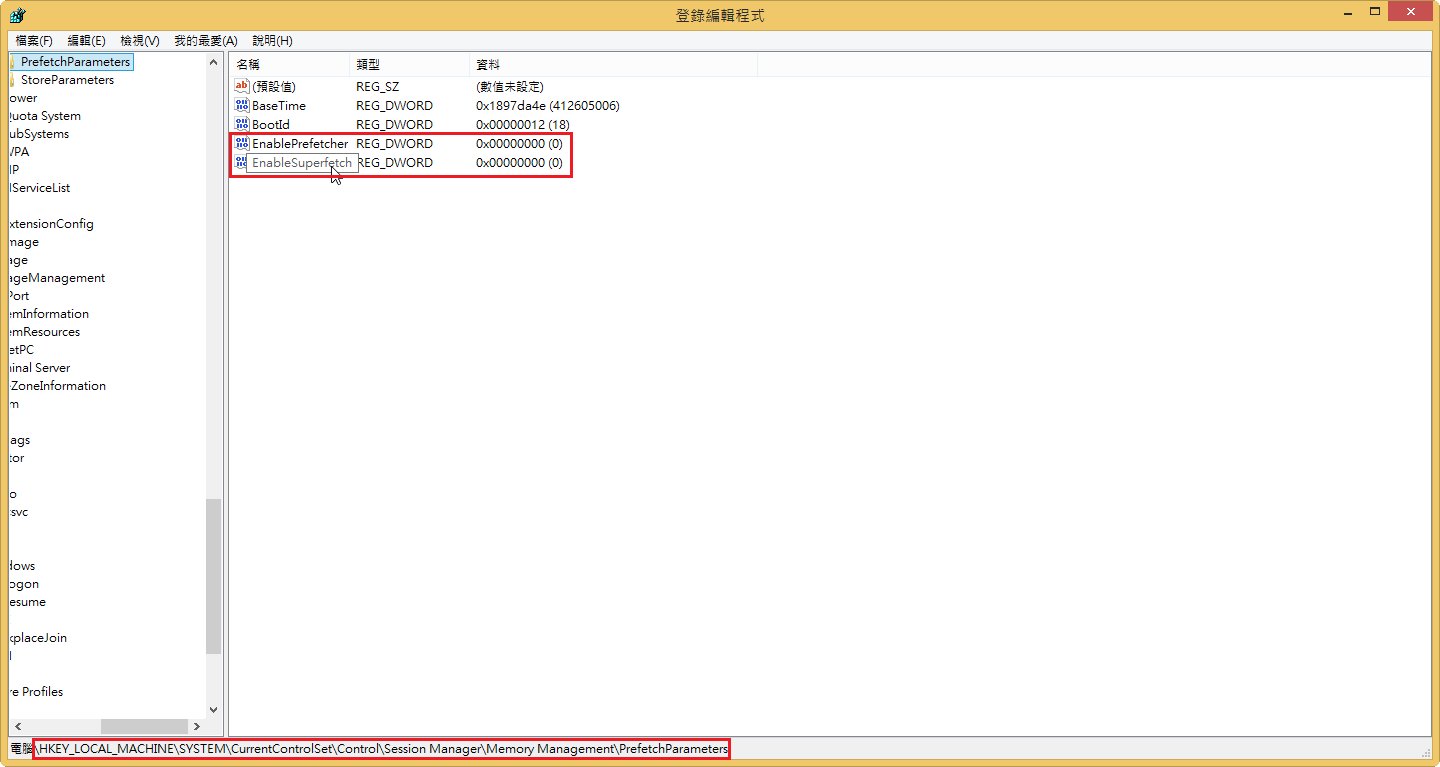
[@more@]以登錄檔來進行處理:
[HKEY_CURRENT_USERSoftwareMicrosoftWindowsCurrentVersionExplorerVisualEffects]
“VisualFXSetting”=dword:00000000
[HKEY_CURRENT_USERSoftwareMicrosoftWindowsCurrentVersionExplorerVisualEffects]
“VisualFXSetting”=dword:00000001
[HKEY_CURRENT_USERSoftwareMicrosoftWindowsCurrentVersionExplorerVisualEffects]
“VisualFXSetting”=dword:00000002
[HKEY_CURRENT_USERSoftwareMicrosoftWindowsCurrentVersionExplorerVisualEffects]
“VisualFXSetting”=dword:00000003