
Nagios 本身就有一個 Web 管理介面,只是畫面有些稍微複雜,所以有一個使用 PHP 開發的 Web 介面,比較精簡直覺。
Nagios vshell 下載網站:Here
目前最新版本是 1.9.1 版,適用於 Nagios 3.x 和 Nagios XI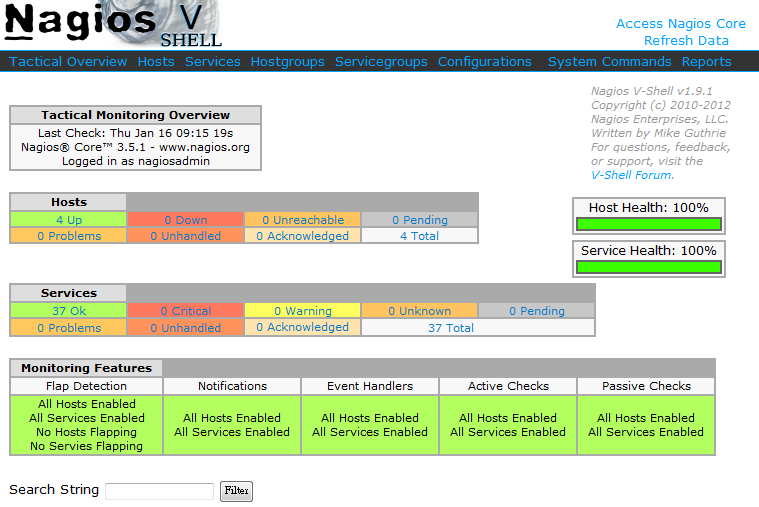 [@more@]
底下是安裝步驟:
1.下載 vshell
# wget http://assets.nagios.com/downloads/exchange/nagiosvshell/vshell.tar.gz
2.解壓縮
# tar xvzf vshell.tar.gz
3.搬移目錄
# mv vshell /usr/local
4.複製檔案到 /etc/httpd/conf.d 目錄之下
# cp /usr/local/vshell/config/vshell_apache.conf /etc/httpd/conf.d
5.修改 /etc/httpd/conf.d/vshell_apache.conf
# vim /etc/httpd/conf.d/vshell_apache.conf
#modify this file to fit your apache configuration
Alias /vshell “/usr/local/vshell”
<Directory “/usr/local/vshell”>
# SSLRequireSSL
Options None
AllowOverride None
# Order allow,deny
# Allow from all
Order deny,allow
Deny from all
Allow from 127.0.0.1 192.168.1.0/24
Allow from ::1
# Allow from 127.0.0.1
#use the below lines for Nagios XI
# AuthName “Nagios Monitor XI”
# AuthType Basic
# AuthUserFile /usr/local/nagiosxi/etc/htpasswd.users
#Use the below lines for a typical Nagios Core installation
AuthName “Nagios Access”
AuthType Basic
AuthUserFile /etc/nagios/passwd
Require valid-user
</Directory>
6.修改 /usr/local/vshell/config/vshell.conf 設定檔
# vim /usr/local/vshell/config/vshell.conf
把
; Full filesystem path to the Nagios status file
STATUSFILE = “/usr/local/nagios/var/status.dat”
; Full filesystem path to the Nagios object cache file
OBJECTSFILE = “/usr/local/nagios/var/objects.cache”
; Full filesystem path to the Nagios CGI permissions configuration file
CGICFG = “/usr/local/nagios/etc/cgi.cfg”
; Full filesystem path to the Nagios command pipe
NAGCMD = “/usr/local/nagios/var/rw/nagios.cmd”
修改成
; Full filesystem path to the Nagios status file
STATUSFILE = “/var/log/nagios/status.dat“
; Full filesystem path to the Nagios object cache file
OBJECTSFILE = “/var/log/nagios/objects.cache“
; Full filesystem path to the Nagios CGI permissions configuration file
CGICFG = “/etc/nagios/cgi.cfg“
; Full filesystem path to the Nagios command pipe
NAGCMD = “/var/spool/nagios/cmd/nagios.cmd“
7.重新啟動 Apache Web Server
# service httpd restart
8. 如果有問題,可以將設定檔複製到 /etc 目錄之下
# cp /usr/local/vshell/config/vshell.conf /etc
9.一切 OK 了!
後記:其實後來發現,vshell 有提供直接從網頁上安裝的功能,可以直接執行 http://Server’IP/vshell/install.php
但我試了之後好像沒有成功,所以後來還是直接用手動安裝的方式來完成。
最後記得要把安裝目錄中的 install.php 檔案刪除
# rm -rf /usr/local/vshell/install.php